
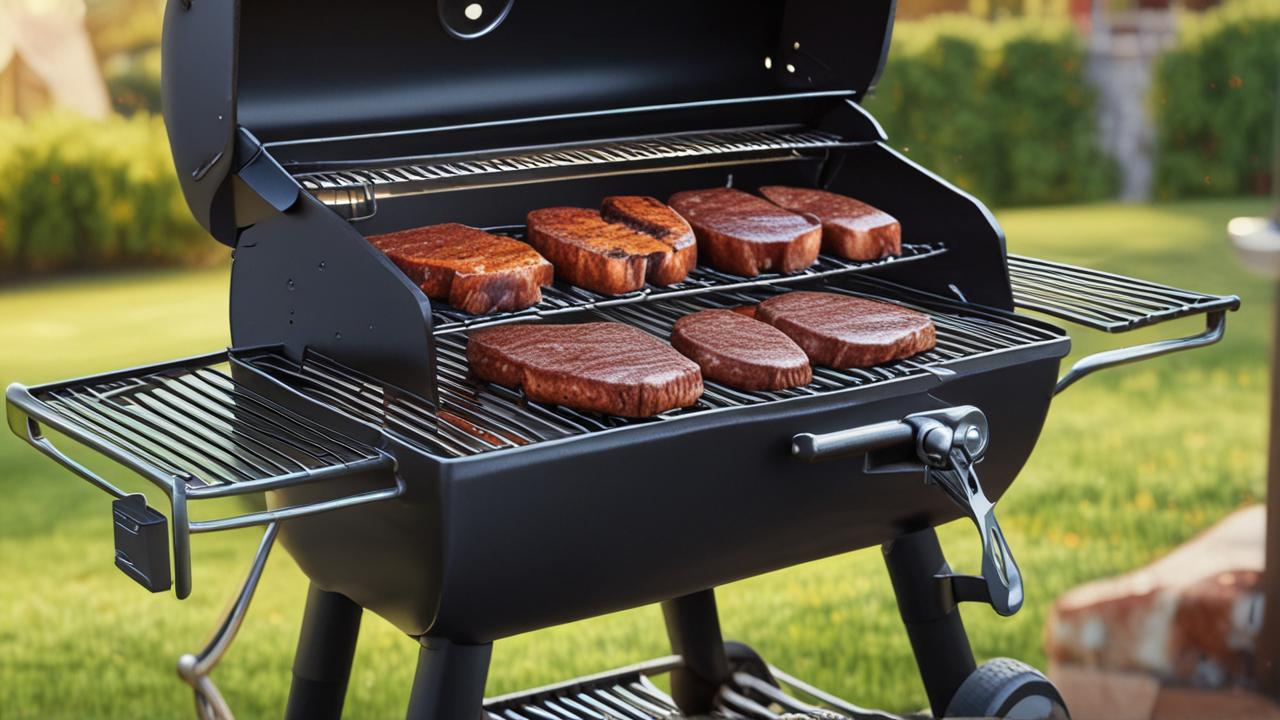
Grilling is a super fun way to cook, but sometimes you’re not sure if your food is cooked just right. People often wonder about How to Use Meat Thermometer on Grill because they want to make sure their burgers, steaks, or chicken are safe and tasty. It can seem a little tricky at first, but don’t worry!
We’ll walk through it step-by-step. This guide will make using your thermometer a breeze, so you can grill with confidence every time.
Getting Started with Your Grill Thermometer
Using a meat thermometer on the grill is all about getting that perfect temperature to ensure your food is cooked safely and tastes amazing. It’s a simple tool that makes a big difference, helping you avoid undercooked or overcooked meals. This section will cover the basics of what a meat thermometer is and why it’s your best friend for grilling success.
What is a Meat Thermometer?
A meat thermometer is a simple device that tells you the internal temperature of your food. It has a probe that you insert into the thickest part of the meat. The thermometer then shows you a reading, usually on a digital screen or an analog dial.
This reading is key to knowing if your food is done cooking.
Think of it like a chef’s secret weapon for grilling. Instead of guessing or cutting into your food to see if it’s cooked (which lets out juices!), the thermometer gives you a precise number. This number tells you exactly how far along the cooking process is.
It’s super helpful for different types of meat, from juicy steaks to tender chicken.
Why Use a Thermometer on the Grill?
Grilling can be tricky because the heat can be uneven. The outside of your food might look perfectly browned, but the inside could still be too cool. A meat thermometer solves this problem by giving you an accurate reading from the very center of your food.
This is especially important for foods like chicken or pork, where eating them undercooked can be unsafe.
Using a thermometer also helps you achieve the best flavor and texture. You can cook your steak to your preferred level of doneness, like medium-rare or well-done, with confidence. For beginners, it takes away the guesswork and stress, letting you focus on enjoying the grilling experience.
- Food Safety Assurance: The primary reason to use a thermometer is safety. Different meats have different safe internal temperatures. For example, ground chicken needs to reach 165°F (74°C) to be safe, while a medium-rare steak only needs to be around 130-135°F (54-57°C). A thermometer ensures you hit these crucial temps.
- Perfectly Cooked Food: Beyond safety, it’s about taste. You want your food to be juicy and tender, not dry and tough. A thermometer lets you stop cooking at the exact moment your food reaches its ideal temperature, whether that’s a perfectly pink center for a roast or a flaky finish for fish.
- Confidence for Beginners: If you’re new to grilling, it can feel a bit intimidating. Wondering if the food is done is a common worry. A thermometer is a tool that gives you data, not just guesswork. This data makes the process much more predictable and less stressful, helping new grillers build confidence quickly.
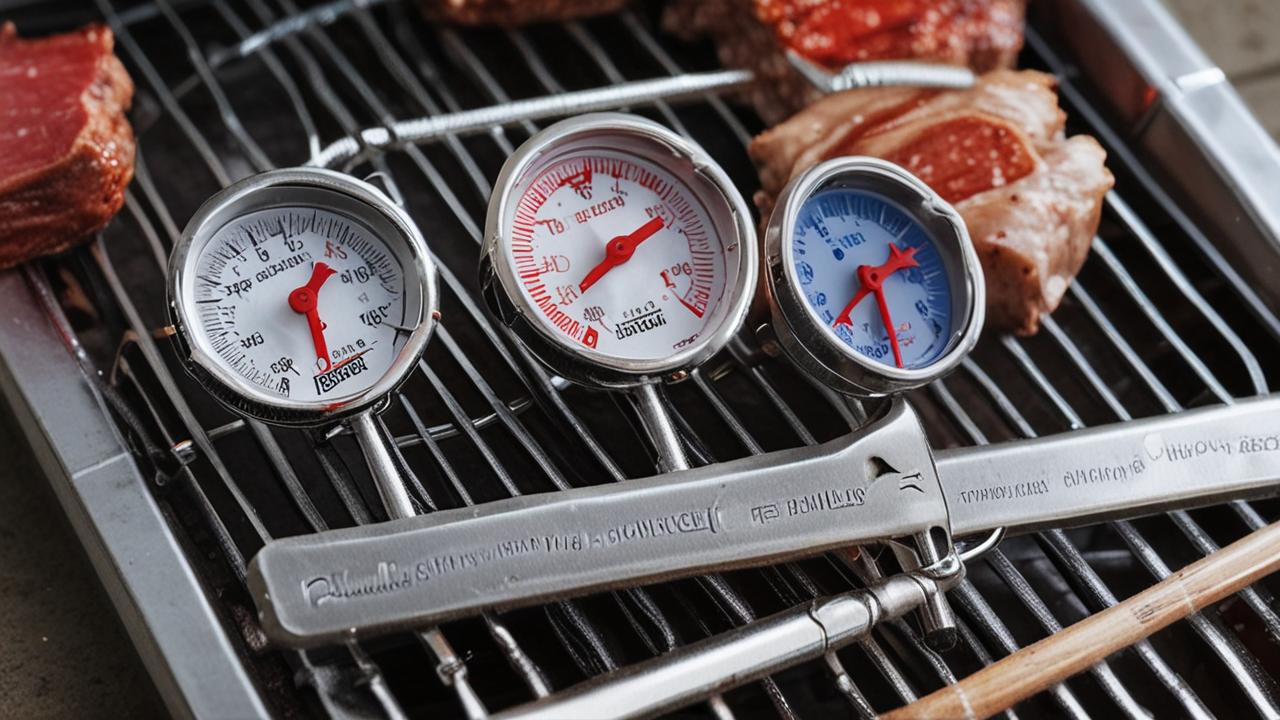
Types of Meat Thermometers for Grilling
There are a few different kinds of meat thermometers you can use when grilling. Each one has its own way of working and can be better for different situations. Knowing about them helps you pick the best tool for your grilling adventures.
We’ll look at the most common types you’ll find.
Instant-Read Thermometers
Instant-read thermometers are incredibly popular because they give you a temperature reading very quickly, usually in just a few seconds. They have a long metal probe that you insert into the food. The display shows the temperature right away.
This makes them perfect for checking your food while it’s on the grill without having to leave it in for too long.
These are great for quick checks. You can lift the lid, poke the thermometer into the thickest part of the meat, get the reading, and close the lid. This minimizes heat loss from the grill, which is important for maintaining cooking temperature.
They are also very portable and easy to store.
Leave-In Thermometers
Leave-in thermometers, also called probe thermometers, are different because you can leave the probe inserted into the meat for the entire cooking time. The thermometer itself usually stays outside the grill, connected to the probe by a heat-resistant wire. This means you can monitor the temperature without constantly lifting the grill lid.
Some models even connect to a wireless receiver or your smartphone, letting you check the temperature from a distance.
These are fantastic for longer cooks, like smoking ribs or a whole chicken. You can set an alarm for your desired temperature, and the thermometer will alert you when the food is ready. This hands-off approach is very convenient and helps maintain a steady grilling environment.
What to Look for in a Grill Thermometer
When you’re shopping for a meat thermometer, there are a few things to consider. You want something that is accurate and durable enough to handle the heat of the grill. Look for features that make it easy to use, especially for beginners.
- Speed: For instant-read models, how fast does it give a reading? A few seconds is ideal. For leave-in types, the speed of the data transfer (if wireless) is important.
- Accuracy: Make sure the thermometer is accurate. Most good ones will be within a degree or two of the true temperature. Some can be calibrated if they are off.
- Durability: It should be made from materials that can withstand heat, like stainless steel probes. The body of the thermometer should also feel sturdy.
- Ease of Use: Large, clear displays are helpful. For wireless models, a user-friendly app or receiver is a plus. Easy calibration is also a good feature.
- Water Resistance: Grilling can involve steam or unexpected splashes. A water-resistant thermometer is more durable.
How to Use Your Meat Thermometer on the Grill: Step-by-Step
Now for the exciting part: learning how to actually use your meat thermometer on the grill. This process is straightforward, and once you do it a few times, it will feel like second nature. We’ll cover how to insert the probe correctly and what temperatures to aim for.
Preparing Your Thermometer
Before you use your thermometer, it’s a good idea to check its calibration. Most instant-read thermometers can be calibrated by placing the probe in a cup of ice water. Wait for the temperature to stabilize.
If it doesn’t read 32°F (0°C), you might need to adjust it according to the manufacturer’s instructions. For leave-in thermometers, ensure the probe and the wire are clean and free from damage.
Also, make sure you have the correct temperature guidelines for the type of meat you are grilling. These are often found on packaging or can be looked up online. Knowing these target temperatures beforehand is crucial for using the thermometer effectively.
Inserting the Probe Correctly
The most important step is inserting the probe into the right spot. For steaks, chops, and roasts, you want to insert the probe into the thickest part of the meat. Avoid touching any bones, as bones conduct heat differently and can give a false reading.
For burgers or ground meat patties, insert the probe sideways into the thickest part.
If you are using a leave-in thermometer, the probe will remain in the meat. For an instant-read thermometer, you will remove it after getting the reading. The goal is to measure the temperature of the meat itself, not the grill grates or the air above the food.
Reading the Temperature
For instant-read thermometers, wait for the display to stop changing. This usually takes only a few seconds. For leave-in thermometers, the display will be on the base unit or your connected device.
Keep an eye on it as the food cooks. Remember that the temperature will continue to rise slightly even after you remove the food from the heat; this is called carryover cooking.
It’s a good practice to take the temperature in a couple of different spots, especially for larger cuts of meat, to ensure even cooking. For very thin items, like very thin steaks or chicken cutlets, it might be hard to get a probe into the thickest part. In such cases, you might rely more on visual cues and cooking time, but a thermometer is still the most accurate.
Target Internal Temperatures for Common Meats
Knowing the target internal temperatures is key to successful grilling. These temperatures are for food safety and optimal taste. Always remember that these are guidelines, and carryover cooking will increase the temperature slightly after removal from the heat.
- Beef, Lamb, and Veal (Steaks, Roasts, Chops):
- Rare: 125-130°F (52-54°C)
- Medium-Rare: 130-135°F (54-57°C)
- Medium: 135-140°F (57-60°C)
- Medium-Well: 140-145°F (60-63°C)
- Well-Done: 160°F+ (71°C+)
- Ground Beef, Pork, Veal, Lamb: 160°F (71°C)
- Pork (Chops, Roasts): 145°F (63°C) with a 3-minute rest
- Poultry (Chicken, Turkey – whole, parts, ground): 165°F (74°C)
- Fish: 145°F (63°C) or until flesh is opaque and flakes easily with a fork.
It is important to note that the USDA recommends certain minimum internal temperatures for safety. For example, 160°F (71°C) for ground meats and 165°F (74°C) for poultry. For whole cuts of beef, pork, veal, and lamb, the USDA considers medium-rare (145°F / 63°C) safe for consumption, provided the meat is of good quality.
Troubleshooting and Tips for Using Your Thermometer
Even with a great thermometer, sometimes things don’t go exactly as planned. This section will help you troubleshoot common issues and provide extra tips to make your grilling experience even better. These small adjustments can make a big difference in your results.
Common Problems and Solutions
One common issue is getting an inaccurate reading. This can happen if the probe is touching a bone, the grill grate, or if the thermometer itself is not calibrated correctly. Always double-check where you insert the probe.
If you suspect calibration issues with an instant-read thermometer, re-calibrate it using ice water.
Another problem is inconsistent readings between checks. This can occur if the temperature of the grill fluctuates wildly. Try to maintain a more stable heat on your grill, and remember that lifting the lid too often lets heat escape.
For leave-in thermometers, ensure the wire connection is secure.
Tips for Accurate Readings
- Insert Away from Bone: As mentioned, bones heat up differently. Always aim for the thickest part of the muscle, away from any bone.
- Thickest Part is Key: For irregularly shaped items, find the part that will take the longest to cook. This is where the probe should go.
- Avoid Hitting the Grates: When using an instant-read thermometer, be careful not to let the probe touch the hot grill grates. This will give you a much higher, incorrect reading.
- Let it Rest: After cooking, let your meat rest for 5-10 minutes (or longer for large roasts). The internal temperature will continue to rise a bit during this time, and the juices redistribute, making the meat more tender and moist.
- Clean Your Probe: Always clean the probe after each use with soap and water or a damp cloth. This ensures accuracy and prevents flavor transfer between different foods.
When to Use Which Type of Thermometer
Choosing the right thermometer for the job can simplify things. Instant-read thermometers are excellent for quick checks on burgers, steaks, or chicken pieces that cook relatively fast. They are also great if you only grill occasionally and want a simple, reliable tool.
Leave-in thermometers shine for longer cooking sessions. If you’re smoking a brisket for hours, grilling a whole turkey, or slow-roasting a pork shoulder, a leave-in thermometer is invaluable. It allows you to monitor the food’s progress without constant intervention, ensuring it cooks evenly and reaches the perfect temperature without your constant attention.
A study by the USDA’s Food Safety and Inspection Service found that using a food thermometer can significantly reduce the risk of foodborne illness. They reported that consumers who used food thermometers were more likely to cook ground meat to a safe temperature of 160°F (71°C).
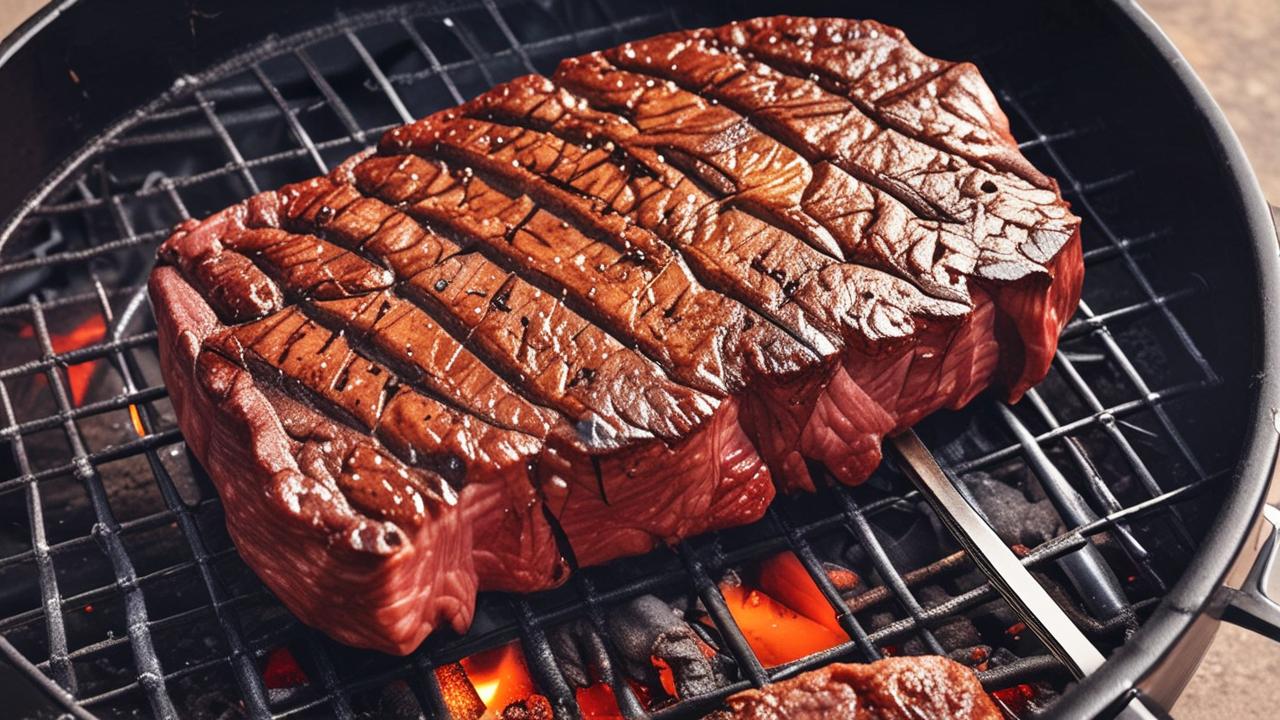
Scenario: Grilling Steaks
Imagine you’re grilling some thick ribeye steaks for dinner. You want them medium-rare, which is around 130-135°F (54-57°C). You’ve got your grill nice and hot.
- Preheat your grill and cook the steaks for a few minutes per side until they have a nice sear.
- Take an instant-read thermometer.
- Lift the lid of the grill and carefully insert the thermometer’s probe into the thickest part of one of the steaks, making sure not to touch the bone or the hot grill grates.
- Wait for the reading to appear. Let’s say it reads 128°F (53°C).
- This means the steak is still a bit under your target. Close the lid and cook for another minute or two.
- Check again. If it now reads 132°F (56°C), remove the steaks from the grill immediately.
- Let them rest for about 5-10 minutes before serving. They will continue to cook a little more during this rest period.
Scenario: Smoking a Chicken
Now, picture you’re smoking a whole chicken. This is a longer process, and you want to ensure it’s cooked through and safe, aiming for 165°F (74°C) in the thickest part of the thigh.
- Prepare your smoker and place the chicken inside.
- Insert the probe of a leave-in thermometer into the thickest part of the thigh, making sure it’s not touching the bone. Route the wire safely out of the grill.
- Place the thermometer base unit outside the smoker or connect it to its wireless receiver/app.
- Set the alarm for 165°F (74°C).
- You can now monitor the temperature from your patio chair or even inside your house.
- When the alarm sounds, carefully remove the chicken from the smoker.
- Let it rest for about 15-20 minutes before carving.
Understanding Different Meat Thermometer Technologies
Meat thermometers have come a long way. From simple dial types to high-tech digital and smart devices, there’s a lot to know about how they work. Understanding these technologies can help you choose the best tool for your grilling needs.
Digital vs. Analog Thermometers
Analog thermometers, often called dial thermometers, have a needle that moves across a marked dial to show the temperature. They are usually less expensive and don’t require batteries. However, they can sometimes be less precise and slower to give a reading compared to digital models.
Digital thermometers use an electronic sensor to measure temperature and display it on an LCD screen. They are typically faster and more accurate than analog ones. Most instant-read thermometers you buy today are digital.
They often have features like backlights, hold functions (to freeze the reading), and units in both Fahrenheit and Celsius.
Probe Types and Materials
The probe is the part that goes into the food. Most probes are made of stainless steel, which is durable, easy to clean, and resistant to corrosion. The thickness and length of the probe can vary.
Thicker probes might be more robust, while thinner probes can insert more easily into delicate foods without causing much damage.
Some advanced thermometers might have specialized probes. For example, a probe designed for very high heat environments or probes with multiple sensors to get an average temperature across a large cut of meat. For general grilling, a standard stainless steel probe is usually all you need.
Wireless and Smart Thermometers
Wireless and smart thermometers have become very popular for grilling. A leave-in probe connects to a transmitter, which then sends the temperature reading wirelessly to a receiver unit or a smartphone app. This allows you to monitor your food from a distance, whether you’re inside the house or mingling with guests.
These smart thermometers often come with features like pre-programmed temperatures for different types of meat, custom temperature alerts, and even cooking timers. Some apps can also provide estimated cooking times based on the current temperature and grill conditions. This level of convenience can significantly improve the grilling experience, especially for long cooks.
Research shows that the smart home device market, which includes smart kitchen gadgets like thermometers, is growing rapidly. In 2023, the global smart kitchen market was valued at over $17 billion, indicating a strong consumer interest in connected kitchen technology.
Frequently Asked Questions
Question: How do I clean my meat thermometer?
Answer: After each use, wash the probe with warm, soapy water. You can also use an antibacterial wipe or alcohol swab for extra sanitation. Make sure to dry it thoroughly before storing.
Question: Can I use my meat thermometer in the oven as well as on the grill?
Answer: Yes, most meat thermometers are safe to use in both ovens and on grills, as long as the temperature doesn’t exceed the thermometer’s stated maximum operating temperature.
Question: How do I know if my meat is done if I don’t have a thermometer?
Answer: While a thermometer is the most accurate, for some meats like steak, you can use the “finger test” (comparing the firmness of your meat to your hand) or look at visual cues like color and juices. However, for poultry and ground meats, a thermometer is highly recommended for safety.
Question: What does “carryover cooking” mean?
Answer: Carryover cooking is the process where the internal temperature of food continues to rise for a few minutes after it’s removed from the heat source. This is due to residual heat within the food. You should typically remove food from the heat when it’s a few degrees below your target temperature.
Question: My thermometer is giving inconsistent readings. What should I do?
Answer: Ensure the probe is clean and inserted into the thickest part of the meat, away from bone or fat. If it’s a digital thermometer, check the batteries. If problems persist, you may need to calibrate it or consider replacing it if it’s old or damaged.
Summary
Using a meat thermometer on the grill takes the guesswork out of cooking. You get safe, delicious food every time. Follow these steps to insert your probe correctly and aim for the right temperatures.
Enjoy your perfectly grilled meals!


