

Learning How to Use Meat Thermometer Without Guessing can feel a bit tricky at first. Many people worry about undercooking or overcooking their food, leading to results that aren’t quite right. It’s easy to feel unsure if you’re getting the temperature spot on.
But don’t worry! We’re going to show you a super simple, step-by-step way to get perfect results every time. Get ready to say goodbye to guesswork and hello to deliciously cooked meats.
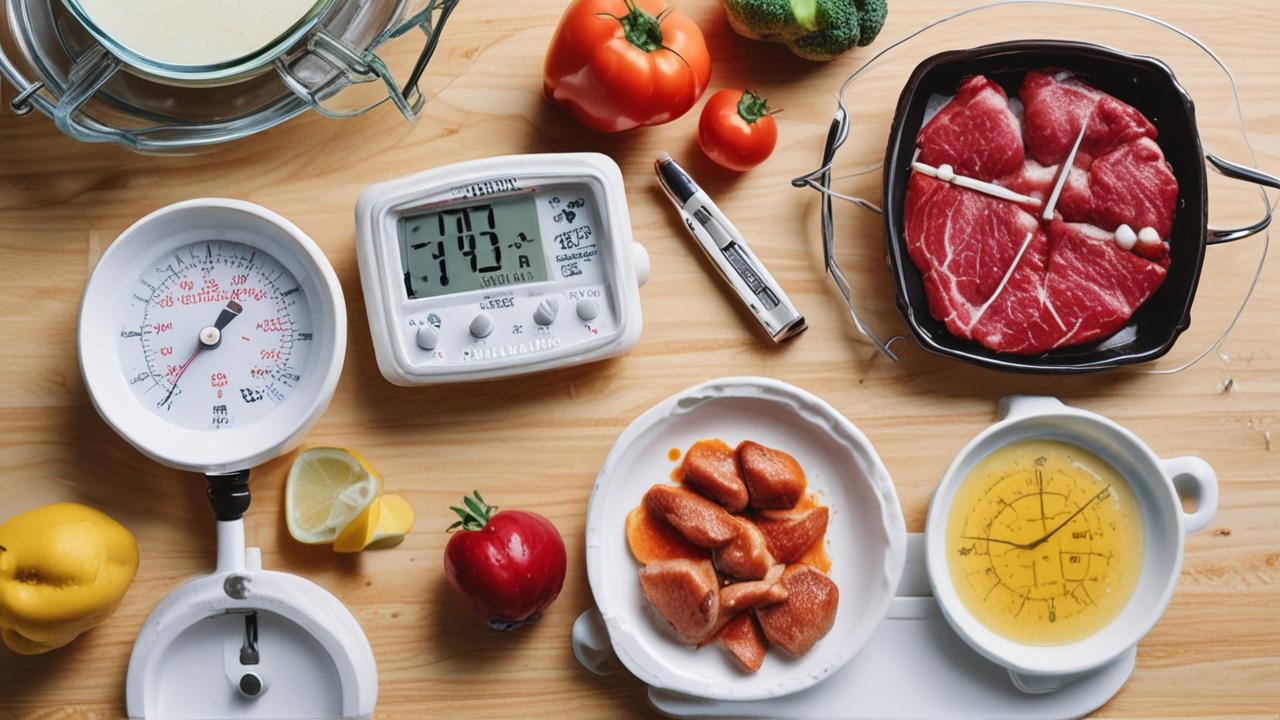
What is a Meat Thermometer and Why Use It
A meat thermometer is a handy tool that tells you the exact internal temperature of your food. This is super important because different types of meat and different cuts need to reach specific temperatures to be safe to eat and taste their best. Relying on cooking time alone can be unreliable.
Things like how thick your meat is, how hot your oven or grill is, and even how many times you open the door can change how long something actually takes to cook. A thermometer removes all that guesswork.
Using a meat thermometer is like having a secret weapon for perfect cooking. It helps you avoid the two big mistakes: undercooking, which can make food unsafe, and overcooking, which makes meat dry and tough. When you know the exact temperature, you can cook with confidence.
This means you can serve your family and friends delicious, safely cooked meals without any stress. It’s a simple tool that makes a huge difference in the final dish.
The Importance of Food Safety
Food safety is a really big deal. Some bacteria, like E. coli and Salmonella, can make you very sick.
These harmful germs are killed when food reaches a certain safe internal temperature. For example, ground beef needs to reach 160°F (71°C) to be safe. Poultry, like chicken and turkey, needs to reach 165°F (74°C).
Pork and beef roasts need to get to at least 145°F (63°C) with a three-minute rest time. A thermometer is the only sure way to know these temperatures have been met.
Without a thermometer, you’re basically guessing if your food is safe. This is especially risky when cooking for children, the elderly, or people with weakened immune systems. They are more vulnerable to foodborne illnesses.
Using a thermometer takes the worry out of it. You can relax knowing that the food you’re serving is safe for everyone to enjoy. It’s a small step that offers big peace of mind.
Achieving the Best Taste and Texture
It’s not just about safety; it’s also about making your food taste amazing! Different meats have ideal temperature ranges for tenderness and juiciness. For instance, a steak cooked medium-rare is much more tender and flavorful than one cooked well-done.
A pork shoulder cooked to the right temperature will be fall-apart tender, perfect for pulled pork. Overcooking dries out the meat, making it tough and unappetizing.
A meat thermometer helps you hit that sweet spot every time. You can pull your food off the heat right when it’s perfectly cooked, preventing it from continuing to cook from residual heat. This means you get succulent roasts, juicy burgers, and tender chicken.
It’s the key to elevating your home cooking from good to restaurant quality. Mastering this simple skill will impress everyone who eats your food.
Types of Meat Thermometers
There are several types of meat thermometers available, each with its own advantages. Knowing the differences can help you choose the best one for your needs. From quick-read digital models to oven-safe probes, there’s a thermometer for every cooking style.
Understanding these tools will make your cooking journey smoother and more precise. Let’s explore the common options you’ll find.
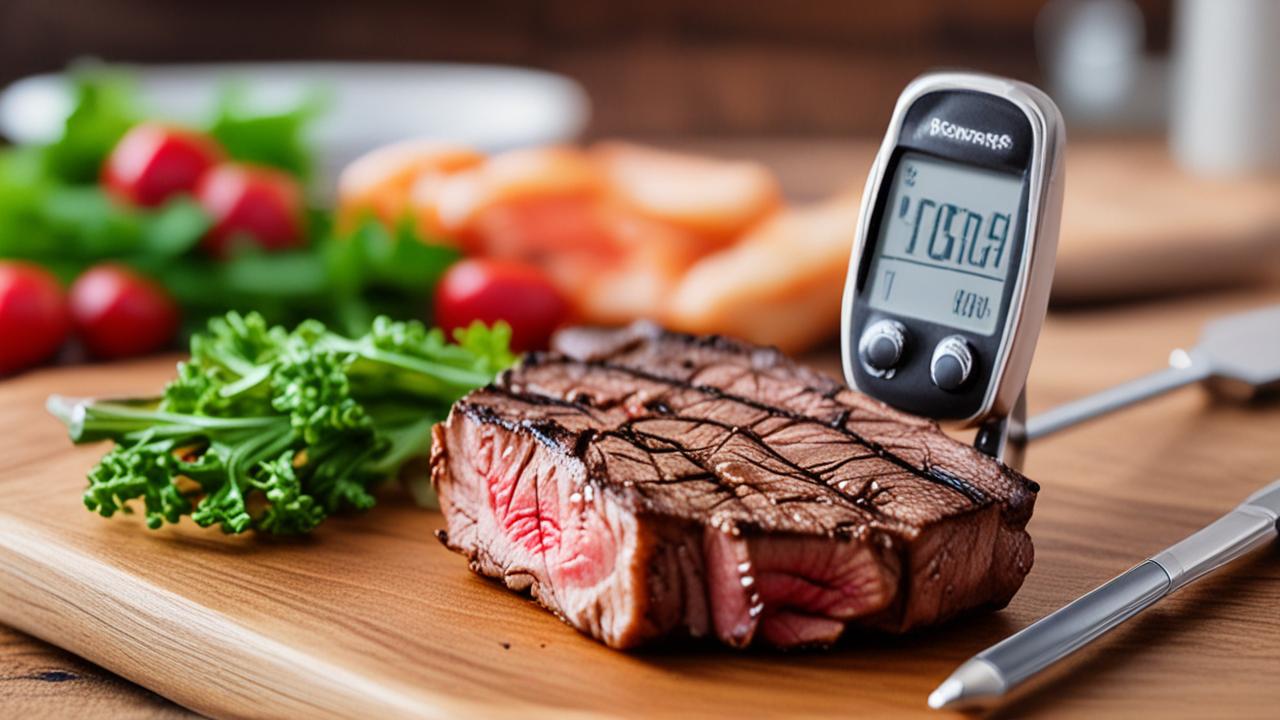
Instant-Read Digital Thermometers
These are perhaps the most popular choice for home cooks today. They have a thin metal probe that you insert into the thickest part of the meat. A digital display shows the temperature within seconds, usually within 3 to 10 seconds.
They are battery-powered and easy to use. Many models are water-resistant, making them easy to clean. They are great for quick checks on steaks, chicken breasts, and roasts.
The main benefit of instant-read thermometers is their speed and accuracy. You don’t have to wait long for a reading, which means less time your oven door is open, keeping the heat steady. They are also quite affordable.
When you’re grilling or pan-searing, you can quickly check the temperature without disturbing the cooking process too much. This tool is a must-have for anyone who wants to cook meat precisely.
- Fast Readings: Get an accurate temperature in just a few seconds, helping you avoid overcooking.
- Ease of Use: Simple to operate with clear digital displays, making them user-friendly for beginners.
- Portability: Small and lightweight, they are easy to carry for barbecues or camping trips.
- Versatility: Useful for a wide range of foods beyond just meat, like baked goods and candy.
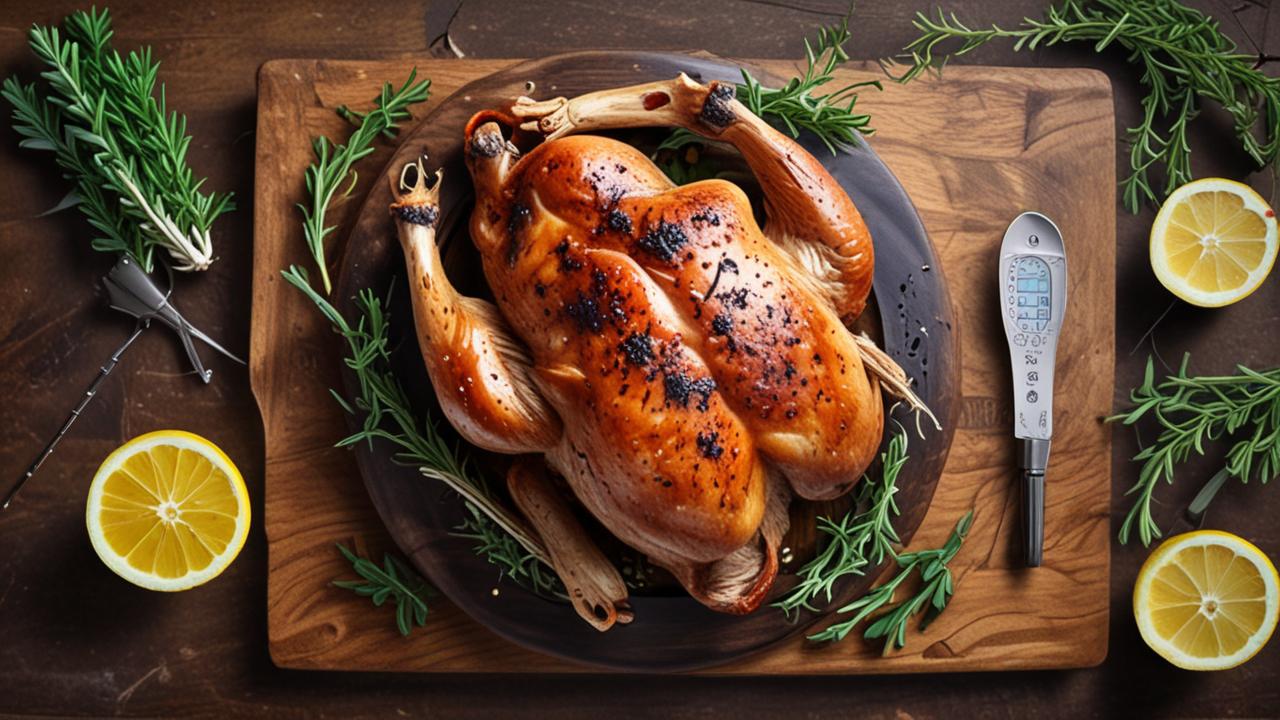
Oven-Safe Probe Thermometers
These thermometers have a probe that stays inside the meat while it cooks in the oven. A long, heat-resistant cable connects the probe to a digital display unit that sits outside the oven. This allows you to monitor the temperature without opening the oven door.
Some models have alarms that alert you when the food reaches a pre-set temperature. They are perfect for large roasts, turkeys, or anytime you need to monitor temperature over a long cooking period.
The advantage here is continuous monitoring. You can set it and forget it, letting the thermometer do the watching for you. This prevents temperature fluctuations in the oven caused by opening the door, which can affect cooking time.
It’s a great way to ensure a slow-cooked dish like a brisket or a whole chicken is perfectly done without constant checking. They offer a hands-off approach to temperature control.
Pop-Up Timers (Turkey Thermometers)
You’ve probably seen these little red plastic pegs that come with some poultry. They are designed to pop up when the meat reaches a specific temperature, usually around 165°F (74°C). They are very simple to use because they are pre-set.
You just push them into the thickest part of the bird before cooking.
While convenient, they are not always the most accurate or reliable. They are designed to indicate a safe temperature, but they don’t give you the exact degree. Sometimes they pop up too early or too late.
For this reason, many chefs and serious home cooks prefer to use them as a backup rather than their primary temperature-checking method. They are better than no thermometer, but not as good as a digital one for precision.
How to Use Meat Thermometer Without Guessing: Step-by-Step
Achieving perfect meat temperatures doesn’t need to be complicated. Following a few simple steps will ensure your thermometer gives you accurate readings every time. We’ll break down the process so you can feel confident using your tool.
This guide focuses on getting the best results for any cut of meat you’re cooking. Let’s get started on making your cooking more precise.
Step 1: Choose the Right Thermometer and Know Its Features
Before you start cooking, make sure you have a reliable meat thermometer. For general use, an instant-read digital thermometer is highly recommended due to its speed and accuracy. If you’re cooking a large roast or a whole bird, an oven-safe probe thermometer can be very useful.
Read the instructions that come with your thermometer. Understand how to turn it on, how to read the display, and any special features like a backlight or alarm.
Knowing your thermometer’s range is also important. Most meat thermometers can measure temperatures well above what you’ll need for cooking. For digital models, check the battery life and ensure it’s working correctly.
A simple calibration check (if your model allows) can confirm its accuracy. Having a functional and well-understood tool is the first key to How to Use Meat Thermometer Without Guessing effectively.
Step 2: Prepare Your Meat and Cooking Area
Whether you’re grilling, roasting, or pan-frying, have your meat ready to go. If you’re cooking a large cut like a roast or turkey, you might want to season it and let it sit at room temperature for a bit before cooking. This helps it cook more evenly.
Make sure your cooking equipment, like your oven or grill, is preheated to the correct temperature. Consistent heat is important for accurate cooking times and temperatures.
For roasting or baking, place your meat on a rack in a roasting pan. This allows air to circulate around the food, helping it cook evenly. If you’re grilling, have your grill grate clean and oiled.
Having everything prepared beforehand means you can focus on cooking and checking the temperature without any last-minute rushes. This organized approach sets you up for success.
Step 3: Find the Thickest Part of the Meat
This is a critical step for an accurate reading. For roasts, steaks, or chops, you want to insert the thermometer probe into the thickest part of the meat, away from any bone or fat. Bones can conduct heat differently than the meat itself, giving you a false reading.
Fat pockets can also be misleading. The goal is to measure the actual internal temperature of the muscle tissue.
For poultry like a whole chicken or turkey, the thickest part is usually the deepest part of the thigh, making sure not to touch the bone. For ground meat patties, insert the thermometer into the side of the patty, again in the thickest section. If you are cooking multiple pieces of meat, check a few to ensure they are all reaching the desired temperature, especially if they are different sizes.
Step 4: Insert the Thermometer Correctly
Gently insert the metal probe of the thermometer straight down into the thickest part of the meat. Make sure the tip of the probe is fully submerged in the meat but not touching the bottom of the pan or grill grate. For oven-safe probe thermometers, insert the probe before you put the meat in the oven.
If you are using an instant-read thermometer, hold the thermometer steady for a few seconds until the temperature reading stabilizes. Don’t jab the thermometer in and pull it out immediately, as this can lead to an inaccurate reading. Patience here pays off in a precise measurement.
This is the core of How to Use Meat Thermometer Without Guessing.
Step 5: Read and Record the Temperature
Once the temperature reading on your digital thermometer stops changing, record the number. If you are using an oven-safe probe thermometer, the display unit will show the current internal temperature. For digital instant-read thermometers, you might want to check the temperature in a couple of different spots in the thickest part of the meat to ensure consistency, especially for larger cuts.
Compare the temperature to the recommended safe internal temperature for the type of meat you are cooking. You can usually find charts online or in cookbooks that list these temperatures. Remember that meat continues to cook for a little while after you remove it from the heat, a process called carryover cooking.
So, it’s often best to remove the meat when it’s a few degrees below your target temperature.
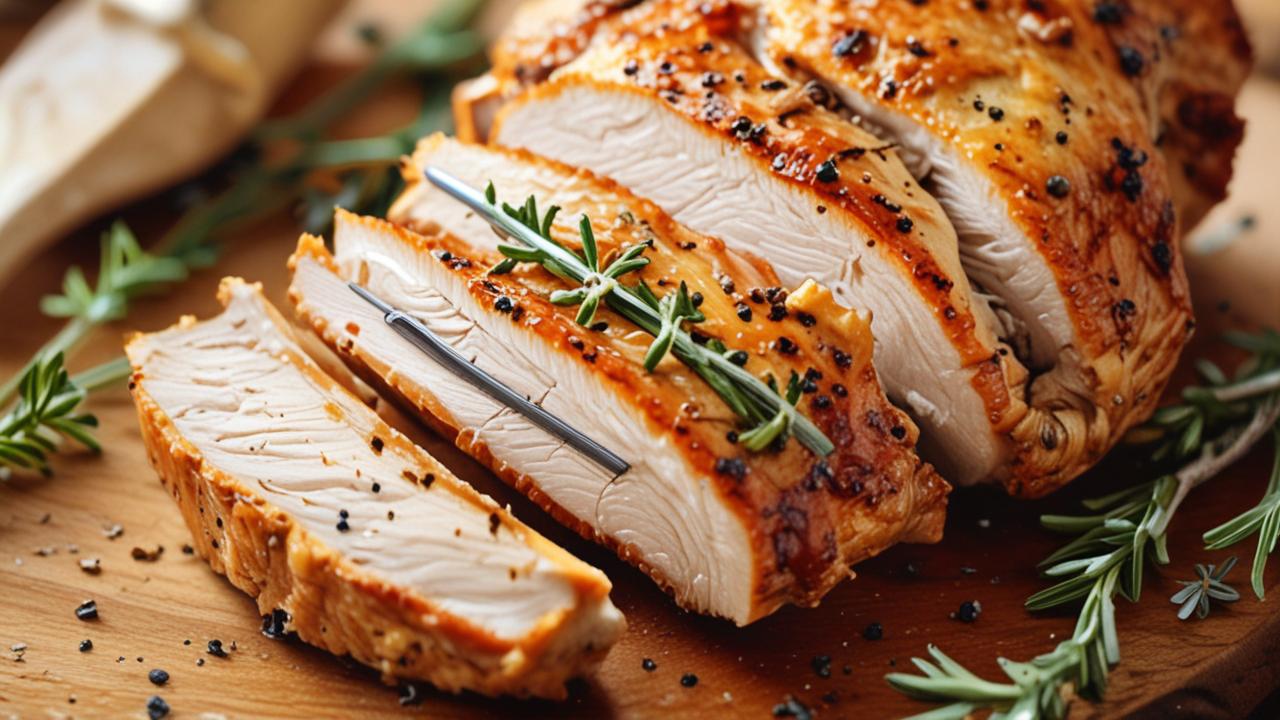
Step 6: Rest Your Meat
After you’ve reached your target temperature, remove the meat from the heat source and let it rest. Tent it loosely with aluminum foil. Resting allows the juices to redistribute throughout the meat.
If you cut into it too soon, all those delicious juices will run out, leaving you with dry meat. The internal temperature will also continue to rise a few degrees during this resting period.
The resting time can vary depending on the size of the cut. A steak might need 5-10 minutes, while a large roast or turkey could need 15-30 minutes or even longer. This resting period is crucial for achieving the most tender and juicy result.
It’s the final touch that makes all the difference after you’ve nailed the temperature with your thermometer. This completes the process for How to Use Meat Thermometer Without Guessing.
Safe Internal Temperatures for Different Meats
Knowing the target temperatures for various meats is key to both safety and flavor. Each type of meat, and even different cuts within that type, has an ideal temperature range. Hitting these marks ensures your food is delicious and safe for everyone to eat.
We’ll cover the commonly recommended temperatures you should aim for.
Beef, Pork, Lamb, and Veal (Steaks, Roasts, Chops)
These meats can be cooked to various levels of doneness, from rare to well-done. However, for food safety, the USDA recommends a minimum internal temperature of 145°F (63°C) for whole cuts like steaks, roasts, and chops. This temperature should be held for at least three minutes to kill any potential bacteria.
Here’s a quick guide for these meats:
- Rare: 120-125°F (49-52°C) – Cool red center. (Note: While delicious, this is not considered safe by USDA for these meats if not cooked to 145°F, as bacteria can be on the surface only).
- Medium-Rare: 130-135°F (54-57°C) – Warm red center.
- Medium: 135-140°F (57-60°C) – Warm pink center.
- Medium-Well: 140-145°F (60-63°C) – Slightly pink center.
- Well-Done: 150°F (66°C) and up – Little or no pink.
Remember to account for carryover cooking, so pull the meat when it’s about 5°F below your target temperature.
Ground Meats (Beef, Pork, Lamb, Veal)
Ground meats are different because the grinding process can spread bacteria from the surface throughout the meat. Therefore, ground meats must be cooked to a higher temperature to ensure safety. The USDA recommends cooking all ground meats to an internal temperature of 160°F (71°C).
This applies to ground beef, pork, lamb, veal, and any mixtures of these. Whether you’re making burgers, meatballs, or meatloaf, always use your thermometer to confirm it reaches 160°F. There is no “medium-rare” for ground meats for safety reasons.
This ensures any bacteria present are destroyed.
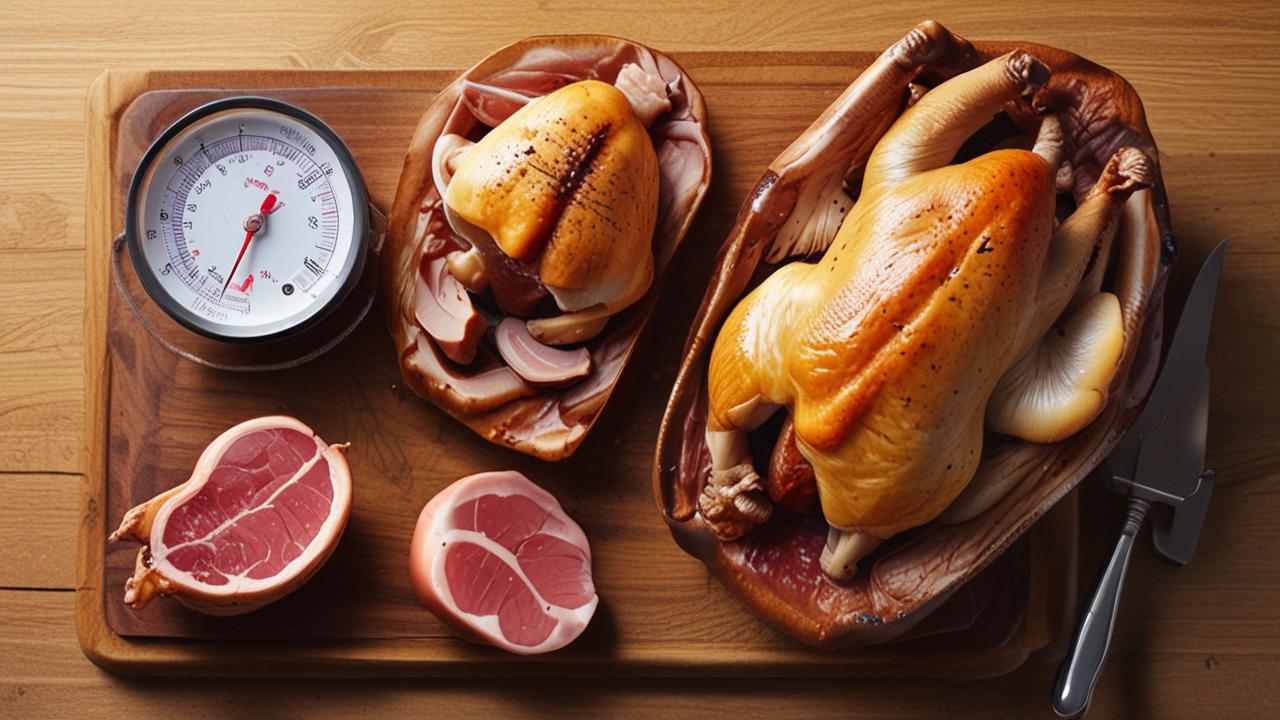
Poultry (Chicken, Turkey, Duck)
All poultry, including whole birds, parts, and ground poultry, should be cooked to a safe internal temperature of 165°F (74°C). This is crucial for killing harmful bacteria like Salmonella and Campylobacter, which are commonly found in raw poultry. Even if the meat looks white and cooked, it might not be safe if it hasn’t reached this temperature.
For whole birds, check the thickest part of the thigh, breast, and wing. For ground poultry, ensure it reaches 165°F throughout. Some people prefer poultry slightly less cooked for juicier results, but for safety, 165°F is the recommended minimum.
Remember that for whole birds, the temperature will continue to rise a few degrees as it rests.
Fish
Fish is generally cooked until it is opaque and flakes easily with a fork. The USDA recommends an internal temperature of 145°F (63°C) for fish. At this temperature, the flesh should be opaque and firm.
When checking fish, insert the thermometer into the thickest part of the fillet or steak. If you are cooking a whole fish, you can check it in the thickest part of the flesh near the backbone. Fish cooks much faster than other meats, so keep a close eye on it.
Overcooking fish can make it dry and tough very quickly.
Here’s a quick summary:
| Meat Type | Minimum Safe Internal Temperature | Notes |
|---|---|---|
| Beef, Pork, Lamb, Veal (Steaks, Roasts, Chops) | 145°F (63°C) + 3 min rest | For desired doneness, aim lower but ensure surface is cooked. |
| Ground Meats (Beef, Pork, Lamb, Veal) | 160°F (71°C) | No resting period strictly required for safety. |
| Poultry (Chicken, Turkey, Duck) | 165°F (74°C) | For all types, including ground. |
| Fish | 145°F (63°C) | Flesh should be opaque and flake easily. |
Tips for Accurate Thermometer Readings
Getting the most accurate readings from your meat thermometer is essential for perfect cooking. A few simple practices can ensure your thermometer is a reliable guide rather than a source of confusion. These tips will help you gain confidence in your cooking results.
Let’s look at ways to get the best performance from your thermometer.
Keep Your Thermometer Clean
Always wash your meat thermometer after each use, and especially after inserting it into raw meat. Use warm, soapy water and rinse thoroughly. If it’s a digital thermometer with a metal probe, you can usually wash the probe under running water.
Make sure to dry it completely before storing. This prevents the spread of bacteria and ensures the probe is ready for its next use.
A clean probe also helps ensure a more accurate reading. Food residue or grease on the probe can sometimes interfere with the temperature sensor. So, a quick wash and dry is a small step that makes a big difference.
Many instant-read thermometers come with a protective sheath or case; make sure to clean the probe before placing it back in its holder.
Avoid Touching Bone or Fat
As mentioned earlier, bones and thick layers of fat can give you inaccurate temperature readings. Bones conduct heat differently than meat, often appearing hotter than the surrounding meat. Fat can also insulate the probe, leading to a lower reading than the actual meat temperature.
Always aim for the thickest part of the muscle tissue, avoiding these areas.
If you’re cooking a cut with a bone, try to position the probe in the meat an inch or two away from the bone. For larger cuts, you might want to check the temperature in a couple of different spots to ensure it’s cooking evenly and to get a good average. This is especially true for thicker roasts where the center takes longer to heat up.
Check Multiple Spots for Large Cuts
For larger cuts of meat, such as a whole turkey, a large ham, or a beef roast, the temperature can vary significantly from one part of the meat to another. It’s a good idea to check the temperature in a few different locations within the thickest part of the meat. This gives you a better overall picture of how the cooking is progressing.
For a whole bird, check the breast, thigh, and wing. For a roast, check the center, and perhaps a bit closer to the edges if they seem to be cooking faster. This practice helps prevent overcooking one area while undercooking another.
It’s a proactive step towards ensuring the entire piece of meat is perfectly cooked and safe to eat.
Consider Carryover Cooking
Meat continues to cook even after it’s removed from the heat source. This is called carryover cooking. The internal temperature can rise by 5 to 15°F (3 to 8°C) during the resting period, depending on the size and temperature of the meat.
This is why it’s often recommended to pull your meat off the heat a few degrees before it reaches your target temperature.
For example, if you want your steak to be medium-rare at 135°F (57°C), you might pull it off the grill when it reaches 130°F (54°C). For a large turkey, the temperature can rise even more significantly. Understanding carryover cooking is a key part of mastering How to Use Meat Thermometer Without Guessing and ensures you don’t end up with overcooked meat.
Calibrate Your Thermometer (If Possible)
Some digital thermometers can be calibrated, meaning you can adjust them to ensure accuracy. A common method is the ice water bath test. Fill a glass with ice and water, stir for about 30 seconds, and then place the thermometer probe into the mixture.
A perfectly calibrated thermometer should read 32°F (0°C).
If your thermometer doesn’t read exactly 32°F, consult your thermometer’s manual for calibration instructions. If calibration isn’t possible, and you suspect your thermometer is inaccurate, it might be time to invest in a new one. A faulty thermometer can lead to undercooked or overcooked food, so accuracy is vital.
Frequently Asked Questions
Question: What is the best type of meat thermometer for beginners?
Answer: For beginners, an instant-read digital thermometer is usually the best choice. They are fast, easy to use, and give you a clear temperature reading in seconds, which helps you avoid guessing. They are also quite affordable and versatile for many cooking tasks.
Question: How often should I check the temperature of my meat?
Answer: For smaller cuts like steaks or chicken breasts, check the temperature once or twice towards the end of cooking. For larger roasts or whole birds, you can check the temperature every 20-30 minutes, especially in the last hour of cooking. Always check in the thickest part of the meat.
Question: Can I leave an instant-read thermometer in the meat while it cooks?
Answer: No, instant-read thermometers are designed for quick checks. They are not meant to be left in the meat while it cooks, especially in a hot oven or on a grill. Leaving them in can damage the thermometer and give inaccurate readings.
Only use oven-safe probe thermometers for continuous monitoring.
Question: My thermometer says the meat is done, but it still looks pink. Should I trust the thermometer?
Answer: Yes, you should trust your thermometer, especially if it’s a reliable digital model. The color of meat can be misleading, influenced by factors like marbling, aging, and the presence of nitrates. Internal temperature is the only accurate measure of doneness and safety.
Ensure you’re checking the correct temperature for the type of meat.
Question: How do I know if my meat thermometer is accurate?
Answer: You can test its accuracy using an ice water bath. Fill a glass with ice and water, stir, and then insert the probe. It should read 32°F (0°C).
If it’s significantly off, and your thermometer is calibratable, follow the manual’s instructions to adjust it. If not, consider replacing it.
Summary
Using a meat thermometer accurately takes the guesswork out of cooking. By following simple steps like checking the thickest part of the meat and understanding target temperatures, you ensure your food is safe and delicious. Remember to rest your meat after cooking for the best results.
You’ve got the knowledge now to cook with confidence!


