
Knowing how long to leave thermometer in meat can be tricky, especially when you’re new to cooking. You want your food to be perfectly cooked – safe to eat but still juicy and tasty. Guessing can lead to undercooked meals or dried-out disappointments.
This guide makes it simple. We’ll walk you through everything you need to know step-by-step, so you can cook with confidence every time. Get ready to master meat temperatures and impress everyone with your delicious results.
Understanding Meat Thermometer Basics and Usage
When you’re cooking meat, a thermometer is your best friend. It takes the guesswork out of knowing if your food is ready. Instead of cutting into it and letting juices escape, a thermometer gives you an exact internal temperature.
This is super important for food safety, making sure any harmful bacteria are killed. But it’s also key for great taste. No one likes dry chicken or tough steak!
Getting the temperature right means the meat is perfectly cooked – tender and flavorful. This section will cover the essential things you need to know about using your meat thermometer correctly.
Types of Meat Thermometers
There are a few main kinds of meat thermometers out there, and each works a little differently. Knowing the differences can help you pick the best one for your cooking style. Some are simple dial thermometers, while others are digital and much faster.
There are also ‘leave-in’ types that stay in the meat while it cooks, and instant-read ones you use to check quickly. Each has its pros and cons, and we’ll look at them so you can make a smart choice.
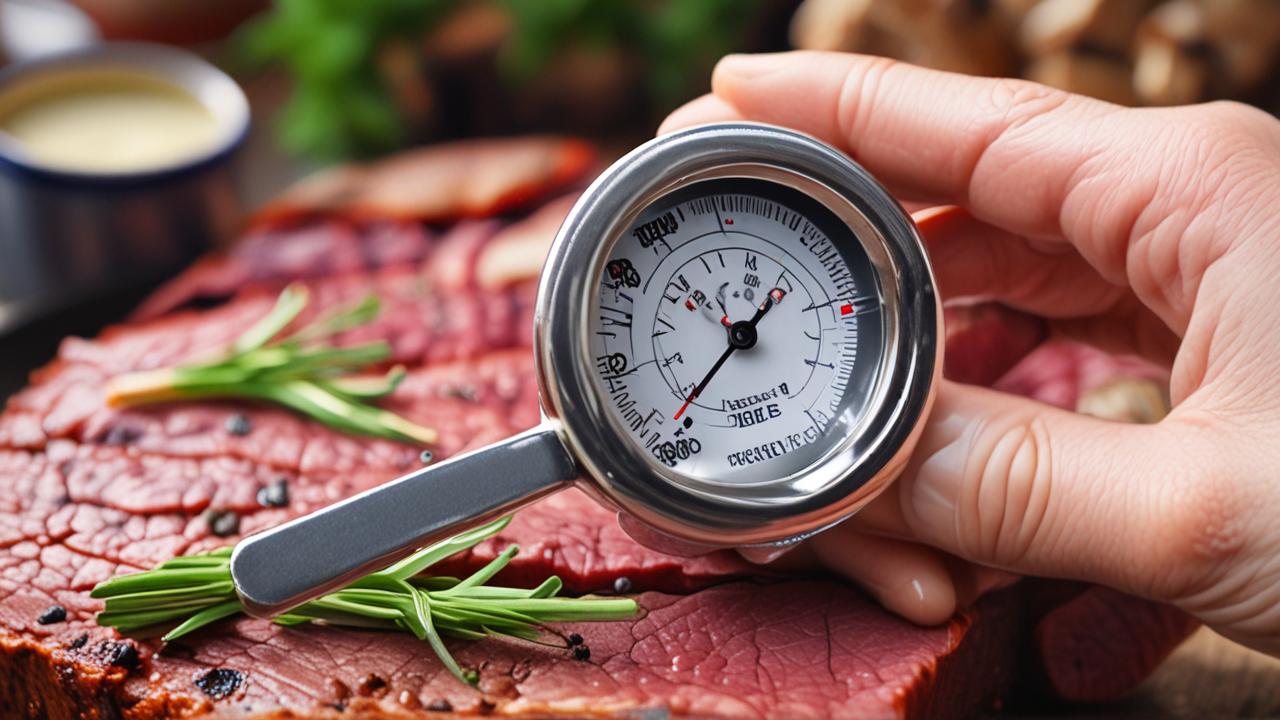
- Dial Thermometers: These are the old-school kind you might have seen. They have a dial with a needle that points to the temperature. They are usually quite affordable and don’t need batteries. However, they can be slower to give a reading and sometimes less precise than digital ones. They are good for roasts that cook for a long time, where you can insert them and leave them.
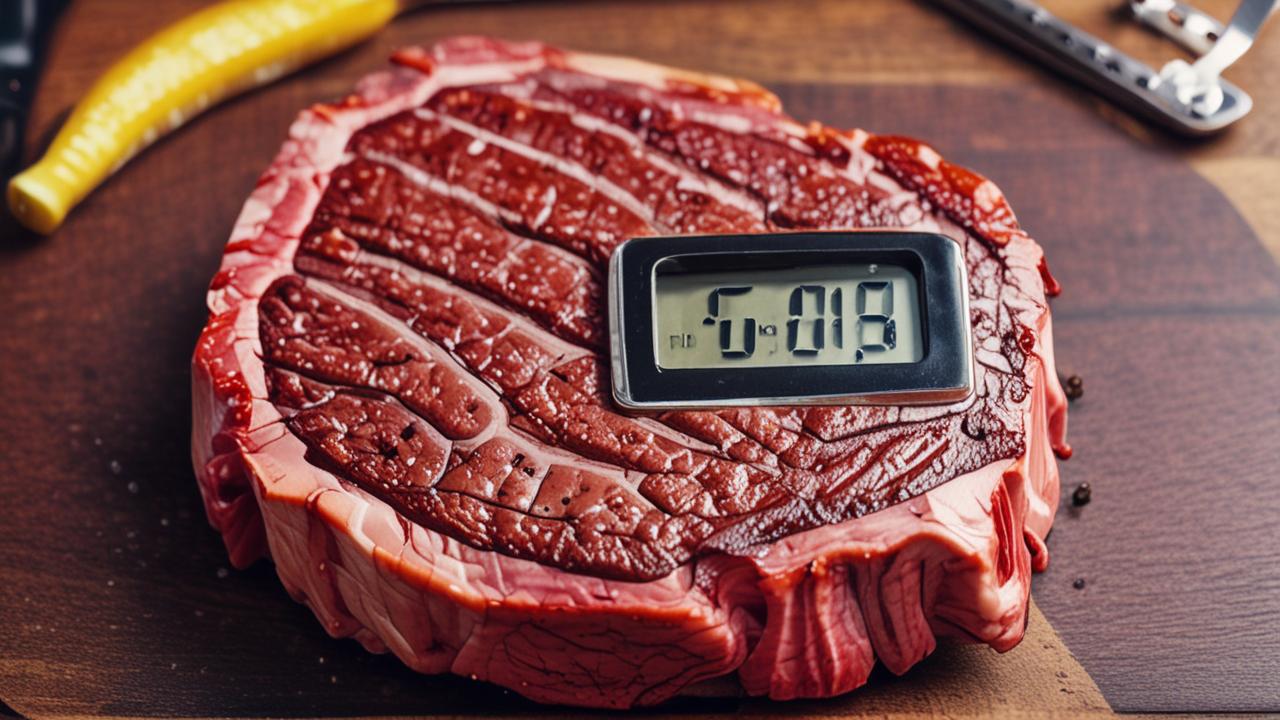
- Digital Instant-Read Thermometers: These are very popular now. You stick the probe into the meat for a few seconds, and it gives you a quick, accurate reading on a digital screen. They are fast, easy to read, and usually very accurate. Many have thin probes that make small holes, which is good for delicate meats. They are perfect for checking steaks, chicken breasts, or burgers right before they’re done.
- Leave-In Probe Thermometers (Digital): These have a probe that you insert into the meat, and a wire that connects to a base unit outside the oven or grill. The base unit shows the temperature, and often has an alarm that goes off when the meat reaches your set temperature. This is fantastic for long cooks like roasts or turkeys because you can monitor the temperature without opening the oven door, which lets heat escape and slows down cooking.
- Smart Thermometers: These are the high-tech versions. They connect wirelessly to your smartphone or tablet via an app. You can monitor the temperature from another room and get alerts. Some can even track cooking progress and estimate the remaining time. They offer the most convenience and control, especially for busy cooks or those who like to monitor things closely from afar.
The choice often comes down to what you cook most often and how much you want to spend. For everyday cooking, a good digital instant-read is often a great investment. If you do a lot of roasting or smoking, a leave-in probe or smart thermometer can be a real lifesaver.
How to Properly Use Your Thermometer
Using a thermometer correctly is just as important as having one. A wrong reading can lead to trouble. You need to make sure you’re placing the probe in the right spot and giving it enough time to register the temperature accurately.
This part is key to getting reliable results every single time you cook. Let’s cover the best ways to get those perfect readings.
- Cleanliness is Key: Always wash your thermometer probe before and after each use. You can use hot, soapy water or a sanitizing wipe. This prevents spreading any germs between the raw meat and your cooked food, or from one dish to another.
- Find the Thickest Part: For most meats, you want to insert the probe into the thickest part. Avoid touching bone, fat, or gristle, as these can give you a false temperature reading. Bone, for example, is usually hotter than the surrounding meat.
- Insert Correctly: Gently push the probe straight into the meat. For digital instant-read thermometers, wait for the reading to stabilize. This usually takes just a few seconds. For leave-in probes, ensure the probe is fully submerged in the meat.
- Allow Enough Time: Don’t pull the thermometer out too soon. Digital instant-read thermometers are fast, but still need a few seconds. Dial thermometers and leave-in probes might need a minute or two to settle on the correct temperature.
- Check Multiple Spots (If Needed): For larger cuts of meat or whole poultry, it’s a good idea to check the temperature in a couple of different places to ensure it’s cooked evenly throughout.
For example, when cooking a whole chicken, you’d check the thickest part of the thigh, making sure not to hit the bone. For a steak, you’d insert it into the center of the thickest part. Following these simple steps ensures your thermometer is giving you the most accurate information possible.
Understanding Target Temperatures
Every type of meat, and even different cuts of the same meat, has a “done” temperature. This is the point where it’s both safe to eat and at its best flavor and texture. These temperatures aren’t just random numbers; they’re based on science and food safety guidelines.
Knowing these target temperatures is the other half of the equation when it comes to using your thermometer effectively.
Here’s a quick look at some common target temperatures. These are the temperatures you aim for after the meat has rested, as it will continue to cook a little even after you take it off the heat. This is called carry-over cooking.
Safe Minimum Internal Temperatures
These temperatures are set by food safety experts to kill harmful bacteria like E. coli and Salmonella.
| Meat Type | Minimum Safe Temperature (°F) | Minimum Safe Temperature (°C) | Best for Tenderness/Juiciness (Optional) |
|---|---|---|---|
| Beef, Pork, Lamb, Veal (Steaks, Roasts, Chops) | 145°F | 63°C | 130-135°F (Rare), 135-140°F (Medium-Rare) |
| Ground Meats (Beef, Pork, Lamb, Veal) | 160°F | 71°C | |
| Poultry (Chicken, Turkey, Duck – Whole, Pieces, Ground) | 165°F | 74°C | |
| Fish | 145°F | 63°C | |
| Ham (Fresh) | 145°F | 63°C | |
| Ham (Fully Cooked, Reheat) | 140°F | 60°C | |
| Casseroles and Stuffing | 165°F | 74°C |
It’s important to note that for steaks, roasts, and chops of beef, pork, lamb, and veal, 145°F is the safe minimum. However, many people prefer these meats cooked to a lower temperature for better tenderness and juiciness. If you choose to cook them less than the minimum safe temperature, it’s often done with whole cuts that are less likely to contain bacteria throughout the center, or when using specific cooking methods.
Always prioritize safety, especially with ground meats and poultry.
How Long to Leave Thermometer in Meat: The Key Question
This is where we get to the heart of it. For many beginners, knowing how long to leave thermometer in meat is the biggest puzzle. You might worry about leaving it in too long and overcooking, or not long enough and undercooking.
The truth is, the time a thermometer stays in the meat depends entirely on the type of thermometer you’re using and the cooking method.
The goal isn’t a specific amount of time the thermometer needs to be in the meat. Instead, the goal is to get an accurate temperature reading when the meat has reached its desired doneness. Think of the thermometer as a tool to tell you when to stop cooking, not a timer itself.
Instant-Read Thermometers: Quick Checks
For digital instant-read thermometers, you don’t leave them in the meat for long at all. You for just a few seconds – usually 5 to 15 seconds – until the temperature reading on the screen stops changing.
Once you get the reading you want, you pull the thermometer out. You might do this a few times in the last 10-15 minutes of cooking to make sure you catch the perfect moment.
This is because these thermometers are designed to be incredibly sensitive and fast. They detect the heat of the meat very quickly. Leaving them in longer won’t give you a more accurate reading; it could actually lead to the probe itself getting too hot and potentially affecting subsequent readings if not careful.
The speed is their main advantage, allowing you to check for doneness without letting much heat escape.
Leave-In Probe Thermometers: Continuous Monitoring
Now, for leave-in probe thermometers, the answer is different. You insert the probe into the meat before you put it in the oven, grill, or smoker. The wire connects to a base unit that sits outside.
The thermometer stays in the meat for the entire cooking time. You then monitor the temperature on the base unit.
These are designed for long cooking processes, like roasting a turkey or smoking a brisket. You set your desired target temperature on the base unit, and it will often beep or alert you when the meat reaches that temperature. This means the thermometer is in the meat for hours.
It’s a hands-off way to cook, letting you relax and not constantly check on the roast. The probe must be inserted deep into the thickest part of the meat to get a true reading of its internal temperature.
How to Know When to Check with an Instant-Read Thermometer
With an instant-read thermometer, you don’t have a set time to leave it in. Instead, you use your cooking knowledge and visual cues. You’ll usually start checking when the meat looks close to being done.
For example, with a steak, you might start checking when it has a nice sear and looks firm. For chicken, you’ll check when the juices run clear and the skin is golden brown. The thermometer is then your final confirmation.
A good rule of thumb is to start checking about 10-15 minutes before you expect the meat to be done. If you’re cooking a roast for two hours, you might start checking after about an hour and 45 minutes. This allows you to see the temperature rise and be ready to pull it off the heat at precisely the right moment.
It’s a proactive approach to ensure perfect results.
Cooking Different Meats: Specific Timings and Techniques
Different meats cook differently, and how long you leave your thermometer in will also vary based on the meat and the cut. Knowing these specifics helps a lot. For instance, a thick roast will take longer than thin chicken breasts.
Understanding these nuances ensures your meat is perfectly cooked every time, safe and delicious.
We’ll explore some common types of meat and how to best use your thermometer with them. This includes things like beef, chicken, pork, and even fish. Each has its own ideal temperatures and methods for checking.
Beef: From Rare to Well-Done
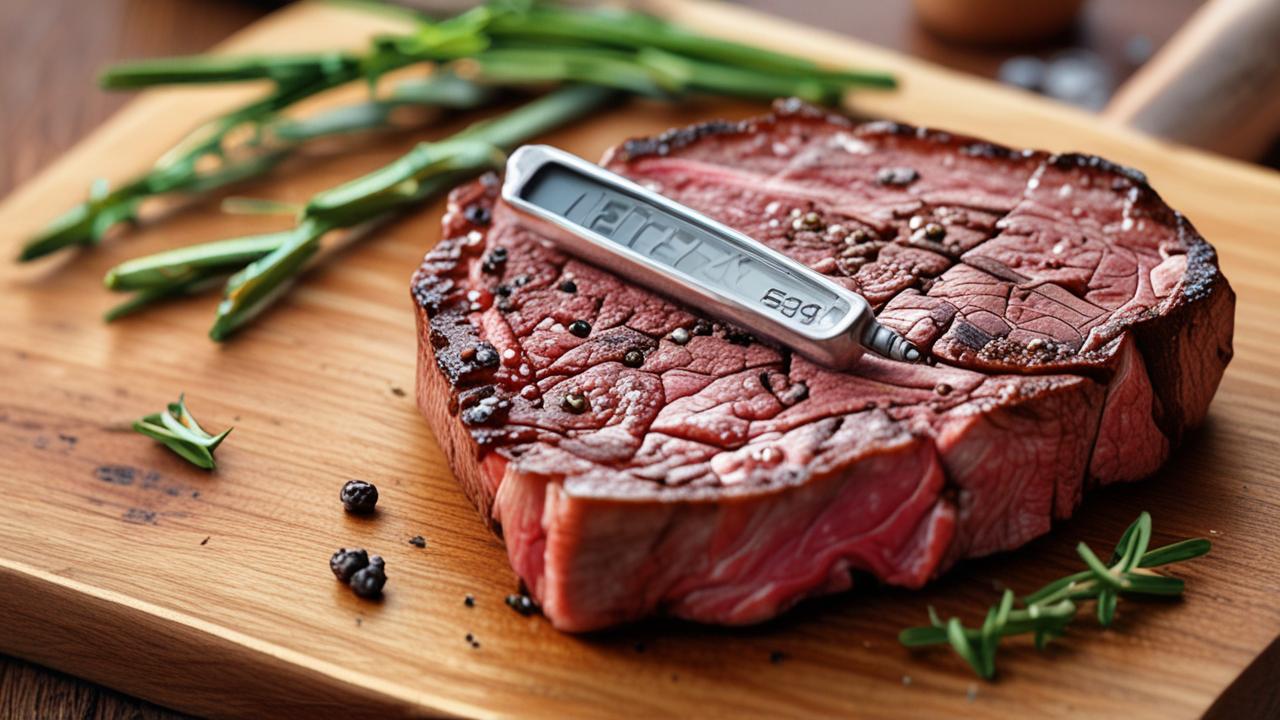
Beef is wonderfully versatile, and people like it cooked in many ways. Whether you prefer a rare, medium-rare, medium, or well-done steak or roast, your thermometer is key. For steaks, especially thicker ones (1.5 inches or more), you’ll want to use an instant-read thermometer.
Start checking a few minutes before you think it’s ready. Insert the probe into the thickest part of the steak, making sure not to touch the grill or pan. For roasts, like a prime rib or beef tenderloin, you can use a leave-in probe thermometer for continuous monitoring.
This allows you to monitor the temperature without opening the oven door frequently, which helps maintain a consistent cooking temperature.
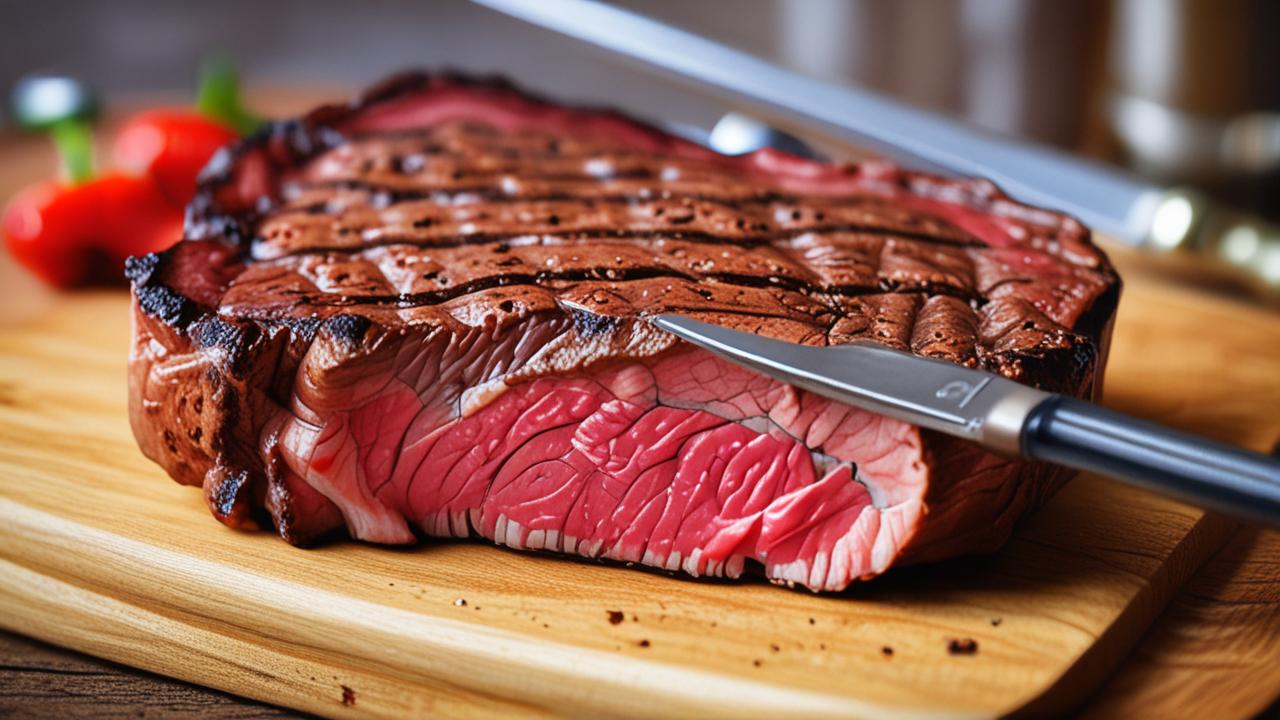
- Rare Beef: Aim for 130-135°F (54-57°C). This is when the center is bright red and cool to warm. With an instant-read thermometer, you’ll pull it off the heat when it hits this range, as it will continue to cook a few more degrees while resting.
- Medium-Rare Beef: Target 135-140°F (57-60°C). This is a very popular temperature, resulting in a pink center that is warm and juicy. It’s the sweet spot for many cuts.
- Medium Beef: Aim for 140-145°F (60-63°C). The center will be pink and warm.
- Well-Done Beef: Target 160°F (71°C) or slightly higher for absolute safety, though many find this too dry. The meat will be uniformly brown throughout. Remember that ground beef needs to reach 160°F for safety.
A common mistake is to pull the steak off the heat too late. Remember carry-over cooking. If you pull a steak at 140°F and want it medium-rare (finishing at 135°F), that’s perfect.
If you pull it at 145°F, it will likely end up medium or even medium-well after resting.
Example: Cooking a Thick Ribeye Steak
Let’s say you have a beautiful 2-inch thick ribeye steak. You’ve seasoned it well and have your grill or pan nice and hot. You’ll sear it for a few minutes on each side.
Then, you’ll reduce the heat to let it cook through. You’ll start checking with your instant-read thermometer when you think it’s about 5-7 minutes away from your target temperature. You’ll insert the probe into the side, aiming for the center.
If you’re aiming for medium-rare (135°F finished), you might pull it off at 130°F. You’ll do this a couple of times, waiting about 30 seconds between checks for the reading to stabilize, until you hit that magic number.
Pork: From Juicy Chops to Tender Roasts
Pork has come a long way. Gone are the days when pork had to be cooked until it was dry and flavorless to be safe. Modern pork is raised differently, and with the right temperatures, you can enjoy wonderfully juicy and tender pork chops, roasts, and tenderloins.
For pork chops and thinner cuts, an instant-read thermometer is your best bet. You’ll check the thickest part of the chop. For larger pork roasts or a pork shoulder (for pulled pork), a leave-in probe thermometer is ideal.
This allows for the long, slow cooking that makes these cuts so tender.
- Pork Chops/Roasts: The safe minimum temperature is 145°F (63°C). This will result in a slightly pink center, which is perfectly safe and much more flavorful and tender than well-done pork.
- Ground Pork: Like other ground meats, ground pork must be cooked to 160°F (71°C) to ensure safety.
- Pork Shoulder (Boston Butt): This cut is often cooked to much higher temperatures, typically 195-205°F (90-96°C), to break down the connective tissues and achieve that fall-apart tender pulled pork texture. A leave-in probe is essential here.
The key with pork is to trust the thermometer and not be afraid of a little pink. It’s a sign of juiciness, not undercooking, for whole cuts.
Case Study: Perfectly Roasted Pork Loin
Imagine roasting a 3-pound pork loin. You’ve seasoned it and preheated your oven to 375°F (190°C). You insert a leave-in probe thermometer into the thickest part of the loin, ensuring it doesn’t touch any bone.
You set the alarm for 145°F (63°C). As the pork cooks, you can casually glance at the temperature on the base unit. After about 45-60 minutes, the alarm might go off.
You take the loin out, tent it with foil, and let it rest for 15 minutes. When you carve it, the center is a beautiful light pink, and it’s incredibly moist and tender. This is a common success story when using a leave-in probe.
Poultry: Chicken, Turkey, and Safety
Poultry, including chicken and turkey, is where food safety is most critical. These birds can carry bacteria like Salmonella, so it’s essential to cook them to the correct internal temperature to kill them off. For poultry, there is no room for rare or medium when it comes to safety.
You should always use a thermometer for poultry. For whole chickens or turkeys, a leave-in probe thermometer is highly recommended. You can insert it into the thickest part of the thigh, making sure not to hit the bone.
For chicken breasts or thighs cooked individually, an instant-read thermometer is perfect for checking as they finish cooking.
- All Poultry: The absolute minimum safe internal temperature for all poultry, whether it’s whole or ground, pieces or parts, is 165°F (74°C). This temperature must be reached in the thickest part of the bird.
- Checking Thighs vs. Breasts: Thighs often take longer to cook than breasts. When cooking a whole bird, the thigh is usually the last part to reach temperature. If the breasts are done but the thighs aren’t, you can tent the breasts with foil to keep them warm while the thighs finish.
- Juices Running Clear: While a visual cue, it’s not as reliable as a thermometer. The juices might run clear before the bird reaches a safe temperature. Always rely on the thermometer reading.
A common scenario is cooking a whole chicken and being unsure if it’s done. You might stick a fork in it, and the juices look clear. But without a thermometer, you can’t be sure it hit 165°F in the thickest part of the thigh.
This is where the thermometer is a non-negotiable tool for poultry.
Example: Roasting a Whole Chicken
You’ve got a 4-pound chicken ready for the oven. You rub it with herbs and butter. You insert a leave-in probe thermometer into the thickest part of the thigh, avoiding the bone.
You set the target on your thermometer to 165°F (74°C). You place the chicken in a 400°F (200°C) oven. After about 1 hour and 15 minutes, your thermometer alerts you that the thigh has reached 165°F.
You can then remove the chicken, let it rest for 10-15 minutes, and carve it knowing it’s perfectly cooked and safe to eat. The breast meat will likely be around 165-170°F after resting.
Fish and Seafood: Delicate Cooking
Fish and seafood cook very quickly. Overcooking them is easy, turning flaky fish into dry, tough rubber. This is where an instant-read thermometer is your best friend.
You need to be able to check the temperature precisely and remove the fish from the heat at the perfect moment.
The target temperatures for fish are generally lower than for meat, but still important for safety and quality. They cook much faster, so you need to be attentive.
- Fish: Most fish is considered safe and best cooked when it reaches an internal temperature of 145°F (63°C). At this temperature, the flesh should be opaque and flake easily with a fork.
- Shrimp and Scallops: These cook in just a few minutes. You can usually tell they’re done when they turn opaque and firm. While a thermometer can be used, it’s often more practical to go by visual cues and timing for these smaller items. Shrimp will curl into a “C” shape, and scallops will become milky white and firm.
- Lobster and Crab: These shellfish should be cooked until their shells turn bright red and the meat is opaque and firm. The internal temperature should reach 145°F (63°C).
When using an instant-read thermometer for fish, insert the probe into the thickest part of the fillet. Because fish cooks so fast, you might only need to check it once or twice in the last few minutes of cooking. Pull it off the heat when it hits 145°F, and it will continue to cook a bit as it rests.
Troubleshooting Common Thermometer Issues
Even with the best tools, sometimes things don’t go as planned. If your thermometer isn’t giving you the readings you expect, or you’re unsure about the results, there are a few common issues you can address. Knowing these can save you from undercooked meals or burnt offerings.
Let’s look at some frequent problems and how to solve them. This way, you can be sure your thermometer is always working its best for you.
Inaccurate Readings
If you suspect your thermometer is giving you inaccurate readings, there are a couple of things to check. First, make sure you’re using it correctly. Are you inserting the probe into the thickest part of the meat and avoiding bone or fat?
These can throw off the temperature.
If you’re using a digital thermometer, the battery might be low. Low batteries can cause erratic or incorrect readings. Try replacing the battery to see if that fixes the problem.
For dial thermometers, they can sometimes become less accurate over time or if dropped. You can check their accuracy by placing the probe in a cup of ice water. It should read 32°F (0°C) after a minute or so.
- Calibration Check: For digital thermometers, perform an ice bath test. Place the probe in a glass of ice water. After a minute, the reading should be very close to 32°F (0°C). If it’s significantly off, it might need recalibrating or replacing.
- Probe Placement: Always ensure the entire sensing area of the probe is within the meat. If only part of it is inserted, or if it’s touching a hot pan or oven rack, the reading will be wrong.
- Battery Power: For digital thermometers, a dying battery is a common culprit for inaccurate readings. Always use fresh, good-quality batteries.
- Damage to the Probe: If the probe itself is bent, dented, or has visible damage, it could affect its ability to read temperature correctly.
If your thermometer consistently gives readings that seem off, it might be time to invest in a new one. A reliable thermometer is crucial for safe and delicious cooking.
Thermometer Not Heating Up (for Leave-In)
If you’re using a leave-in probe thermometer and it’s not showing any temperature change, there could be a connection issue. First, check that the probe is securely plugged into the main unit. Sometimes, a loose connection is all it takes.
Also, inspect the wire connecting the probe to the unit. If the wire is frayed or damaged, it might not be transmitting the temperature signal correctly. Be careful not to kink or pinch these wires when closing oven doors or lids.
Another possibility is that the display unit itself isn’t turned on or has dead batteries. Double-check that all components are functioning independently before assuming the probe is the issue.
Meat Still Seems Undercooked or Overcooked
If you followed the temperature guidelines and your meat still seems off, consider a few factors. One is the ‘carry-over cooking’ we mentioned. Meat continues to cook after you remove it from the heat.
If you’re pulling meat off the heat right at the target temperature, it will likely go a few degrees higher as it rests. You may need to pull it off a little before it reaches your final desired temperature.
Also, remember that oven and grill temperatures can fluctuate. Your oven might not be as accurate as you think. Using an oven thermometer can help verify your oven’s actual temperature.
For grilling, flare-ups and uneven heat distribution are common. Be aware of these variables.
Sample Scenario: Dry Chicken Breasts
You cooked chicken breasts and used your thermometer, which read 165°F. Yet, the chicken turned out dry. Why?
It’s possible you pulled the chicken breasts off the heat at exactly 165°F and they continued to cook in the pan or on the plate until they were overcooked. A better approach might be to pull them when they reach 160-162°F and let them rest. During the 5-10 minutes of resting, the temperature will rise to 165°F, and the juices will redistribute, keeping them moist.
This highlights how crucial the resting period is, especially for lean meats like chicken breasts and pork chops. Allowing the meat to rest lets the internal juices redistribute throughout the cut, resulting in a much juicier and more tender final product.
Tips for Perfect Meat Every Time
Using a thermometer is a huge step towards perfect cooking, but a few extra tips can make all the difference. These are simple things that most experienced cooks do without thinking. They help ensure your meat is not only safe but also incredibly delicious.
Let’s cover some of the best practices that will elevate your cooking and make sure you’re always happy with your results.
- Rest Your Meat: This is probably the most important tip after using a thermometer. When meat cooks, the juices are pushed to the center. Letting it rest allows these juices to redistribute throughout the meat. This makes it more tender and moist. For larger cuts, this can be 10-20 minutes or even longer. For steaks, 5-10 minutes is usually enough.
- Don’t Overcrowd the Pan or Grill: When cooking multiple pieces of meat, give them space. If you overcrowd the pan or grill, the meat will steam instead of sear or brown properly. This can lead to uneven cooking and a less appealing texture and flavor.
- Season Generously: Proper seasoning is key to flavor. Salt draws out moisture and helps tenderize the meat, while other spices add depth. Season your meat well in advance if possible, especially for roasts.
- Understand Carry-Over Cooking: As mentioned, meat continues to cook after it’s removed from the heat. For roasts and larger cuts, this can be significant. Plan to remove the meat 5-10°F (3-5°C) below your final target temperature. The residual heat will bring it up to the correct temperature during the resting period.
These simple habits, combined with accurate temperature readings from your thermometer, will transform your meat cooking. You’ll move from guessing to confidently creating perfectly cooked dishes.
Frequently Asked Questions
Question: How do I know if my meat thermometer is accurate?
Answer: You can test most digital meat thermometers by placing the probe in a glass of ice water. It should read 32°F (0°C) after about a minute. If it’s significantly off, it might need recalibrating or replacing.
Question: Should I leave the thermometer in the meat while it’s on the grill?
Answer: If you’re using a leave-in probe thermometer, yes, you leave it in for the entire cooking time. If you’re using an instant-read thermometer, you only insert it for a few seconds to get a reading, then remove it.
Question: What’s the difference between safe temperature and ideal temperature?
Answer: The safe temperature is the minimum temperature needed to kill harmful bacteria. The ideal temperature (for tenderness and flavor) might be lower for some meats, like steaks, but it’s important to know when it’s safe to deviate from the minimum.
Question: Can I reuse a thermometer that was in raw chicken?
Answer: Always wash your thermometer thoroughly with hot, soapy water after it touches raw meat, and dry it completely before using it on cooked food or another dish. It’s best practice to clean it immediately.
Question: How long does it take for a digital thermometer to get a reading?
Answer: Most digital instant-read thermometers provide a stable reading within 5 to 15 seconds. Always wait until the number on the screen stops changing.
Summary
Mastering how long to leave thermometer in meat means using the right tool and knowing when to check. Instant-read thermometers require quick checks, while leave-in probes monitor continuously. Always aim for safe internal temperatures.
Resting your meat after cooking is also key for juiciness. Follow these steps for perfectly cooked, delicious results every time.


