
Many folks wonder about How to Clean a Meat Thermometer Properly. It can seem a little tricky, especially when you’re just starting out in the kitchen. You want your food to be safe and delicious, and a clean thermometer helps with that.
Don’t worry, though! We’ll walk through it step-by-step. First, let’s look at why keeping your thermometer clean is important and then we’ll get to the easy cleaning part.
Why a Clean Meat Thermometer Matters
Keeping your meat thermometer clean is super important for a few main reasons. First off, it’s all about food safety. When you stick a thermometer into raw meat, it can pick up tiny bits of bacteria.
If you don’t clean it well before using it on cooked food, or another raw item, you could spread those germs. This can lead to people getting sick. Another reason is accuracy.
Food bits stuck on the probe might affect how well it reads the temperature, giving you a wrong number.
A clean thermometer also helps keep your food tasting its best. Imagine a thermometer that smells like that roast you cooked last week. That smell could transfer to your delicate salmon.
So, a clean probe makes sure your next meal tastes just like it should, without any lingering flavors from before. It’s a simple step that makes a big difference in your cooking experience and the safety of the food you serve.
Food Safety First
Food safety is the number one reason to always clean your meat thermometer. Raw meats, poultry, and fish can carry harmful bacteria like Salmonella, E. coli, and Listeria.
When you insert the thermometer probe into these foods, these bacteria can stick to the probe. If the probe isn’t cleaned thoroughly, these germs can be transferred to other foods you cook. This is especially risky if you’re cooking different types of meat or using the thermometer on ready-to-eat foods after using it on raw meat.
Proper cleaning kills or removes these harmful bacteria. This prevents cross-contamination, which is a common cause of foodborne illnesses. Think of your thermometer probe like any other utensil that touches raw food; it needs the same care.
Keeping it clean is a simple but vital part of preventing illness for yourself and anyone you cook for. It’s a basic hygiene practice that ensures your food preparation is safe from start to finish.
Ensuring Accurate Readings
Beyond safety, a clean probe helps your meat thermometer give you the most accurate temperature reading. Sometimes, small bits of food can dry and stick to the probe’s tip or shaft. These dried-on bits can act as a slight insulator.
This might cause the thermometer to read a little lower than the actual temperature of the meat. A clean probe makes direct contact with the food, giving you the true temperature reading.
When you’re aiming for that perfect medium-rare steak or ensuring chicken is fully cooked, every degree counts. An inaccurate reading could lead to undercooked food, which is unsafe, or overcooked food, which can be dry and tough. A clean probe is a small detail that helps you achieve the best results every time you cook.
It’s about making sure the thermometer is a reliable tool in your kitchen, not a source of guesswork.
Preventing Flavor Transfer
Have you ever noticed a slight lingering smell or taste on your dishes that shouldn’t be there? Sometimes, the culprit is a thermometer that wasn’t cleaned well enough. When food residue is left on the probe, it can hold onto odors and flavors.
This is particularly true for strong-smelling foods like garlic, onions, or certain spices.
If you then use the same thermometer on a delicate dessert or a mild-flavored fish, those old flavors can transfer. This can ruin the intended taste of your dish. Cleaning your thermometer properly ensures that it stays neutral.
It won’t pass along any unwanted tastes from your Sunday roast to your Tuesday night grilled chicken. This way, every dish you prepare tastes exactly as it should, pure and unadulterated by previous cooking adventures.
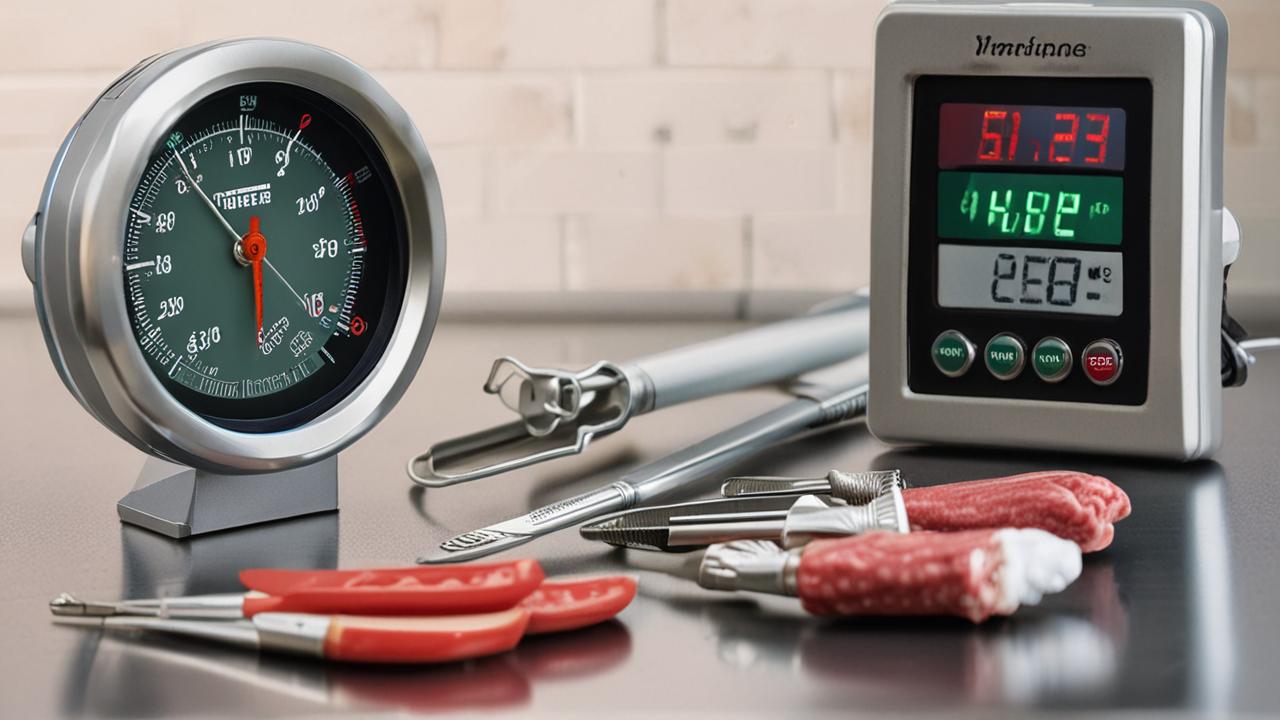
Types of Meat Thermometers and How They Affect Cleaning
There are several common types of meat thermometers, and each might have slightly different cleaning needs. Understanding these differences helps you know the best way to keep them in good shape. From the simple dial ones to the fancy digital probes, they all need a good scrub.
Knowing the material and design of your thermometer will guide you to the most effective cleaning method.
Some thermometers are more water-resistant than others. Some have parts that can be removed, while others are best kept as a single unit. This section will look at the most popular kinds and give you specific tips for each.
This way, you can pick the right approach for your specific thermometer and keep it working well for a long time. It’s about making sure you have the right information for the tool you own.
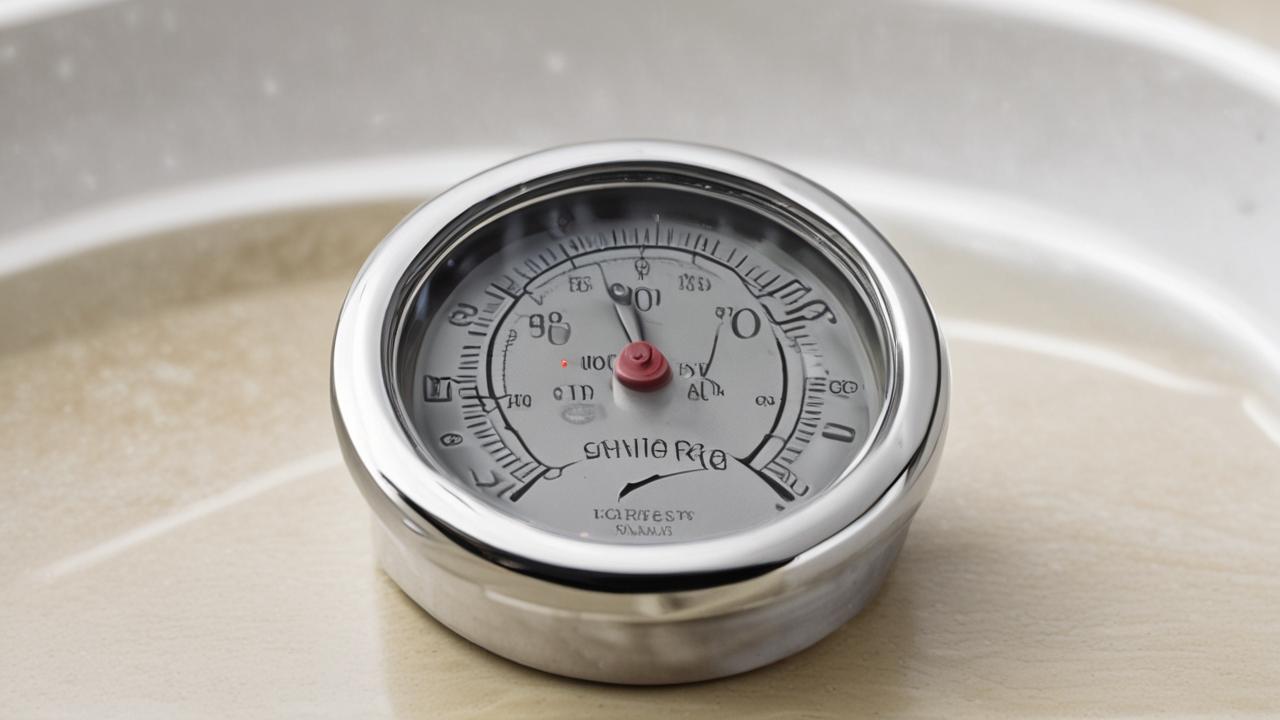
Analog (Dial) Thermometers
Analog or dial thermometers are the classic type. They have a round face with a needle that points to the temperature. A metal probe sticks out from the bottom.
Because they have moving parts inside and a dial face, they can be a bit trickier to clean thoroughly compared to some digital models. You need to be careful not to get too much water inside the dial housing.
The probe on these is usually made of stainless steel. You can typically wash the probe part with warm, soapy water. However, you want to avoid soaking the entire thermometer or putting the dial part in the dishwasher.
Water can seep into the mechanism and damage it over time. Many people find these reliable, but their cleaning requires a bit more care to protect the internal workings. They are often the most affordable option, making them popular for beginners.
Digital Instant-Read Thermometers
Digital instant-read thermometers are very popular today. They have a digital screen that shows the temperature quickly. They usually have a stainless steel probe that folds out or is permanently attached.
These are generally easier to clean because they are often designed to be more water-resistant. Many models can be wiped down easily or even rinsed under running water.
The key with digital thermometers is to check if they are waterproof or just water-resistant. If they are fully waterproof, you can submerge them briefly for cleaning. If they are only water-resistant, you should avoid submerging the entire unit, especially the digital display and battery compartment.
You’ll want to focus on cleaning the probe and ensuring no water gets into the electronic parts. These thermometers are praised for their speed and accuracy, and their cleaning is usually straightforward.
Leave-In Meat Thermometers (Oven-Safe)
Leave-in meat thermometers are designed to stay in the food while it cooks in the oven or on the grill. They typically have a long probe that goes into the meat and a cable that connects to a display unit outside the heat source. The display unit usually sits on your counter or hangs from the oven door.
The probe and cable are meant to withstand high temperatures.
Cleaning these requires attention to both the probe and the display unit. The probe, being in direct contact with food and heat, needs thorough cleaning. The cable and the display unit might only need wiping down unless they get splattered.
Some cables are detachable, making cleaning easier. You need to be careful not to damage the electronics when cleaning any part of this type of thermometer. They are fantastic for monitoring roasts or large cuts of meat without constantly opening the oven door.
Wireless Meat Thermometers
Wireless meat thermometers are a high-tech option. They consist of a probe that stays in the meat and a separate receiver or smartphone app that shows the temperature remotely. This offers great convenience, allowing you to monitor your cooking from another room.
The probe itself is usually made of stainless steel and needs to be cleaned after each use.
The probe is generally designed to be washed with soap and water, similar to other digital probes. The base unit or the app interface doesn’t usually get directly dirty from the cooking process, so it just needs a wipe-down to keep clean. The main cleaning concern is the probe that goes into the food.
These systems are very popular for grilling and smoking, offering freedom of movement and real-time updates on your food’s temperature.
The Step-by-Step Guide: How to Clean a Meat Thermometer Properly
Now that we’ve talked about why it’s important and the different types, let’s get to the actual cleaning process. It’s not complicated at all! We’ll break it down into easy steps that work for most common meat thermometers.
Following these simple instructions will ensure your thermometer stays hygienic and works its best for all your cooking adventures. Get ready to make your thermometer sparkle!
Step 1: Disassemble if Possible and Initial Wipe Down
The very first step is to see if your thermometer can be taken apart. Some digital thermometers have probes that can be unscrewed or detached. If yours does, carefully separate the pieces.
This allows you to clean each part more effectively. If it can’t be taken apart, that’s perfectly fine. You’ll just clean it as one unit.
Once you’ve checked for disassembly, take a clean, damp cloth or paper towel. Gently wipe down the entire thermometer, paying special attention to the probe. Remove any large pieces of food or grease that are visible.
This initial wipe removes the bulk of the mess and makes the washing process much easier and more effective. It’s like clearing the table before you start washing dishes.
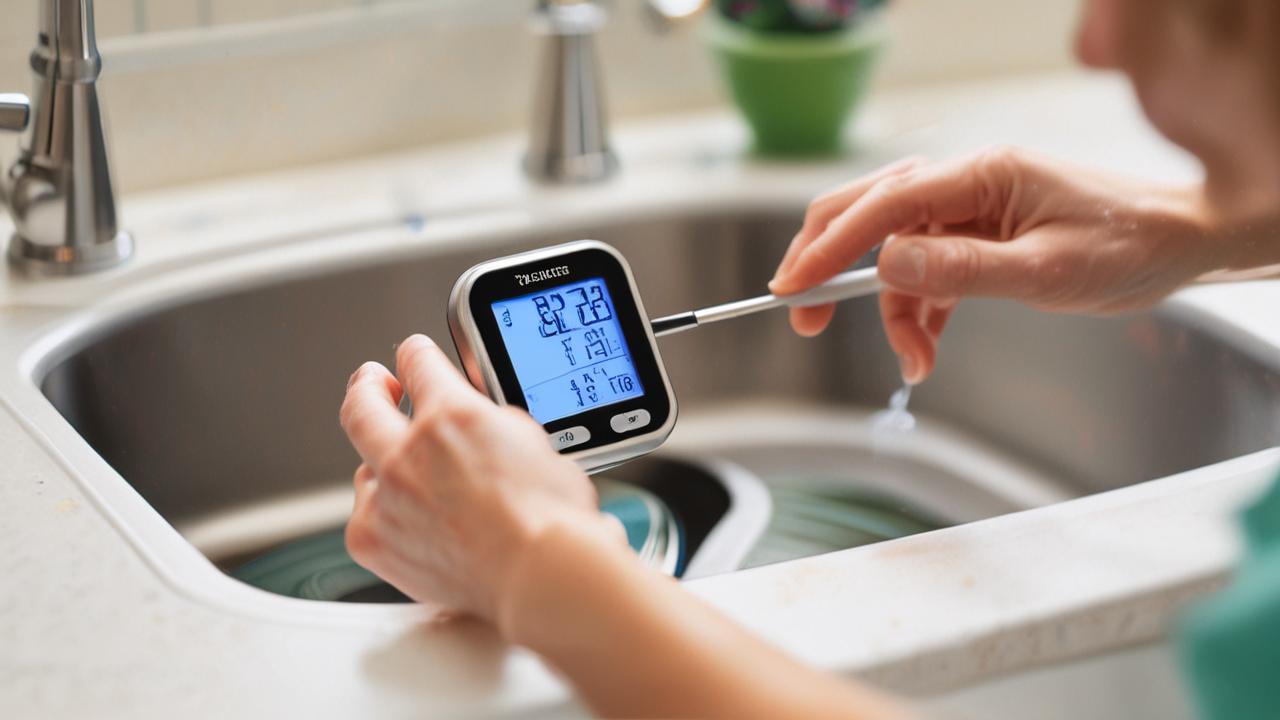
Step 2: Washing the Probe
This is the most important part of cleaning. The probe is what goes into the food, so it needs to be spotless. For most digital and analog thermometers, you’ll use warm water and a mild dish soap.
Apply a small amount of soap to a clean cloth or sponge, or directly to the probe if it’s sturdy enough.
Gently scrub the probe from tip to base. Make sure to get into any nooks or crannies if your probe has them. If you have a stubborn bit of food stuck on, you can use a soft-bristled brush, like an old toothbrush you reserve for kitchen tasks, to help scrub it away.
The goal is to remove all food residue and bacteria. Some people like to use a baking soda paste for tougher grime, but usually, soap and water are enough.
For waterproof digital thermometers, you can rinse the probe under warm running water. For analog thermometers or digital ones that are not fully waterproof, avoid submerging the entire unit. Instead, use a damp cloth to rinse off the soap.
Ensure no soapy residue remains on the probe, as it could affect the taste of your food.
Step 3: Cleaning Other Parts (Handle, Display)
After cleaning the probe, you need to clean the other parts of the thermometer. For digital thermometers, this means the handle and the screen. Use a damp cloth with a little bit of mild soap to wipe these areas down.
Again, be careful not to let water seep into any openings, especially around the screen or buttons on a digital model.
If your thermometer has a removable protective cap for the probe, wash that separately. Often, these caps can be washed in warm, soapy water and then rinsed. For leave-in thermometers with cables, wipe down the cable as well.
The display unit for wireless or leave-in thermometers usually just needs a quick wipe with a damp cloth. The aim is to keep the entire tool clean and hygienic.
Step 4: Rinsing and Drying
Rinsing is critical to remove all soap residue. For the probe, if you rinsed it under running water, you’re mostly done. If you used a damp cloth, go over it again with a clean, damp cloth that only has water.
Make sure there’s no soap left. Any soap left can create foam when heated, which isn’t ideal, and could potentially affect taste.
Drying is just as important as washing. Moisture can encourage bacteria growth and can damage some thermometer components over time. Use a clean, dry towel to thoroughly dry all parts of the thermometer.
Pay extra attention to any seams or crevices where water might hide. For digital displays, use a soft, dry cloth to avoid scratching. Letting the thermometer air dry completely in a well-ventilated spot is also a good option, especially if you can stand it upright.
Step 5: Storage
Proper storage helps keep your thermometer clean and ready for its next use. Once it’s completely dry, store the thermometer in its protective case or cap if it came with one. This cap protects the probe from damage and keeps it clean from dust and other contaminants in your kitchen drawers.
If you don’t have a cap, find a clean, dry spot to store it. Some people keep their thermometers in a utensil drawer, while others might attach it to the side of their refrigerator with a magnet if it has one. The main goal is to keep it protected from dirt and damage until you need it again.
A clean and protected thermometer is a reliable tool.
Deep Cleaning and Sanitizing
Sometimes, you might need to go beyond a simple wash. Deep cleaning or sanitizing is essential, especially if the thermometer has been used for raw poultry or if you want an extra layer of protection. This ensures that any lingering germs are eliminated.
It might sound complicated, but it’s quite straightforward. We’ll cover a few methods you can use.
These methods are useful for ensuring maximum hygiene. Whether you’re a seasoned cook or just starting, knowing how to properly sanitize your tools makes a big difference in food safety. It gives you peace of mind that your kitchen is as clean as it can be.
Let’s look at how to do it safely and effectively.
Using Vinegar
Vinegar is a natural disinfectant and a great tool for cleaning. White vinegar is acidic and can help break down grease and kill some bacteria. For cleaning your meat thermometer probe, you can create a vinegar solution.
Mix equal parts white vinegar and water in a small bowl.
Dip a clean cloth or paper towel into the solution and wipe down the probe thoroughly. Let the probe sit in the solution for a few minutes if it’s particularly greasy or dirty. After it has soaked or been wiped, rinse the probe well with clean water.
Then, dry it completely with a clean towel. Vinegar is a good alternative to soap if you want to avoid chemicals, and it’s often effective at deodorizing as well.
Using Rubbing Alcohol (Isopropyl Alcohol)
Rubbing alcohol, specifically isopropyl alcohol that is 70% or higher, is an excellent sanitizer. It evaporates quickly and is very effective at killing bacteria and viruses. This is a great method for quickly sanitizing your thermometer probe between uses, especially if you’re in a rush.
To use rubbing alcohol, dampen a clean cloth or paper towel with it. Wipe the probe thoroughly from tip to base. Make sure the entire probe surface is covered.
Allow the probe to air dry completely. The alcohol will evaporate on its own, leaving the probe sanitized. Avoid using alcohol on digital displays or parts that are not stainless steel, as it could potentially damage some materials.
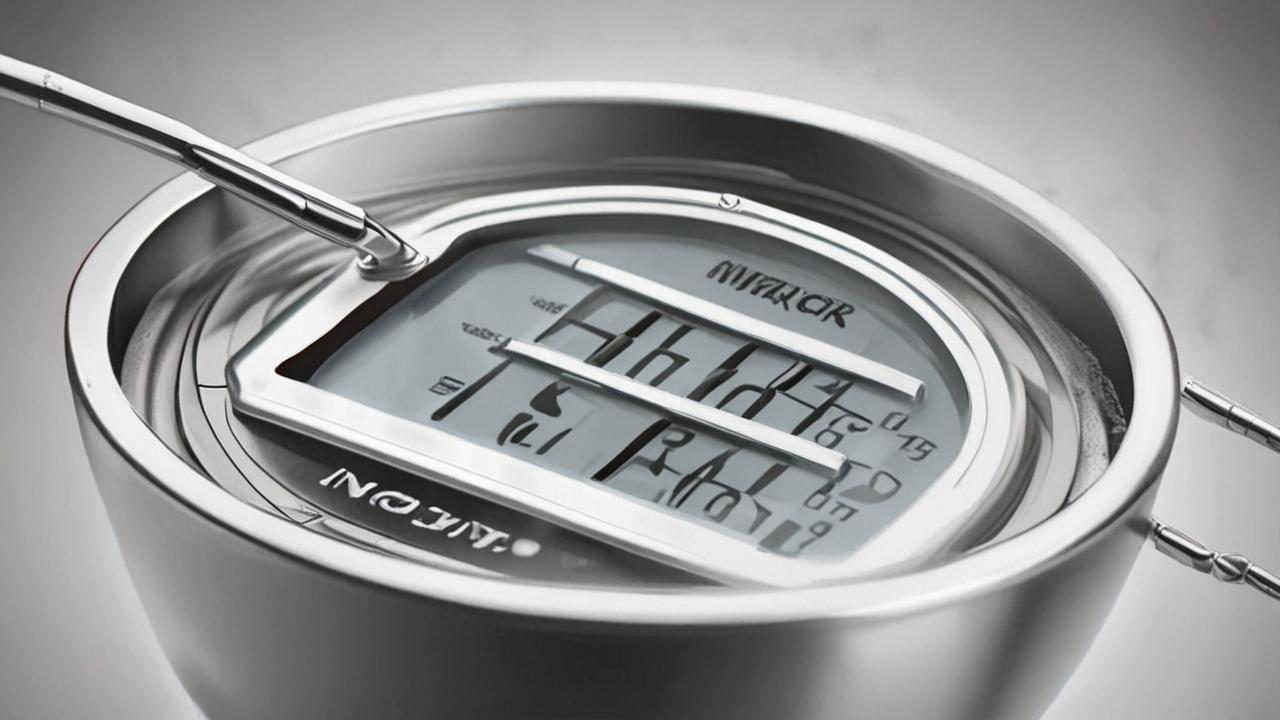
Boiling Water (with Caution)
Boiling water can be used to sanitize thermometer probes, but you must use caution, especially with digital thermometers. Boiling water can kill most bacteria and germs. For stainless steel probes, this is a very effective sanitizing method.
Bring a pot of water to a rolling boil. Carefully immerse just the stainless steel probe into the boiling water for about 5-10 minutes. Do NOT submerge the entire thermometer, especially if it has a digital display or battery compartment, as the heat can severely damage these components.
Once the time is up, carefully remove the probe (it will be very hot!) and let it cool. Dry it thoroughly with a clean towel. This method is best for analog thermometers or just the probe of a digital one if you are sure it can withstand heat.
Troubleshooting Common Cleaning Issues
Even with the best intentions, you might run into a few snags when cleaning your meat thermometer. Don’t get discouraged! Most common issues have simple fixes.
We’ll go over a few problems you might face and how to solve them so you can get back to cooking with confidence.
Knowing how to handle these little problems means your thermometer will last longer and stay more reliable. It’s all part of being a smart home cook. Let’s tackle those tricky bits together and make sure your cleaning routine is smooth sailing.
Stubborn Food Residue
Sometimes, food can get really stuck onto the probe, especially if it’s been left for a while or if it’s sugary. If regular soap and water aren’t cutting it, try making a paste from baking soda and a little water. Apply this paste to the stubborn spots and let it sit for a few minutes.
The mild abrasive nature of baking soda can help lift the residue without scratching the probe.
Gently scrub the area with a soft brush or the baking soda paste. After you’ve removed the residue, wash the probe thoroughly with soap and water again to remove any baking soda. Rinse and dry completely.
For very tough, burnt-on food, you might need to repeat the process or let the paste sit a bit longer. Patience is key here.
Water Damage to Digital Thermometers
This is a common worry with digital devices. If you accidentally submerge a digital thermometer that isn’t fully waterproof, or if water gets into seams, it can cause problems. If you notice the screen acting funny or the buttons not responding, try to dry it out as quickly as possible.
Remove the batteries if you can access them.
Place the thermometer in a bowl of uncooked rice, or use silica gel packets if you have them. Rice helps absorb moisture. Leave it there for at least 24-48 hours.
If the damage isn’t too severe, it might start working again. Unfortunately, water damage can sometimes be permanent, so always check your thermometer’s manual for its water resistance rating before cleaning.
Lingering Odors on the Probe
Even after washing, some strong smells can cling to the probe. This is where sanitizing methods can really help. Using white vinegar or rubbing alcohol, as mentioned before, can be very effective at neutralizing odors.
Simply wipe the probe down with one of these solutions and let it air dry. The smell of vinegar or alcohol will dissipate as it dries, taking the food odors with it.
Another trick is to put the probe in a sealed bag with a dryer sheet for a few hours. The dryer sheet can absorb odors. Just remember to wash the probe with soap and water afterward to remove any residue from the dryer sheet before using it on food.
Regular, thorough cleaning after each use is the best way to prevent odors from building up in the first place.
Statistics on Food Thermometer Usage and Cleaning
Understanding how people use and clean their thermometers can be insightful. While specific data on the exact number of times meat thermometers are cleaned might be scarce, general food safety statistics highlight the importance of clean tools.
According to the CDC, an estimated 48 million people get sick, 128,000 are hospitalized, and 3,000 die each year from foodborne illnesses in the United States. Proper hygiene, including cleaning cooking utensils and thermometers, is a key factor in preventing these illnesses. A survey by NSF International found that while 80% of consumers use food thermometers, only about half report washing them with hot, soapy water after every use.
This suggests a gap in consistent cleaning practices. The proper cleaning of a meat thermometer is a small step that contributes to a much larger effort in food safety. It’s a simple habit that can have a significant impact on preventing foodborne diseases.
Investing a few extra moments in cleaning can save a lot of trouble down the line.
| Type of Thermometer | Common Cleaning Method | Special Considerations |
|---|---|---|
| Analog (Dial) | Warm, soapy water on probe; damp cloth for dial | Avoid submerging dial; can be sensitive to moisture |
| Digital Instant-Read | Warm, soapy water; rinse probe if waterproof | Check water resistance rating; avoid submerging non-waterproof models |
| Leave-In (Oven-Safe) | Wash probe with soapy water; wipe down cable/display | Ensure probe and cable can withstand heat; clean display carefully |
| Wireless | Wash probe with soapy water; wipe down receiver/app interface | Focus cleaning on the probe; handle receiver gently |
Frequently Asked Questions
Question: Can I put my meat thermometer in the dishwasher?
Answer: It depends on the type of thermometer. Many digital thermometers are not dishwasher safe, as the heat and water can damage the electronic components. Analog thermometers might also be damaged.
Always check the manufacturer’s instructions. If it’s not explicitly stated as dishwasher safe, it’s best to hand wash.
Question: How often should I clean my meat thermometer?
Answer: You should clean your meat thermometer probe thoroughly with warm, soapy water after every single use. This is especially important if you’ve used it on raw meat, poultry, or fish. A quick wipe with a damp cloth between different food items can also be helpful.
Question: Can I use bleach to clean my meat thermometer?
Answer: It’s generally not recommended to use bleach on meat thermometers. Bleach can be harsh and may leave a residue that could affect the taste of your food or even damage the thermometer material. Mild dish soap, vinegar, or rubbing alcohol are safer and effective alternatives.
Question: My digital thermometer stopped working after cleaning, what should I do?
Answer: If your digital thermometer stops working after cleaning, it’s likely due to water damage. Try drying it out completely as described in the troubleshooting section (e.g., using rice). If it doesn’t recover, you may need to replace it.
Always be cautious about getting water into the electronic parts.
Question: Is it okay to share a meat thermometer with others?
Answer: While it’s okay to share if everyone follows proper cleaning procedures, it’s best practice for each household to have their own. If you do share, make sure the thermometer is thoroughly washed and sanitized before and after each use to prevent the spread of germs.
Summary
Keeping your meat thermometer clean is essential for food safety, accuracy, and taste. By following simple steps like washing the probe with warm, soapy water, rinsing, and drying thoroughly, you ensure it remains hygienic. Choose the best cleaning method for your specific thermometer type and store it properly to keep it in good condition for all your cooking needs.


