
Figuring out Where to Insert Meat Thermometer in Steak can seem tricky when you’re new to cooking. You want your steak to be just right, not overcooked or undercooked. It’s easy to worry about poking it in the wrong spot and messing up your perfectly seasoned cut.
But don’t stress! We’ll show you the easiest way to get it perfect every time. Get ready to cook like a pro!
Understanding Steak Doneness and Thermometers
Knowing how to use a meat thermometer is super important for getting your steak exactly how you like it. Different steaks need different temperatures to be considered rare, medium, or well-done. A thermometer takes the guesswork out of it, helping you achieve delicious results without a lot of stress.
This section will cover the basics of why thermometers are your best friend in the kitchen and what the different temperature levels mean for your steak.
Why Use a Meat Thermometer?
Using a meat thermometer is like having a secret weapon for perfect cooking. It gives you the most accurate way to know if your steak is done. Relying on touch alone or just guessing can lead to steaks that are too tough, too dry, or even still raw inside.
A thermometer tells you the actual internal temperature, which is the only true measure of doneness.
- Accuracy is Key: A good thermometer offers precise readings. This means you can trust it to tell you when your steak hits that perfect sweet spot for your preferred doneness. It removes the uncertainty from cooking, letting you focus on enjoying the process and the final taste.
- Food Safety: For certain meats, hitting specific temperatures is vital for killing harmful bacteria. While steak is often cooked to less-than-well-done levels, knowing the exact temperature helps ensure it’s safe to eat, especially if you’re aiming for medium or medium-well.
- Consistency Every Time: Once you know your preferred temperature for a perfect medium-rare, your thermometer helps you achieve it again and again. You won’t have to hope for the best; you can be sure you’ll get the same great results with every steak you cook.
- Versatility Beyond Steak: The skills and tool you learn here aren’t just for steaks. Meat thermometers are useful for chicken, pork, roasts, and even baking. Mastering this one technique opens up a world of perfectly cooked foods.
Steak Doneness Levels
Steak doneness is all about internal temperature. These temperatures are approximations, and can vary slightly depending on the cut and thickness of the steak, but they are excellent guidelines. Knowing these will help you decide when to pull your steak off the heat.
| Doneness Level | Internal Temperature (Fahrenheit) | Internal Temperature (Celsius) | Description |
|---|---|---|---|
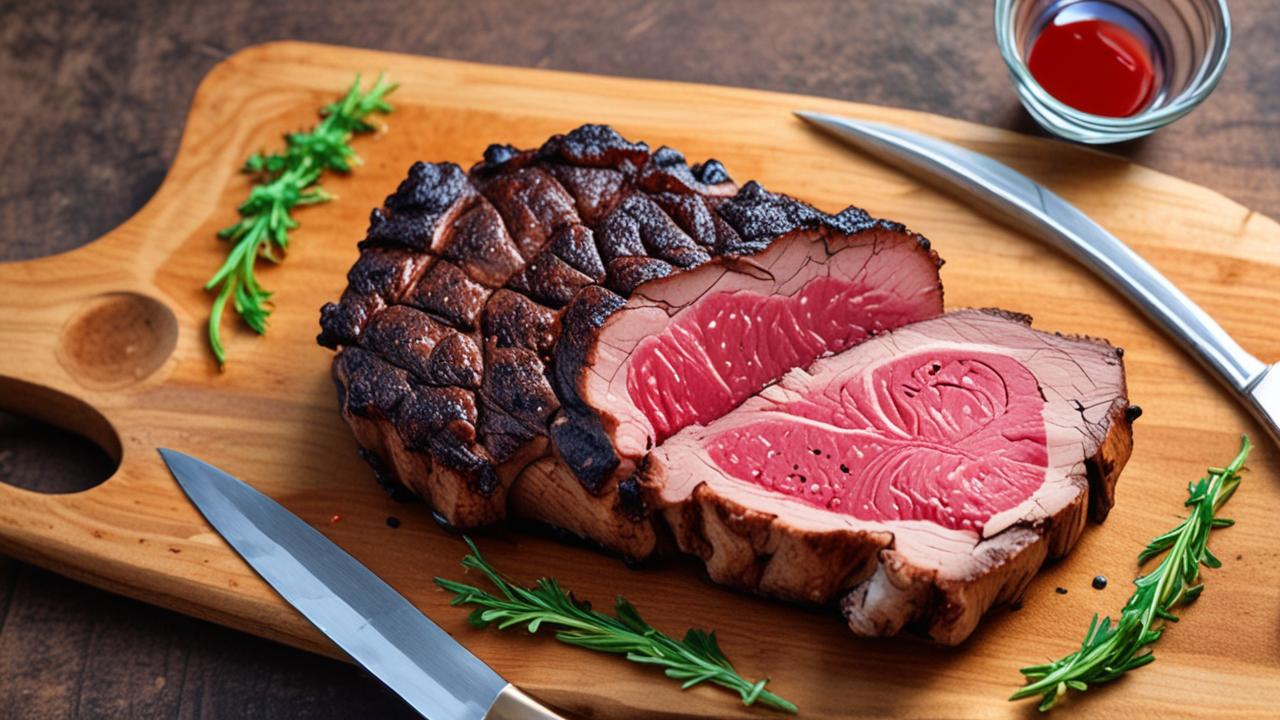
| Rare | 120-125°F | 49-52°C | Cool red center. Very tender and juicy. |
| Medium-Rare | 130-135°F | 54-57°C | Warm red center. Tender and juicy. This is often considered ideal. |
| Medium | 135-140°F | 57-60°C | Warm pink center. Slightly firmer but still juicy. |
| Medium-Well | 140-145°F | 60-63°C | Slightly pink center. Firmer texture. |
| Well-Done | 150°F+ | 65°C+ | No pink, cooked through. Firmer texture, less juicy. |
The temperatures listed are for when the steak is removed from the heat. It will continue to cook a few degrees as it rests, a process called carryover cooking. So, you often want to pull the steak off the heat a little before it reaches your target final temperature.
Where to Insert Meat Thermometer in Steak
This is the core of achieving steak perfection. Knowing exactly where to place your thermometer is crucial for an accurate reading. We’re going to break down the best spots and why they work, ensuring you get a true picture of your steak’s internal temperature.
This isn’t complicated, and once you see how it’s done, you’ll wonder why you ever worried about it.
The Thickest Part is Your Target
The general rule of thumb when checking the temperature of any meat, including steak, is to insert the thermometer into the thickest part. This is because the thickest part takes the longest to cook. If the thickest part is done to your liking, the thinner parts will also be cooked appropriately, or perhaps a doneness level lower.
- Why the Thickest Part?: Imagine your steak is like a mini-mountain. The peak of the mountain takes the longest to get warm all the way through. The sides, which are thinner, get hot faster. By checking the thickest part, you ensure that the center of your steak reaches your desired temperature. This prevents you from overcooking the edges while waiting for the middle to cook.
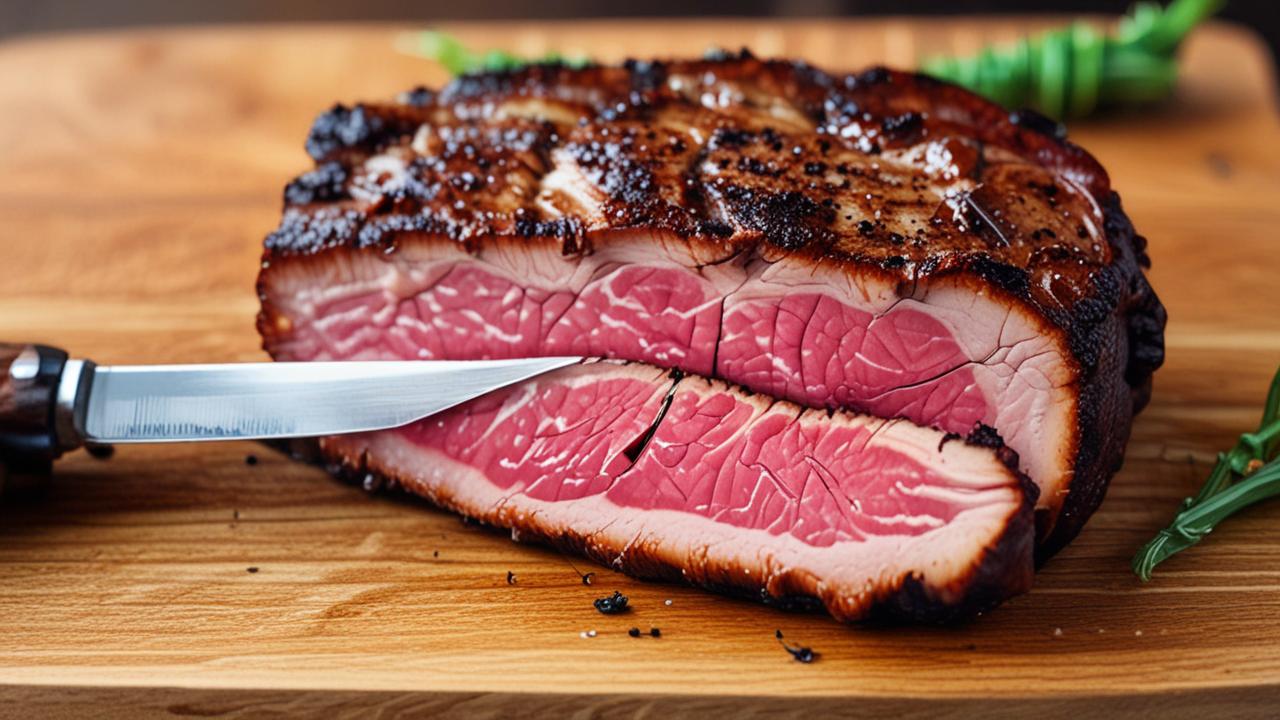
- Avoid the Bone: If your steak has a bone, like a T-bone or a bone-in ribeye, make sure you do not insert the thermometer probe directly into or touching the bone. Bones conduct heat differently than meat and can give you a false reading. Your thermometer needs to be in the fleshy part of the steak.
- Aim for the Center: When you find the thickest part, you want to aim for the very center of that section. This gives you the most accurate average temperature of the steak’s core. If you insert it too close to the surface, you’ll get a reading that’s too high.
Steak Thickness Matters
The thickness of your steak plays a big role in how and where you insert the thermometer. For very thin steaks, you might need to be a bit more careful to get an accurate reading, as they cook very quickly.
- Thick Steaks (1.5 inches or more): For thicker cuts, you have plenty of room. Insert the thermometer probe straight down into the thickest part, aiming for the middle. You can usually insert it about halfway into the steak’s thickness to get a reliable reading.
- Medium Steaks (1 to 1.5 inches): These are still quite manageable. Insert the thermometer into the thickest part, aiming for the center. You might not need to insert it quite as deep as with a very thick steak, perhaps just past the halfway point.
- Thin Steaks (Less than 1 inch): This is where it gets a little trickier. For very thin steaks, the “thickest part” might not be very thick at all. You’ll want to insert the thermometer at an angle, trying to get the probe into the center without hitting the surface of the other side. Sometimes, for extremely thin steaks, a thermometer might not be necessary, and you’ll rely more on visual cues and timing.
Common Mistakes to Avoid
Even with the best intentions, beginners can make a few common errors when using a meat thermometer. Knowing these can save your steak from being over- or undercooked.
- Probing Too Early: Don’t stick the thermometer in the steak right at the beginning of cooking. The temperature will be low, and you might end up cooking it longer than you need to. Wait until the steak is almost done to start checking its temperature.
- Moving the Thermometer: Once you insert the thermometer, try not to wiggle it around. Moving it can break up the meat fibers and might give you an inconsistent reading. Let it sit for a moment to get a stable temperature.
- Not Calibrating Your Thermometer: Some thermometers can become inaccurate over time. Before you start cooking, it’s a good idea to check if your thermometer is calibrated. You can do this by placing it in a glass of ice water. It should read 32°F (0°C). If it’s off, consult your thermometer’s manual for calibration instructions.
When to Check the Temperature
Timing is everything when it comes to using a meat thermometer. Knowing when to check will help you avoid overcooking and ensure you catch the steak at its peak. We’ll go over the best moments to take a temperature reading.
The Importance of Resting
After cooking, letting your steak rest is a vital step that directly impacts its final temperature and juiciness. During cooking, the muscle fibers in the steak tighten up, pushing the juices towards the center. Resting allows these fibers to relax, and the juices redistribute throughout the steak.
- Carryover Cooking: Even after you remove the steak from the heat, its internal temperature will continue to rise by a few degrees. This is called carryover cooking. For example, a steak might read 130°F when you pull it off the grill, but it will rise to 135°F (medium-rare) as it rests. You need to account for this rise when deciding when to pull the steak off the heat.
- Juice Redistribution: When you cut into a steak right off the heat, all the juices will run out onto the plate. Resting allows the meat to reabsorb those delicious juices, making your steak more tender and flavorful. A well-rested steak is a juicy steak.
- Resting Time Varies: The amount of time a steak needs to rest depends on its thickness. A general guideline is about 5-10 minutes for most steaks. For very thick cuts, you might need up to 15 minutes.
Checking Throughout the Cooking Process
While the most critical checks happen towards the end, understanding how temperature changes can be helpful. For very thick steaks, you might want to start checking earlier to monitor progress.
- Initial Check (Optional for thick cuts): If you have a steak that’s 1.5 inches thick or more, you might start checking its temperature about two-thirds of the way through the estimated cooking time. This gives you a baseline and helps you gauge how much longer it might take.
- The Crucial Final Checks: As your steak approaches your target temperature (remembering to subtract about 5°F for carryover cooking), you’ll want to check it more frequently. This might mean checking every 2-3 minutes. This close monitoring is what prevents overcooking.
- Don’t Probe Constantly: While frequent checks are good towards the end, avoid sticking the thermometer in and out constantly. Each time you do, you lose a bit of heat. Aim for a stable reading each time you check.
Using a Thermometer with Different Cooking Methods
The method you use to cook your steak can influence when and how you check the temperature. Whether you’re grilling, pan-searing, or oven-roasting, the principle of checking the thickest part remains the same.
- Grilling: On a grill, steaks cook relatively quickly, especially over high heat. You’ll want to be attentive. Insert the thermometer into the thickest part after flipping the steak, and then continue checking periodically until it’s close to your desired doneness.
- Pan-Searing: Pan-searing involves high heat in a skillet. For thicker steaks, you might sear them on both sides and then finish them in a slightly cooler part of the pan or even in the oven. Check the temperature after searing and periodically during the finishing phase.
- Oven-Roasting (Reverse Sear): If you’re using a reverse sear method (slow cooking in the oven first, then searing), you’ll check the temperature in the oven. Once it reaches about 10-15°F below your final target, remove it from the oven and sear it quickly. Then, let it rest.

Types of Meat Thermometers
Not all meat thermometers are created equal. Knowing the different types can help you choose the best tool for your steak-cooking needs. Each has its own benefits and quirks, and some are more user-friendly than others.
Instant-Read Thermometers
These are the most popular choice for home cooks. They are designed to give you a temperature reading very quickly, usually within a few seconds.
- How They Work: Instant-read thermometers have a metal probe that you insert into the meat. A digital display or an analog dial shows the temperature. Digital ones are generally more precise and faster.
- Best Uses: They are fantastic for steaks, burgers, chicken breasts, and most other meats. They are also great for checking baked goods like bread or cakes. Their speed makes them ideal for monitoring cooking progress without a lot of waiting.
- Ease of Use: Most are very simple to operate. You just turn them on, insert the probe, and read the temperature. They are often small and easy to store.
Leave-In Thermometers
These thermometers have a probe that stays in the meat for the entire cooking time, with a display that is either attached to the probe or connected by a wire. The display can be on the side of the grill, oven door, or on a separate unit.
- Advantages: They are great because you can monitor the temperature without opening the oven or grill door, which helps maintain a consistent cooking temperature. This is especially useful for roasts or larger cuts of meat that cook for a long time.
- Considerations: You need to ensure the probe is positioned correctly in the thickest part of the meat and that it’s not touching any bone or fat pockets. Also, make sure the display unit is safe from heat.
- Digital vs. Analog: Like instant-read thermometers, leave-in models come in digital and analog versions. Digital ones typically offer more features, like alarms for when a target temperature is reached.
Probe Thermometers with Alarms
These are a type of leave-in thermometer, but their main feature is the alarm system. You set your desired final temperature, and the thermometer will beep or alert you when the meat reaches it.
- Convenience Factor: This is a huge convenience, especially when you’re busy or multitasking in the kitchen. You don’t have to constantly watch the thermometer; the alarm will let you know when to check or remove the meat.
- Programmable Settings: Many models allow you to select pre-programmed doneness levels for different types of meat, or you can set a custom temperature. This makes them very versatile.
- Wireless Options: Some advanced models have wireless receivers, allowing you to monitor the temperature from another room, which is incredibly handy for outdoor cooking.
Cooking Scenarios and Practice
Let’s put what we’ve learned into practice. By walking through a couple of common steak-cooking scenarios, you’ll see how to apply the thermometer technique effectively. These examples will build your confidence.
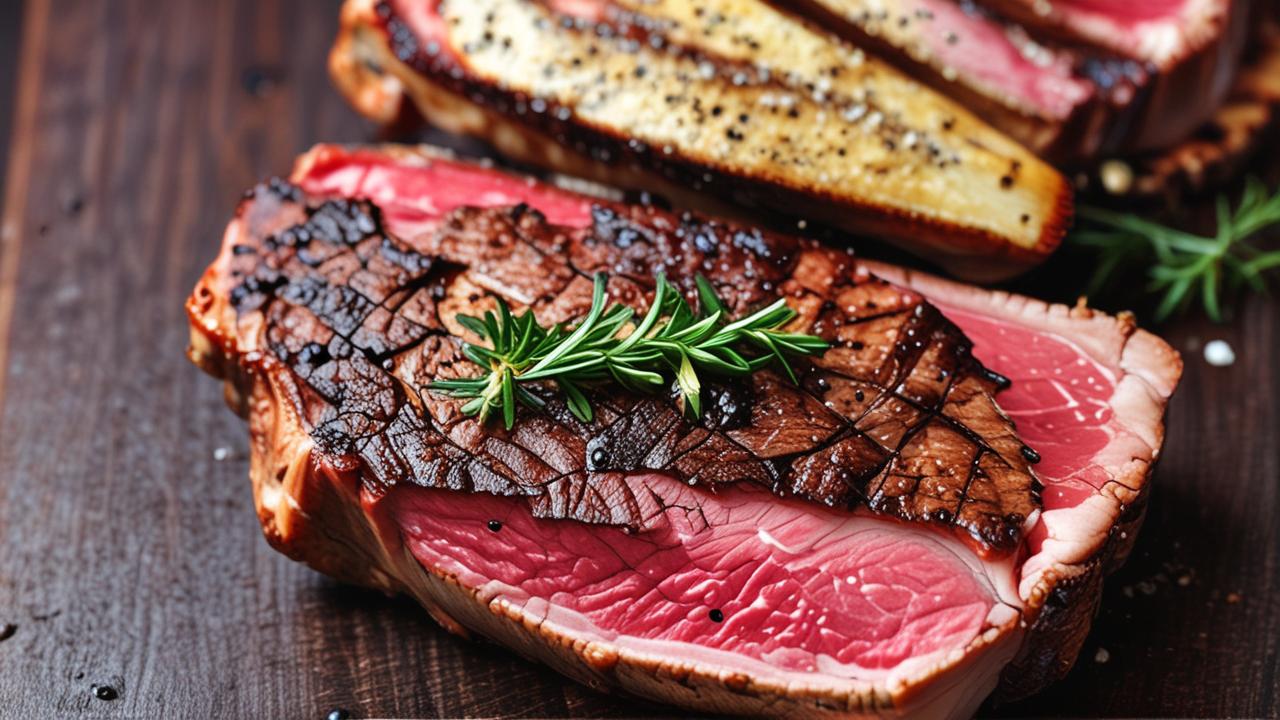
Scenario 1: Grilling a Thick Ribeye
Imagine you have a beautiful, thick-cut ribeye steak, about 1.5 inches thick. You want it medium-rare. Here’s how you’d use your thermometer:
- Preheat your grill to medium-high heat.
- Season your steak generously.
- Place the steak on the hot grill. Grill for about 4-5 minutes per side, depending on the heat.
- After the first flip, and as you approach the estimated end of cooking time, insert your instant-read thermometer into the thickest part of the steak, making sure not to touch the bone if it has one.
- Aim for a reading of around 125-128°F. This accounts for carryover cooking and the slight drop in temperature as it rests.
- Remove the steak from the grill at that temperature.
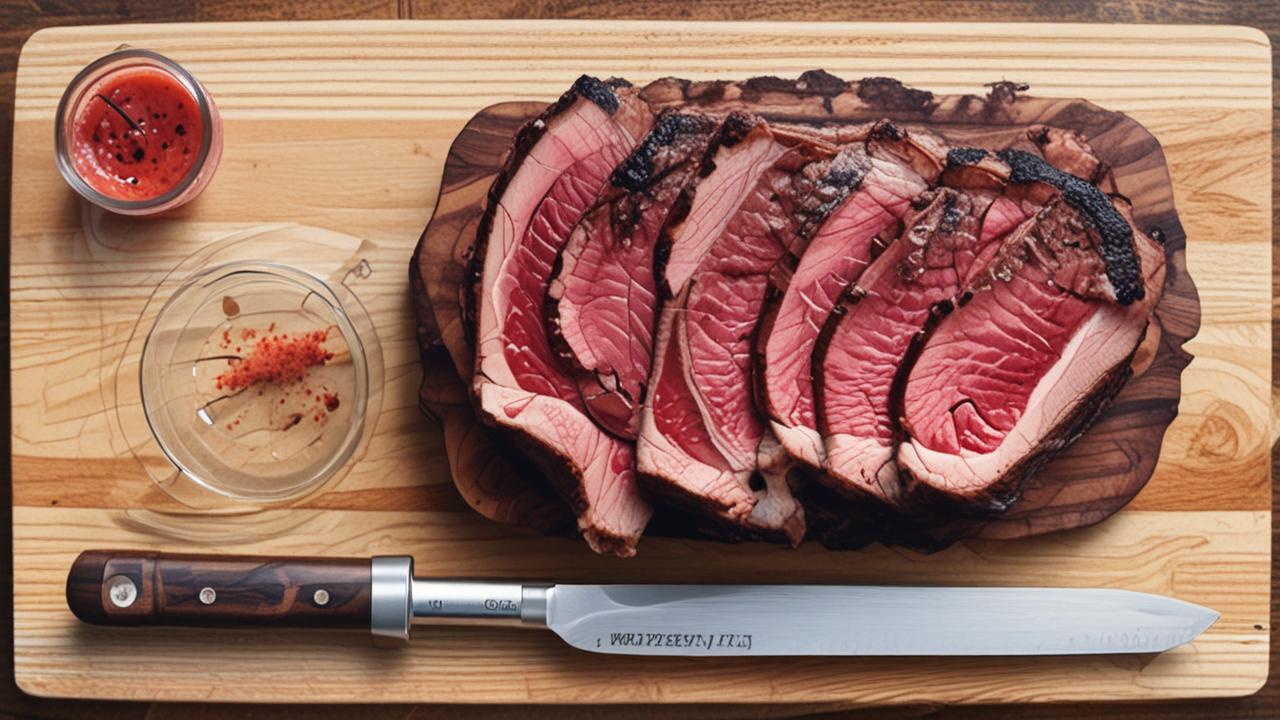
- Let the steak rest on a cutting board for at least 5 minutes before slicing and serving.
This process ensures the inside reaches that perfect 130-135°F for medium-rare while the outside gets a great sear. The key is that final temperature check before resting.
Scenario 2: Pan-Searing a Sirloin
Now, let’s say you’re pan-searing a 1-inch thick sirloin steak. You prefer it medium.
- Heat a cast-iron skillet over medium-high heat with a bit of oil.
- Season your sirloin and place it in the hot skillet.
- Sear for about 3-4 minutes per side.
- As you get close to the end of cooking, insert your instant-read thermometer into the thickest part of the steak.
- For a medium steak, you’re aiming for an internal temperature of around 135-138°F when you pull it off the heat. This will rise to 140-145°F during resting.
- Remove the steak from the skillet and let it rest for about 5 minutes.
Pan-searing is fast, so those final temperature checks are super important. The thermometer helps you nail that medium doneness without having to cut into the steak to check, which lets juices escape.
Tips for Success
Beyond just knowing where to insert the thermometer, a few extra tips can elevate your steak-cooking game. These little tricks make a big difference in the final outcome.
- Pat Your Steak Dry: Before searing or grilling, pat your steak completely dry with paper towels. This helps create a better crust and prevents steaming, leading to a crispier, more flavorful exterior.
- Let it Come to Room Temperature (Slightly): For thicker steaks, letting them sit out for 30-60 minutes before cooking can help them cook more evenly. This isn’t as critical for thinner steaks, but it can be beneficial for achieving a consistent internal temperature throughout.
- Use a Good Quality Thermometer: Invest in a reliable instant-read or leave-in thermometer. A cheap, inaccurate thermometer can lead to disappointing results, no matter how carefully you cook.
- Practice Makes Perfect: Don’t get discouraged if your first few attempts aren’t absolutely perfect. Cooking is a skill, and using a thermometer effectively takes a little practice. Keep trying, and you’ll soon be a pro at hitting your desired doneness every time.
Frequently Asked Questions
Question: What is the best type of thermometer for steak?
Answer: An instant-read digital thermometer is often considered the best for steaks because it provides quick, accurate temperature readings, allowing you to monitor doneness precisely as the steak cooks.
Question: Can I use my finger to check steak doneness instead of a thermometer?
Answer: While experienced chefs can gauge doneness by touch, it’s not very accurate for beginners. A thermometer is the most reliable way to ensure your steak is cooked to the correct temperature for food safety and desired texture.
Question: How do I know if my thermometer is accurate?
Answer: You can test your thermometer’s accuracy by placing it in a glass of ice water. It should read 32°F (0°C). If it’s significantly off, you may need to calibrate it or consider replacing it.
Question: Should I check the temperature multiple times while the steak is cooking?
Answer: You can check occasionally as the steak cooks, but it’s most important to check frequently in the last few minutes of cooking when it’s close to your target temperature. Avoid checking too often, as it can let heat escape.
Question: Does the thickness of the steak change where I should insert the thermometer?
Answer: No, you should always aim for the thickest part of the steak, regardless of its thickness. However, for very thin steaks, you may need to be more careful to insert it at an angle to avoid piercing through the other side.
Summary
Knowing Where to Insert Meat Thermometer in Steak is simple: always aim for the thickest part, avoiding bone. This ensures your steak cooks evenly to your desired doneness. Use an instant-read thermometer for quick, accurate checks.
Remember to account for carryover cooking and let your steak rest. You’ve got this!


