A reliable beef internal temperature chart is the single best tool for cooking meat safely and perfectly every time. This post covers exact temperatures for steaks, roasts, and ground beef so you never guess again. Cooking meat to the right heat prevents foodborne illness and keeps your dinner juicy instead of dry.
Whether you grill a ribeye or slow-roast a brisket, knowing when to pull the meat off the heat changes everything. We break down USDA guidelines, doneness levels, and resting times. You will also find tips on choosing the right thermometer.
Stop cutting into your steaks to check the color. Use this beef internal temperature chart as your daily kitchen reference.
Simply put, a beef internal temperature chart tells you exactly when to remove meat from the heat. Steaks need 145°F for medium, while ground beef requires 160°F for safety. Always use a digital meat thermometer to verify these numbers before serving.
What Is a Beef Internal Temperature Chart?
A beef internal temperature chart is a quick-reference guide that lists the target core temperatures for different cuts and doneness levels. It helps cooks avoid undercooking or overcooking meat by providing exact Fahrenheit and Celsius readings. These charts are based on food safety standards set by organizations like the United States Department of Agriculture (USDA) and the Food Safety and Inspection Service (FSIS).
Different cuts of beef require different final temperatures. A tender filet mignon tastes best at medium-rare, while a tough chuck roast needs hours at a higher temperature to break down collagen. The chart removes the guesswork.
You simply match your cut and preferred doneness to the corresponding number on your thermometer.
Using a chart improves both safety and flavor. According to the Centers for Disease Control and Prevention (CDC), roughly one in six Americans gets sick from foodborne illnesses each year. Proper cooking temperatures kill harmful bacteria like E.
coli and Salmonella. At the same time, pulling a steak off the grill at the exact right degree prevents it from turning into leather.
- Provides exact target temperatures for all beef cuts
- Ensures compliance with USDA food safety guidelines
- Prevents overcooking expensive steaks and roasts
- Reduces the risk of foodborne illness significantly
- Helps beginners cook with professional-level confidence
- Eliminates the need to cut into meat to check color
Important: Never rely on the color of the meat or its juices to determine if it is safe to eat. Only a calibrated meat thermometer gives you an accurate reading.
How to Read a Beef Internal Temperature Chart Correctly
Reading a beef internal temperature chart sounds simple, but many home cooks make critical errors. The most common mistake is measuring the temperature in the wrong spot. You must insert the thermometer probe into the thickest part of the meat.
Avoid hitting bone, fat, or gristle, as these areas conduct heat differently and give false readings.
You also need to understand carryover cooking. Meat continues to cook after you take it off the heat source. The residual heat pushes the internal temperature up by 5 to 10 degrees Fahrenheit during the resting period.
If your chart says 145°F for medium, you should actually pull the steak off the grill around 135°F to 140°F. Letting it rest allows the temperature to rise naturally to the final target.
The type of thermometer matters just as much as the chart itself. Instant-read thermometers give you a fast result in seconds. Leave-in probe thermometers stay inside the meat while it cooks in the oven or smoker, sending continuous data to a display unit.
Both work well, but you must calibrate them regularly to ensure accuracy.
- Insert the probe into the thickest center of the beef cut
- Keep the tip away from bones, large fat pockets, and the pan surface
- Wait for the thermometer reading to stabilize completely
- Remove the meat from the heat about 5 degrees below your target
- Tent the meat loosely with foil and let it rest
- Check the final temperature after resting to confirm doneness
Tip: Test your thermometer’s accuracy by placing it in a glass of ice water. It should read exactly 32°F. If it does not, adjust the calibration nut or replace the batteries.
Standard Doneness Levels for Steaks and Roasts
Steaks and whole roasts follow specific temperature ranges based on your preferred doneness level. Unlike ground beef, whole muscle cuts only harbor bacteria on the exterior surface. Searing the outside kills those pathogens, which is why you can safely eat a rare steak.
The USDA recommends a minimum safe temperature of 145°F for whole cuts, followed by a three-minute rest period.
Rare beef sits between 120°F and 125°F. The center remains bright red and cool. Medium-rare, the favorite among chefs and steakhouse professionals, hits 130°F to 135°F.
It features a warm red center and excellent juiciness. Medium beef reaches 140°F to 145°F, showing a pink center with firmer texture. Medium-well moves up to 150°F to 155°F, leaving only a hint of pink.
Well-done crosses 160°F, resulting in fully brown, firm meat throughout.
Choosing a doneness level depends on the cut. Highly marbled cuts like ribeye benefit from reaching at least medium-rare so the intramuscular fat renders properly. Lean cuts like filet mignon dry out quickly past medium.
Tougher roasts meant for braising, such as brisket or chuck, ignore these standard steak temperatures entirely and cook to 200°F or higher to melt connective tissue.
| Doneness Level | Target Temperature | Pull Temperature | Center Color |
|---|---|---|---|
| Rare | 120°F – 125°F | 115°F – 120°F | Bright Red |
| Medium-Rare | 130°F – 135°F | 125°F – 130°F | Warm Red |
| Medium | 140°F – 145°F | 135°F – 140°F | Pink |
| Medium-Well | 150°F – 155°F | 145°F – 150°F | Slight Pink |
| Well-Done | 160°F+ | 155°F+ | Brown/Gray |
This table shows exactly when to pull your meat off the heat to account for carryover cooking. Matching the pull temperature to your desired final doneness guarantees perfect results.
Safe Temperatures for Ground Beef
Ground beef follows entirely different rules than steaks. When processors grind meat, any bacteria present on the surface get mixed directly into the center of the patty or loaf. Because of this, the USDA mandates that all ground beef must reach an internal temperature of 160°F to be considered safe for consumption.
There is no medium-rare option for hamburgers unless you grind the meat yourself from a sterile whole cut.
Serving undercooked ground beef poses serious health risks. Pathogens like E. coli O157:H7 thrive in raw ground meat.
The National Cattlemen’s Beef Association emphasizes that visual cues, such as the meat turning brown, do not guarantee safety. Only a thermometer confirms that the beef reached 160°F throughout. This rule applies to burgers, meatballs, meatloaf, and taco fillings.
Cooking ground beef to 160°F often dries it out if you use very lean blends. To maintain juiciness at this higher temperature, buy ground chuck with an 80/20 lean-to-fat ratio. The extra fat melts during cooking, basting the meat from the inside out.
You can also mix in ingredients like Worcestershire sauce, grated onions, or breadcrumbs to help retain moisture.
- Always cook ground beef to a minimum of 160°F
- Never serve rare or medium-rare commercially ground beef
- Use an 80/20 blend to keep burgers juicy at safe temperatures
- Insert the thermometer through the side of the burger patty for the best reading
- Wash hands and surfaces immediately after handling raw ground beef
- Do not rely on the brown color of the meat as a safety indicator
Warning: Pregnant women, young children, the elderly, and immunocompromised individuals face severe complications from foodborne illness. Always ensure their ground beef reaches exactly 160°F or higher.
Why Resting Meat Matters After Cooking
Resting is a non-negotiable step when using a beef internal temperature chart. When heat hits muscle fibers, they contract violently and push moisture toward the center of the cut. If you slice the meat immediately after pulling it off the grill, those trapped juices flood onto your cutting board.
Your dinner ends up dry and flavorless.
Allowing the meat to rest gives the muscle fibers time to relax. As they loosen, the juices redistribute evenly throughout the entire cut. A thin steak needs about five minutes of rest.
A massive prime rib or brisket might require thirty to forty-five minutes. During this window, the internal temperature continues to climb slightly due to residual heat transfer, which completes the cooking process gently.
How you rest the meat matters too. Tent it loosely with aluminum foil to trap some warmth without creating steam. Wrapping it tightly causes the crust to soften and turn soggy.
Place the meat on a warm plate or a wooden cutting board rather than a cold ceramic dish, which drops the temperature too rapidly. Mastering the rest phase separates amateur cooks from professionals.
- Remove the beef from the heat source once it hits your pull temperature
- Transfer the meat to a room-temperature cutting board or warm platter
- Tent the top loosely with a sheet of aluminum foil
- Set a timer for 5 minutes for steaks or 30 minutes for large roasts
- Leave the thermometer probe in if you want to watch the temperature peak and stabilize
- Slice against the grain only after the resting period finishes completely
Skipping the rest ruins even the most perfectly cooked steak. Patience here pays off with noticeably better texture and flavor in every single bite.
Best Thermometers for Checking Beef Temperatures
Your beef internal temperature chart is useless without an accurate thermometer. Several types exist, each suited for different cooking methods. Choosing the right tool makes the difference between guessing and knowing.
Digital models have largely replaced old analog dial thermometers because they respond faster and provide more precise readings.
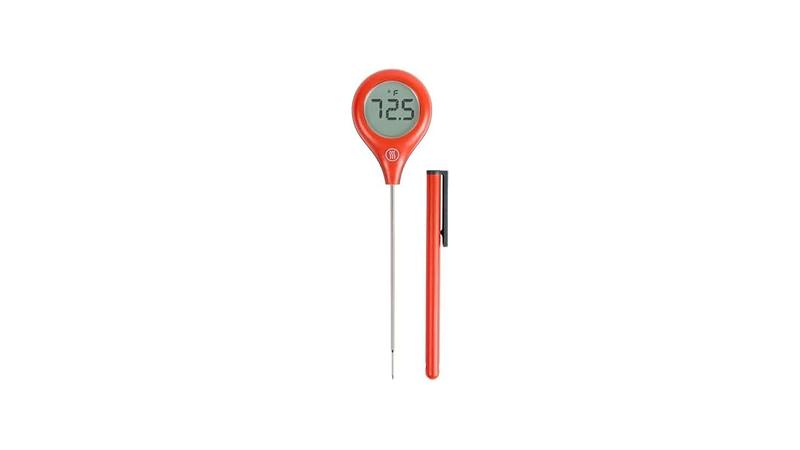
Instant-read thermocouples deliver a temperature in two to three seconds. They are ideal for checking thin steaks, burgers, and quick-searing cuts. You simply open the fold-out probe, insert it into the meat, read the screen, and pull it out.
Brands like ThermoWorks dominate this category with highly rated models favored by professional kitchens worldwide.
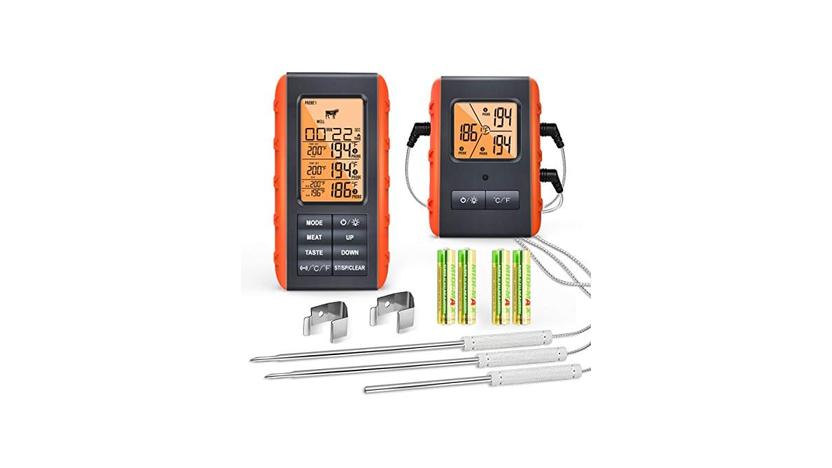
Leave-in probe thermometers work best for ovens, smokers, and slow cookers. You insert a metal probe attached to a heat-resistant wire into the roast before cooking begins. The wire connects to a digital display that sits outside the oven.
Many modern versions include Bluetooth or Wi-Fi connectivity, sending alerts to your smartphone when the meat hits your target temperature. This setup prevents you from constantly opening the oven door and losing heat.
| Thermometer Type | Speed | Best Used For | Price Range |
|---|---|---|---|
| Instant-Read Thermocouple | 2-3 seconds | Grilling, pan-searing, quick checks | $30 – $100 |
| Digital Instant-Read | 5-10 seconds | Everyday cooking, baking | $15 – $40 |
| Leave-In Probe (Wired) | Continuous | Oven roasting, smoking | $25 – $60 |
| Wireless Smart Thermometer | Continuous via app | Smokers, long BBQ sessions | $80 – $200 |
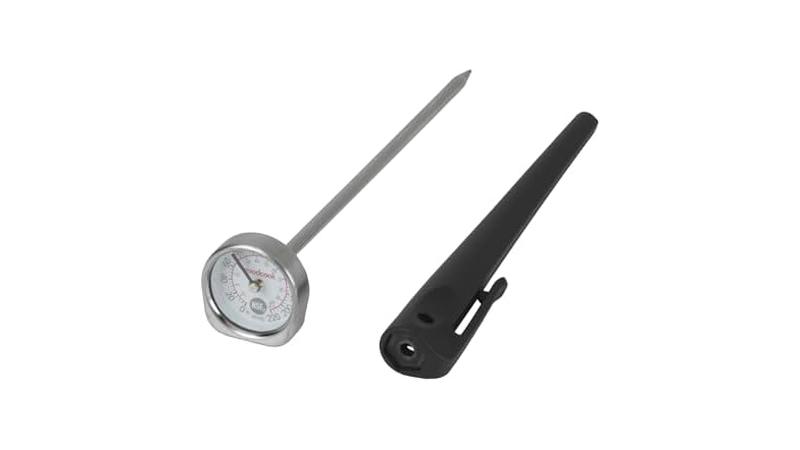
| Analog Dial | 15-20 seconds | Basic oven roasting | $5 – $15 |
Invest in a quality digital model. Cheap thermometers drift out of calibration quickly and give false confidence. A good tool lasts for years and pays for itself by saving ruined steaks.
Common Mistakes When Using a Beef Internal Temperature Chart
Even with a perfect beef internal temperature chart, human error leads to bad results. The most frequent mistake involves checking the temperature in the wrong location. Hitting a bone gives you the temperature of the bone, not the meat.
Bones conduct heat faster than muscle, so your reading will falsely show the meat is done when the center remains raw.
Another major issue is failing to account for carryover cooking. Pulling a steak off the grill exactly at 145°F means it will rest up to 150°F or 155°F, pushing it from medium into medium-well territory. You must always subtract five to ten degrees from your target temperature when deciding to remove the beef from the heat source.
Trusting pop-up timers built into store-bought roasts causes endless disappointment. These cheap devices usually trigger at 165°F or higher, guaranteeing a dry, overcooked meal. Throw them away immediately and use your own digital thermometer instead.
Similarly, relying on the “touch test” where you press the meat and compare it to the fleshy part of your palm is wildly inaccurate for beginners.
- Checking the temperature too close to the surface or touching bone
- Forgetting to subtract 5-10 degrees for carryover cooking
- Using uncalibrated or low-quality dial thermometers
- Leaving the oven or grill door open too long while checking
- Ignoring the mandatory three-minute rest time recommended by the USDA
- Assuming ground beef is safe just because it looks brown
- Poking the meat repeatedly, which releases valuable juices
Tip: Only check the temperature once or twice during cooking. Every time you puncture the meat, you create a new channel for juices to escape. Plan your checks strategically.
How Does Cut Thickness Affect Cooking Times?
Thickness dictates how heat travels through beef. A thin skirt steak cooks in minutes over high heat, while a three-inch thick tomahawk requires a reverse-sear method to cook evenly. Your beef internal temperature chart provides the destination, but thickness determines the journey.
Ignoring this relationship leads to burnt outsides and raw centers.
Heat transfers from the exterior surface toward the core. In thick cuts, the outside reaches high temperatures long before the center warms up. If you blast a thick ribeye over direct flames, the crust chars before the middle passes rare.
To fix this, cooks use indirect heat or lower oven temperatures to bring the core up slowly, finishing with a brief sear for color.
Thin cuts present the opposite problem. They reach the target internal temperature so fast that developing a proper crust becomes difficult. You need maximum heat and minimal cooking time.
Preheat your cast iron skillet until it smokes. Drop the thin steak in, flip it after sixty seconds, and pull it immediately. There is zero margin for error with thin beef.
- Measure the thickness of your beef cut before applying heat
- Select high direct heat for cuts thinner than one inch
- Use a two-zone fire or indirect oven heat for cuts thicker than two inches
- Monitor the internal temperature closely as thick cuts accelerate rapidly near the end
- Adjust your resting time based on mass, giving larger roasts up to 45 minutes
Matching your cooking method to the physical dimensions of the meat ensures the temperature chart works exactly as intended. Treat every cut as a unique project.
Frequently Asked Questions
What is the safe internal temperature for beef according to the USDA?
The USDA recommends cooking whole cuts of beef like steaks and roasts to a minimum internal temperature of 145°F, followed by a three-minute rest period. Ground beef must reach 160°F to ensure all potential bacteria mixed during grinding are destroyed.
Can I eat a steak cooked below 145°F safely?
Many people enjoy steaks cooked to medium-rare at 130°F to 135°F. Because harmful bacteria reside only on the surface of whole muscle cuts, searing the outside effectively kills them. However, the USDA still advises 145°F as the official safe minimum for optimal protection.
Where exactly should I insert the meat thermometer?
Insert the probe into the thickest part of the meat, aiming for the geometric center. Keep the tip away from bones, large pockets of fat, and the bottom of the cooking pan. For burgers, slide the probe horizontally through the side into the middle.
Why does my meat keep cooking after I take it off the grill?
This phenomenon is called carryover cooking. The outer layers of the meat hold more heat than the center. Once removed from the heat source, that thermal energy continues moving inward, raising the core temperature by 5 to 10 degrees during the resting phase.
Do I need a different temperature for slow-smoked brisket?
Yes. Standard steak doneness charts do not apply to tough barbecue cuts. Brisket contains heavy connective tissue that only breaks down into gelatin between 195°F and 205°F.
Cooking it to standard medium temperatures leaves the meat incredibly tough and chewy.
Final Thoughts
A beef internal temperature chart takes the guesswork out of cooking meat. Remember to account for carryover cooking, rest your beef properly, and always use a reliable digital thermometer. Apply these principles consistently, and you will serve perfectly cooked, safe meals every single time.