
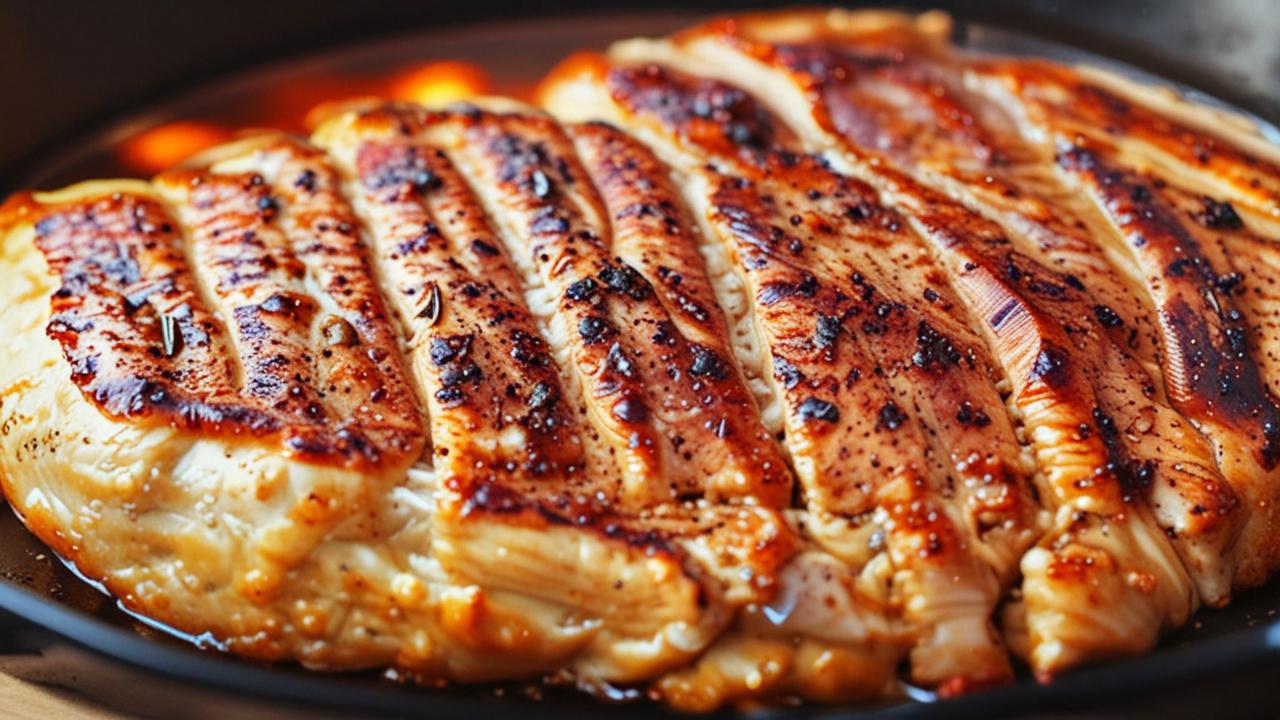
Getting chicken breast just right can feel tricky sometimes. You want it cooked all the way through, but not dry and tough. That’s where knowing How to Use Meat Thermometer for Chicken Breast really helps!
It might seem a bit much for new cooks, but it’s actually super simple. We’ll walk you through it step-by-step so you can cook perfect chicken every time. Let’s get started on making your chicken juicy and safe to eat.
Understanding Your Meat Thermometer
This section is all about getting to know your meat thermometer. Think of it as your kitchen’s best friend for cooking meats perfectly. It tells you the exact temperature inside your food, so you don’t have to guess.
Guessing can lead to undercooked chicken, which isn’t safe, or overcooked chicken, which is dry. We’ll cover the different types of thermometers you might see and why they are important tools for any cook, especially when dealing with poultry.
Types of Meat Thermometers
There are a few common types of meat thermometers you’ll find. Each works a little differently, but they all have the same goal: giving you an accurate temperature reading.
- Instant-Read Thermometers: These are very popular because they give you a temperature reading in just a few seconds. They have a thin metal probe that you for a moment, and then the display shows the temperature. They are great for quick checks while cooking.
- Oven-Safe Thermometers: These have a probe that you can leave inside the meat while it’s cooking in the oven. The display unit usually sits outside the oven door, so you can check the temperature without opening the oven and letting heat escape. This is handy for longer cooking times.
- Wireless Thermometers: These are a bit more advanced. They have a probe that goes into the meat, and a transmitter that sends the temperature reading to a receiver or your smartphone. This means you can monitor the chicken’s temperature from another room. They offer a lot of convenience.
Each type has its own benefits. For beginners, an instant-read thermometer is usually the easiest and most affordable to start with. It’s versatile and can be used for many different cooking tasks beyond just chicken.
Why Temperature Matters
Cooking chicken to the right temperature is really important for two main reasons: safety and taste. Undercooked chicken can have harmful bacteria like salmonella. Eating it can make you very sick.
A meat thermometer removes all the guesswork. It tells you for sure when the chicken is safe to eat.
On the other hand, overcooked chicken becomes dry and tough. This happens when the meat loses too much moisture. The ideal temperature ensures the chicken is cooked through but still moist and tender.
A thermometer helps you hit that sweet spot every single time. This makes your meals more enjoyable and safe for everyone.
Preparing Your Chicken for Temperature Checking
Before you even think about using your thermometer, you need to prepare your chicken. This means handling it safely and knowing where to insert the thermometer for the most accurate reading. Proper preparation ensures you get the best results and avoid any issues with cooking.
We’ll go over how to handle raw chicken safely and the best spots to check its temperature.
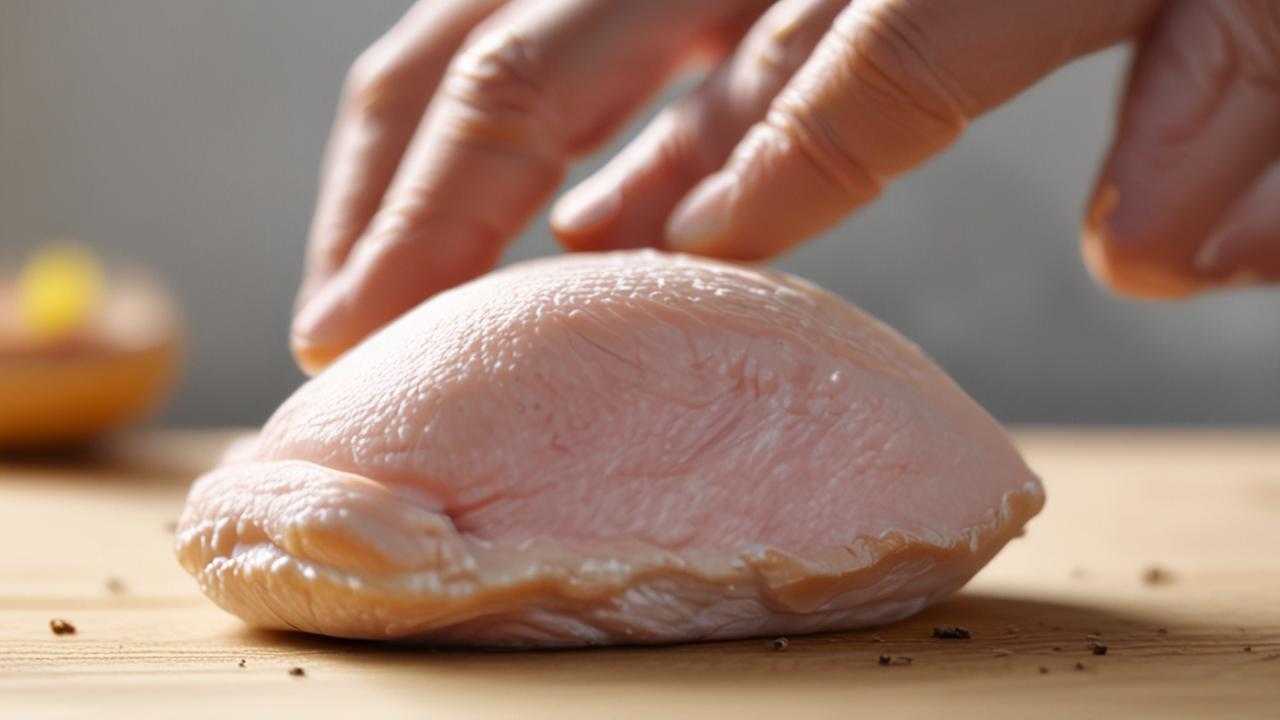
Safe Handling of Raw Chicken
Working with raw chicken requires careful handling to prevent the spread of germs. Always wash your hands with soap and warm water before and after you touch raw chicken. Use separate cutting boards and utensils for raw chicken to avoid cross-contamination with other foods.
Make sure to clean any surfaces that raw chicken has touched. This includes countertops, sinks, and any dishes. This simple step is very important in keeping your kitchen and your family healthy.
If you’re marinating chicken, always do it in the refrigerator, never on the counter.
- Wash Hands Thoroughly: This is the number one rule. Wash hands with warm, soapy water for at least 20 seconds. Do this before and after handling raw chicken. This helps remove any bacteria that might be on your skin.
- Use Separate Utensils: If you use a knife or cutting board for raw chicken, don’t use them for other foods like vegetables or cooked items without washing them first. This prevents germs from spreading. Consider having a designated cutting board just for raw meats.
- Clean Surfaces: Wiping down counters, sinks, and any other surfaces that came into contact with raw chicken is essential. Use a kitchen cleaner or a solution of bleach and water. This sanitizes the areas and kills any lingering bacteria.
- Marinate Safely: Always marinate chicken in the refrigerator. Leaving it out at room temperature for too long can allow bacteria to grow quickly. A sealed container or bag in the fridge is the best place for marinating.
Finding the Thickest Part
When you’re ready to check the chicken’s temperature, you need to find the right spot. The most accurate reading comes from the thickest part of the chicken breast. This is usually the center, away from any bones or fat.
For a boneless chicken breast, the thickest area is usually in the middle. If you are cooking a whole chicken breast, or one with the skin on, try to insert the probe into the largest, meatiest section. Avoid touching any bone, as bones conduct heat differently and can give you a false reading.
A false reading might make you think the chicken is done when it’s not, or vice-versa.
How to Use Meat Thermometer for Chicken Breast: Step-by-Step
Now, let’s get to the main event: using your meat thermometer to check chicken breast. This process is straightforward and will become second nature after a few tries. We will guide you through each step, from inserting the thermometer to reading the results.
Following these steps ensures you get a safe and delicious meal.
Step 1: Preheating and Cooking
Start by cooking your chicken breast as you normally would. Whether you’re grilling, baking, pan-searing, or air-frying, get your cooking setup ready. Make sure your oven or grill is at the correct temperature, or your pan is hot enough.
Place the chicken breast in your cooking vessel. For baking or grilling, you might put it directly on a rack or baking sheet. For pan-searing, use a hot skillet with a bit of oil.
The cooking time will vary based on the thickness of the breast and your cooking method.
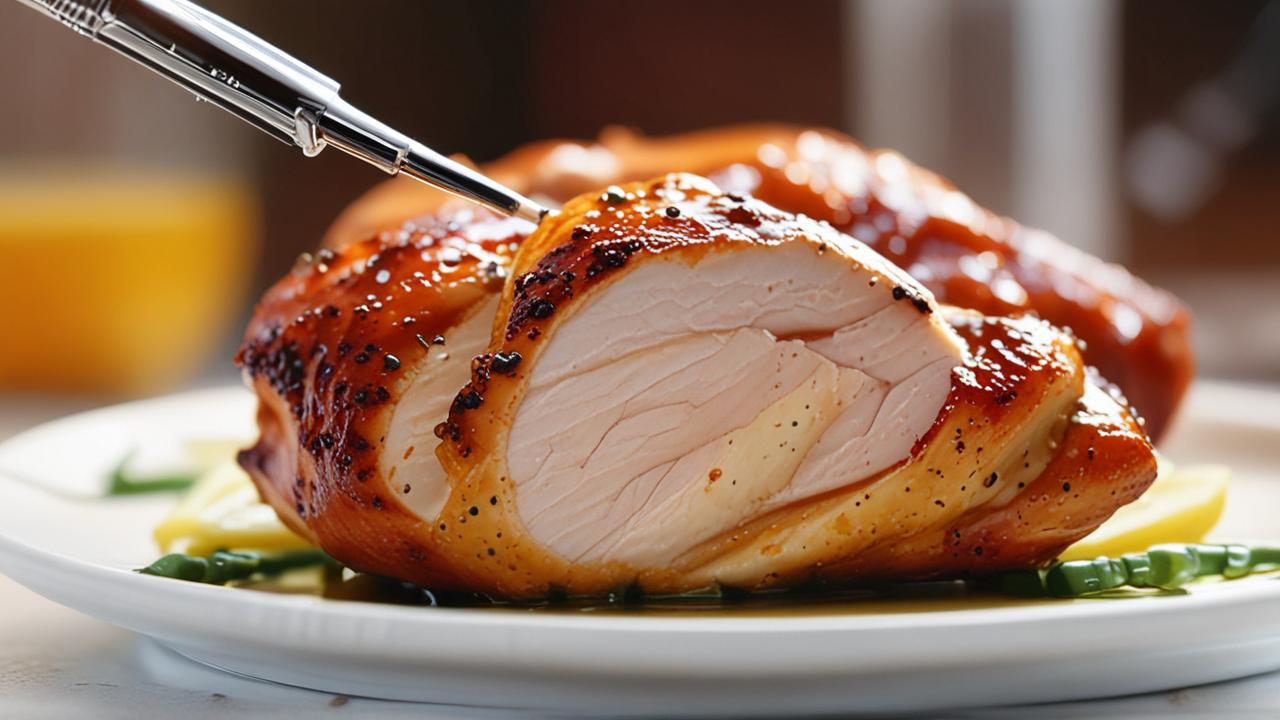
Step 2: Checking the Temperature
Once the chicken has been cooking for a while, it’s time to check its temperature. If you’re using an instant-read thermometer, you’ll need to take the chicken out of the heat source for a moment.
Gently insert the probe of your thermometer into the thickest part of the chicken breast. Be sure to avoid hitting any bone. Hold the thermometer steady for a few seconds until the reading stabilizes.
If you are using a wireless thermometer, you can often check the reading on the receiver or your phone without disturbing the cooking process.
- Insert Probe Correctly: Aim for the center of the thickest portion. Make sure the tip of the probe is fully inside the meat and not poking out the other side. Also, ensure it’s not touching any bone or gristle.
- Allow Reading to Stabilize: Don’t pull the thermometer out too quickly. Give it a moment to register the true internal temperature of the meat. Most digital thermometers will beep or show a steady number within 5-10 seconds.
- Note the Temperature: Pay close attention to the number displayed on the thermometer. This is the most critical piece of information for determining if your chicken is ready.
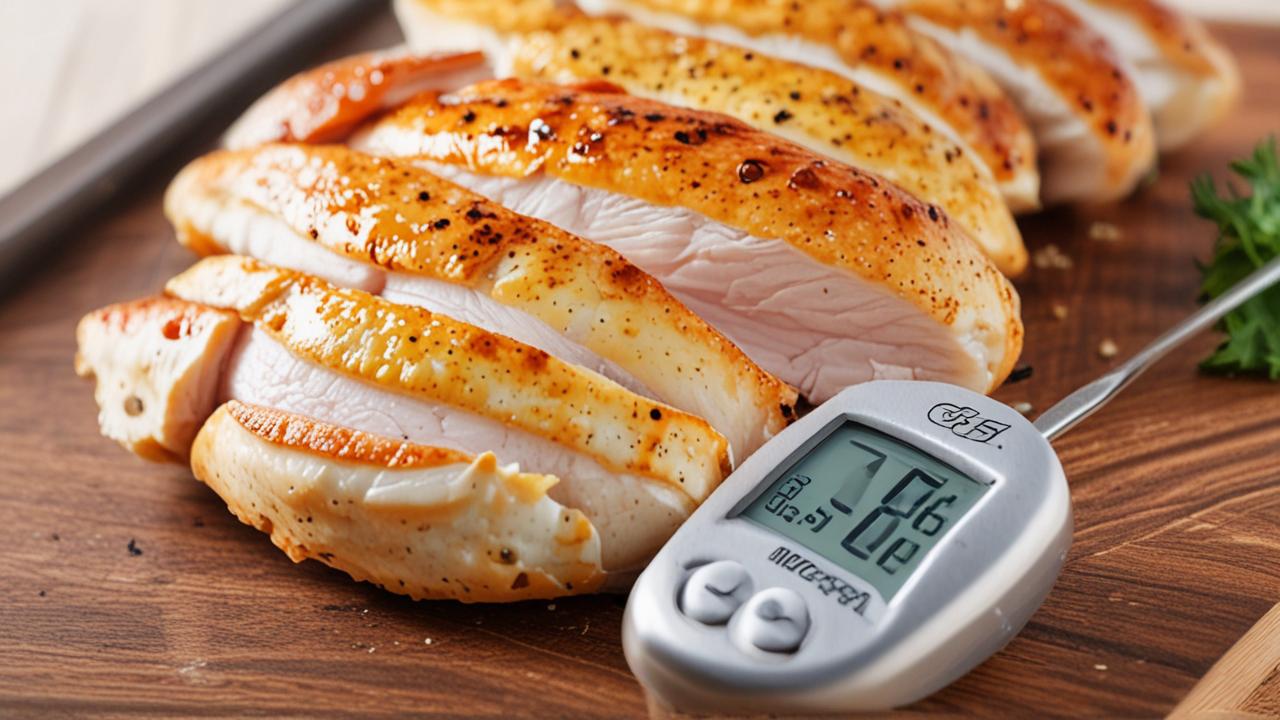
Step 3: Understanding Safe Temperatures
The key to perfectly cooked chicken is reaching a safe internal temperature. For all poultry, including chicken breast, the USDA recommends an internal temperature of 165°F (74°C). This temperature kills any harmful bacteria.
When you check the temperature, if it’s below 165°F (74°C), the chicken needs to cook longer. Put it back on the heat and check again in a few minutes. It’s often better to check more frequently as you get closer to the target temperature.
A common mistake is to pull the chicken off the heat when it’s just a few degrees below 165°F. The temperature can continue to rise a bit as the chicken rests after cooking, a process called carryover cooking. Some people choose to remove chicken from the heat when it reaches 160-162°F (71-72°C) and let it rest.
However, for maximum safety, aiming for 165°F (74°C) is the most reliable method for beginners. This ensures that the entire breast reaches a safe temperature. You will get a more consistently safe result by cooking to the full 165°F.
Step 4: Resting the Chicken
Once your chicken breast reaches 165°F (74°C), it’s time to let it rest. This is a very important step that many people skip. Resting allows the juices inside the chicken to redistribute evenly throughout the meat.
If you cut into it right away, all those delicious juices will run out, leaving you with dry chicken.
Tent the chicken breast loosely with foil and let it sit for about 5-10 minutes. This short resting period makes a big difference in the tenderness and juiciness of your cooked chicken. After resting, your chicken is ready to be sliced and served.
Tips for Accurate Thermometer Use
To make sure you’re always getting the most accurate readings from your meat thermometer, there are a few extra tips to keep in mind. These small things can help prevent errors and ensure your chicken is always cooked perfectly and safely. We’ll cover common mistakes to avoid and how to care for your thermometer.
Common Mistakes to Avoid
Even with a good thermometer, you can make mistakes that lead to incorrect readings. One of the most common is not inserting the probe into the thickest part of the meat. If you only check the thinner edge, you might think the chicken is done when the center is still undercooked.
Another mistake is touching a bone with the thermometer probe. Bones are hotter than the meat, which can give you a falsely high reading. Also, make sure the thermometer is calibrated correctly.
Some thermometers can be adjusted if they aren’t reading accurately.
- Inaccurate Insertion Point: Always target the thickest part of the chicken breast. This ensures the entire piece of meat reaches the safe temperature. Checking a thin section will give you an early “done” reading that isn’t representative of the whole breast.
- Contact with Bone: Bones heat up faster than meat. If the thermometer probe touches a bone, the reading will be higher than the actual meat temperature, potentially leading you to remove the chicken too soon. Position the probe carefully to avoid bone contact.
- Not Allowing Enough Time: Some thermometers require a few seconds to get an accurate reading. Quickly pulling the thermometer out before the number settles can lead to an inaccurate result. Wait for the reading to stabilize.
- Thermometer Calibration Issues: If your thermometer is old or has been dropped, it might not be accurate. Check the manufacturer’s instructions for how to calibrate your thermometer, usually by testing it in ice water or boiling water.
Caring for Your Meat Thermometer
To ensure your meat thermometer lasts a long time and continues to give accurate readings, proper care is important. After each use, always wash the probe with warm, soapy water.
Avoid putting most digital thermometers in the dishwasher, as the heat and water can damage the electronic components. Some older dial thermometers might be dishwasher safe, but check the manual. Store your thermometer in a safe place where the probe won’t be bent or damaged.
Regularly checking the calibration, as mentioned before, will also help ensure its accuracy over time. If you notice consistently odd readings, it might be time to replace the thermometer. A well-maintained thermometer is a reliable kitchen tool.
Using a Thermometer for Different Chicken Cuts
The method for checking chicken breast temperature is similar for other chicken cuts, but there are slight differences. For chicken thighs or legs, you’ll want to insert the probe into the thickest part of the thigh, avoiding the bone. The target temperature of 165°F (74°C) remains the same.
For a whole chicken, you’ll need to check multiple spots. Insert the probe into the thickest part of the thigh, the thickest part of the breast, and sometimes the wing joint. All these areas should reach 165°F (74°C).
A good probe thermometer left in the oven can help monitor this.
Here’s a quick guide for different cuts:
| Chicken Cut | Best Place to Insert Thermometer | Target Temperature |
|---|---|---|
| Chicken Breast (Boneless) | Thickest part of the center | 165°F (74°C) |
| Chicken Thigh/Leg | Thickest part of the thigh, away from bone | 165°F (74°C) |
| Whole Chicken | Thickest part of thigh, thickest part of breast, wing joint | 165°F (74°C) in all checked areas |
Beyond Chicken Breast: Other Uses for Your Thermometer
Once you get comfortable using your meat thermometer for chicken breast, you’ll find it’s incredibly useful for so many other foods. It’s not just for poultry! This tool can help you cook a wide variety of dishes perfectly, ensuring they are safe and delicious every time.
We’ll explore some of these other applications so you can maximize the use of your kitchen gadget.
Cooking Other Meats
Beef, pork, lamb, and even fish all benefit from temperature checks. Different meats have different safe internal temperatures. Knowing these helps you cook them to perfection, whether you want a medium-rare steak or fully cooked pork chops.
For example, a medium-rare steak is often around 130-135°F (54-57°C), while medium is closer to 140-145°F (60-63°C). Pork is best cooked to 145°F (63°C) for a tender, juicy result. Fish is safe to eat when it flakes easily and reaches an internal temperature of 145°F (63°C).
Your thermometer is your guide to achieving these ideal temperatures.
Baking and Candy Making
Beyond meats, meat thermometers are also handy for baking. Some recipes, like custards or cheesecakes, require specific internal temperatures for the best texture. You can check the center of a cheesecake to see if it’s set.
Candy making is another area where thermometers are essential. Different types of candy, like caramels or hard candy, require precise temperature ranges to achieve the right consistency. A candy thermometer is a specialized type of meat thermometer designed for these high temperatures, but a good digital meat thermometer can sometimes be used if it has a wide enough range.
- Cheesecake Perfection: To get a smooth, creamy cheesecake, you need to bake it to the right internal temperature, usually around 150°F (65°C). This ensures the center is set but still moist.
- Caramel Consistency: Making caramel involves heating sugar to specific temperatures. Soft caramel needs a temperature around 235-240°F (113-116°C), while hard crack candy needs to reach 300-310°F (149-154°C).
- Bread Baking: For artisan breads, checking the internal temperature can tell you if the loaf is fully baked. An internal temperature of 190-200°F (88-93°C) usually indicates a bread is ready.
Frequently Asked Questions
Question: What is the minimum safe internal temperature for chicken?
Answer: The minimum safe internal temperature for all chicken, including chicken breast, is 165°F (74°C). Cooking chicken to this temperature ensures that any harmful bacteria are killed.
Question: Can I use my meat thermometer to check the temperature of soup?
Answer: Yes, you can use your meat thermometer to check the temperature of soup, especially if you need to ensure it has reached a certain temperature for safety, like when reheating leftovers.
Question: How often should I check the temperature of chicken while it’s cooking?
Answer: You don’t need to check the temperature constantly. Check it when you think the chicken is getting close to being done. As it gets nearer to the target temperature, you can check more often, maybe every 5-10 minutes.
Question: Do I need to calibrate my meat thermometer?
Answer: It’s a good idea to calibrate your meat thermometer occasionally, especially if it’s new or you suspect it might not be accurate. You can test it in ice water (which should read 32°F or 0°C) or boiling water (which should read 212°F or 100°C at sea level).
Question: How long should I rest chicken after cooking?
Answer: After cooking chicken to the correct temperature, you should let it rest for about 5-10 minutes before cutting. Tent it loosely with foil. This resting period allows the juices to redistribute, making the chicken more moist and tender.
Summary
Using a meat thermometer for chicken breast is simple and makes a huge difference. You’ll cook chicken that’s safe and tasty every time. Just check the thickest part for 165°F (74°C), let it rest, and enjoy.


