
Figuring out Where to Insert Meat Thermometer in Chicken can seem a bit tricky when you’re just starting out in the kitchen. You want your chicken cooked perfectly, juicy and safe to eat, but not dried out. It’s a common question because even a small mistake can throw off the temperature reading.
Don’t worry, though! We’ll make this super simple with easy steps. Let’s get your chicken cooked just right.
Understanding the Basics of Chicken Cooking
This section helps you grasp why cooking chicken properly matters and what makes a meat thermometer your best friend. We’ll cover the importance of internal temperature for both safety and taste, setting the stage for understanding exactly where that thermometer needs to go. You’ll learn why hitting the right temperature is key to delicious, safe chicken every time.
Why Internal Temperature is Key
Internal temperature is the most reliable way to know if chicken is safe to eat. Bacteria like salmonella can hide in undercooked chicken, making people sick. Cooking chicken to the correct internal temperature kills these harmful germs.
It also ensures the chicken is cooked through without being dry and tough.
- Food safety is the biggest reason. Eating chicken that isn’t cooked enough can lead to food poisoning. A thermometer helps prevent this by showing you when the chicken is safely cooked.
- Taste and texture are also improved by cooking to the right temperature. Overcooked chicken becomes dry and rubbery. Undercooked chicken can be unappetizing and risky. Getting it just right means juicy, tender meat.
- Consistency in cooking is easier with a thermometer. You won’t have to guess if the chicken is done. This leads to better results every time you cook, whether it’s a whole chicken or just parts.
The Role of a Meat Thermometer
A meat thermometer is a simple tool that takes the guesswork out of cooking. It measures the internal heat of the food. This is much more accurate than looking at the color of the juices or the meat itself, which can be misleading.
Digital instant-read thermometers are popular because they give a reading in just a few seconds. Others are probe thermometers that stay in the chicken while it cooks, allowing you to monitor the temperature continuously. Both types are valuable for ensuring chicken is cooked perfectly.
- Accuracy is its main job. Unlike visual cues, a thermometer gives a precise number. This number tells you if your chicken is safe and ready to eat.
- It saves you from overcooking. Without one, people often cook chicken too long to be sure it’s done. This makes the meat dry. A thermometer helps you stop cooking at the exact right moment.
- It boosts your confidence in the kitchen. Knowing you can rely on a tool to tell you when food is cooked properly makes cooking less stressful and more enjoyable.

Finding the Right Spot: Where to Insert Meat Thermometer in Chicken
This section gets straight to the point about the crucial question: Where to Insert Meat Thermometer in Chicken. We’ll break down the best places to get an accurate reading, whether you’re cooking a whole bird or just a piece. Understanding these key locations will help you achieve perfectly cooked chicken every time, avoiding common pitfalls.
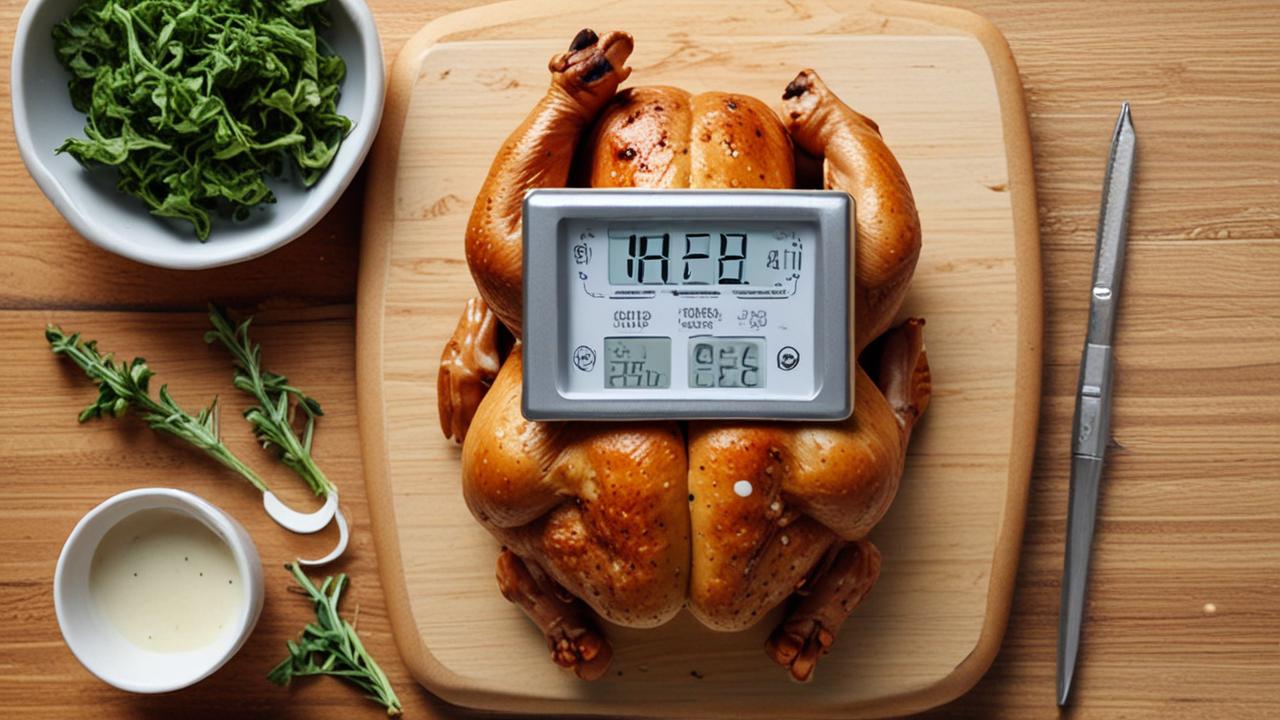
Checking a Whole Chicken
When you’re cooking a whole chicken, there are a few prime spots to check its internal temperature. The goal is to find the thickest part of the meat without touching any bone. Bones can give a false high reading, making you think the chicken is done when it’s not.
The thigh is usually the best place. Insert the thermometer into the thickest part of the thigh meat, making sure it doesn’t touch the bone. You can also check the breast meat, but remember that the breast cooks faster than the thigh.
For a whole chicken, you want both parts to reach the safe temperature.
- The thigh is the deepest, meatiest part. It typically cooks slower than the breast. Checking here ensures that the darkest meat is fully cooked.
- Avoid the bone. If the thermometer touches a bone, it will read a higher temperature than the actual meat. Pull the thermometer out slightly and re-insert it into the meat.
- Check multiple spots. For a large bird, it’s a good idea to check both thighs and also the thickest part of the breast. This gives you a more complete picture of how the chicken is cooking.
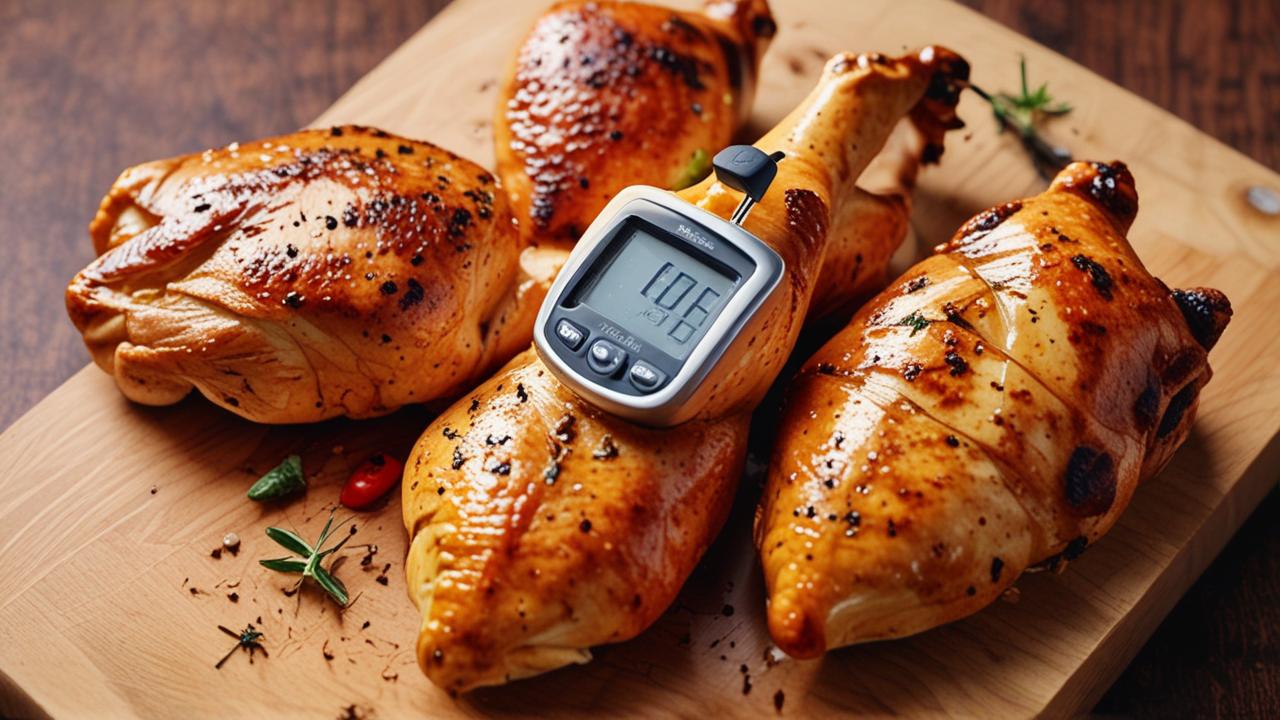
Measuring Chicken Parts
Cooking chicken parts like breasts, thighs, or wings often means they cook at different rates. For individual pieces, you’ll want to target the thickest part of the meat. This is where it takes the longest to heat up.
For a chicken breast, find the thickest section and insert the thermometer horizontally into it. For chicken thighs, insert it into the deepest part of the thigh meat, again, avoiding the bone. Wings are smaller, so you’ll insert the thermometer into the thickest part of the wing.
- Thickest part is key. For breasts, this is usually the center. For thighs, it’s where the meat is deepest.
- Breasts cook faster than thighs. If you’re cooking both together, you might need to remove the breasts earlier than the thighs.
- Wings can be tricky. Make sure you’re not hitting the bone when you insert the thermometer. The thickest part of the wing meat is the target.
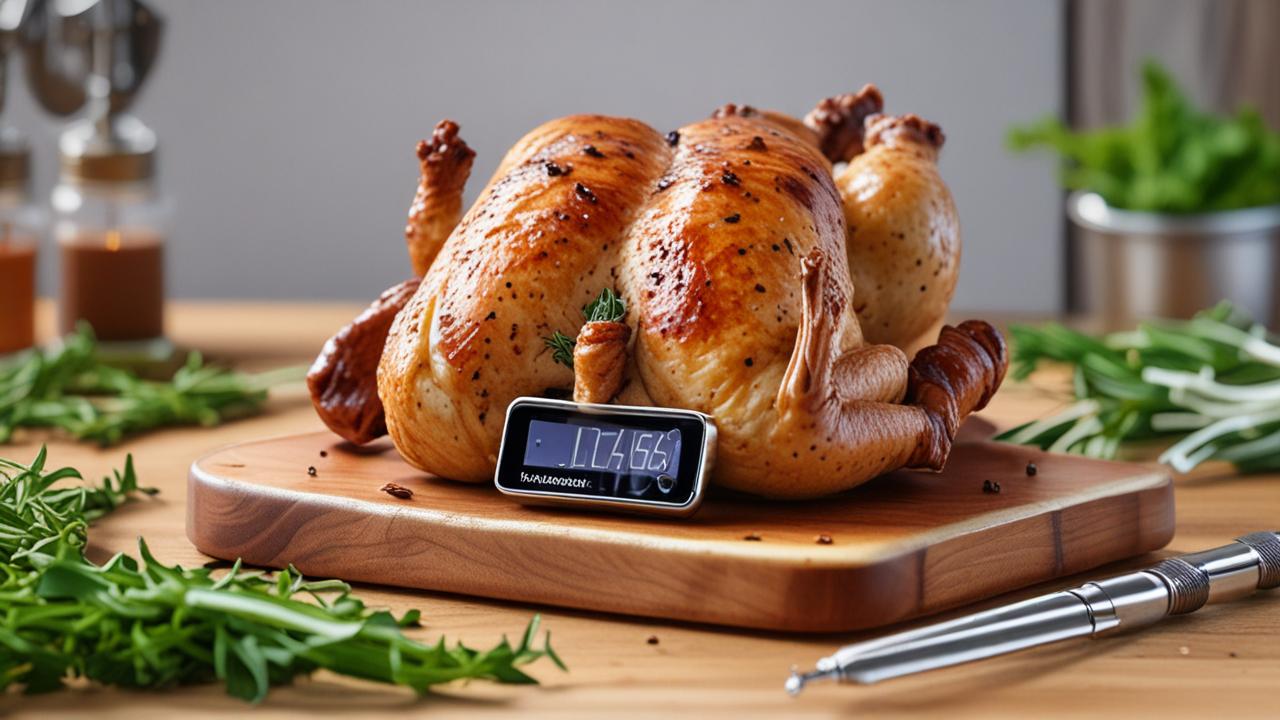
Using Different Types of Thermometers
The type of thermometer you use might slightly change how you get your reading, but the principle remains the same: measure the thickest part of the meat, away from bone. Instant-read thermometers are quick and great for spot checks. Probe thermometers, which are left in the food, are useful for monitoring the temperature as it rises.
For an instant-read thermometer, insert it, wait for the reading to stabilize, then remove it to check. If using a probe thermometer, ensure the probe is in the thickest part of the meat and the cable doesn’t touch the oven or grill surface, as this can distort the reading.
- Instant-read: Insert into thickest part, wait a few seconds for a stable number. Easy to use for quick checks.
- Leave-in probe: Insert into thickest part before cooking. Monitor temperature on an external display. Good for roasts and long cooking times.
- Calibration matters: Ensure your thermometer is accurate. You can test it in ice water (should read 32°F or 0°C) or boiling water (should read 212°F or 100°C).
Safe Internal Temperatures for Chicken
Knowing where to insert your thermometer is only half the battle. The other crucial part is knowing what temperature to aim for. This section explains the safe internal temperatures for chicken, ensuring it’s both delicious and safe to consume.
We will also discuss the importance of resting chicken after cooking.
Target Temperatures for Doneness
The U.S. Department of Agriculture (USDA) recommends that all poultry, including chicken, be cooked to an internal temperature of 165°F (74°C). This temperature guarantees that any harmful bacteria have been killed.
It’s important to check the temperature in the thickest part of the meat.
While 165°F (74°C) is the safe minimum, some people prefer slightly higher temperatures for darker meat like thighs, as they can become more tender. However, for food safety, the 165°F (74°C) mark is non-negotiable for all parts of the chicken.
- 165°F (74°C) is the magic number. This is the temperature that kills harmful bacteria like salmonella and E. coli.
- Check the thickest part of the meat. This ensures the entire piece is cooked through. For a whole bird, check the thigh and breast.
- Carryover cooking: The temperature of the chicken will continue to rise a few degrees after you remove it from the heat. This is called carryover cooking. So, you can often remove it when it’s a couple of degrees below your target.
The Importance of Resting Chicken
Once your chicken reaches the safe internal temperature, it’s important to let it rest before carving or serving. This resting period allows the juices to redistribute throughout the meat. If you cut into it immediately, all those delicious juices will run out, leaving you with dry chicken.
Tent the chicken loosely with foil and let it rest for about 10-20 minutes for a whole chicken, or 5-10 minutes for smaller pieces. During this time, the internal temperature will continue to rise slightly, finishing the cooking process.
- Juices redistribute: Resting lets the muscle fibers relax, pulling the juices back into the meat for a moist result.
- Temperature climb: The internal temperature can increase by 5-10°F during resting, ensuring it reaches the target safely.
- Flavor development: Resting allows flavors to meld, making the chicken more enjoyable to eat.
Common Mistakes to Avoid
Even with a thermometer, mistakes can happen. One of the most common is not inserting the thermometer correctly. Another is relying on visual cues instead of the temperature reading.
Some people also check the temperature in the wrong spot, like too close to the bone or in a thin part of the meat that cooks faster. Always remember to check the thickest part, away from any bones.
- Touching the bone: This gives a false high reading. Always ensure the probe is in the meat only.
- Checking thin areas: Thin parts cook quickly and might reach 165°F before the thicker parts are done. Always go for the thickest section.
- Ignoring carryover cooking: Removing the chicken too late, after carryover cooking has pushed the temperature too high, can lead to dry meat.
Practical Tips for Accurate Readings
Achieving an accurate temperature reading is key to perfectly cooked chicken. This section offers practical advice to help you get the best results from your meat thermometer. We will cover everything from thermometer care to common scenarios.
Thermometer Care and Calibration
To ensure your thermometer gives you accurate readings, it’s important to keep it clean and calibrated. Always wash your thermometer with soap and water after each use. For digital thermometers, ensure the battery is good.
Calibration is vital for accuracy. You can test your thermometer by placing its probe in a glass of ice water. It should read 32°F (0°C).
If it’s off, many digital thermometers can be recalibrated according to the manufacturer’s instructions.
- Cleanliness: Wash the probe thoroughly after each use to prevent cross-contamination.
- Battery check: For digital models, a low battery can lead to inaccurate readings. Replace batteries regularly.
- Regular testing: Periodically check its accuracy against known temperatures like ice water or boiling water.
Sample Scenarios
Let’s walk through a couple of typical cooking situations to show you exactly how to use your thermometer. These examples will help solidify your understanding of Where to Insert Meat Thermometer in Chicken.
- Roasting a Whole Chicken: You’ve got a 4-pound chicken in the oven. After about an hour, you want to check it. Gently open the oven door. Insert your instant-read thermometer into the thickest part of the thigh, making sure not to touch the bone. If it reads 160°F (71°C), it’s getting close. You might pull it out around 163°F (73°C) and let it rest, knowing the temperature will rise to 165°F (74°C) during carryover cooking.
- Grilling Chicken Breasts: You’re grilling boneless, skinless chicken breasts. After a few minutes on each side, they look mostly cooked. Take one breast and insert your thermometer into the thickest part. If it reads 165°F (74°C), it’s ready. If it’s still a bit low, like 155°F (68°C), put it back on the grill for a couple more minutes and check again.
Tips for Different Cooking Methods
Whether you’re baking, grilling, frying, or roasting, the principle for using your meat thermometer remains the same: find the thickest part of the meat, away from the bone. However, the way you access that spot might differ.
When frying, be extra careful. The oil is hot, and you need to insert the thermometer quickly and safely. For baking or roasting, you have more time.
For grilling, ensure the thermometer probe is long enough to reach the center without you having to handle the hot food too much.
- Frying: Insert quickly to avoid splattering hot oil. Aim for the thickest part of the piece.
- Grilling: Use a long probe or an oven-safe probe thermometer that can stay in while cooking. Be mindful of flare-ups.
- Roasting: A leave-in probe thermometer is ideal for whole birds or large roasts. This lets you monitor the temperature without constantly opening the oven.
Frequently Asked Questions
Question: Where is the best place to insert a meat thermometer in a whole chicken?
Answer: The best place is the thickest part of the thigh, making sure the thermometer does not touch the bone. You can also check the thickest part of the breast.
Question: Can I use a visual test to know if chicken is done instead of a thermometer?
Answer: While visual cues can be helpful, they are not reliable for food safety. A meat thermometer is the only sure way to know chicken is cooked to a safe internal temperature.
Question: How long should I let chicken rest after cooking?
Answer: A whole chicken should rest for about 10-20 minutes, and smaller pieces for 5-10 minutes. This allows the juices to redistribute.
Question: What happens if my thermometer touches a bone?
Answer: If the thermometer touches a bone, it will likely read a higher temperature than the actual meat. This could make you think the chicken is done when it’s not, which is a food safety risk.
Question: What is the safe internal temperature for all chicken?
Answer: The safe internal temperature for all chicken, including breasts, thighs, and wings, is 165°F (74°C).
Summary
Knowing Where to Insert Meat Thermometer in Chicken is simple when you aim for the thickest part of the meat, avoiding bone. This ensures your chicken is perfectly cooked, juicy, and safe to eat. Follow these easy steps, and you’ll be a pro at cooking chicken in no time.


