
It’s super frustrating when your meat thermometer shows a reading that’s too low, especially when you’re trying to cook something perfectly. This is a really common problem for folks who are new to cooking or using thermometers. Don’t worry, though!
We’ll walk through exactly why this happens and how to fix it. You’ll get simple steps that make sense. Let’s get your thermometer reading just right!
Common Reasons for a Meat Thermometer Reading Too Low Fix
When your meat thermometer seems to be giving you readings that are lower than what they should be, it can really throw a wrench in your cooking plans. It might make you doubt your skills or the thermometer itself. This article will explore the most frequent causes behind this issue.
We’ll break down why this Meat Thermometer Reading Too Low Fix puzzle pops up for many cooks. Understanding these reasons is the first step to getting accurate results every time you cook. We’ll look at how a thermometer works and what can go wrong.
Probe Placement Issues
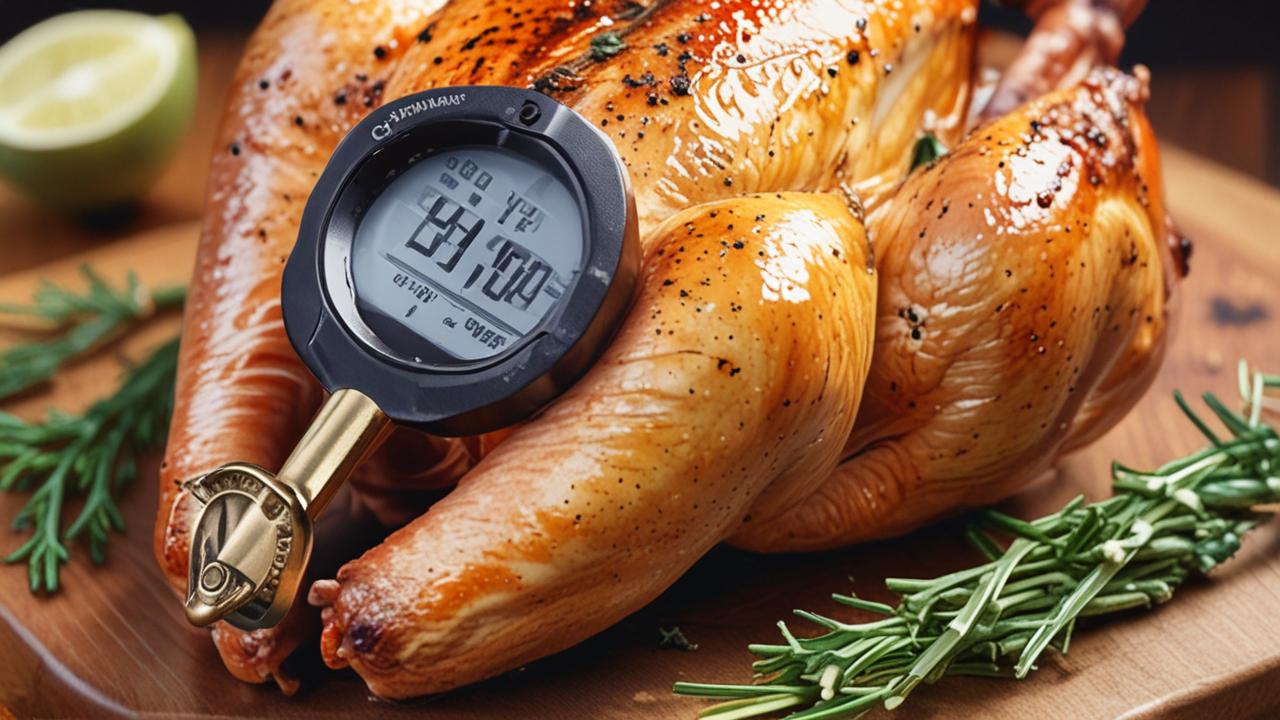
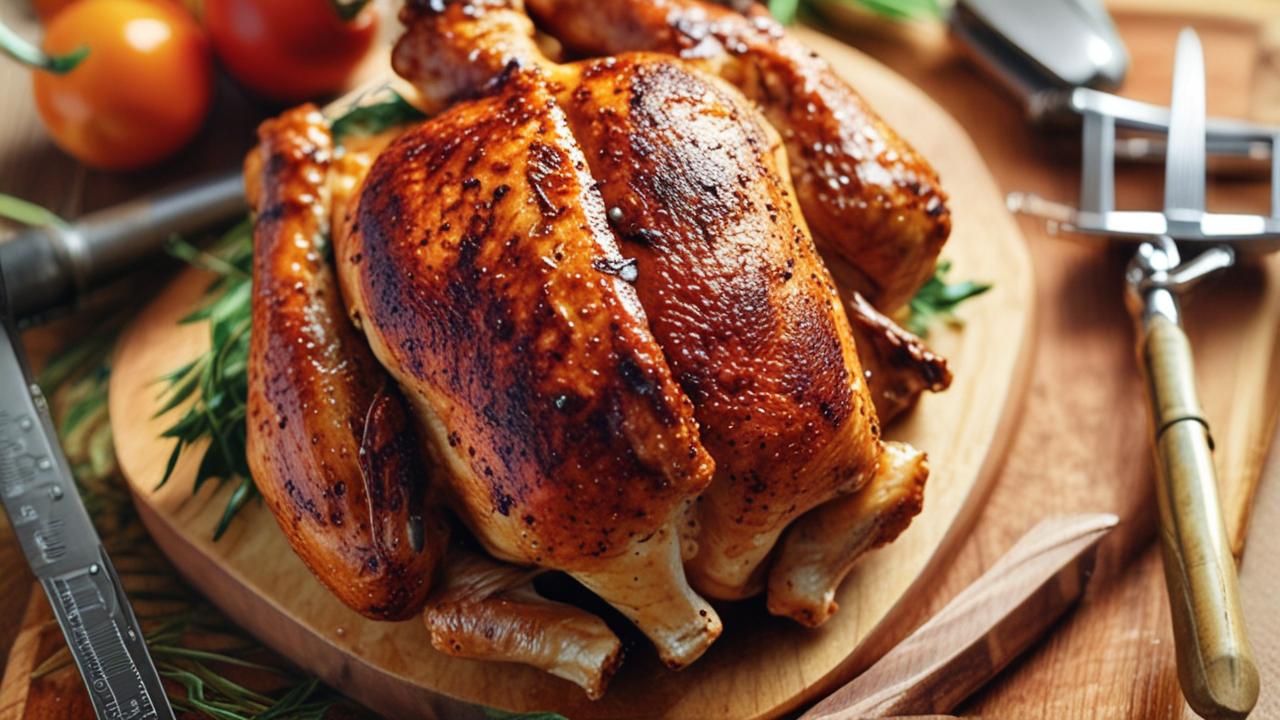
One of the most frequent reasons a meat thermometer reads too low is where you stick the probe. For the most accurate temperature, the probe needs to be in the thickest part of the meat. It should also avoid touching bone or fat.
Bone is much hotter than the meat itself. Fat tends to cook differently and can give a misleadingly low reading.
- Thickest Part Focus: Always aim for the center of the meat. If you’re cooking a steak, that’s right in the middle. For a roast chicken, it’s the thickest part of the thigh. If the probe is in a thinner section, it will register the temperature of that area, which cooks faster. This means the rest of the meat might still be undercooked.
- Bone Avoidance: Bones hold heat differently and can affect the reading. If the probe is touching a bone, you’ll likely get a higher reading than the actual meat temperature. You want the thermometer to measure the muscle tissue. This is where the internal temperature is key for food safety and doneness.
- Fat Layer Caution: Fat can also mess with your readings. It might not reach the same high temperatures as the lean meat, or it can even melt and pool around the probe. This can lead to a lower-than-actual temperature reading for the main part of the meat you want to cook.
Let’s say you’re roasting a pork loin. If you the meat is thinner, or if it accidentally hits a rib bone, you might see a temperature of 140°F (60°C). However, the center of the loin, where the probe should be, might still be at 130°F (54.4°C) or even lower.
This difference is significant for getting your pork to the perfect juicy doneness without being raw.
Thermometer Calibration Problems
Even good thermometers can lose their accuracy over time. This is known as calibration drift. If your thermometer isn’t calibrated correctly, it will consistently give you wrong readings.
This is a common reason for a Meat Thermometer Reading Too Low Fix.
- What is Calibration?: Calibration is like checking if your thermometer is telling the truth. It’s making sure the numbers it shows match the actual temperature it’s sensing. Over time, bumps, drops, or even just regular use can make a thermometer’s sensing element a little off.
- Why it Matters: If a thermometer is not calibrated, it might say your chicken is 165°F (74°C) when it’s actually only 155°F (68°C). This is a big deal for food safety, as undercooked poultry can be dangerous. On the flip side, it could also say something is done when it’s overcooked and dry.
- How to Check: A simple way to check is with an ice bath. Fill a glass with ice and water. Stir it until the ice is melting. The temperature should be 32°F (0°C). If your thermometer reads something else, it needs adjusting or might need replacing.
Imagine you have a digital meat thermometer. You’ve been using it for a year. You try cooking a Thanksgiving turkey, and the thermometer reads 155°F (68°C) in the thickest part of the breast.
Based on this, you take the turkey out to rest. But later, you realize the meat is still a bit pink and cool in the center. This is a classic sign that the thermometer’s calibration might have slipped, showing a lower temperature than what was actually there.
Interference from Cooking Environment
The environment where you are cooking can also influence your thermometer’s reading. Things like the heat source, steam, or even the material of your cooking vessel can play a role.
- Direct Heat Sources: If the probe is too close to a heating element, like the side of a hot grill or an oven’s broiler, it can register a higher temperature than the meat itself. This can trick you into thinking the meat is done when it’s not.
- Steam and Moisture: Excessive steam can also affect readings, especially with analog thermometers. It can cool the probe or interfere with the mechanism. For digital thermometers, while more resistant, extreme steam can sometimes cause temporary fluctuations.
- Vessel Material: Cooking in thin metal pans on a stovetop can sometimes transfer heat very intensely. If the probe is touching the pan through the meat, it might read the pan’s hotter temperature instead of the meat’s internal temperature.
Consider grilling some thick burgers. If your probe is inserted too close to the edge, and the grill grates are extremely hot, the probe might be sensing the intense radiant heat from the grill itself. This could give a reading of, say, 160°F (71°C), suggesting the burger is ready.
However, the inside might only be at 145°F (63°C) because that direct heat isn’t cooking the center effectively.
Low Battery or Faulty Electronics (Digital Thermometers)
For digital meat thermometers, electronic issues are a common cause of inaccurate readings. A weak battery or internal damage can make the device unreliable. This is a key area to check for any Meat Thermometer Reading Too Low Fix.
- The Battery Factor: A dying battery in a digital thermometer can cause it to behave erratically. Readings might become jumpy, slow to appear, or simply inaccurate, often showing lower temperatures. It’s like a phone with a nearly dead battery; it starts to act strange.
- Electronic Component Issues: The internal sensing components or the display screen can also fail over time. Moisture exposure, drops, or just age can degrade these parts, leading to incorrect temperature readings. The sensitive electronics might not be able to accurately measure or display the true heat.
- How to Troubleshoot: The first step is always to
You’re trying to bake some bread, and your instant-read digital thermometer keeps showing a core temperature of only 180°F (82°C) when the recipe calls for 200°F (93°C) for a fully baked loaf. You’ve already tested the bread’s crust color and sound, and it seems done. After trying a new battery, the thermometer suddenly starts reading 205°F (96°C), which is right where it should be.
This clearly shows a weak battery was the culprit.
Meat Thermometer Type and Quality
Not all meat thermometers are created equal. The type and quality of the thermometer you use can significantly impact its accuracy. Cheaper or older models might not be as precise.
- Analog vs. Digital: Analog dial thermometers, while simple, can be less precise than digital ones. Their internal mechanisms can be affected by external factors more easily. Digital thermometers, especially good quality instant-read ones, generally offer faster and more accurate readings.
- Probe Thickness and Material: The probe itself matters. A thin, sharp probe can penetrate meat more easily and get to the center faster. The material of the probe also affects heat conductivity. High-quality stainless steel is usually best.
- Brand Reputation: Well-known brands that specialize in kitchen tools often have better quality control. Investing in a reputable brand can save you the headache of dealing with inaccurate readings and the need for frequent fixes.
Imagine you’re baking cookies. You use a very old, inexpensive oven thermometer that you found in a drawer. It shows the oven is at 350°F (175°C).
You bake your cookies, but they come out pale and doughy. You then decide to buy a new, highly-rated digital oven thermometer. This new one shows your oven was actually only reaching 300°F (150°C) at the same setting.
The old, poor-quality thermometer was giving you a misleadingly high reading, affecting your baking results.
Advanced Troubleshooting for Meat Thermometer Reading Too Low Fix
Sometimes, the basic checks aren’t enough to solve why your meat thermometer is reading too low. We need to look at more in-depth ways to test and fix the issue. These advanced steps will help you pinpoint the problem, especially if you suspect a more complex fault with your device.
Water Damage and Cleaning Errors
How you clean and care for your thermometer can lead to problems. Water damage is a frequent culprit for digital thermometers, affecting their sensitive electronics.
- Digital Thermometer Vulnerability: Many digital thermometers are not fully waterproof. If water seeps into the seams or battery compartment, it can corrode the internal circuits. This corrosion can cause readings to become erratic or stop working altogether, often showing low temperatures.
- Proper Cleaning Techniques: For digital thermometers, it’s usually best to wipe the probe with a damp cloth and mild soap. Avoid submerging the entire unit in water. For analog thermometers, a gentle wipe down is also recommended. Ensure the thermometer is completely dry before storing.
- Inspection for Damage: Carefully examine the thermometer for any signs of water ingress, such as rust or discoloration around buttons, seams, or the battery cover. If you see this, especially on a digital model, it’s likely the source of the low readings.
You used your instant-read digital thermometer for a messy barbecue sauce application. Instead of just wiping the probe, you briefly rinsed the whole thing under the tap. A few days later, it starts giving readings that are too low, consistently showing temperatures that seem wrong.
Upon closer inspection, you notice a small amount of moisture trapped near the battery compartment. This water exposure has likely damaged the internal electronics, leading to the inaccurate, low readings.
Temperature Probe Wire Issues (Remote Thermometers)
If you use a remote meat thermometer, where the probe is connected to a main unit by a wire, the wire itself can be a source of error. These wires can fray, break, or become damaged, affecting the signal sent to the display.
- Wire Integrity: The wire is designed to carry temperature signals accurately. If it’s bent sharply, pinched, or has any cuts or fraying, the signal can be distorted. This can result in the main unit receiving a weaker or corrupted signal, leading to a lower temperature reading.
- Checking Connections: Ensure that the probe is securely plugged into the main unit. Sometimes, a loose connection can cause similar problems to a damaged wire. Gently wiggle the connection to see if the temperature reading changes erratically.
- Protecting the Wire: When using remote thermometers, try to route the wire so it doesn’t get pinched by oven doors or resting on hot surfaces. Keep it away from sharp edges. This simple care can prevent many common wire-related issues.
You’re monitoring a long roast in the oven with a remote thermometer. The wire runs from the meat, under the oven door, to the receiver on the counter. Halfway through the cooking time, you notice the temperature on the receiver has dropped significantly, showing the roast is much cooler than it should be.
When you check the wire, you find it got pinched by the oven door when it closed. This damage to the wire is now preventing it from sending the correct temperature information to the receiver.
Environmental Extremes and Thermometer Limitations
Every thermometer has a range of temperatures it can accurately measure. Using it outside of this range can lead to incorrect readings. Also, extreme ambient temperatures can affect performance.
- Operating Temperature Range: Check your thermometer’s manual for its specified operating range. Some thermometers are designed for high-heat cooking environments, while others might be more sensitive to extreme cold or heat. Using a thermometer meant for food below 100°F (38°C) in a very hot grill might not be accurate.
- Ambient Temperature Impact: Even if the probe is in the food, if the thermometer’s body or display is exposed to extreme heat or cold, it can affect the internal electronics or the sensor. This is particularly true for digital models.
- Pre-heating the Probe: For very cold meats, it can sometimes help to briefly pre-heat the probe in warm (not hot) water or your hand before inserting it. This can help the thermometer get a more stable reading faster, preventing initial low readings due to the shock of a very cold object.
You’re trying to measure the temperature of a deeply chilled ice cream dessert. Your instant-read thermometer is designed for cooking meats and has a typical range starting around 50°F (10°C). When you insert it into the ice cream, it struggles to register a temperature and shows a very low, unstable reading, maybe around 10°F (-12°C).
This is because the ice cream is well below the thermometer’s intended lower limit for accurate measurement. A thermometer specifically designed for frozen foods would give a better result.
Manufacturing Defects
While less common, a thermometer can have a defect right from the factory. This could be an issue with the sensor, the internal wiring, or the calibration at the time of production.
- Sensor Faults: The temperature sensor is the heart of the thermometer. If it’s faulty, it won’t be able to detect heat accurately, leading to consistently low or incorrect readings. This is a problem that typically isn’t fixed by the user and requires replacement.
- Assembly Errors: Sometimes, during the manufacturing process, wires might not be connected properly, or components might be slightly misaligned. These assembly errors can manifest as inaccurate temperature readings over time.
- Warranty Claims: If you suspect a manufacturing defect, especially if the thermometer is new or acting strangely without any obvious user error, check your warranty. Most reputable manufacturers offer a warranty period for their products. Contacting them can lead to a repair or replacement.
You purchase a brand new, high-end digital meat thermometer. You use it for the first time to check a chicken breast. It reads 150°F (65.5°C), which seems too low for a perfectly cooked chicken.
You test it in boiling water, and it reads 190°F (87.7°C) instead of the expected 212°F (100°C) at sea level. This significant and immediate inaccuracy points to a manufacturing defect in the thermometer’s sensor or calibration.
Simple Steps for a Meat Thermometer Reading Too Low Fix
Dealing with a meat thermometer that reads too low can be puzzling, but fixing it is usually straightforward. These steps will guide you through common issues and provide easy solutions. We’ll focus on practical actions you can take right away to get your thermometer back on track.
Step 1: Check the Battery (Digital Thermometers)
For digital thermometers, the battery is often the simplest thing to check. A weak battery can cause all sorts of erratic behavior, including inaccurate low readings.
- Replace the Battery: Always start by putting in a brand new, high-quality battery. Make sure it’s the correct type specified for your thermometer.
- Clean Battery Contacts: Sometimes, the metal contacts inside the battery compartment can get a little dirty or corroded. Gently clean them with a pencil eraser or a cotton swab dipped in rubbing alcohol.
- Secure Fit: Ensure the battery is seated correctly and the compartment cover is firmly closed. A loose connection can prevent proper power flow.
You’ve just finished cooking a pork shoulder, and the thermometer reads 170°F (76.6°C), but you were aiming for 200°F (93°C) for pull-apart tenderness. You remember the thermometer has been in your toolbox for a while. You swap out the old battery for a fresh one.
Instantly, the reading jumps up to 198°F (92°C), and the pork is perfectly tender. The battery was indeed the issue.
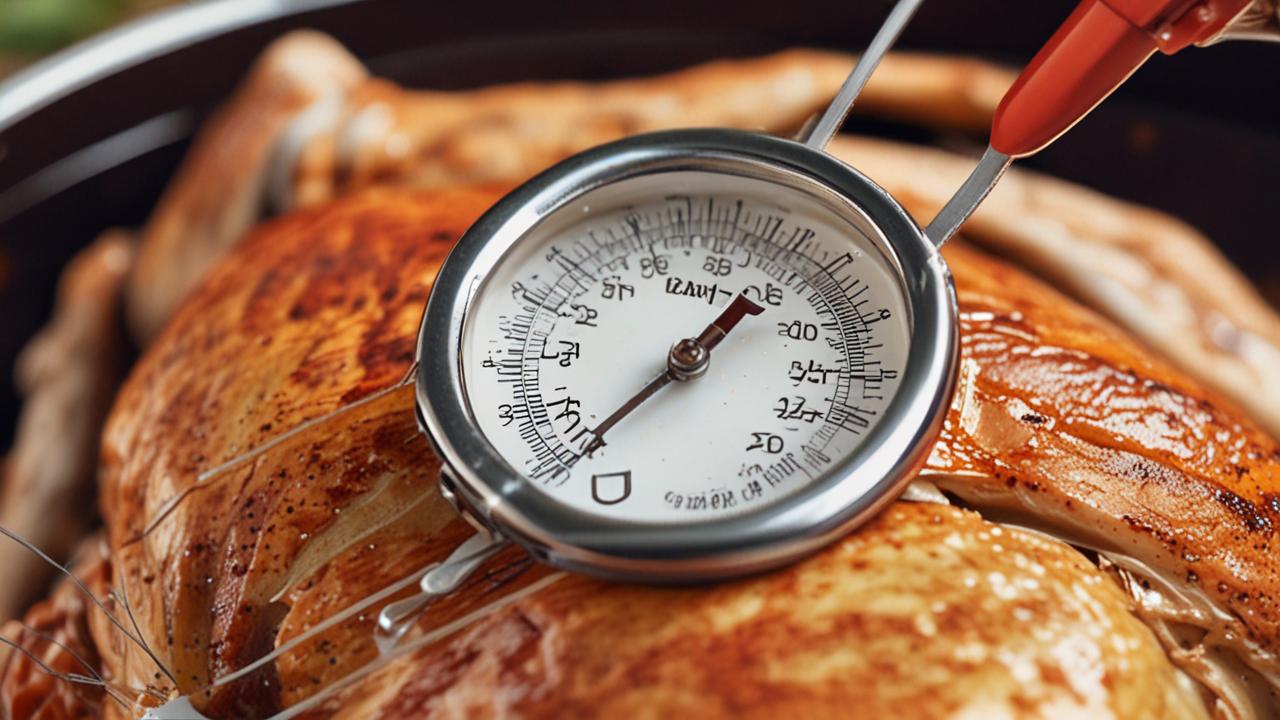
Step 2: Test with Ice Water and Boiling Water
This is the most common way to test and calibrate most thermometers. It helps you see how far off your readings are.
- Ice Water Test: Fill a glass with ice and water. Stir it well until ice is melting. The temperature should be 32°F (0°C). Insert your thermometer into the ice water. It should read 32°F (0°C). If it reads higher, it’s showing too low of a temperature in general.
- Boiling Water Test: Boil a pot of water on the stove. Carefully insert your thermometer into the boiling water, making sure it doesn’t touch the sides or bottom of the pot. At sea level, boiling water should be 212°F (100°C). Note the reading. (Note: Water boils at a lower temperature at higher altitudes).
- Interpreting Results: If the ice water test is off by a few degrees (e.g., reads 34°F or 1.1°C), and the boiling water test is off by the same amount (e.g., reads 210°F or 99°C), the thermometer might still be usable if you simply adjust your expectations or mentally add those degrees. However, if the difference is large or inconsistent between the two tests, the thermometer may be faulty.
You suspect your thermometer is reading too low. You perform the ice water test, and it reads 36°F (2.2°C). Then you test it in boiling water, and it reads 215°F (101.6°C).
The ice water test shows it’s reading 4°F (2.2°C) too low, while the boiling water test shows it’s reading 3°F (1.6°C) too high. These are somewhat inconsistent and significant deviations, suggesting the thermometer is not very accurate.
Step 3: Check Probe Placement in Meat
As discussed earlier, where you put the probe is vital. Make sure you are measuring the right spot.
- Thickest Part: Always aim for the absolute thickest part of the meat. This is usually the center.
- Avoid Bone and Fat: Do not let the probe touch any bones or large pockets of fat. These will give you false temperature readings.
- Multiple Readings: If you’re unsure, take readings from a couple of different spots in the thickest section to ensure consistency.
You’re cooking a chicken breast, and the thermometer reads 155°F (68°C). You know chicken should be at least 165°F (74°C). You re-insert the probe, making sure it’s in the very center and not touching any bone.
The new reading is 168°F (75.5°C). This confirms that your initial placement was in a thinner part, causing the lower reading.
Step 4: Examine the Probe and Wire
Inspect the physical condition of your thermometer’s probe and, if applicable, its wire.
- Probe Condition: Look for any bends, kinks, or damage to the probe itself. A damaged probe might not sense temperature correctly. For digital thermometers, ensure the probe wire is firmly attached to the handle.
- Wire Integrity (Remote Thermometers): For remote probes, carefully inspect the entire length of the wire. Look for any cuts, fraying, or signs of melting. Ensure the connection points at both the probe end and the main unit are clean and secure.
- Cleanliness: Ensure the probe is clean. Food residue can sometimes insulate the probe slightly, affecting its ability to accurately read the meat’s temperature.
You’re having trouble getting accurate readings from your oven’s remote probe. You examine the wire and notice a small black spot where it looks like it got too close to a heating element. This melted area has damaged the insulation and possibly the wires inside.
This damage is likely causing the temperature readings to be too low.
Step 5: Consider Thermometer Type and Age
Sometimes, the problem isn’t a fault but the limitations of the tool itself.
- Old Analog Thermometers: Older, non-digital thermometers can lose their calibration over time and become less accurate. If yours is very old and doesn’t pass the ice/boiling water test, it might be time for a replacement.
- Entry-Level Models: Very inexpensive thermometers might not have the precision or durability of higher-quality models. They can be more prone to inaccurate readings and quicker to fail.
- Specialty Thermometers: Make sure you’re using the right type of thermometer for the job. A thermometer designed for room temperature might not work well in the high heat of a grill.
You’ve been using a cheap dial thermometer for years. It’s hard to read, and you always second-guess its readings. After failing the ice and boiling water tests significantly, you decide to invest in a well-reviewed instant-read digital thermometer.
The new device provides clear, quick, and accurate readings, giving you much more confidence in your cooking.
When to Replace Your Thermometer
Knowing when to say goodbye to your meat thermometer is important for consistent cooking success. If you’ve tried all the troubleshooting steps and your thermometer is still giving you trouble, it’s likely time for a new one. Continuing to use an unreliable thermometer can lead to undercooked or overcooked food, which is not ideal for safety or taste.
Signs Your Thermometer Isn’t Reliable
There are clear indicators that your thermometer has reached the end of its useful life.
- Consistent Inaccuracy: If, after testing with ice and boiling water, the thermometer is consistently off by a large margin, or the readings are wildly inconsistent, it’s a strong sign of a problem.
- Slow or No Response: Digital thermometers that take a very long time to register a temperature, or don’t show any reading at all, are often failing internally.
- Physical Damage: Visible cracks in the display, a broken probe, or a corroded battery compartment that can’t be cleaned properly are all reasons to replace the thermometer.
- Age and Wear: Like any tool, thermometers wear out. If yours is several years old and has been used extensively, its accuracy may have naturally degraded.
Your current meat thermometer consistently reads 10-15°F (5-8°C) lower than actual temperature, even after battery changes and thorough cleaning. You’ve used it for over five years on countless meals. It’s no longer providing reliable information, and the consistent inaccuracy puts your food safety at risk.
It’s time to retire it.
Choosing a New Meat Thermometer
When selecting a new thermometer, consider what you cook most often.
- Instant-Read Digital: These are great for quick checks and are very accurate. They are perfect for steaks, chicken breasts, and most everyday cooking. Look for models with fast read times (under 5 seconds) and a good temperature range.
- Leave-In Probe Thermometers: These have a probe that stays in the meat during cooking, connected by a wire to a display unit outside the oven or grill. They are ideal for roasts, turkeys, and slow-cooked meats, allowing you to monitor temperature without opening the cooking vessel.
- Oven Thermometers: If your oven’s temperature is often inaccurate, a separate oven thermometer is a wise investment. They hang or sit inside the oven and provide a true reading of the oven’s internal temperature.
- Key Features: Look for features like water resistance, a backlit display for easy reading in dim light, and a durable build quality. Reading reviews from other users can also be very helpful.
You’re looking for a new meat thermometer. Since you often grill burgers and steaks, an instant-read digital model with a fast response time and a clear display is your priority. You also enjoy cooking larger roasts, so you decide to get one that comes with a probe and wire for continuous monitoring in the oven.
This combination will cover most of your cooking needs.
Frequently Asked Questions
Question: My meat thermometer reads 10 degrees lower than it should. What’s the first thing I should do?
Answer: For a digital thermometer,
Question: Can I fix a meat thermometer that is consistently off by a few degrees?
Answer: Most digital thermometers cannot be manually recalibrated by the user. However, if the deviation is small and consistent, you can learn to mentally add or subtract the difference. If the readings are erratic or the deviation is large, it’s best to consider replacing it.
Question: My meat thermometer stopped working completely. What could be wrong?
Answer: For digital thermometers, a dead battery is the most common reason. If a new battery doesn’t work, it could be due to water damage, a loose internal connection, or a complete electronic failure, meaning it might need replacement.
Question: How often should I check the calibration of my meat thermometer?
Answer: It’s a good idea to check your thermometer’s calibration every few months, or anytime you suspect it’s not giving accurate readings. Testing it before a big holiday meal is also a smart practice.
Question: Is it better to get an analog or digital meat thermometer for a beginner?
Answer: For beginners, a good quality digital instant-read thermometer is generally recommended. They are usually faster, easier to read, and more accurate than most analog models, making cooking simpler and more reliable.
Wrap Up
A meat thermometer reading too low can be fixed by checking the battery, testing with ice and boiling water, ensuring correct probe placement, and inspecting the probe itself. If these steps don’t solve the problem, it may be time to get a new thermometer. You’ll gain confidence in your cooking.


