It’s frustrating when your meat thermometer’s probe stops working right when you’re trying to cook something delicious. This problem, often called a Meat Thermometer Probe Not Working Fix, can seem tricky, especially if you’re new to cooking or don’t often use one. Don’t worry, though!
Most of the time, it’s a simple fix. We’ll walk you through easy steps to get your thermometer working again so you can cook with confidence. Ready to get your thermometer back in action?
Troubleshooting Your Meat Thermometer Probe
When your meat thermometer’s probe isn’t giving you readings, it can halt your cooking plans. This section will help you figure out why this happens and how to fix it. We’ll look at the most common issues and provide clear steps for a speedy repair.
Checking the Basics: Power and Connection
Before we look at more complex problems, let’s start with the simplest things. Sometimes, the issue isn’t with the probe itself but with how the thermometer is set up or powered.
-
Battery Check: Many digital meat thermometers run on batteries. If the batteries are old or dead, the thermometer won’t turn on or read properly. Replacing them with fresh ones is the first step.
A dead battery can make a digital thermometer seem completely broken. It’s like trying to start a car with no gas; nothing will happen. So, when your thermometer acts up, grab some new batteries and swap them out.
Make sure you put them in the right way, matching the plus (+) and minus (-) signs. This simple step fixes a lot of thermometer problems.
-
Loose Probe Cable: If your thermometer has a detachable probe, the cable connecting it to the main unit might be loose. Gently push it in to make sure it’s snug.
The connection between the probe and the display unit is vital. If this cable is even a little bit loose, the signal from the probe can’t reach the display. This means you’ll get no reading or a wildly inaccurate one.
Take a moment to inspect the end of the cable and the port it plugs into. Give it a firm, but gentle, push to seat it properly. This is especially important after the thermometer has been stored away.
-
Cleanliness of the Probe Tip: Food bits or grease on the very tip of the probe can interfere with its ability to sense temperature accurately.
Think of the probe tip as the thermometer’s nose. If its nose is blocked by food gunk, it can’t smell (or sense) the heat correctly. After each use, it’s a good habit to wipe the probe clean.
You can use warm, soapy water and a soft cloth. For stubborn bits, a gentle scrub with a non-abrasive sponge is usually enough. A clean tip ensures a clear path for temperature readings.
Common Causes of Probe Malfunction
Beyond basic checks, there are a few common reasons why a meat thermometer probe might stop working. Understanding these causes can help you pinpoint the problem faster.
Damage to the Probe Wire
The thin wire inside the probe’s metal sheath is very delicate. It’s the part that actually detects the heat. If this wire is bent, kinked, or broken, the probe will stop sending accurate signals.
-
Internal Wire Breakage: The wires inside the probe are very thin. If the probe is bent sharply or pulled too hard, these wires can break. This is often the most difficult problem to fix because the wires are so tiny and inside the metal casing.
Imagine a tiny electrical wire like a thread. If you bend a thread too much, it snaps. The same thing can happen to the sensitive wires inside your thermometer probe.
When this happens, the electrical signal that measures temperature can’t travel from the sensing tip to the thermometer’s display. This means you’ll get no reading at all, or the display might show strange numbers or just flicker.
-
Corrosion: If the probe is often left submerged in water or exposed to harsh cleaning chemicals, corrosion can form on the internal components. This corrosion can disrupt the electrical signals.
Metal parts can rust or corrode when they get wet too often or are exposed to certain chemicals. This is like rust forming on a car fender. In a thermometer probe, this corrosion can build up on the tiny wires and sensors, making it hard for electricity to flow.
This can cause the thermometer to give wrong readings or stop working altogether. It’s why drying your probe thoroughly after washing is so important.
Sensor Issues
The sensor is the part at the very tip of the probe that senses the heat. If this sensor is damaged or contaminated, it won’t work correctly.
-
Damaged Sensor Tip: The sensing element at the tip can be sensitive. If the probe is dropped or used to probe very hard surfaces (like bone), the sensor can be damaged.
The tip of the probe is where all the magic happens. It’s a special little component that reacts to heat. If you accidentally drop the thermometer, or if you accidentally stab the probe into a hard bone while checking your meat, you could damage this sensitive tip.
A damaged tip means the sensor can’t correctly measure the temperature, leading to inaccurate readings or no readings at all.
-
Contamination of the Sensor: Sometimes, the sensor can get covered in grease or residue that isn’t easily cleaned. This can affect its ability to sense temperature accurately.
Even after cleaning, sometimes a thin film of grease or residue can build up on the very end of the probe where the sensor is. This film acts like a tiny blanket, insulating the sensor from the actual heat of the food. Because the sensor can’t feel the true temperature, the thermometer will give you a reading that’s too low.
It’s like trying to feel the sun through a thick glove; you won’t feel the full warmth.
Fixing a Meat Thermometer Probe Not Working
Now that we’ve covered the common problems, let’s look at how to fix them. Many of these fixes are simple and can be done at home without special tools.
Step-by-Step Troubleshooting Guide
Follow these steps to try and get your thermometer working again. We’ll start with the easiest checks and move to more involved ones.
-
Check the Battery: As mentioned before, this is the first and easiest step.
-
Inspect the Probe Cable: If your probe is detachable, unplug it and then plug it back in firmly. Check the cable for any visible damage, like cuts or fraying.
-
Clean the Probe Tip Thoroughly: Wash the probe tip with warm, soapy water. Use a soft cloth or sponge. For stubborn residue, you can use a bit of baking soda paste and gently scrub.
Baking soda is a mild abrasive that can help lift off tough grease and burnt-on bits without scratching the metal. Mix a little baking soda with water to make a paste. Apply this paste to the probe tip and let it sit for a few minutes.
Then, gently rub with a soft cloth or sponge. Rinse well and dry completely. This can remove invisible buildup that’s affecting the sensor.
-
Check for Bent Pins: If the probe connection has pins, look closely to see if any are bent. If they are, you can very gently try to straighten them with a small pair of needle-nose pliers.
Some thermometer probes plug into the main unit via small metal pins. These pins are delicate. If they get bent, they might not make proper contact.
Take a close look at these pins. If you see one that’s a bit out of line, use tiny pliers to carefully bend it back into place. Be extremely gentle; these pins are easy to break off.
-
Test on Different Foods/Temperatures: Sometimes, a thermometer might seem broken but is actually reading a stable temperature. Try testing it on ice water (should be around 32°F or 0°C) and then boiling water (should be around 212°F or 100°C). If it gives accurate readings in both, it’s likely working.
This is a great way to check accuracy. For ice water, fill a glass with ice and then add cold water. Stir it for a minute.
Insert the probe into the ice water, making sure it’s not touching the bottom or sides of the glass. It should read very close to freezing. For boiling water, carefully place the probe in boiling water, again avoiding touching the pot.
It should read very close to boiling. If it’s accurate in these two known temperatures, the thermometer is probably fine.
-
Reset the Thermometer (if applicable): Some digital thermometers have a reset button or a way to reset them. Check your manual.
If your thermometer has a digital display, there might be a hidden reset feature. Look for a small, recessed button that you might need to press with a paperclip. Your thermometer’s instruction booklet will tell you if this is an option and how to do it.
A reset can sometimes clear up electronic glitches that cause strange behavior.
Dealing with a Damaged Probe Wire
If you suspect the wire inside the probe is broken, it’s usually not a DIY fix. The wires are incredibly thin, and repairing them requires specialized tools and knowledge. For most people, the best option here is to replace the probe or the entire thermometer.
Some higher-end thermometers allow you to buy replacement probes. If yours is a more basic model, or if a replacement probe is expensive, it might be more cost-effective to buy a new thermometer altogether. Before you do, check the warranty on your current thermometer; it might still be covered.
When to Consider a Replacement
Sometimes, despite your best efforts, a meat thermometer just won’t work anymore. Knowing when to give up and get a new one is important.
-
Visible Physical Damage: If the probe itself is bent severely, cracked, or if the cable is clearly broken, it’s often time for a new one. Trying to use a damaged probe can be unsafe or give very inaccurate results.
Physical damage is usually a clear sign that the internal workings are compromised. A probe that looks warped or has a visible crack means the protective casing is broken. This can expose sensitive components to moisture and further damage, and it can make the probe unsafe to insert into food.
It’s generally better to retire a visibly damaged thermometer.
-
Persistent Inaccurate Readings: If you’ve tried all the troubleshooting steps, cleaned it thoroughly, and tested it in known temperatures (like ice and boiling water), but it still gives wildly wrong readings, it’s probably time for a replacement.
Accuracy is the whole point of a meat thermometer. If yours consistently reads 50 degrees too high or too low, even after you’ve tried to fix it, it’s not reliable anymore. Cooking to the right temperature is key for safety and deliciousness, so you need a tool you can trust.
Don’t guess; if it’s not working right, get a new one.
-
Age and Wear: Like any tool, thermometers wear out over time. If your thermometer is very old, has been used heavily, and has seen better days, it might just be time to upgrade to a newer, more reliable model.
Think of your thermometer like a favorite kitchen knife; over years of use, it can get dull and worn. Even with good care, internal components can degrade. If your thermometer is several years old and has been through countless cooks, its accuracy might have drifted.
Investing in a new thermometer can give you peace of mind and better cooking results.
Understanding Thermometer Types
Knowing the different types of meat thermometers can also help you understand potential issues and choose a replacement.
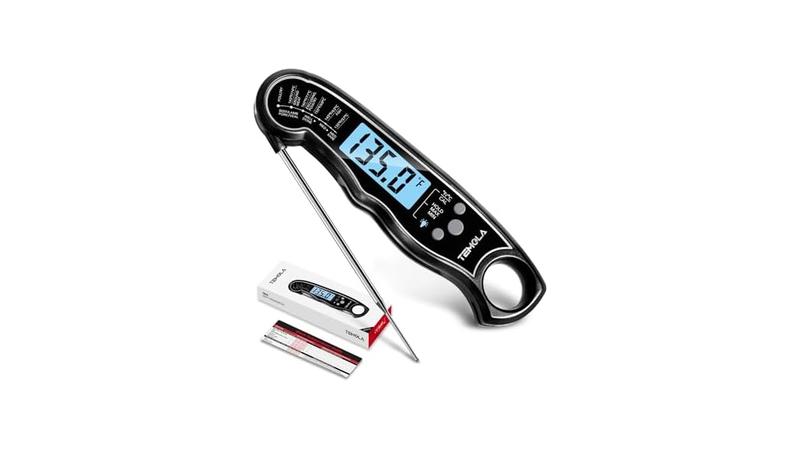
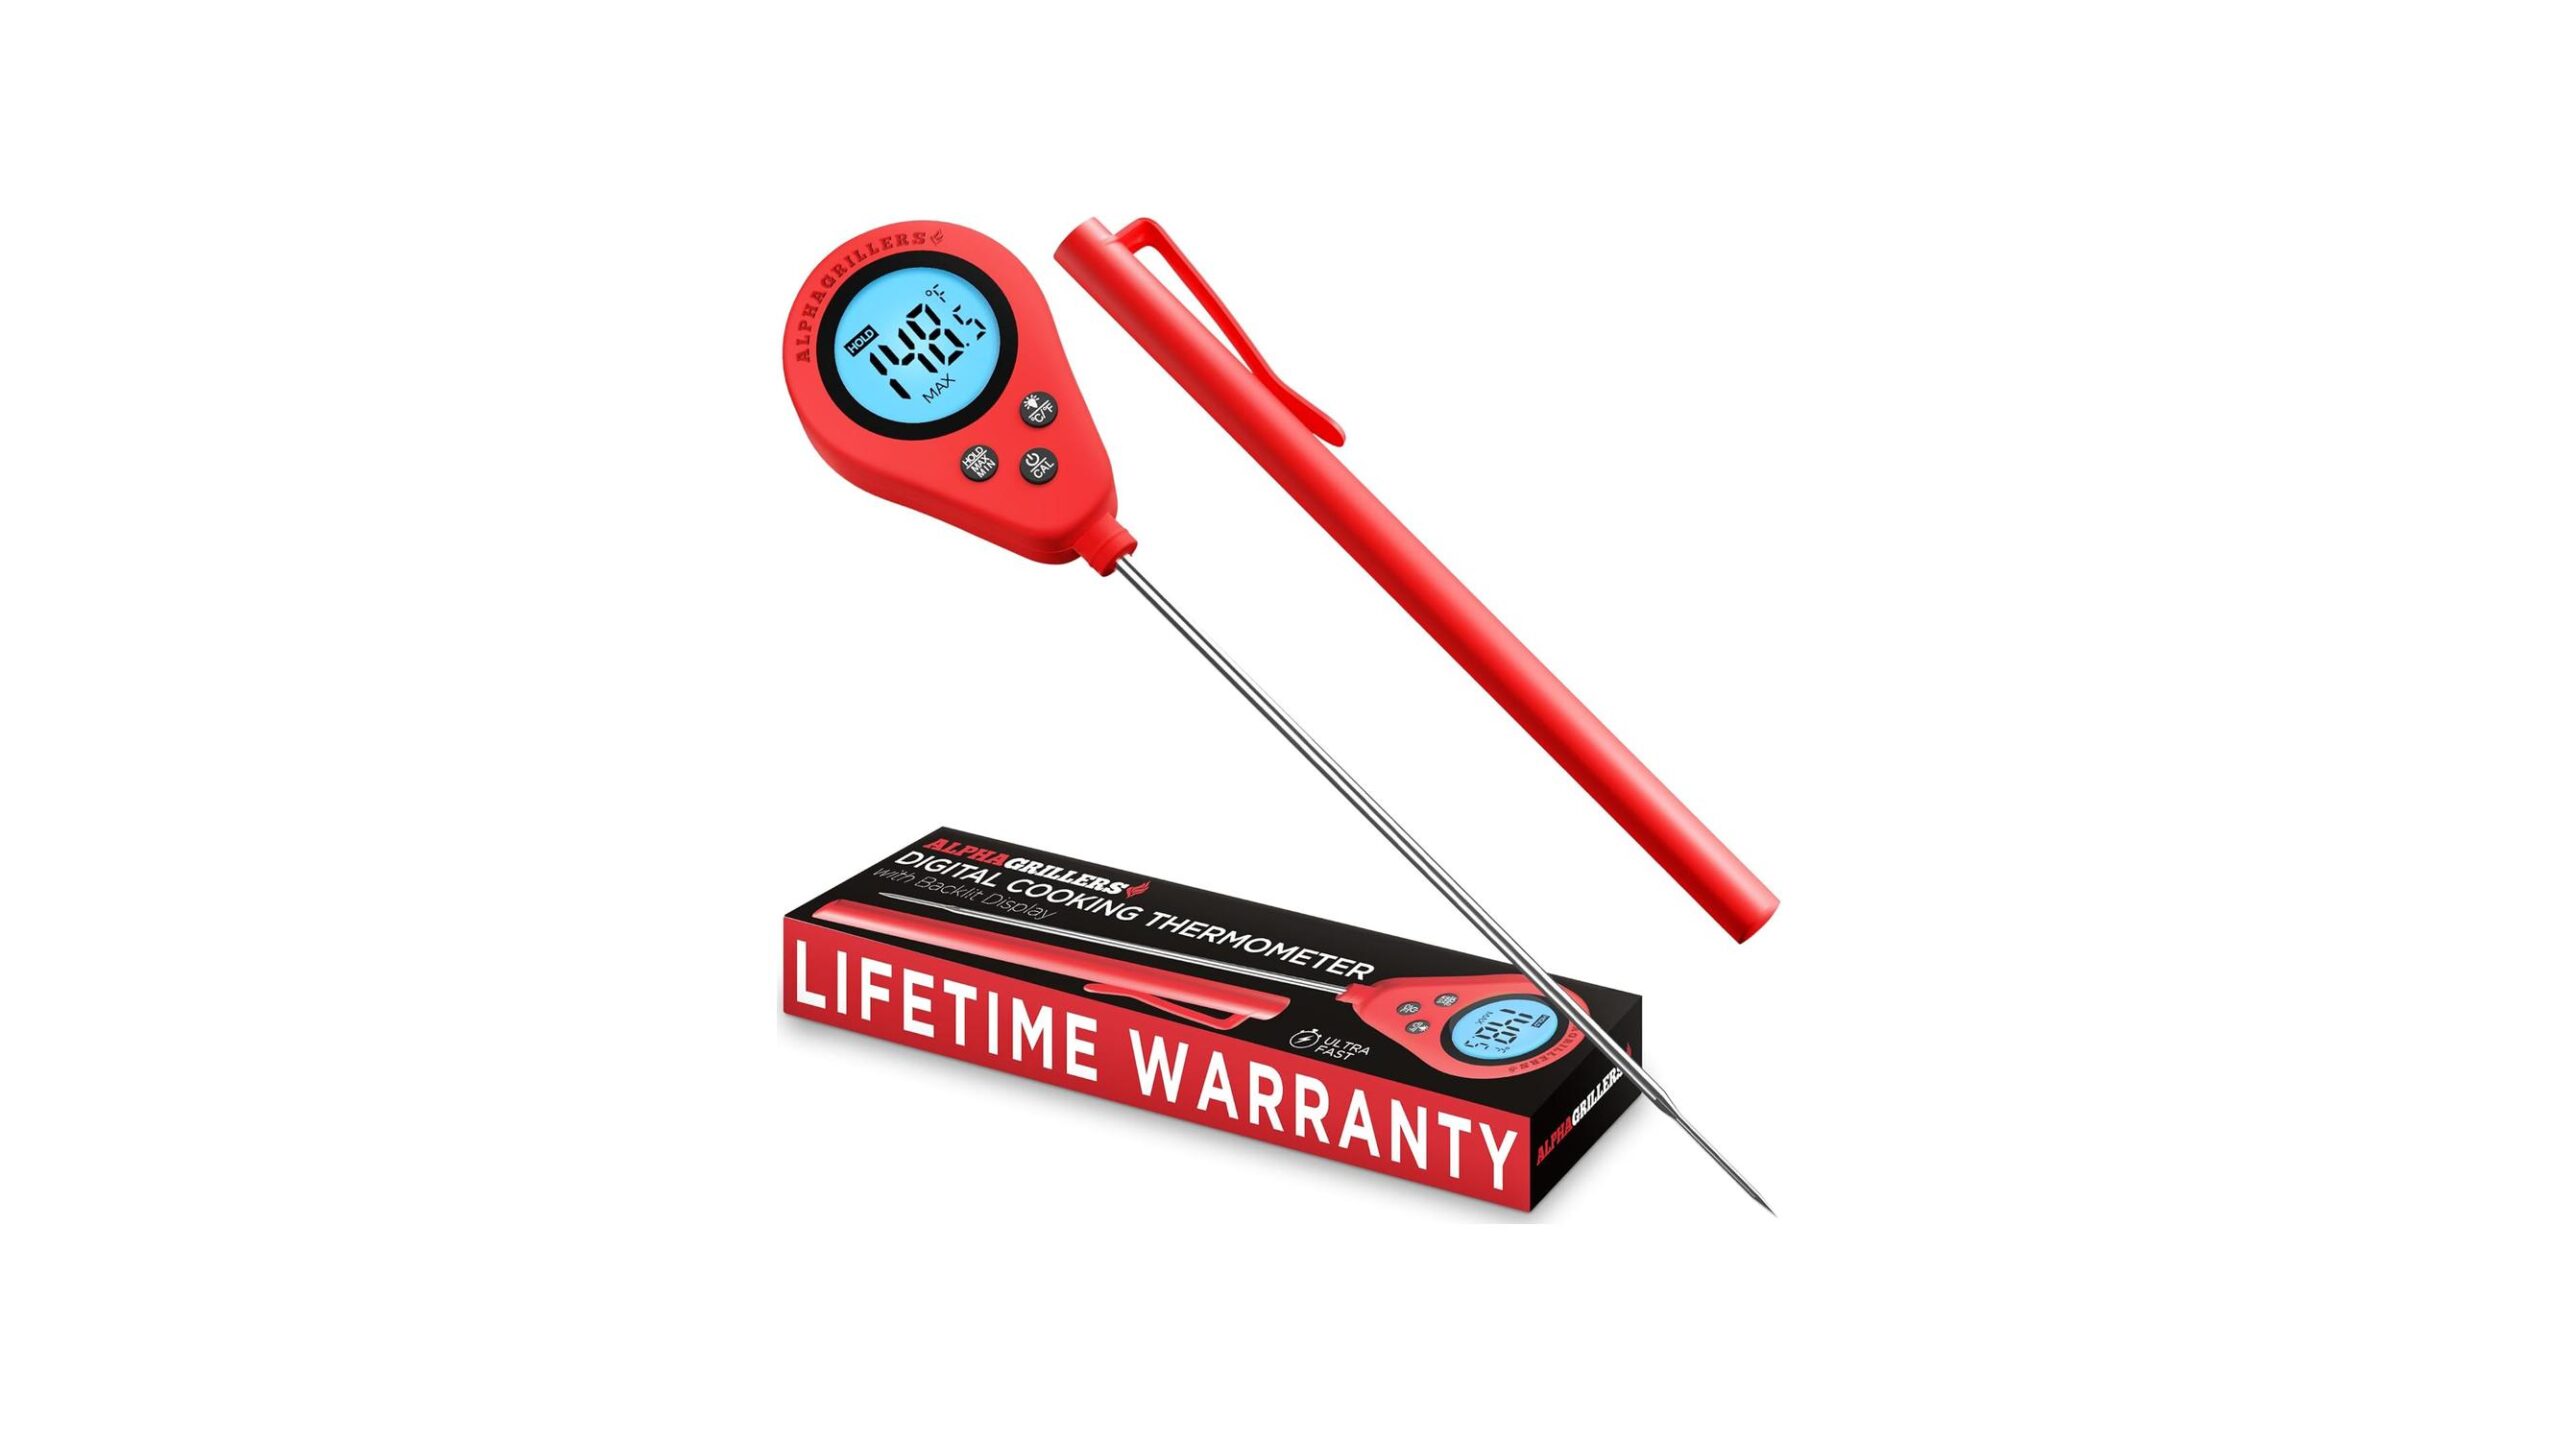
Digital Instant-Read Thermometers
These are the most popular for home cooks. They have a digital display that shows the temperature very quickly. The probe is usually attached directly to the main unit or has a cable.
-
How they work: A thermistor or thermocouple inside the probe converts heat into an electrical signal. This signal is sent to a small computer chip that translates it into a temperature reading on the LCD screen.
These devices are quite sophisticated for their size. The thermistor or thermocouple is a resistor that changes its electrical resistance with temperature. The chip measures this change and calculates the temperature.
This process happens very fast, usually within seconds, giving you an “instant read.”
-
Common issues: Battery problems, loose cable connections, and sensor damage are frequent culprits for a Meat Thermometer Probe Not Working Fix. Water damage can also be an issue if not properly sealed.
Because they rely on electronics and delicate sensors, they can be prone to certain failures. Dropping them can break the internal circuits. Water seeping into the display unit can cause corrosion or short circuits.
Keeping them clean and dry, and handling them with care, is key to their longevity.
Oven-Safe Thermometers (Dial or Digital)
These thermometers have a probe that stays in the meat throughout cooking, and the display unit sits outside the oven. This allows you to monitor the temperature without opening the oven door.
-
How they work: Similar to instant-read thermometers, they use a probe with a temperature sensor. The probe is connected by a heat-resistant wire or cable to a separate display. The display might be a simple dial or a digital screen.
The probe itself is designed to withstand the high heat of an oven. The cable is usually made of braided metal or a high-temperature silicone. This allows the sensor deep inside the roast to communicate its temperature to the unit outside, where you can see it without disturbing the cooking process.
-
Common issues: The heat-resistant cable can sometimes fray or break, especially near the probe or the oven rack. The oven-safe probe can also be damaged if it comes into direct contact with the oven’s heating element.
The cable is a vulnerable point. If it gets pinched by the oven door, or if it rubs against the hot metal of the oven rack for extended periods, the outer insulation can wear away. This can expose the wires inside, leading to faulty readings or a complete failure of the connection.
Always try to position the cable so it’s not stressed.
Meat Thermometer Probe Not Working Fix Comparison Table
Here’s a quick look at how common issues and fixes can vary between thermometer types:
| Thermometer Type | Common Problem | Likely Fix | When to Replace |
|---|---|---|---|
| Digital Instant-Read | Battery dead | Replace batteries | Visible damage to probe or display |
| Digital Instant-Read | Loose probe cable | Reseat cable firmly | Cable frayed or broken |
| Oven-Safe (with cable) | Cable damage | Inspect for nicks/frays; try securing with clip | Cable is significantly damaged or broken |
| Oven-Safe (with cable) | Sensor malfunction (e.g., no reading) | Clean probe tip, check for damage to probe end | Probe appears bent or corroded |
Maintaining Your Thermometer
Proper care can extend the life of your meat thermometer and prevent common problems like a Meat Thermometer Probe Not Working Fix scenario.
-
Cleaning after every use: Always wash the probe with warm, soapy water after each time you use it. Make sure to dry it completely to prevent corrosion.
This is the most important maintenance tip. Food particles can harbor bacteria and can also interfere with the sensor. Washing with soap and water cleans off food residue.
Drying it thoroughly with a soft towel ensures that no moisture is left behind to cause rust or electrical issues within the probe or its connection point.
-
Store carefully: Avoid coiling the probe cable too tightly, as this can damage the wires inside. Store the thermometer in a dry place, perhaps in its original packaging or a protective case.
Tightly coiled cables are like bent wires; they can break internally over time. When storing, try to loop the cable loosely. A protective sleeve or the original box can shield the thermometer from dust and accidental bumps, further preventing damage to the probe and display unit.
-
Avoid extreme temperatures (for the unit): While the probe is designed to handle heat, the main digital display unit might not be. Don’t leave it in a very hot car or direct sunlight for long periods.
The plastic casing and electronic components of the display unit are not meant for extreme heat. Leaving it in a hot oven compartment (if it’s not designed for that) or a hot car can warp the plastic, damage the screen, or affect the internal electronics. Keep the main unit in a cooler, drier place when not in use.
Sample Scenarios for Fixing Your Thermometer
Let’s look at a couple of common situations and how you might solve them.
-
Scenario 1: My digital thermometer won’t turn on.
You press the power button, but nothing happens. The screen stays blank. First, check the batteries.
Are they new? Are they inserted correctly with the plus and minus signs matched up? If the batteries are good and inserted properly, try cleaning the battery contacts gently with a pencil eraser.
If it still won’t turn on, the internal electronics might have failed, and you may need a new thermometer.
-
Scenario 2: My thermometer shows “Err” or dashes.
This usually means the thermometer is not detecting a temperature. It could be too cold, too hot, or there’s a faulty connection. First, check the probe connection to the main unit.
Make sure it’s pushed in all the way. Then, try testing it in ice water. If it still shows “Err,” the probe itself might be damaged or broken internally.
This often means it’s time for a replacement.
Frequently Asked Questions
Question: Why does my meat thermometer probe suddenly stop working?
Answer: It could be due to dead batteries, a loose cable connection, dirt or grease on the probe tip, or physical damage to the probe wire or sensor. Simple issues like cleaning or replacing batteries often fix it.
Question: Can I fix a broken wire inside the probe?
Answer: Generally, no. The wires are extremely thin and delicate, making them very difficult to repair at home. It’s usually best to replace the probe or the entire thermometer.
Question: How often should I replace my meat thermometer?
Answer: If you take good care of it, a good quality meat thermometer can last for many years. However, if it starts giving inconsistent readings or shows signs of damage, it’s time for a new one.
Question: Is it safe to use a thermometer that has been dropped?
Answer: It’s risky. Dropping it can damage the sensitive internal components or the sensor, leading to inaccurate readings. Inaccurate readings can lead to undercooked or overcooked food, which can be a safety hazard.
Question: My thermometer works sometimes but not others. What’s wrong?
Answer: This often points to an intermittent connection issue. Check the probe cable connection to ensure it’s snug. Also, look for any nicks or breaks in the cable itself, as this can cause signals to be lost sometimes.
Final Thoughts
Getting your meat thermometer probe working again is usually quite simple. Most problems come down to batteries, cleaning, or a loose connection. By following these steps, you can easily fix common issues.
If your thermometer still won’t work, you’ll know when it’s time for a new one. Enjoy cooking with confidence!