
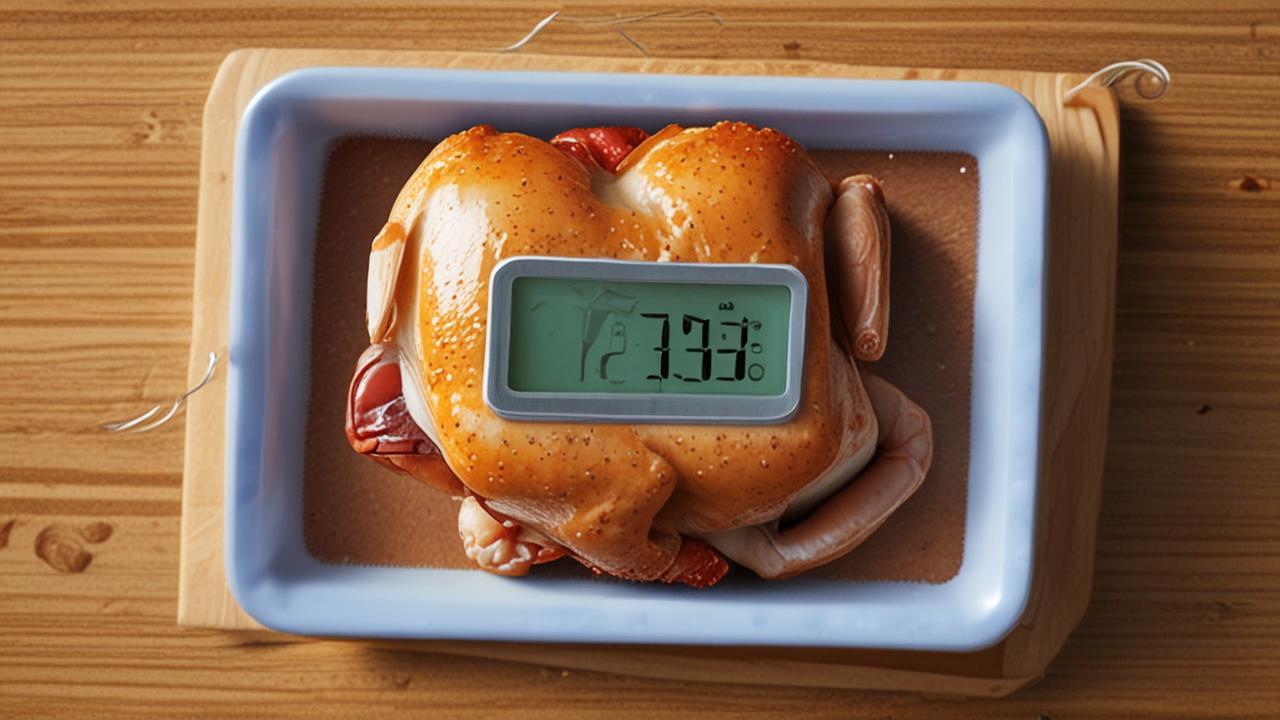
Sometimes your meat thermometer just won’t do what you want it to. You try to reset it, but it acts stubborn, and you’re left wondering what went wrong. This can be really frustrating, especially when you’re trying to cook something perfect.
But don’t worry! We’ll walk through a simple fix for the Meat Thermometer Reset Not Working Fix. Get ready for an easy, step-by-step guide that will have your thermometer working again in no time.
Let’s see how we can get it back in shape.
Understanding Your Meat Thermometer’s Reset Issue
When your meat thermometer’s reset button seems unresponsive, it can feel like a mystery. Many beginners find this problem confusing because they expect a simple press to fix everything. Thermometers, like any electronic device, can encounter small glitches.
These can happen due to battery issues, software hiccups, or even minor physical obstructions. This section will break down why these resets sometimes fail and what common factors are at play.
Common Causes for Reset Failure
There are a few usual suspects when your thermometer won’t reset. Often, it’s something quite simple, like a battery that’s low or not seated correctly. Sometimes, the button itself might be a bit stuck, or the internal software needs a gentle nudge.
We’ll explore these possibilities and how to check them without any technical jargon.
- Low or Dead Batteries: Batteries power everything in your thermometer. If they’re weak, the reset function might not get enough juice to work. It’s like trying to start a car with a nearly dead battery; it just won’t turn over. Always start with fresh batteries as a first step, especially if the display is dim or flickers. Replacing them can solve many “frozen” device problems.
- Physical Button Issues: The reset button might be stuck or dirty. Sometimes, a tiny bit of food residue or dust can get under the button, preventing it from making proper contact. A gentle cleaning can often clear this up. Imagine a light switch that’s a little sticky; you have to press it a bit harder, or it might not click on.
- Software Glitches: Like computers, thermometers have small programs running them. These can sometimes get confused or “hang up.” A reset is supposed to clear these glitches, but if the system is really stuck, a simple button press might not be enough. This is similar to a computer freezing; sometimes you need a more direct way to restart it.
It’s important to approach these issues calmly. Most of the time, the solution is straightforward and doesn’t require special tools or expertise. We’re aiming for a quick fix so you can get back to cooking with confidence.
How Thermometer Resets Are Supposed to Work
A reset function on a thermometer usually tells the device to go back to its original settings. It’s like wiping the slate clean. This process clears any temporary errors or incorrect readings that might have occurred.
When you press the reset button, it sends a signal that restarts the thermometer’s internal workings. This often involves powering down and then powering back up the device, forcing it to reinitialize.
Think of it like restarting your phone when it’s acting up. You close all the apps and refresh the system. A thermometer reset does something similar, clearing out any temporary digital clutter.
This helps ensure accurate readings and proper function for your next cooking task. It’s a crucial feature for keeping your device reliable.

Troubleshooting the Meat Thermometer Reset Not Working Fix
When the standard reset button isn’t cutting it, we need to look at other ways to get your thermometer back on track. This section explores a few common workarounds that often resolve the Meat Thermometer Reset Not Working Fix problem. We’ll cover battery tricks and other simple methods that usually do the trick.
The Battery Pull Method
One of the most effective ways to reset a stubborn digital device is to remove its power source for a short period. This is often called a “hard reset” or “battery pull.” It forces the device to completely power down and then start fresh when the battery is reinserted. This can clear any deeper software glitches that a simple button press can’t reach.
Here’s how it works:
- Carefully open the battery compartment. This usually involves unscrewing a small lid or sliding a cover.
- Remove the batteries completely. Make sure they are out and not just loose.
- Wait for at least 1 to 5 minutes. This waiting period is important. It allows any residual power in the device’s circuits to dissipate. Think of it like letting a computer drain any leftover electricity before you try to turn it back on.
- Reinsert the batteries. Ensure they are placed in the correct orientation (positive and negative ends).
- Close the battery compartment securely.
- Try turning the thermometer on and see if the reset function now works or if the device is back to normal.
This method is especially useful for digital thermometers where a simple button press might not be enough to overcome a software freeze. It’s a universal trick for many small electronic gadgets.
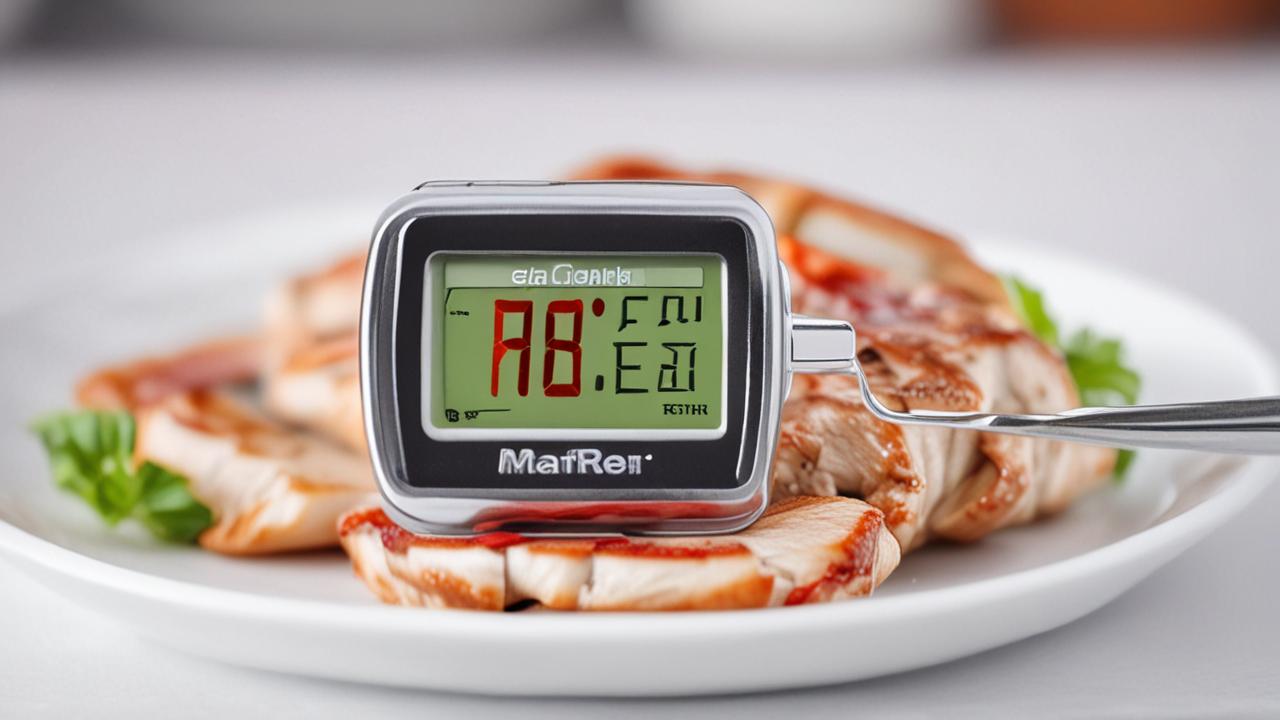
Checking the Probe Connection
Sometimes, the issue isn’t with the main unit but with how the probe connects to it. If the probe isn’t making a solid connection, the thermometer might not function correctly, including its reset capability. A loose or damaged probe can send faulty signals.
- Inspect the Probe Port: Look at where the probe plugs into the thermometer. Make sure there’s no dirt, debris, or bent pins inside the port. You can gently clean it with a dry cotton swab if needed.
- Ensure a Tight Fit: When you plug in the probe, it should feel snug and secure. If it wiggles easily or doesn’t seem to seat fully, that could be the problem. Try wiggling it gently to see if that helps the connection.
- Check the Probe Wire: Look for any kinks, cuts, or damage along the wire of the probe itself. A frayed wire can disrupt the signal. If you see damage, the probe might need to be replaced.
A secure connection is vital for the thermometer to accurately read temperatures and respond to commands like a reset. Without it, the device can act erratically.
Factory Reset vs. Simple Reset
It’s important to know that most simple reset buttons perform a “soft reset,” which clears temporary issues. A “factory reset” is more drastic; it wipes all custom settings and returns the device to its absolute original state, like when you first bought it. Some thermometers might have a hidden factory reset sequence, but for most common models, the battery pull is the closest you’ll get to a full system refresh.
This distinction matters because a simple reset might not fix a deeper software problem. If the button reset isn’t working, the battery pull method acts more like a factory reset by clearing the device’s memory and software state. It’s a more comprehensive way to fix a frozen or unresponsive thermometer.
Advanced Troubleshooting for Meat Thermometer Reset Issues
If the basic steps haven’t solved your Meat Thermometer Reset Not Working Fix problem, we can explore some slightly more advanced but still simple methods. These involve checking for environmental factors and understanding how different types of thermometers might behave.
Environmental Factors and Thermometer Behavior
Sometimes, where you’re using or storing your thermometer can affect its performance. Extreme temperatures or moisture can cause electronic devices to act strangely. While most meat thermometers are designed for kitchen use, very humid environments or being left in a very cold garage might cause temporary issues.
- Temperature Extremes: If your thermometer has been left in a very hot car or a freezing shed, it might take some time to return to normal operating temperature. Allow it to sit at room temperature for a while before attempting a reset. Extreme cold can slow down electronic components, while extreme heat can sometimes cause them to malfunction temporarily.
- Moisture and Humidity: While not usually waterproof, excessive humidity can sometimes get into the battery compartment or affect the circuitry. Ensure the thermometer is dry, especially around the battery area and probe connection. If you suspect moisture, let it air dry completely in a warm, dry place for at least 24 hours.
- Electromagnetic Interference (EMI): Although less common for simple meat thermometers, strong electromagnetic fields from other appliances can sometimes interfere with sensitive electronics. Try resetting the thermometer away from microwaves, large motors, or other powerful electronic devices.
These environmental factors are often overlooked but can play a role in why a device isn’t responding as expected. Giving the thermometer a chance to acclimate to normal conditions is a simple but effective step.
Different Thermometer Types and Their Resets
The method for resetting a thermometer can vary slightly depending on its type. Basic digital thermometers often rely on the button or battery pull method. More advanced smart thermometers with Bluetooth or Wi-Fi might have app-based reset procedures or require holding down a combination of buttons.
Here’s a quick look:
- Basic Digital Thermometers: These usually have a single reset button or rely on the battery pull method described earlier. They are the most common and generally the simplest to troubleshoot.
- Oven-Safe Thermometers: These are built to withstand higher temperatures but still have electronic components that can glitch. The battery pull method is usually the best bet for these.
- Smart Meat Thermometers: These connect to your phone or tablet. If the reset button on the device itself doesn’t work, you might need to:
- Check the companion app for a reset option.
- Unpair and re-pair the thermometer with your device.
- Look for a specific reset sequence mentioned in the user manual (often involving holding down buttons while inserting batteries).
Always refer to your thermometer’s manual if you have it. It will have specific instructions for your model, including any special reset procedures.
When to Consider Replacement
After trying all the troubleshooting steps, if your thermometer still won’t reset or function correctly, it might be time to consider replacing it. Electronic devices have a lifespan, and sometimes, components fail beyond simple fixes. A thermometer that consistently gives inaccurate readings or is unresponsive can be unreliable for cooking.
Consider these points:
- Age of the Thermometer: Older thermometers, especially those with physical buttons that have seen heavy use, are more prone to wear and tear.
- Visible Damage: If the probe is severely corroded, the screen is cracked, or the casing is damaged, it’s likely time for a new one.
- Cost vs. Reliability: Sometimes, the cost of a new, reliable thermometer is quite low, making it more practical than spending a lot of time trying to fix an old one.
Many reliable digital meat thermometers are available at affordable prices, ensuring you have a dependable tool for all your cooking needs.
Practical Tips for a Healthy Meat Thermometer
Keeping your meat thermometer in good shape means it will be ready when you need it. Here are some simple habits to help prevent common issues, including those that might lead to a Meat Thermometer Reset Not Working Fix scenario.
Proper Cleaning and Storage
The way you clean and store your thermometer can make a big difference in its longevity and reliability. Keeping it clean prevents debris from interfering with buttons or probe connections.
- Cleaning the Probe: After each use, wipe the probe clean with a damp cloth and mild soap. Rinse it well and dry it thoroughly. Never immerse the entire thermometer unit in water unless it’s specifically designed to be waterproof.
- Cleaning the Unit: Wipe down the main body of the thermometer with a damp cloth. Avoid using harsh chemicals or abrasive cleaners, as they can damage the display or casing.
- Storage Location: Store your thermometer in a dry, cool place, away from extreme temperatures or moisture. A kitchen drawer, a tool organizer, or a case that came with it is ideal. Keeping it protected from dust and accidental damage is key.
Consistent cleaning and proper storage are simple ways to maintain your thermometer’s functionality and prevent minor issues from becoming major problems.
Battery Maintenance
Good battery management is crucial for any electronic device. This is especially true for thermometers that rely on them for consistent power and accurate readings.
- Use Quality Batteries: Opt for reputable brands of batteries. Cheap batteries can sometimes leak or not provide consistent power, leading to erratic behavior.
-
- Remove Batteries for Long Storage: If you don’t plan to use the thermometer for an extended period (several months), it’s a good idea to remove the batteries. This prevents any risk of battery leakage, which can corrode the internal components and cause permanent damage.
Treating your batteries well is like giving your thermometer a steady supply of energy, ensuring it performs reliably when you need it most.
Understanding Temperature Readings
Sometimes, what seems like a reset issue might be a misunderstanding of temperature readings. Ensuring your thermometer is calibrated and you’re using it correctly is important.
- Calibration Checks: Most home meat thermometers aren’t user-calibratable. However, you can test their accuracy. Place the probe in boiling water (212°F or 100°C) or ice water (32°F or 0°C) to see if it reads correctly. Small deviations are normal for less expensive models, but significant errors might indicate a problem.
- Probe Placement: For accurate meat readings, ensure the probe is placed in the thickest part of the meat, away from bone, fat, or gristle. These areas can give false temperature readings.
- Allow Time for Reading: Digital thermometers often take a few seconds to stabilize on a reading. Don’t pull the probe out too quickly. Wait for the number on the display to stop changing.
A properly functioning thermometer gives you confidence in your cooking. Knowing how to get accurate readings and maintain your device are key skills for any home cook.
Frequently Asked Questions
Question: How do I know if my meat thermometer needs a reset?
Answer: You might need a reset if the display is frozen, showing weird symbols, or if it won’t turn on or off properly. If it’s giving readings that seem way off, a reset can sometimes help.
Question: Can I use a paperclip to press the reset button?
Answer: Yes, for many digital thermometers, a pointed but not sharp object like a paperclip (unbent) or a toothpick works well for pressing small recessed reset buttons.
Question: My thermometer is old, will a reset still work?
Answer: Sometimes an old thermometer can be revived with a reset, especially if the issue is just a software glitch. However, if components are worn out, a reset might not fix it.
Question: How long should I leave the batteries out for a hard reset?
Answer: Leaving them out for 1 to 5 minutes is generally recommended. This ensures any residual power is drained from the circuits, allowing for a full restart.
Question: What if my thermometer doesn’t have a reset button?
Answer: If there’s no dedicated reset button, the battery pull method is usually the intended way to perform a system refresh. Always check your manual for specific instructions.
Summary
Fixing a stubborn meat thermometer is usually quite simple. By trying the battery pull method, checking the probe, and keeping up with basic maintenance, you can often solve the Meat Thermometer Reset Not Working Fix. Keep your thermometer clean and powered by fresh batteries, and it will serve you well for many delicious meals.


