
Ever grabbed your meat thermometer only to see a number way higher than expected? It’s a common hiccup, especially when you’re just learning to cook. Don’t worry, it’s not as scary as it sounds!
This guide will show you the simple steps to fix a Meat Thermometer Reading Too High Fix. We’ll get your cooking back on track in no time, and then we’ll look at how to make sure it doesn’t happen again.
Why Meat Thermometer Readings Can Be High
When your meat thermometer shows a reading that’s too high, it can really throw you off. It might make you think your food is overcooked when it’s not, or even worse, that it’s unsafe to eat. This can happen for a few simple reasons that are easy to sort out.
Understanding these causes is the first step to getting accurate results every time you cook. We will explore these common issues and how to easily resolve them.
Causes of Inaccurate High Readings
Several things can trick your thermometer into showing a higher temperature than what’s actually inside your food. One common reason is the probe touching a bone. Bones are hotter than the meat, so they can give a false high reading.
If the thermometer isn’t inserted correctly, it might hit a hot spot in the meat, like a piece of fat, leading to an inflated number.
Another factor is the type of thermometer you’re using. Some older or cheaper models might not be as precise. Also, if the thermometer hasn’t been calibrated recently, its readings can drift off.
Calibration is like making sure your watch is set to the right time. If it’s not set right, it will tell you the wrong time.
- Probe Placement: The spot where you put the thermometer’s probe matters a lot. If it’s too close to the surface, it might pick up heat from the cooking environment rather than the deep center of the meat. This is especially true when cooking at very high temperatures or using methods like grilling where direct heat is intense.
- Thermometer Calibration: Thermometers can lose their accuracy over time. This is called calibration drift. Think of it like a ruler that might slightly stretch or shrink if it’s used a lot. Regular checks ensure your thermometer is telling you the real story about your food’s temperature.
- Food Thickness and Type: Thicker cuts of meat take longer to cook through. If you check the temperature too soon or in a thin part, you might get a reading that’s higher than the average internal temperature. Different types of fat or connective tissue within the meat can also heat up differently, affecting readings.
Understanding Thermometer Accuracy
Thermometers are designed to measure heat. The probe on a meat thermometer has a sensor that detects how much heat energy is around it. This sensor sends a signal to the display, which then shows you a number.
For this to work well, the sensor needs to be in the thickest part of the meat, away from any bones or large pieces of fat.
When the sensor is covered by something hotter than the meat, like a bone, it tells the display that the whole piece of meat is hotter than it really is. This is why checking the internal temperature in the center, away from anything that might cook faster, is so important. The goal is to get the true internal temperature of the meat itself.
Even without touching bones, fat can sometimes lead to high readings. Fat heats up faster than lean meat. So, if the probe is sitting in a thick layer of fat, it will register a higher temperature.
It’s like dipping a thermometer into a small pool of hot oil next to a larger cooler pool; you’ll get the oil’s temperature, not the average of both.
How to Fix Meat Thermometer Reading Too High
Fixing a high reading from your meat thermometer is usually quite simple. It often comes down to checking how and where you are using the thermometer. By making a few adjustments, you can get an accurate temperature for your food.
We will go through the steps to correct these readings and ensure your cooking is safe and delicious.
Correct Probe Placement Techniques
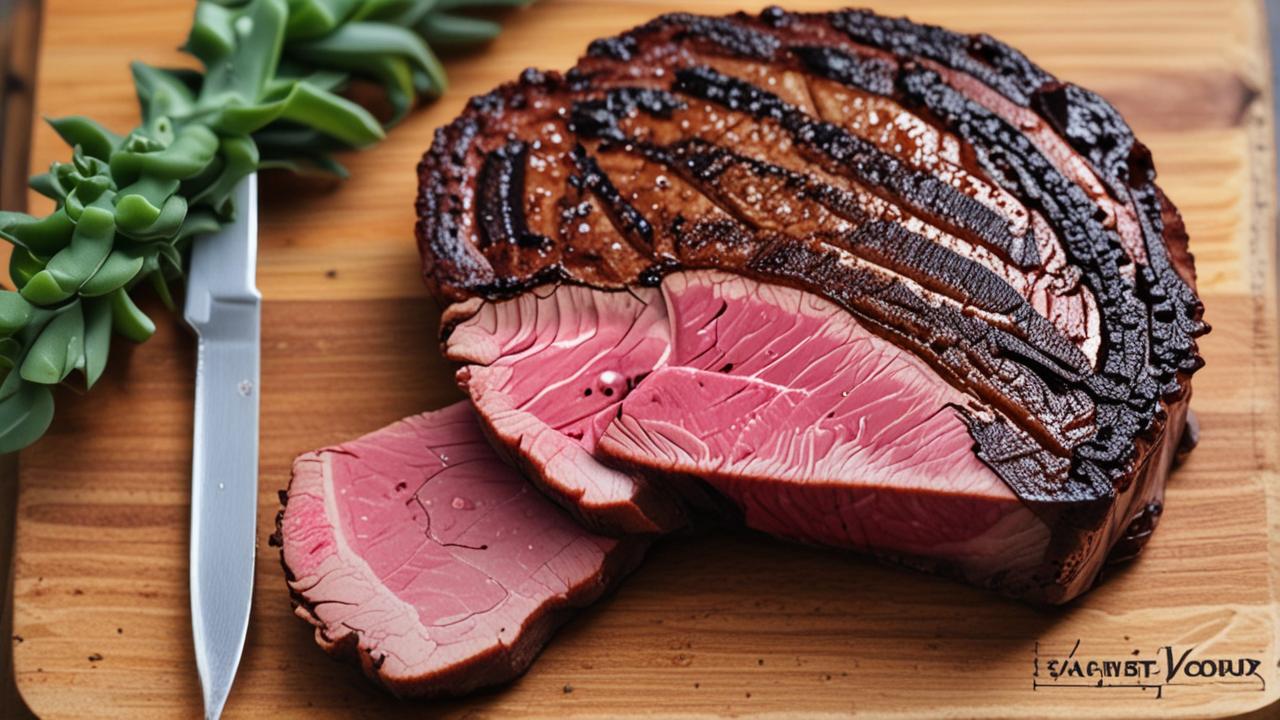
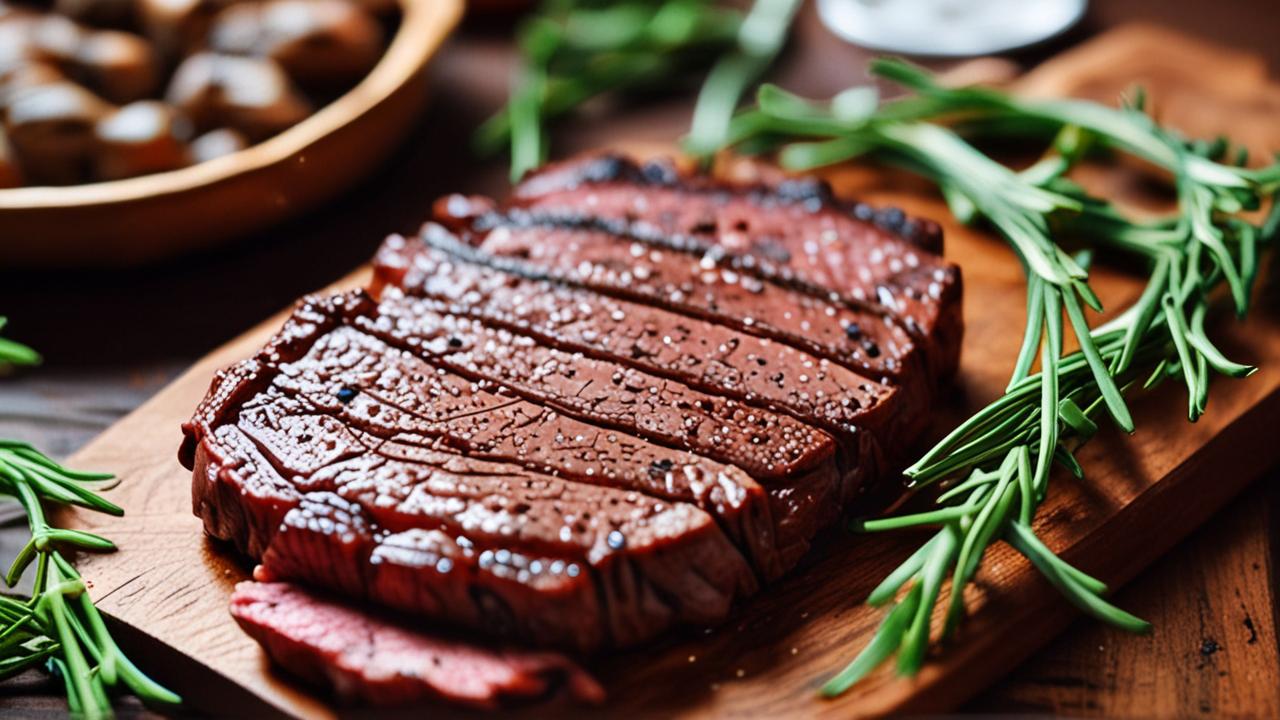
The most frequent cause of a high reading is incorrect probe placement. For most cuts of meat, like steaks, roasts, or chicken breasts, you want to insert the probe into the thickest part of the meat. This is usually the center.
Make sure the tip of the probe is fully submerged in the meat.
Crucially, you must avoid touching any bone. Bones conduct heat differently and will almost always be hotter than the surrounding meat. If you feel resistance when inserting the probe, you might be hitting a bone.
Gently pull the probe back a little and try a different spot. For poultry, like a whole chicken or turkey, the deepest part of the thigh, away from the bone, is a good spot.
When cooking ground meat patties, insert the probe sideways into the thickest part of the patty. For thicker cuts like roasts, insert the probe from the top down into the very center. The aim is always to measure the core temperature of the meat itself, not any other part.
Example: Imagine you’re cooking a pork loin. You insert the thermometer into the end of the roast, and it reads 180°F (82°C). This seems way too high for pork loin, which is usually cooked to around 145°F (63°C).
Upon checking, you realize the probe is touching a small bone near the edge. You pull it out and reinsert it into the center of the thickest part, avoiding the bone, and this time it reads a perfect 145°F (63°C).
- Thickest Part: Always aim for the most substantial section of the meat. This ensures you’re getting a representative temperature of the entire piece. Thin parts cook faster and can give misleadingly high readings if they are closer to the heat source or more exposed.
- Avoid Bones: Bones are heat conductors and will register a much higher temperature. Make sure the probe is inserted into the fleshy part of the meat, far away from any bones. This is a fundamental rule for accurate temperature readings.
- Fat Considerations: While avoiding bones is key, be mindful of very thick pockets of fat too. Fat can also heat up faster than muscle tissue. If possible, insert the probe into the meat next to a fat cap rather than directly into it.
Calibrating Your Thermometer
Thermometers, especially digital ones, can sometimes become less accurate. This is why calibrating your thermometer is a good idea. It’s a simple process that ensures you’re getting the correct reading.
For most digital instant-read thermometers, calibration involves an ice bath test.
To calibrate, fill a glass with crushed ice and add cold water. Stir it well and let it sit for a few minutes until the ice is floating and the water is very cold. Then, insert the thermometer probe into the ice water, making sure it doesn’t touch the sides or bottom of the glass.
The thermometer should read 32°F (0°C).
If your thermometer has an adjustment feature, you can recalibrate it to 32°F (0°C). If it doesn’t have an adjustment, you’ll need to remember the difference. For example, if it reads 35°F (2°C), you know to subtract 3 degrees from any reading you get.
This is crucial for consistent accuracy.
Scenario: You’re using your trusty digital thermometer and consistently get readings that seem a bit off. You decide to calibrate it. You perform the ice bath test and find your thermometer reads 36°F (2°C) instead of 32°F (0°C).
Now you know that for every temperature you read, you should subtract 4°F (2°C) to get the actual temperature. This correction is simple but vital for perfect cooking.
- Ice Bath Test: Fill a glass with ice and water. Stir until it’s very cold. Immerse the probe into the mixture. A properly calibrated thermometer should read 32°F (0°C). This is a standard scientific method for checking accuracy.
- Adjustment Function: Many modern digital thermometers have a calibration or adjustment button. Follow the manufacturer’s instructions to set the thermometer to read 32°F (0°C) in the ice bath. This brings it back to its optimal accuracy.
- Offset Knowledge: If your thermometer cannot be adjusted, simply note the difference. If it consistently reads 34°F (1°C) in an ice bath, then you’ll know to subtract 2°F (1°C) from all subsequent readings. This mental adjustment keeps your cooking precise.
Checking Thermometer Battery and Functionality
Sometimes, the simplest solutions are the best. A low battery in a digital thermometer can cause it to behave erratically, including giving high or inaccurate readings. Before you worry about anything complicated, check the battery.
If your thermometer uses replaceable batteries, try putting in a fresh set. Many thermometers have a low battery indicator, but not always. Even if it doesn’t, old batteries can cause issues.
For a digital thermometer, a weak battery might not have enough power to send a consistent signal, leading to skewed numbers.
Also, consider the age and condition of your thermometer. If it’s been dropped, submerged in water (if not waterproof), or is very old, it might simply be malfunctioning. Sometimes, replacing an old or damaged thermometer is the most effective Meat Thermometer Reading Too High Fix.
Case Study: Sarah was cooking a Thanksgiving turkey and noticed the thermometer was showing extremely high temperatures very quickly. She assumed the turkey was done way ahead of schedule, which worried her. She decided to check the battery on her digital thermometer.
After replacing the nearly dead battery with a new one, she retested the turkey. The new reading was much more reasonable and accurately reflected the turkey’s internal temperature, allowing her to finish cooking it perfectly.
- Battery
- Physical Inspection: Look for any visible damage to the thermometer, such as cracks in the display or damage to the probe. A physically compromised thermometer may not function correctly.
- Age of Device: Electronic devices have a lifespan. If your thermometer is several years old and you’ve experienced ongoing accuracy issues, it might be time to invest in a new one. Modern thermometers are often more reliable and user-friendly.
Preventing High Readings in the Future
Once you’ve fixed a high reading, you’ll want to avoid it happening again. The best way to do this is by being consistent with your technique. This means paying attention to how you use your thermometer every time you cook.
Making sure your thermometer is always calibrated and that you’re inserting it correctly are the most important habits. Small steps taken consistently can make a big difference in your cooking results. Let’s explore how to maintain accuracy for perfect meals.
Consistent Cooking Practices
Developing consistent cooking habits is key to preventing temperature problems. This starts before you even put the food on to cook. Make it a habit to check your thermometer’s calibration regularly, perhaps once a month or before any important meal like a holiday dinner.
When you’re cooking, take a moment to think about where you’re inserting the probe. Don’t rush the process. For large cuts, consider using an oven-safe probe thermometer that stays in the meat during cooking.
These often have alarms that alert you when the target temperature is reached, reducing the need for frequent manual checks.
For quick checks, always aim for the thickest part. If you’re unsure, use your finger to feel the thickness of the meat before inserting the probe. This small effort can save you from a misleading reading.
Practice makes perfect, and the more you cook and use your thermometer correctly, the more intuitive it will become.
Sample Scenario: John always makes sure his roast chicken is perfectly cooked. Before he starts cooking, he quickly immerses his digital thermometer in a glass of ice water to confirm it’s reading 32°F (0°C). Then, when the chicken is in the oven, he waits until he thinks it’s nearing doneness.
He inserts the probe into the thickest part of the thigh, away from the bone. The reading is perfect, and the chicken comes out juicy and safe to eat.
- Pre-Cooking Checks: Always ensure your thermometer is working correctly before you start cooking. A quick calibration check, especially if you haven’t used it in a while, is a smart move.
- Post-Cooking Verification: After you’ve finished cooking and removed the food from the heat, take a moment to check the temperature again. Sometimes, carryover cooking can slightly increase the internal temperature.
- Tool Maintenance: Keep your thermometer clean and store it properly. Avoid letting it bang around with other utensils, as this can damage the delicate internal components and affect its accuracy.
Understanding Carryover Cooking
Carryover cooking is a phenomenon that happens after you remove meat from the heat source. The food continues to cook from its own residual heat. This means the internal temperature will rise a few degrees even after it’s out of the oven or off the grill.
This is why it’s often recommended to pull meat from the heat when it’s a few degrees below your target temperature. For example, if you want your steak to be 135°F (57°C) for medium-rare, you might remove it from the heat when it reaches 130°F (54°C). The temperature will then rise to 135°F (57°C) as it rests.
Knowing about carryover cooking can prevent you from thinking your thermometer reading was too high when it was actually accurate at the moment you took it. The reading taken right off the heat might be slightly lower than the final resting temperature. This is a normal part of the cooking process, not an error in your thermometer.
Statistical Insight: Studies have shown that for larger cuts of meat like roasts, carryover cooking can increase the internal temperature by as much as 5°F to 15°F (3°C to 8°C) during the resting period. This highlights the importance of accounting for this effect when determining the ideal time to remove food from heat.
- Resting Period Importance: Allowing meat to rest after cooking is crucial. It not only lets carryover cooking finish the job but also allows juices to redistribute, making the meat more tender and flavorful.
- Temperature Drop vs. Rise: While carryover cooking increases the temperature, factors like evaporation can also cool the surface. The internal temperature is what we focus on for carryover.
- Target Temperature Adjustment: Chefs and experienced cooks often use a target temperature that is slightly lower than the final desired temperature to account for carryover cooking. This prevents overcooking.

Types of Meat Thermometers and Their Accuracy
Not all meat thermometers are created equal. The type of thermometer you use can affect its accuracy and how easy it is to get a correct reading. Understanding the differences can help you choose the right tool and troubleshoot issues like high readings.
Digital instant-read thermometers are popular because they give fast and precise readings. They have a metal probe connected to a digital display. For best results, these should be calibrated regularly.
They are great for quick checks and are a favorite among home cooks.
Oven-safe probe thermometers are left in the meat during cooking and have a wire connecting the probe to a display unit outside the oven. This is helpful because you can monitor the temperature without opening the oven door, which can cause temperature fluctuations. These are excellent for roasts and large birds.
Dial thermometers, which are the older style, are less common now. They have a needle that moves on a dial. They can be accurate if well-maintained, but they often take longer to give a reading and can be harder to calibrate precisely.
Digital Instant-Read Thermometers
Digital instant-read thermometers are known for their speed and accuracy. They have a thin metal probe that you insert into the meat. A small computer inside the handle reads the temperature from the probe and displays it on an LCD screen.
These readings are usually available within a few seconds.
The accuracy of digital thermometers can be affected by battery life and calibration. As mentioned before, a weak battery can lead to strange readings. Also, if the thermometer is dropped or subjected to extreme temperatures, its internal components can be damaged, affecting accuracy.
Regular calibration using the ice bath method is essential for these devices.
Many high-quality digital thermometers are waterproof, which makes cleaning them easy. You can simply rinse them under running water. However, it’s important to check the manufacturer’s instructions to confirm if your model is waterproof.
This is a practical feature that helps maintain hygiene.
Example: A home cook is grilling burgers. They use a digital instant-read thermometer to check the doneness of each patty. It takes only about 5 seconds to get a precise reading, allowing them to flip the burgers at the perfect moment and ensure they are cooked to the desired level of doneness without overcooking.
- Speed: They provide readings in seconds, making them ideal for quick checks without losing too much heat from the cooking environment.
- Precision: Modern digital thermometers offer high accuracy, often within 1-2 degrees Fahrenheit.
- Ease of Use: The clear digital display makes it easy for anyone to read the temperature, even in low light conditions.
Oven-Safe Probe Thermometers
Oven-safe probe thermometers are designed for continuous monitoring while food is cooking. The probe, made of heat-resistant material, is throughout the cooking process. A heat-resistant wire connects the probe to a separate display unit that sits outside the oven or on the countertop.
This type of thermometer is incredibly useful for long cooking times, like for roasts, whole chickens, or turkeys. You can set an alert on the display unit to notify you when the food reaches a specific target temperature. This means you don’t have to constantly open the oven door to check, which can cause significant temperature drops and extend cooking time.
While the probe itself is accurate, the wire connection and the display unit can sometimes be points of failure. Ensure the wire isn’t kinked or damaged, as this can interrupt the signal. These thermometers generally don’t need frequent calibration like instant-read ones, as their design is more stable, but it’s still good practice to test them periodically against a known accurate thermometer.
Statistical Insight: According to cooking equipment manufacturers, oven-safe probe thermometers are used in over 60% of households for roasting meats, indicating their popularity and perceived usefulness for long cooking processes.
- Continuous Monitoring: They allow you to track the temperature of your food in real-time without disturbing the cooking process by opening the oven.
- Preset Alarms: Many models allow you to set a desired target temperature, and the device will beep or alert you when it’s reached.
- Durability: The probes are built to withstand high oven temperatures, making them reliable for extended cooking periods.
Dial Thermometers
Dial thermometers are the traditional type of meat thermometer. They have a metal stem with a probe at the end and a round dial with a needle that indicates the temperature. They are often quite durable and don’t rely on batteries, which can be an advantage.
However, they typically take longer to register a temperature compared to digital models, often requiring a minute or more. Their accuracy can also be less precise, and they are generally harder to calibrate accurately. Many dial thermometers come with pre-marked lines for different types of meat (e.g., beef, pork, poultry), which can be helpful but are not always perfectly accurate for all cuts.
To calibrate a dial thermometer, you can use the boiling water test. Submerge the stem in boiling water and check if the needle points to 212°F (100°C) at sea level. If it doesn’t, there might be a small adjustment screw on the back of the dial you can use to set it correctly.
However, the resolution of the dial might not allow for very fine tuning.
Comparison Table:
| Feature | Digital Instant-Read | Oven-Safe Probe | Dial Thermometer |
|---|---|---|---|
| Reading Speed | Very Fast (seconds) | Continuous | Slow (minutes) |
| Accuracy | High (if calibrated) | High (continuous) | Moderate (can vary) |
| Calibration | Regularly (ice bath) | Periodically (boiling water) | Periodically (boiling water) |
| Power Source | Battery | Battery (display unit) | None |
| Best For | Quick checks, all meats | Roasts, large poultry | Basic checks, beginners |
- Simplicity: They are straightforward to use and don’t require batteries, making them reliable in situations where batteries might die.
- Durability: Many dial thermometers are quite robust and can withstand rough handling better than delicate digital models.
- Cost: They are often the most affordable type of meat thermometer available.
Troubleshooting Common Thermometer Issues
When your meat thermometer isn’t giving you the right numbers, it can be frustrating. Knowing how to troubleshoot common problems can save your meal and your peace of mind. We’ve already talked about some fixes, but let’s look at a few more issues and their solutions.
Sometimes, the problem isn’t with the thermometer itself but with how it’s being used. For example, if you’re checking a very small piece of meat, it might be hard to find a spot thick enough to get an accurate reading away from the edges. In such cases, even a perfectly working thermometer might give a reading that seems a bit off because the entire piece is almost fully cooked.
Let’s consider other problems and how to solve them, ensuring you get the best results every time.
Interpreting Readings in Different Foods
Different foods cook differently, and this can affect temperature readings. For instance, fish cooks much faster than a large cut of beef. If you’re checking a delicate piece of salmon, you might need to be very careful about where you insert the probe to avoid breaking it apart.
Ground meat is another example. Because it’s already broken down, fat and juices can distribute unevenly. This means you might get slightly different readings in different spots within the same burger patty.
This is why checking the thickest part is still your best bet, and it’s wise to check multiple spots if possible for ground meat.
Dense meats like pork shoulder or brisket require long, slow cooking. Their internal temperature might rise slowly and steadily, and carryover cooking will be significant. Understanding the nature of the food you’re cooking helps you interpret the thermometer readings correctly.
It’s not just about the number; it’s about what that number means for that specific food.
Example: You’re making pulled pork. The recipe says to cook it until it reaches an internal temperature of 200°F (93°C). You insert your thermometer and it reads 190°F (88°C).
This seems a bit low, but you know pork shoulder needs to be very tender. You continue cooking, checking every 30 minutes. When it finally reaches 200°F (93°C), it’s perfectly pull-apart tender.
The initial reading was correct, but the food wasn’t ready yet.
- Food Density: Denser meats require longer cooking times and often higher final temperatures for tenderness, not just safety.
- Moisture Content: Foods with higher moisture content might cool the probe slightly when inserted, leading to a temporarily lower reading.
- Fat Marbling: The distribution of fat within the meat can create hot and cool spots, requiring careful probe placement for an average reading.
Dealing with Extreme Temperatures
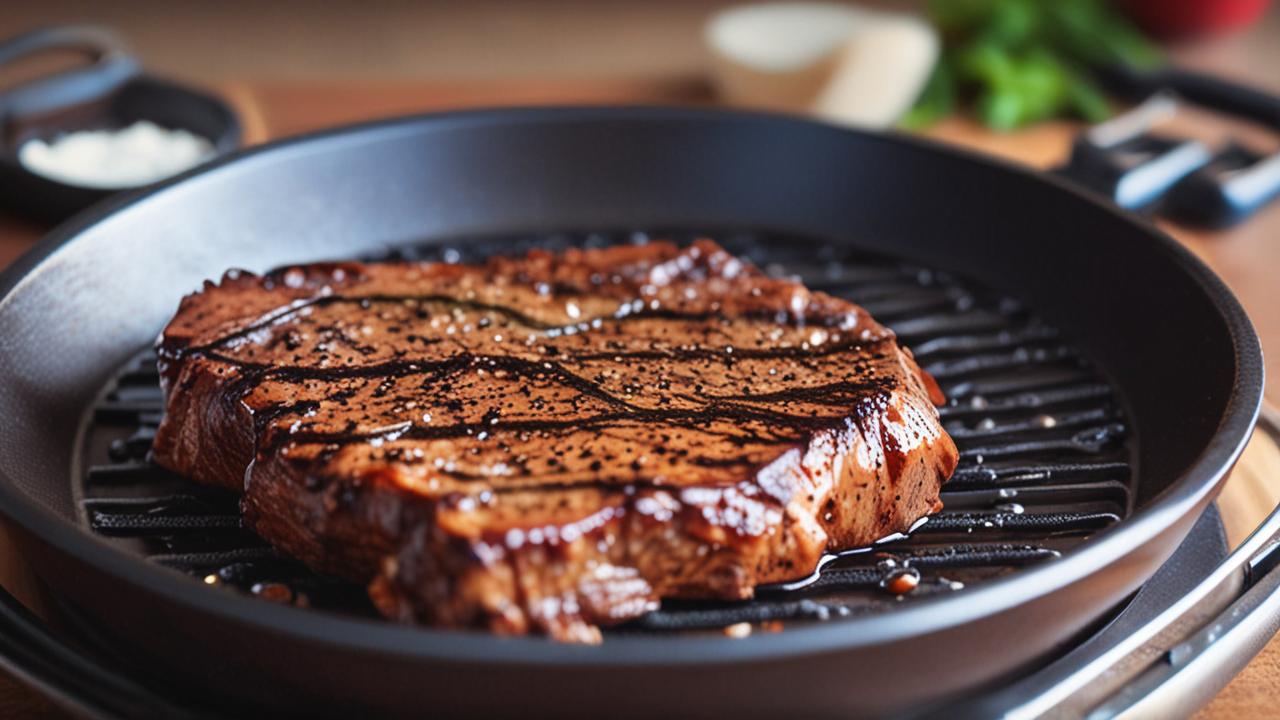
When cooking at very high temperatures, like searing a steak on a screaming hot grill, the surface temperature can be much hotter than the inside. If your thermometer probe is too close to the surface, it will register this extreme heat, giving you a falsely high reading for the meat’s internal temperature.
Conversely, if you’re cooking something very slowly at a low temperature, like sous vide, the temperature difference between the cooking medium and the meat is small. This means the thermometer needs to be very accurate to detect subtle changes. In such cases, a well-calibrated instant-read thermometer is essential.
Remember that the probe itself can also be affected by extreme heat. If you leave a digital thermometer probe in a very hot oven or on a grill for too long, it can be damaged. Always follow the manufacturer’s guidelines for maximum temperature exposure for both the probe and the handle.
Sample Scenario: Trying to get a perfect sear on a thick ribeye, you blast it on a super hot cast iron pan. You quickly insert your thermometer, and it reads 170°F (77°C), but the steak is still quite rare inside. The probe was too close to the intensely hot surface.
You pull it off, let it rest, and then check the center, which reads a more appropriate 130°F (54°C) for medium-rare. The surface heat fooled the initial reading.
- Surface vs. Internal Heat: Be aware that the cooking surface can be significantly hotter than the meat’s interior, especially during searing or grilling.
- Probe Protection: Protect your thermometer probe from direct contact with flames or excessive heat sources to prevent damage and inaccurate readings.
- Gradual Temperature Changes: For low-temperature cooking methods, ensure your thermometer can accurately measure small increments of temperature change.
When to Replace Your Thermometer
No tool lasts forever. If you’ve tried all the troubleshooting steps and your thermometer continues to give wildly inaccurate readings, it might be time for a replacement. A thermometer that consistently reads too high or too low, or fluctuates erratically, is no longer reliable.
Consider the age of your thermometer. Electronic components can degrade over time, even if there’s no visible damage. If you’ve dropped it multiple times, exposed it to water when it’s not waterproof, or if the display is dim or unreadable, it’s probably time to invest in a new one.
The cost of a good meat thermometer is relatively low compared to the cost of ruined food. A reliable thermometer is a foundational tool for any cook, ensuring both safety and deliciousness. Don’t hesitate to replace it when it’s no longer performing as it should.
Frequently Asked Questions
Question: My thermometer is showing a very high temperature, but the meat looks undercooked. What’s wrong?
Answer: This usually means the thermometer probe is touching a bone or a very hot piece of fat. Try reinserting the probe into the thickest part of the meat, making sure it’s in the center and away from any bones.
Question: How often should I calibrate my digital meat thermometer?
Answer: It’s a good idea to calibrate your digital thermometer at least once a month, or before any important cooking event. You can also check it if you suspect it’s giving inaccurate readings.
Question: Can a low battery cause my thermometer to read too high?
Answer: Yes, a weak or low battery can cause digital thermometers to display erratic or inaccurate readings, including readings that are too high.
Question: What is the best way to check the temperature of a whole chicken?
Answer: Insert the thermometer into the thickest part of the thigh, making sure not to touch the bone. You can also check the breast meat, but the thigh is usually a better indicator of overall doneness.
Question: My old dial thermometer always seems to read higher than my digital one. Which one should I trust?
Answer: Digital thermometers are generally more accurate and faster than dial thermometers. If there’s a significant difference, it’s likely your digital thermometer is more accurate. Consider calibrating both to see if they can be brought closer together.

Conclusion
Fixing a meat thermometer reading that’s too high is often about simple adjustments. Checking probe placement, ensuring your thermometer is calibrated, and replacing old batteries are key steps. Following these tips helps you get accurate temperatures for perfectly cooked, safe food every time.
You’ve got this!


