
It can be a bummer when your meat thermometer’s probe wire looks all melty. This can happen to anyone, especially if you’re new to using them or cooking things that get really hot. Don’t worry, though!
Fixing a Meat Thermometer Probe Wire Melted Fix is often simpler than you think. We’ll walk you through what to do step-by-step. Stick around to see how to get your thermometer working right again.
What Causes a Meat Thermometer Probe Wire to Melt?
Understanding why your meat thermometer’s probe wire might melt is the first step to fixing it. Most probe wires are made of metal, like stainless steel, designed to withstand high temperatures for cooking. However, certain conditions can push these wires beyond their limits, leading to damage.
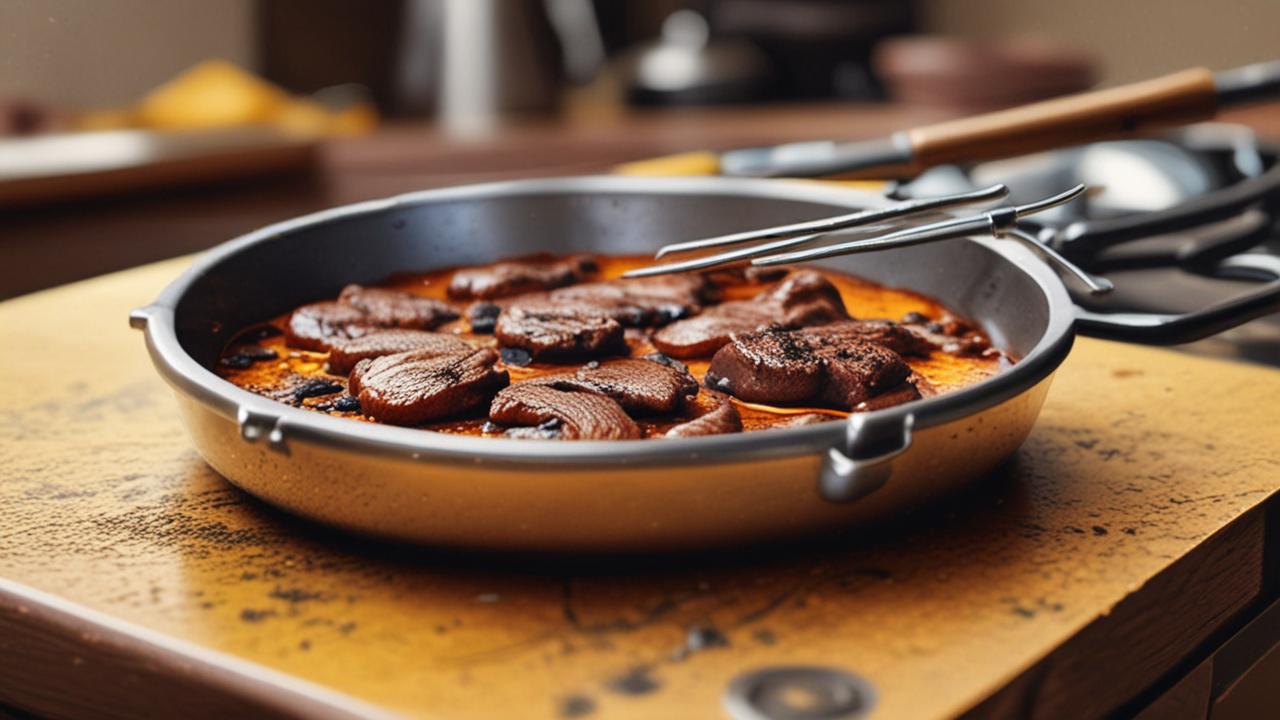
The most common culprit is direct contact with extreme heat sources or materials that conduct heat very efficiently. This can happen when the probe touches a burner on a stovetop, the heating element in an oven, or even sits too close to glowing coals on a grill. The metal can get so hot that it starts to soften and deform, giving it that melty appearance.
Direct Heat Exposure
Direct heat is the main reason a probe wire can melt. Think about touching a hot stove burner; your hand would be in trouble! The probe wire is no different.
If it’s placed directly onto a red-hot burner, or if a flame licks up and touches it, the metal can reach temperatures far above what it’s meant to handle. This intense heat can cause the metal to warp, bubble, or even lose its protective coating.
Many probes have a cable that connects the metal tip to the digital display. This cable is also sensitive to heat. If it gets too close to a heat source, the plastic or silicone coating can melt, exposing the wires inside and often ruining the connection.
This is why it’s super important to keep the probe and its cable away from direct flames or super hot surfaces.
- Touching the Heating Element: When using an oven, the heating elements, especially the top broiler, can get incredibly hot. If the probe wire or its handle accidentally touches these elements, it can quickly melt. This is a common mistake for beginners who might not realize how close they are placing the probe.
- Grill Mishaps: On a charcoal or gas grill, the probe can easily come into contact with hot coals or direct flames. This is especially true when you’re trying to get a quick read and might lean the thermometer against the grill grates or let it rest too close to the heat.
- Stovetop Errors: Using a stovetop for searing or cooking can also be risky. If the probe tip is left resting in a pan that’s incredibly hot, or if it brushes against a gas burner flame, the heat can be intense enough to cause damage.
Chemical Reactions and Coatings
Sometimes, it’s not just the heat but also what the probe comes into contact with. Certain cleaning agents or even some types of food residue, when heated to extreme temperatures, can react with the probe material. This can weaken the metal or its protective coating, making it more susceptible to heat damage.
Many probe wires have a protective outer layer, often made of stainless steel or a similar food-safe metal. This layer helps prevent corrosion and makes them easy to clean. However, if this layer gets scratched or damaged, the inner materials might be exposed.
These inner materials might not be as heat-resistant, leading to melting when exposed to high temperatures.
- Corrosive Cleaners: Using harsh chemical cleaners, especially those not recommended for kitchenware, can damage the probe’s surface. When this damaged surface is then exposed to high heat, it can degrade much faster. Always stick to mild soap and water for cleaning your thermometer probe.
- Food Acids at High Heat: While rare, very acidic foods like marinades containing strong vinegar or citrus, when cooked at very high temperatures, could potentially interact with a probe’s surface over time. This is less common with quality probes but can be a factor if the protective coating is already compromised.
Recognizing the Signs of a Melted Probe Wire
It’s important to know what to look for when your meat thermometer’s probe wire might have been damaged. The signs are usually pretty obvious, and catching them early can prevent further problems.
The most common sign is a change in the appearance of the wire. Instead of being smooth and shiny, it might look warped, discolored, or even have bubbly spots. You might also notice that the plastic or rubber coating on the wire near the probe tip has melted or looks gummy.
These are clear indicators that the probe has been exposed to too much heat.
Visual Damage
The most straightforward way to tell if your probe wire has melted is by looking at it. Does it still look like a smooth, straight wire? If not, that’s a red flag.
You’ll want to examine the entire length of the probe, paying special attention to the tip and the area where the wire meets the handle or the cable.
You might see signs of the metal itself softening. This could look like dips or bends in the wire where it shouldn’t be. Sometimes, the surface might appear to have melted and then re-solidified unevenly, giving it a lumpy or bubbled texture.
Discoloration is another common visual cue; parts of the wire might turn black, brown, or even have a bluish tint, which indicates it got way too hot.
- Warping or Bending: The probe wire should be straight. If you notice it’s bent, kinked, or looks generally misshapen, especially near the tip, it’s likely due to heat exposure. The metal becomes pliable when extremely hot and can retain a deformed shape as it cools.
- Bubbled or Blistered Surface: The protective coating on the wire, or even the metal itself, might develop small bubbles or blisters. This looks like the surface has expanded or melted and then cooled unevenly. It’s a clear sign of overheating.
- Discoloration: High heat can cause metal to change color. Look for any blackening, browning, or even a rainbow-like sheen on the wire. This is a result of oxidation that happens at very high temperatures.
Functional Issues
Beyond how it looks, a melted or damaged probe wire often won’t work correctly. This means it might not give accurate temperature readings, or it might not work at all. These functional problems are just as important as the visual ones when diagnosing a Meat Thermometer Probe Wire Melted Fix scenario.
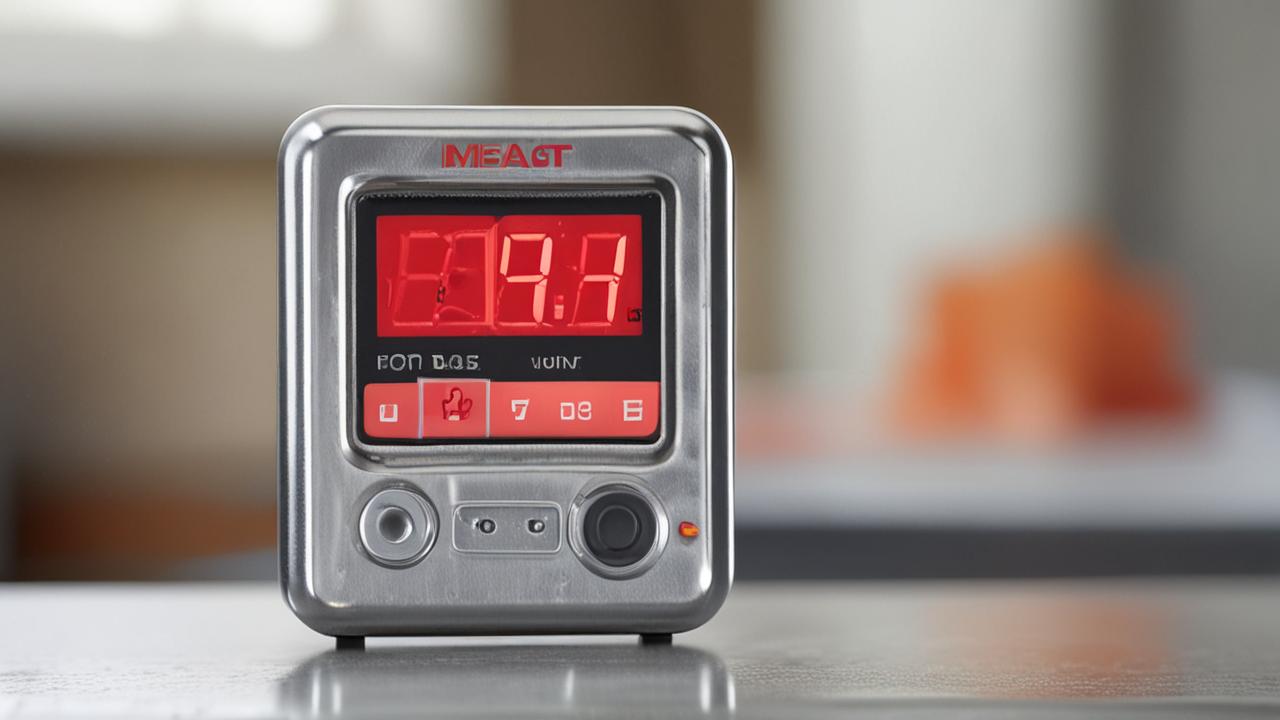
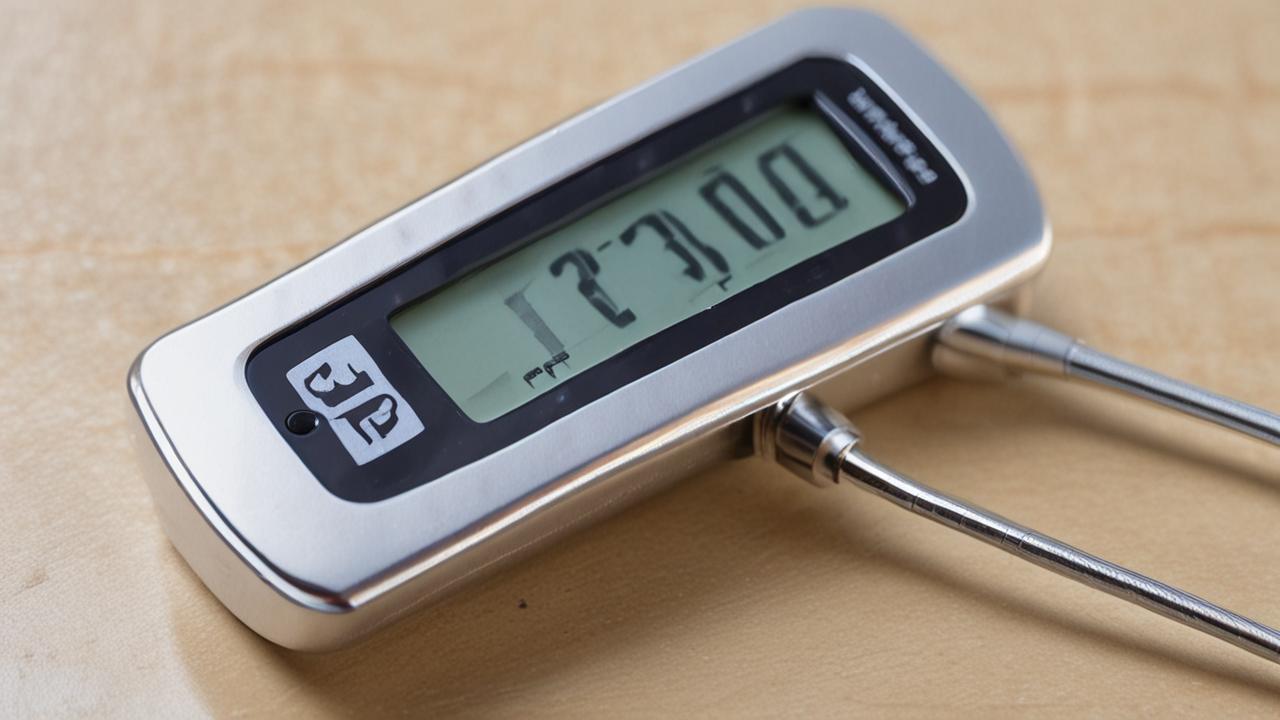
If the internal wires or the connections have been compromised by the heat, the thermometer might display erratic temperatures, read much higher or lower than they should, or simply show no reading at all. Sometimes, the display might flicker or shut off unexpectedly when the probe is inserted into food.
- Inaccurate Readings: This is the most critical functional issue. If the probe has been damaged by heat, the sensor that measures temperature might be compromised. This can lead to readings that are significantly off, meaning your food might be undercooked or overcooked. An inaccurate thermometer is worse than no thermometer at all.
- No Reading at All: If the internal wiring has melted or broken due to excessive heat, the thermometer might simply fail to register any temperature. The display might remain blank, or it might show an error message, indicating a complete loss of connection between the probe and the display unit.
- Erratic or Fluctuating Numbers: You might see the temperature numbers jump around wildly. One moment it’s 100 degrees, the next it’s 300, and then back down. This kind of instability is a strong sign that the probe’s internal components are damaged and can’t provide a stable reading.
Steps for a Meat Thermometer Probe Wire Melted Fix
When your meat thermometer’s probe wire has melted, don’t immediately toss it! There are often ways to salvage it, especially if the damage is minor or localized. The goal is to restore its functionality and ensure accurate readings.
The fix usually involves cleaning away any melted residue and then ensuring the probe is protected from future overheating. In some cases, you might need to re-secure a loose connection or even replace a minor part. We’ll break down the process into simple, manageable steps to help you get your thermometer back in working order.
Cleaning Melted Residue
The first step in any Meat Thermometer Probe Wire Melted Fix is to carefully clean off any melted material. This might be bits of plastic from the coating or even residue from whatever caused the melting.
Use a gentle approach. Harsh scrubbing can damage the probe further. A soft cloth or sponge is usually best.
For stubborn bits, you might need something a little more robust, but always test it on an inconspicuous area first. Safety is key here; make sure the thermometer is completely cool before you start cleaning.
- Cool Down Completely: Never try to clean a hot probe. Let it cool down naturally until it’s at room temperature. This prevents burns and stops any further melting or damage.
- Gentle Wiping: Use a damp, soft cloth or a non-abrasive sponge to gently wipe away any visible melted plastic or residue. Often, this is enough to remove the immediate problem.
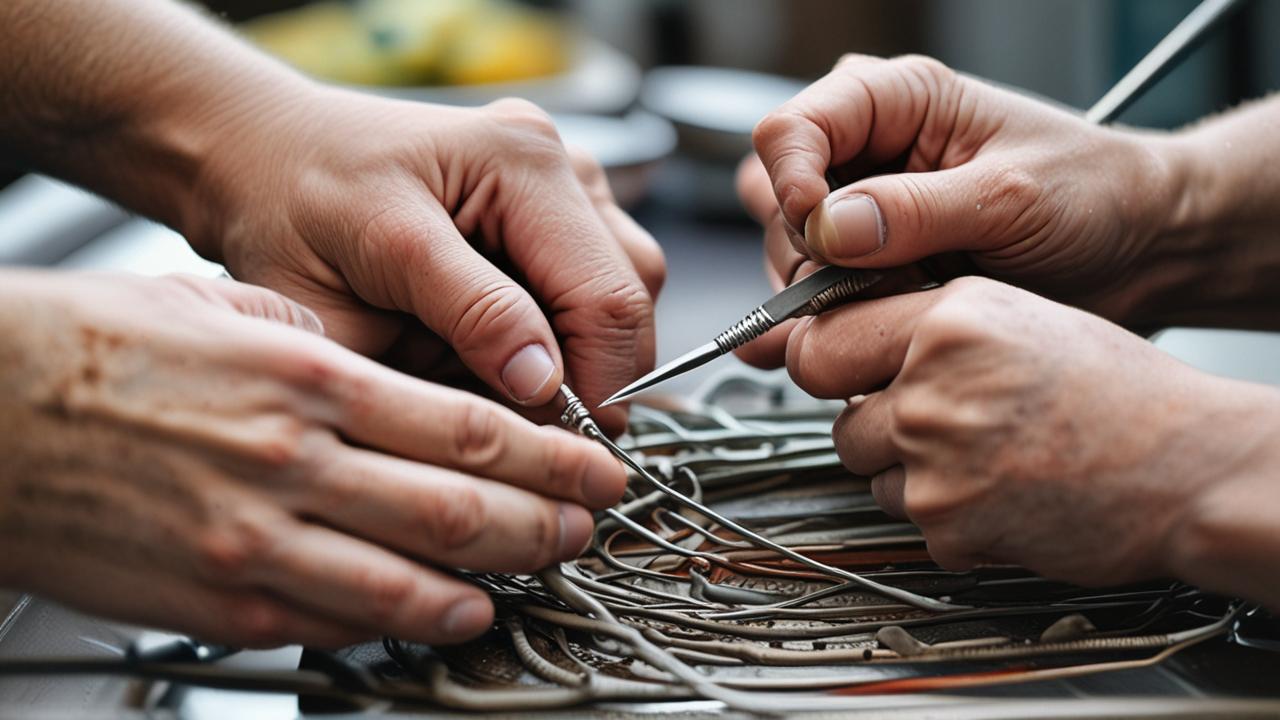
- Stubborn Bits: If there are still bits stuck on, you can try using a soft brush (like an old toothbrush) or a wooden skewer. Gently scrape away the residue. Avoid using metal tools, as they can scratch the probe.
- Mild Soap and Water: For any greasy or sticky residue, a small amount of mild dish soap and warm water can help. Wipe the probe clean with the soapy water, then rinse thoroughly with a clean, damp cloth.
- Dry Thoroughly: After cleaning, make sure to dry the probe wire completely with a clean, dry towel before using it again or storing it. Moisture can sometimes lead to corrosion.
Securing Loose Connections (If Applicable)
Sometimes, the melting might have affected the cable connection where it joins the probe or the main unit. If the wire is loose, it can cause temperature reading problems. Securing these connections is a vital part of the repair.
This step might involve simple tightening or, in more serious cases, using a heat-resistant adhesive. Always ensure you’re using materials that are safe for kitchen use and can withstand cooking temperatures.
- Check the Cable Sheath: Examine the plastic or silicone sheath that covers the wire. If it’s melted or torn near the probe tip or where it enters the thermometer body, it can expose the internal wires.
- Heat-Resistant Sealant: For minor gaps or tears in the sheath, a small amount of food-grade, heat-resistant sealant (like some silicone-based options) can be carefully applied. Ensure it’s rated for the temperatures you typically cook at. Apply thinly and let it cure completely before use.
- Crimping (Advanced): In some professional repairs, a loose wire connection might be re-crimped. This is generally not recommended for home users unless you have specific tools and knowledge, as it can cause further damage if done incorrectly.
Testing for Accuracy
After cleaning and securing, it’s crucial to test your thermometer to see if the Meat Thermometer Probe Wire Melted Fix was successful. You want to be sure it’s giving you accurate readings before you rely on it for cooking.
The best way to test accuracy is by using a known temperature. Ice water and boiling water are excellent references. These tests are simple, quick, and can give you a good idea of how well your thermometer is working.
- Ice Water Test: Fill a glass with ice and water. Stir it well and let it sit for a minute. Insert the probe into the water, making sure it doesn’t touch the sides or bottom of the glass. It should read as close to 32°F (0°C) as possible.
- Boiling Water Test: Carefully insert the probe into a pot of boiling water. Again, avoid touching the bottom of the pot. The reading should be very close to 212°F (100°C) at sea level. Keep in mind that boiling point can vary slightly with altitude.
- Compare Readings: If your thermometer is significantly off in either test, the probe might still be damaged beyond repair, or the fix might not have fully worked. A difference of a few degrees is often acceptable, but larger discrepancies mean it’s time to consider a replacement.
When a Meat Thermometer Probe Wire Melted Fix Isn’t Possible
Sometimes, despite your best efforts, a melted probe wire is beyond repair. Recognizing when to let go and replace your thermometer is important for food safety and cooking success.
Major damage to the probe itself, widespread melting of the cable, or consistent inaccurate readings after attempting a fix are all signs that it might be time for a new thermometer. Continuing to use a faulty thermometer can lead to undercooked food, which is a health risk.
Severe Damage Indicators
Not all damage can be fixed at home. Certain types of melting can ruin the internal components of the probe, making it impossible to get accurate readings.
If the metal probe tip itself looks completely warped, cracked, or has holes from melting, it’s likely that the sensitive temperature sensor inside has been destroyed. Similarly, if a large section of the cable’s outer coating has melted away, exposing multiple internal wires, the integrity of the connection is compromised and likely cannot be safely repaired.
- Cracked or Punctured Probe Tip: If the metal tip of the probe looks like it has cracked or has small holes in it from the melting, the internal sensor is probably compromised. This type of physical damage is usually irreparable.
- Extensive Cable Melting: If a significant portion of the cable, especially near the probe, has melted away, exposing multiple strands of wire, it’s a sign of severe damage. The shielding and insulation are critical for accurate readings and protection.
- Internal Wire Damage: If you can see that the delicate wires inside the cable have melted or fused together, this is also a sign of irreparable damage. These wires transmit the temperature signal.
Persistent Inaccuracy
Even if you clean off the melted bits and everything looks okay externally, the probe might still not be accurate. This is a strong signal that the internal components responsible for reading temperature have been permanently damaged by the heat.
When a thermometer consistently gives readings that are far off, even after attempting a fix, it’s a safety concern. You can’t trust it to tell you if your meat is cooked to a safe internal temperature. This is where safety comes before cost savings.
- Off by Large Margins: If your thermometer reads 20 degrees or more off during the ice water or boiling water tests, it’s a sign of significant inaccuracy. This margin of error is too large for safe cooking.
- Inconsistent Readings: If the temperature fluctuates wildly or jumps between impossible numbers during the tests, the sensor is likely damaged. A good thermometer should provide a steady, reliable reading.
- Failure to Respond: If the thermometer still doesn’t register a temperature, or displays an error message, even after cleaning and checking connections, the internal circuitry is probably fried.
Preventing Future Probe Wire Melting
Now that you know how to fix a melted probe wire, it’s even better to prevent it from happening in the first place! Taking a few simple precautions can save your thermometer and ensure it works reliably for a long time.
The key is to always be mindful of heat sources and how you’re using the thermometer. Proper storage also plays a role. By following a few easy rules, you can keep your thermometer in great shape.
Mindful Usage Habits
How you use your thermometer during cooking is the biggest factor in preventing damage. Always think about where the probe is in relation to the heat.
Avoid letting the probe directly touch hot metal surfaces like oven racks, grill grates, or stovetop burners. When inserting the probe into food, do so carefully, aiming away from any direct heat sources. If you’re using a grill, keep the probe wire itself from touching the hot coals or flames.
Many modern probes have long cables to give you plenty of space between the heat and the digital display.
- Keep Away from Direct Heat: Never let the probe tip or cable touch the heating elements in an oven, the open flame of a gas burner, or hot coals on a grill. Always ensure there’s a buffer of food or air between the probe and the direct heat source.
- Proper Insertion Technique: When inserting the probe into food, do so with care. Aim the probe into the thickest part of the meat, away from bones and fat pockets. Be conscious of any parts of the probe that might be sticking out and could get too close to the heat.
- Use the Cable Wisely: The cable connecting the probe to the display is often more sensitive than the metal probe itself. Ensure the cable is not resting on hot surfaces or pulled taut over a hot edge, which could cause it to melt.
Appropriate Storage
Where you store your thermometer also matters. Improper storage can lead to damage even when the thermometer isn’t in use.
Store your thermometer in a cool, dry place. Many come with protective cases or sleeves, which are ideal for keeping the probe safe from being bent, scratched, or coming into contact with sharp objects. Avoid storing it near heat sources, like stoves or ovens, even when they are off, as residual heat can still be an issue.
- Use Protective Sleeves/Cases: Most good thermometers come with a protective sheath or case for the probe. Always use this when storing the thermometer to prevent the probe from getting bent or scratched.
- Cool, Dry Location: Store your thermometer in a drawer or cabinet away from heat and moisture. Avoid places like near the oven or stovetop, as these areas can retain heat.
- Avoid Sharp Objects: Don’t toss your thermometer into a drawer with knives or other sharp utensils. These can damage the probe wire’s protective coating, making it more vulnerable to heat damage later on.
Frequently Asked Questions
Question: Can a melted meat thermometer probe be fixed?
Answer: Sometimes, yes. Minor melting that can be cleaned off and doesn’t affect the probe’s integrity might be fixable. However, severe melting that warps the probe or damages internal wires usually means it’s time for a new one.
Question: What should I do if my thermometer probe wire melted?
Answer: First, let it cool completely. Then, gently clean off any melted residue. Test its accuracy using ice water and boiling water.
If it reads accurately, you might be good to go. If not, it may need replacement.
Question: Why did my thermometer probe wire melt?
Answer: It likely came into direct contact with extreme heat, such as an oven heating element, a stovetop burner, or grill flames. This can cause the metal and its protective coating to soften and deform.
Question: How can I prevent my thermometer probe wire from melting?
Answer: Be mindful of heat sources when cooking. Avoid letting the probe or cable touch direct heat. Store the thermometer properly in its protective case in a cool, dry place, away from heat sources.
Question: Is it safe to use a thermometer with a slightly melted probe wire?
Answer: It’s generally not recommended if the melting has caused the probe to warp or if it leads to inaccurate temperature readings. An inaccurate thermometer can result in undercooked food, posing a health risk.
Summary
Fixing a melted meat thermometer probe wire often involves careful cleaning and testing. If the damage is minor, you can usually restore its function. However, significant melting that affects accuracy means it’s time for a replacement to ensure safe cooking.


