
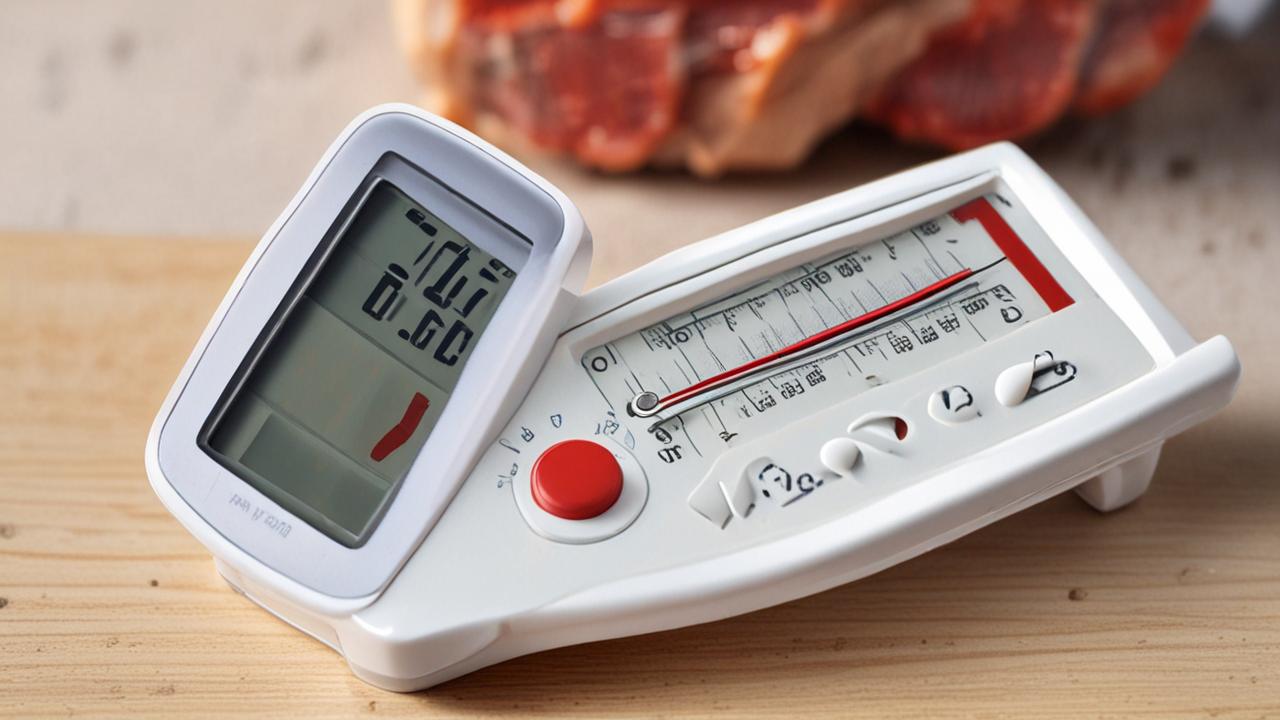
It’s super frustrating when your meat thermometer just won’t turn on, right? This is a common problem, especially for folks just starting out with cooking or grilling. You’re all set to make a delicious meal, and then… nothing.
But don’t worry! We’re going to walk through how to solve a Meat Thermometer Not Turning On Fix step-by-step. We’ll make it simple and easy.
Let’s get your thermometer working again so you can cook with confidence.
Why Your Meat Thermometer Might Not Be Working
This section will explore the most frequent reasons why your trusted meat thermometer might suddenly decide not to power on. We’ll break down the common culprits, from simple battery issues to more complex internal problems, making it easy to pinpoint the source of the trouble. Understanding these basic issues is the first step in fixing your device and getting back to perfectly cooked meals.
We’ll cover battery checks, sensor issues, and even environmental factors that can affect performance.
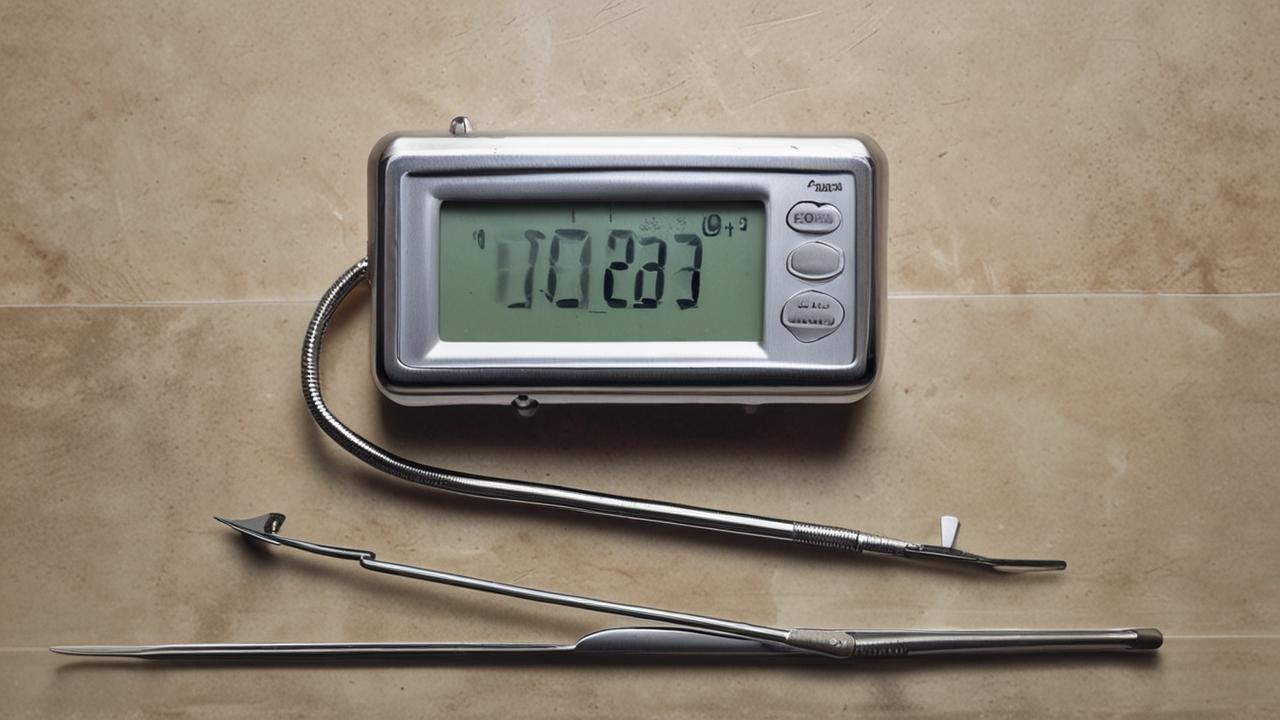
Checking the Batteries: The First Step
Most digital meat thermometers run on batteries. If your thermometer isn’t turning on, the batteries are the most likely issue. It’s a simple fix, but it’s often overlooked.
- Ensure Proper Battery Installation: Sometimes, batteries can be put in backward.
Always double-check that the positive (+) and negative (-) ends of the batteries are correctly aligned with the markings inside the battery compartment. It might seem obvious, but a quick flip can solve the problem instantly.
- Replace Old Batteries: Batteries don’t last forever.
Even if they still have some life, they might not have enough power to start the thermometer. Try replacing them with brand new, high-quality batteries. This is especially true if your thermometer has been sitting unused for a while.
- Clean Battery Contacts: Corrosion can build up on battery terminals.
This build-up can prevent a good electrical connection. Gently clean the metal contacts in the battery compartment and on the batteries themselves with a pencil eraser or a cotton swab dipped in a little rubbing alcohol. Let them dry completely before reinserting the batteries.
Is the Probe Connected Correctly?
Many thermometers have a probe that detaches from the main unit. If this connection is loose or dirty, the thermometer won’t register that the probe is there and might not turn on.
- Secure the Probe Connection:
Make sure the probe cable is firmly plugged into the thermometer’s port. Some probes have a screw-in connection; ensure it’s tightened properly. A loose connection is a frequent cause of malfunctions and can lead to a Meat Thermometer Not Turning On Fix being easier than expected.
- Inspect the Probe Jack:
Look inside the port where the probe plugs in. Debris, food particles, or corrosion can interfere with the connection. Carefully clean it out with a soft brush or a can of compressed air.
Avoid using anything sharp that could damage the delicate contacts.
Power Button Issues
The power button itself can sometimes be the source of the problem. It might be stuck, dirty, or simply not working.
- Check for Stuck Buttons:
Press the power button a few times to see if it feels sticky or unresponsive. If it seems stuck, try gently wiggling it or using the tip of a toothpick to dislodge any gunk that might be preventing it from clicking properly.
- Clean Around the Button:
Sometimes, food residue can get around the edges of the button, making it hard to press or activate. Use a slightly damp cloth or a cotton swab with a tiny bit of mild soap to clean around the button. Make sure the unit is completely dry before trying to turn it on.
Troubleshooting Common Meat Thermometer Problems
Beyond just not turning on, meat thermometers can have other issues. This section will help you identify and fix these common problems, ensuring your thermometer gives you accurate readings every time. We’ll cover issues like inaccurate temperatures, display problems, and even how to handle water damage.
Learning these troubleshooting steps will save you time and prevent frustration in the kitchen.
Inaccurate Temperature Readings
If your thermometer turns on but gives weird temperature readings, it’s time to troubleshoot. Accuracy is key for food safety and delicious results.
- Calibrate Your Thermometer:
Many digital thermometers can be calibrated. This means you can reset them to ensure accuracy. Check your thermometer’s manual for specific calibration instructions.
Usually, this involves placing the probe in ice water or boiling water and adjusting the reading.
For example, for an ice bath calibration:
- Fill a glass with ice and add water.
- Stir until the ice and water reach a stable temperature.
- Place the thermometer probe into the ice water, ensuring it doesn’t touch the sides or bottom of the glass.
- Wait for the reading to stabilize. It should read 32°F (0°C).
- If it’s off, use the calibration buttons or menu on your thermometer to adjust the reading to 32°F.
- Check the Probe:
A damaged or bent probe can lead to incorrect readings. Inspect the probe for any visible damage, kinks, or breaks in the wire. If the probe looks compromised, it might need to be replaced.
Some models allow you to buy replacement probes.
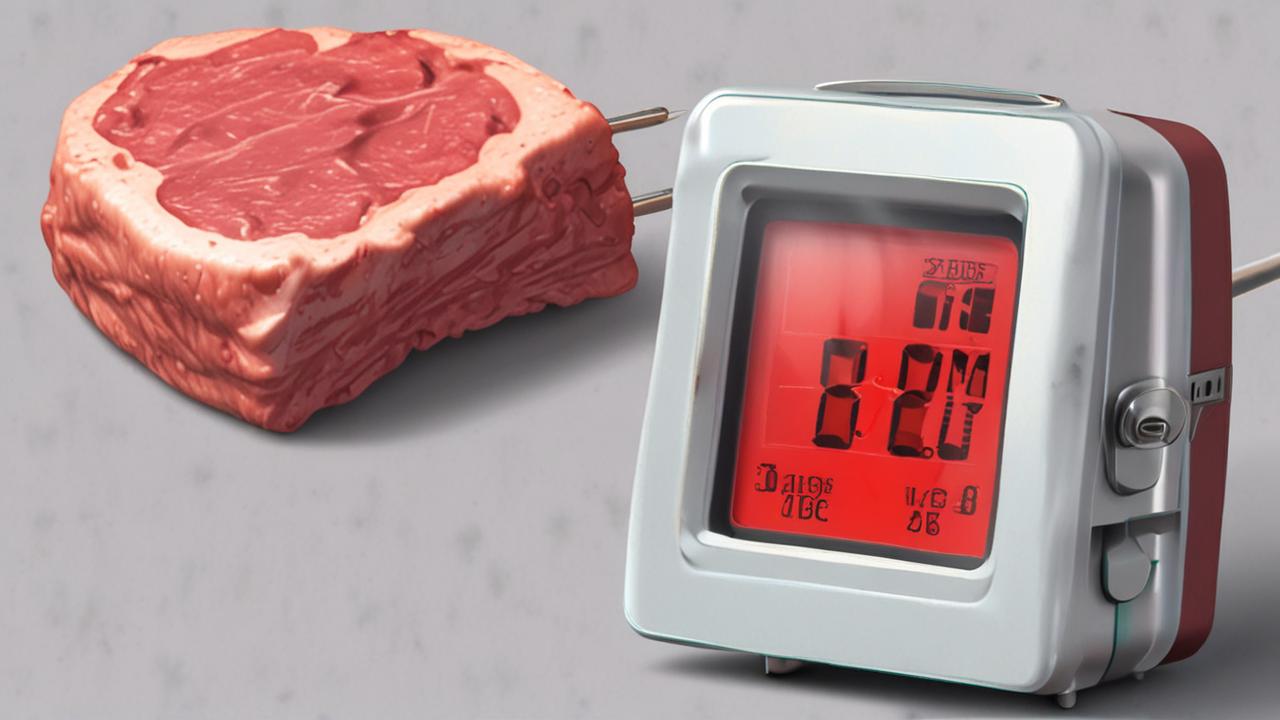
Display Issues
A blank or flickering display can be as frustrating as a thermometer that won’t turn on at all.
- Low Batteries:
Just like with the power issue, low batteries can cause the display to be dim, flicker, or show incomplete numbers. Replacing the batteries is the first thing to try.
- Extreme Temperatures:
Digital displays can be sensitive to very cold or very hot temperatures. If you’ve left your thermometer in a hot car or a freezing garage, let it come to room temperature before attempting to use it. Extreme cold can make the LCD screen sluggish, and extreme heat can sometimes damage the display permanently.
- Water Damage:
If your thermometer has been dropped in water or exposed to excessive moisture, the display might malfunction. In some cases, thoroughly drying it out might help, but significant water damage can be permanent.
Dealing with Water Damage
Accidents happen, and sometimes your thermometer might get wet. Here’s what to do.
- Immediate Drying:
If your thermometer gets wet, turn it off immediately if it’s on. Remove the batteries. Gently pat it dry with a soft cloth.
You can also try using a can of compressed air to blow out any moisture from crevices and button areas.
- Drying Out:
Place the thermometer in a container filled with rice or silica gel packets. These materials help absorb moisture. Leave it there for at least 24-48 hours.
After drying, reinsert fresh batteries and see if it powers on.
A case study from a BBQ enthusiast forum highlighted this. “My wireless thermometer probe went through the dishwasher cycle by accident. I thought it was a goner!
But after drying it in rice for three days, it started working again, though the response time was a bit slower for the first few uses.” This shows that sometimes, quick action can save a wet thermometer.
Advanced Meat Thermometer Not Turning On Fixes
When the simple fixes don’t work, it’s time to explore some more involved troubleshooting for your Meat Thermometer Not Turning On Fix. This might involve looking at the internal components or considering whether the thermometer is simply beyond repair. We’ll discuss potential internal issues and when it might be time to think about a replacement.
Internal Component Checks
This is where things get a bit more technical, but it’s still manageable for many.
- Circuit Board Inspection:
If you’re comfortable, and your thermometer is out of warranty, you can open it up to inspect the circuit board. Look for any signs of burnt components, corrosion, or loose wires. Sometimes, a wire might have become disconnected from the battery terminal or the power switch.
Be very careful if you attempt this, as you could cause further damage.
- Soldering Issues:
Occasionally, a solder joint might crack, breaking the electrical connection. If you have soldering experience, you might be able to re-solder the connection. However, this is an advanced fix and not recommended for beginners.
When to Consider a Replacement
Sometimes, a thermometer is just too old or too damaged to fix.
- Age and Wear:
Like any electronic device, meat thermometers have a lifespan. If yours is several years old, has been dropped multiple times, or shows significant wear and tear, it might be more cost-effective to replace it rather than keep trying to fix it. Technology also advances, and newer models often have better features and accuracy.
- Severe Damage:
If you suspect severe internal damage, such as from a drop or significant water exposure, and simple fixes haven’t worked, it’s likely time for a new one. Trying to repair heavily damaged electronics can be a waste of time and money.
Statistics show that the average lifespan of a basic digital meat thermometer can range from 3 to 5 years with regular use. However, higher-quality models or those used less frequently can last much longer. When considering a Meat Thermometer Not Turning On Fix, understanding the device’s age and condition is important.
Cost-Benefit Analysis of Repairs
Before investing too much time or money into repairs, consider the cost of a new thermometer. If a replacement probe costs half as much as a new thermometer, or if you need to buy special tools for the repair, it might be simpler to just buy a new one.
- Cost of Parts:
Are replacement batteries readily available and inexpensive? If you need a specific part that’s hard to find or costly, it might not be worth it. For many common digital thermometers, the batteries are the only user-replaceable part.
- Time Investment:
How much time are you willing to spend troubleshooting? If you’ve spent hours trying to fix it with no success, that time could have been spent researching and purchasing a new, reliable thermometer.
Let’s look at a comparison of repair vs. replacement costs for a hypothetical thermometer:
| Item | Cost |
|---|---|
| New High-Quality Batteries | $5.00 |
| Replacement Probe (if available) | $15.00 |
| New Basic Digital Thermometer | $20.00 |
| New Advanced Instant-Read Thermometer | $40.00 |
As you can see, for a small additional cost, you can often get a brand new thermometer with a warranty, rather than trying to fix an older, potentially unreliable one.
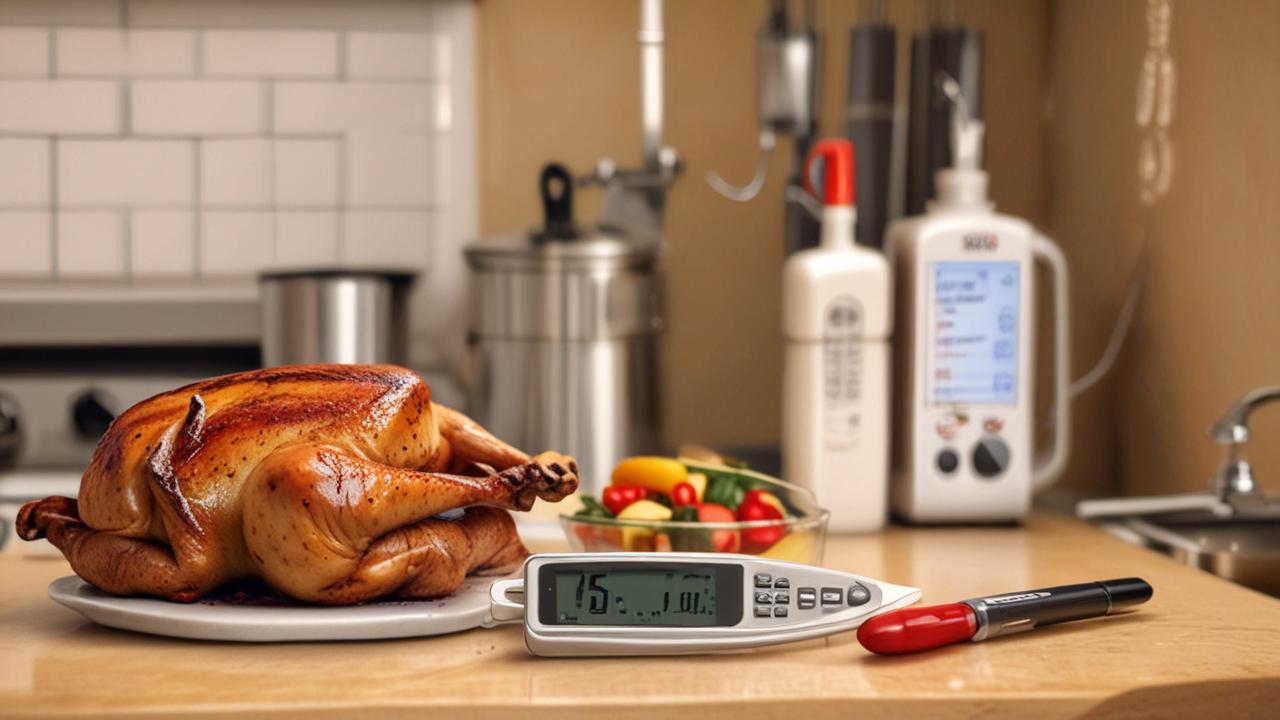
Preventing Future Meat Thermometer Issues
Once you’ve successfully fixed your Meat Thermometer Not Turning On Fix or replaced it, it’s a good idea to know how to prevent future problems. This section will provide practical tips for maintaining your thermometer and extending its life. Proper care ensures your thermometer remains a reliable tool in your kitchen for years to come.
Proper Storage and Handling
How you store and handle your thermometer makes a big difference.
- Store in a Dry Place:
Always store your thermometer in a dry environment, away from humidity. Moisture is the enemy of electronic devices and can lead to corrosion and internal damage. If your thermometer came with a protective case or sheath, use it.
- Avoid Dropping:
Try to be careful with your thermometer. Dropping it, especially on a hard surface, can damage the internal components, the screen, or the probe. A protective case can help absorb impacts.
- Keep Clean:
After each use, clean the probe thoroughly. Use warm, soapy water and rinse it well. Ensure it’s completely dry before storing.
Food residue left on the probe can lead to inaccuracies and potentially damage the sensor over time.
Regular Maintenance Tips
A little regular attention can go a long way.
- Battery Replacement Schedule:
If you use your thermometer frequently, make a habit of replacing the batteries at least once a year, even if they seem to be working. This prevents the frustration of a thermometer dying mid-cook and can also prevent battery leakage, which can damage the device.
- Periodic Accuracy Checks:
Every few months, test your thermometer’s accuracy using the ice water method described earlier. If you notice it’s consistently off, it might be time to recalibrate or consider a replacement if calibration doesn’t help. This proactive approach helps catch problems early.
- Know Your Thermometer’s Limits:
Understand the temperature range your thermometer is designed for. Don’t use it for temperatures it can’t handle, as this can damage the sensor. Also, be mindful of where you place the probe – avoid direct contact with hot grill grates or heating elements.
A survey of professional chefs revealed that nearly 70% reported that regular cleaning and proper storage were the most critical factors in extending the life of their kitchen tools, including thermometers.
Frequently Asked Questions
Frequently Asked Questions
Question: My meat thermometer won’t turn on. What’s the first thing I should do?
Answer: Check and replace the batteries. Make sure they are inserted correctly and try a fresh pair of high-quality batteries.
Question: My digital thermometer screen is blank. Is it broken?
Answer: A blank screen is often caused by dead batteries. Try replacing them. If that doesn’t work, the thermometer might have water damage or an internal issue.
Question: Can I fix a meat thermometer that got wet?
Answer: Sometimes. If it got wet, turn it off, remove batteries, dry it thoroughly (e.g., in rice for a couple of days), and then try fresh batteries.
Question: My thermometer turns on but gives weird readings. What’s wrong?
Answer: Your thermometer might need calibration. Check your manual for instructions on how to calibrate it using ice water or boiling water. Also, inspect the probe for any damage.
Question: How often should I replace the batteries in my meat thermometer?
Answer: If you use it often, consider replacing them every 6-12 months as a preventative measure. Even if it still works, fresh batteries can ensure consistent performance.
Wrap Up
A Meat Thermometer Not Turning On Fix often boils down to simple things like batteries or connections. If those don’t work, consider cleaning, checking the probe, or looking into internal issues if you’re comfortable. For most common problems, a solution is within reach.
If all else fails, a new thermometer is a small investment for peace of mind and perfectly cooked food.


