

It’s frustrating when your meat thermometer isn’t showing the right temperature. This can happen more often than you think, especially if you’re new to cooking or haven’t used your thermometer in a while. Don’t worry, there’s usually a simple fix!
We’ll walk you through exactly how to get your thermometer working correctly again. After we fix this common problem, you’ll be ready to cook meats to perfection every time.
Fixing a Meat Thermometer Losing Accuracy
When a meat thermometer starts giving wild readings or seems “off,” it’s a common issue that can make any cook feel a bit uneasy. This isn’t usually a sign of a broken tool but rather a need for a simple adjustment or recalibration. Beginners might feel particularly lost because they don’t know the common reasons for this inaccuracy or what steps to take.
This section will explore why your thermometer might be losing accuracy and guide you through the most effective solutions to get it back on track, ensuring your meals are always cooked just right.
Why Your Thermometer Might Be Inaccurate
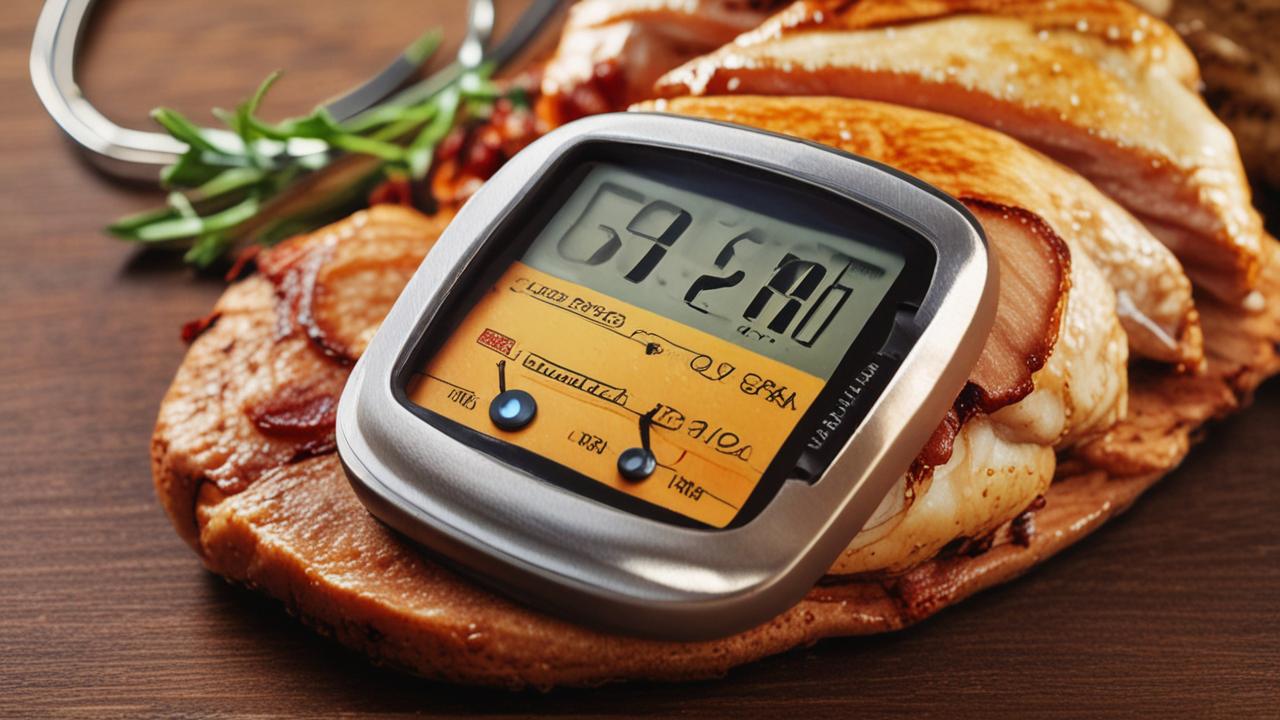
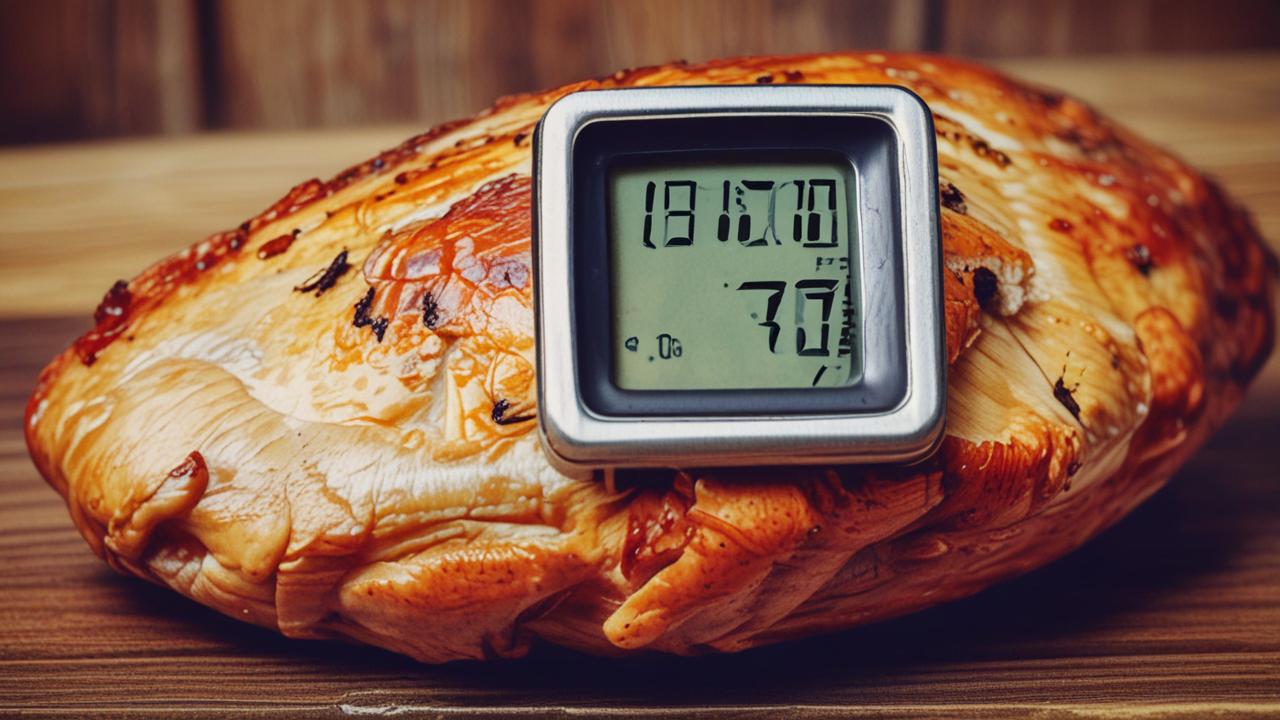
Several things can cause a digital or analog meat thermometer to lose its accuracy. Sometimes, it’s as simple as a battery issue with digital models. Other times, physical damage, extreme temperature changes, or even just age can affect the readings.
Understanding these potential causes is the first step in figuring out how to fix it. Knowing the common culprits helps you pinpoint the problem faster so you can get back to confident cooking.
- Battery Power: For digital thermometers, low or dead batteries are a very frequent cause of inaccurate readings. A weak battery might not send enough power to the sensor, leading to erratic or incorrect temperature displays. It’s the easiest thing to check and fix, often solving the problem instantly. Always make sure you have fresh batteries on hand, especially before important cooking events.
- Sensor Damage: The part of the thermometer that reads the temperature, often the metal probe, can be damaged. If the probe is bent, kinked, or has exposed wires (in digital models), it won’t be able to accurately measure heat. Even small dents or scratches can sometimes affect its performance over time.
- Environmental Exposure: Extreme temperatures or humidity can sometimes impact the internal components of a thermometer, especially digital ones. Leaving a thermometer in a very hot car or a damp environment for too long could lead to a loss of accuracy.
- Calibration Drift: Over time and with use, the internal calibration of a thermometer can “drift.” This means the device’s internal settings might no longer perfectly align with standard temperature measurements. This is more common with older or heavily used devices and is often what requires a recalibration process.
Recalibrating Your Meat Thermometer
Recalibrating your meat thermometer is a key step to fixing accuracy problems. This process essentially resets the thermometer to ensure it reads temperatures correctly. It’s like giving your thermometer a fresh start.
There are two main methods, depending on whether you have a digital or an analog thermometer, and both are quite straightforward.
Recalibrating Digital Meat Thermometers
Digital meat thermometers often have a reset or calibration button, or they can be recalibrated using a simple ice water bath. This method works because pure water freezes at a consistent temperature, 32 degrees Fahrenheit (0 degrees Celsius). By checking your thermometer against this known point, you can see if it’s reading correctly and make adjustments if needed.
The first thing to try with a digital thermometer is checking its battery. If changing the battery doesn’t help, then the ice bath calibration is the next best step. This is a very common and effective way to fix many accuracy issues without needing special tools.
- Prepare the Ice Bath: Get a tall glass or container and fill it about two-thirds full with ice. Then, add cold water until the glass is nearly full. Stir the mixture gently to ensure the ice is well distributed and the water is very cold.
- Submerge the Probe: Place the clean probe of your meat thermometer into the ice water. Make sure the probe is fully submerged in the icy water but does not touch the bottom or sides of the glass. It’s important that only the part that measures temperature is in the water.
- Wait and Observe: Let the thermometer sit in the ice water for at least 30 seconds. This allows the probe to reach the temperature of the ice water.
- Check the Reading: The thermometer should read 32°F (0°C). If it reads higher or lower, you may need to adjust it. Many digital thermometers have a calibration button or a way to set the 32°F point. Check your thermometer’s manual for specific instructions on how to adjust or calibrate it.
If your thermometer doesn’t have an adjustment feature, but it’s consistently off by a few degrees, you can learn to mentally adjust the readings. For example, if it always reads 2-3 degrees high, subtract that amount from the displayed temperature. However, if the reading is very far off, it might indicate a more serious issue that recalibration can’t fix.
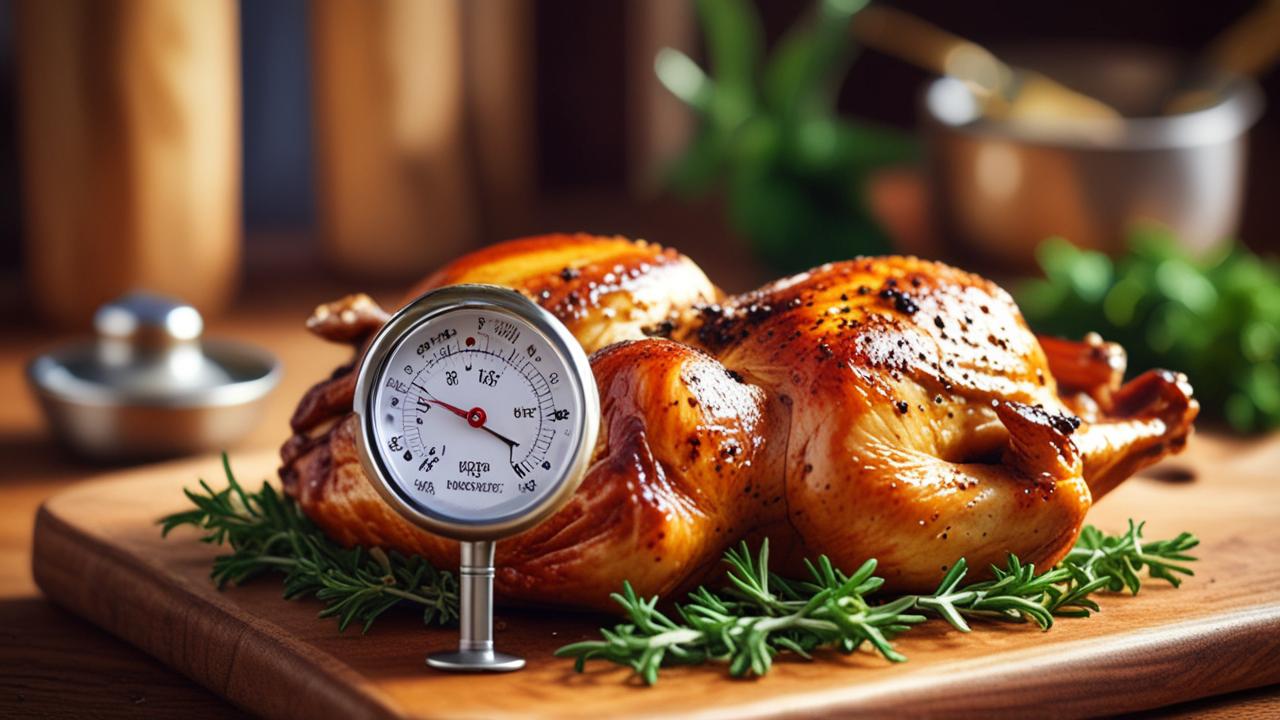
Recalibrating Analog Meat Thermometers
Analog meat thermometers, the ones with a dial and a needle, can also lose accuracy. These often require a slightly different approach to recalibration, usually involving a small nut or screw at the back of the dial. Like digital ones, they can also be checked against an ice bath.
These older style thermometers are often very durable, but they can still get knocked out of alignment. The key is to make small, careful adjustments to get the needle pointing to the right spot when it’s at a known temperature.
- Prepare the Ice Bath: Just like with digital thermometers, fill a glass with ice and cold water. Stir it well.
- Submerge the Probe: Place the probe of your analog thermometer into the ice water, ensuring it’s submerged but not touching the sides or bottom.
- Observe the Needle: Let it sit for about 30 seconds. The needle should point directly to 32°F (0°C) on the dial.
- Adjust the Needle: If the needle isn’t at 32°F, you’ll need to adjust it. Look at the back of the thermometer dial. There’s usually a small nut or screw attached to the needle’s mechanism. Use a small wrench or pliers to gently turn this nut. Turn it just a little bit at a time.
- Fine-Tune: After each small adjustment, check the reading again. Continue making tiny adjustments until the needle points precisely to 32°F. Be patient, as this can take a few tries to get just right.
It’s important to be gentle when adjusting the nut on an analog thermometer. Forcing it can damage the delicate mechanism. If you cannot find the adjustment nut or if the thermometer still doesn’t read correctly after careful adjustment, it might be time to consider a new one.
Troubleshooting Common Meat Thermometer Issues
Beyond just needing recalibration, a meat thermometer might have other issues that affect its accuracy or function. Thinking through these common problems can help you quickly find a solution. Sometimes the problem isn’t with the thermometer itself but with how it’s being used or stored.
Digital Thermometer Specific Problems
Digital thermometers are great for their ease of reading, but they have their own set of potential problems. Often, these are related to the electronics or the display screen.
- Display Not Working: If the screen is blank, first try replacing the batteries. If that doesn’t work, check if there’s any visible damage to the screen itself. Some higher-end digital thermometers have a reset button that can sometimes fix display issues.
- Slow Response Time: If your digital thermometer takes a very long time to show a stable temperature, it could be a sign of a weak battery or a failing internal component. A brand new thermometer should give you a reading within a few seconds.
- “Err” or Error Messages: Most digital thermometers will display an error code if they detect a problem. These codes usually indicate a malfunction or an issue with the sensor. Consult your user manual to understand what the specific error code means. Often, it points to needing a replacement.
- Water Damage: Many digital thermometers are water-resistant, but not waterproof. If the battery compartment or other parts get submerged, it can damage the electronics. Try to dry it out thoroughly and replace the batteries, but be aware that water damage can be permanent.
Analog Thermometer Specific Problems
Analog thermometers are simpler in design, which means they have fewer electronic parts to fail, but they are still susceptible to physical issues.
- Bent or Damaged Probe: If the metal probe is bent significantly, it can affect the internal bimetallic coil that moves the needle. While you can try to gently straighten it, a severely bent probe might never read accurately again.
- Loose Dial: If the dial feels loose or wobbly, the internal mechanism might be damaged. This can lead to inconsistent readings.
- Corrosion: The metal parts, especially the probe, can corrode over time, particularly if not cleaned properly or if exposed to harsh conditions. Corrosion can interfere with heat transfer and the thermometer’s function.
- Impact Damage: Dropping an analog thermometer can dislodge internal parts, leading to inaccurate readings or a needle that doesn’t move correctly.
When to Consider a New Meat Thermometer
Sometimes, even with the best efforts, a meat thermometer is beyond repair. Knowing when to give up on an old one and buy a new one is an important skill for any cook. Continuing to use a faulty thermometer can lead to undercooked or overcooked food, which can be unsafe or disappointing.
A good meat thermometer is an investment in your cooking. While it’s great to fix your old one, recognize the signs that it’s time for an upgrade. Modern thermometers offer speed, accuracy, and features that older models simply cannot match.
- Consistent Inaccuracy: If you’ve tried calibrating your thermometer multiple times and it’s still consistently off by a significant margin (more than 5°F or 3°C), it’s likely a sign of internal damage or calibration issues that cannot be fixed.
- Slow or No Reading: If your thermometer takes an unusually long time to provide a temperature reading, or if it doesn’t seem to be responding at all, it might be failing. A good instant-read thermometer should give you a stable reading within a few seconds.
- Physical Damage: If the probe is severely bent, cracked, or if the casing on a digital thermometer is broken, it’s often best to replace it. Physical damage can compromise the accuracy and even safety of the device.
- Age and Wear: Like any tool, thermometers wear out over time. If your thermometer is very old, has been used thousands of times, or shows significant signs of wear and tear, its accuracy may have degraded to the point where replacement is the best option.
When looking for a new thermometer, consider what features are most important to you. Instant-read digital thermometers are very popular for their speed and ease of use. Some have features like backlights for easy reading in dim light, waterproof designs, or probes that stay in the meat while it cooks.
Real-Life Examples and Scenarios
Let’s look at how these issues and fixes play out in real cooking situations. Seeing how others have solved similar problems can be very helpful.
Scenario 1: The Overcooked Roast
- Sarah was cooking a prime rib for a special occasion. She relied on her trusty analog meat thermometer, which she hadn’t used in over a year.
- She inserted the thermometer into the roast, and after a few minutes, the needle pointed to 165°F (74°C), which is well-done. She pulled the roast out, let it rest, and then discovered it was dry and overcooked.
- When she checked her thermometer against an ice bath, she found it was reading 30°F (17°C) too high. She tried to recalibrate it by adjusting the nut on the back.
- After careful adjustment, the thermometer now reads 32°F (0°C) in the ice bath. The next time she cooked, she used the recalibrated thermometer, and the prime rib came out perfectly medium-rare.
Scenario 2: The Digital Thermometer Panic
- Mark was grilling burgers and his digital thermometer suddenly started showing “Err” on the screen. He didn’t have another thermometer handy and was worried about serving undercooked burgers.
- He remembered that “Err” often means a battery issue or a sensor problem. He quickly
- The “Err” message disappeared, and the thermometer started showing temperatures again. He tested it in an ice bath and found it was reading 32°F (0°C), so it was accurate.
- Mark learned that regular battery checks are important for digital thermometers, especially before important cooking tasks.
Scenario 3: The Slow-to-Read Probe
- Jessica noticed her instant-read digital thermometer was taking much longer than usual to give a stable reading. It used to take just 3 seconds, but now it was taking over 15 seconds.
- She suspected that either the batteries were weak or the probe itself was starting to fail. She replaced the batteries first, but the slow response time continued.
- She decided to test its accuracy in boiling water, which should read 212°F (100°C) at sea level. Her thermometer read 218°F (103°C) and took a long time to get there.
- Because it was consistently inaccurate and slow, Jessica decided it was time to buy a new, faster instant-read thermometer for peace of mind.
Benefits of Accurate Meat Thermometers
Having a reliable meat thermometer is more than just a convenience; it’s a tool that directly impacts the quality, safety, and enjoyment of your food. When your thermometer is accurate, you gain confidence in the kitchen. This section will explore why an accurate thermometer is so valuable and the positive effects it has on your cooking experience.
Food Safety Assurance
The primary benefit of an accurate meat thermometer is ensuring food safety. Different types of meat need to reach specific internal temperatures to kill harmful bacteria like Salmonella and E. coli.
Relying on guesswork or cooking times alone can be dangerous, especially for ground meats, poultry, and pork.
- Preventing Foodborne Illness: Using a thermometer guarantees that meat is cooked to the safe minimum internal temperature recommended by food safety authorities. For example, ground beef should reach 160°F (71°C), poultry 165°F (74°C), and pork 145°F (63°C) with a rest time. An inaccurate thermometer could lead you to believe the meat is safe when it is not.
- Peace of Mind: Knowing your food is safely cooked allows you to serve it with confidence, especially to children, the elderly, or anyone with a weakened immune system. This assurance is invaluable for hosts and cooks alike.
- Reducing Waste: Overcooking to “be safe” is a common mistake that leads to dry, tough food. An accurate thermometer allows you to cook meat precisely to the desired doneness without the risk of undercooking, thus reducing food waste and disappointment.
Achieving Perfect Doneness
Beyond safety, accurate thermometers are crucial for achieving the desired taste and texture of your meals. Whether you prefer your steak rare, medium, or well-done, a thermometer is your best guide.
- Steak Perfection: For steak lovers, hitting the perfect temperature is an art. A good thermometer can differentiate between rare (125°F/52°C), medium-rare (135°F/57°C), and medium (145°F/63°C), ensuring each bite is just right.
- Juicy Poultry and Pork: Poultry can easily become dry, and pork can be tough if overcooked. An accurate thermometer helps you pull chicken, turkey, or pork off the heat at the exact moment it’s perfectly cooked, keeping it moist and tender.
- BBQ and Roasts: For slow-cooked BBQ ribs or large roasts, a thermometer helps monitor the internal temperature over long cooking times, ensuring they are cooked through while remaining succulent.
Cooking Efficiency and Confidence
An accurate thermometer not only improves your food but also enhances your cooking experience.
- Saving Time: When you trust your thermometer, you don’t need to constantly check the meat by cutting into it, which lets heat escape. This leads to more efficient cooking and less stress.
- Building Skills: Consistently achieving great results with the help of a reliable tool builds your confidence in the kitchen. You learn to rely on accurate measurements rather than just visual cues or timing, which are often misleading.
- Experimentation: With a reliable thermometer, you can experiment with different cuts of meat, cooking methods, and doneness levels, knowing you can achieve predictable and delicious results.
Statistics on Thermometer Use
Studies show that using a food thermometer can significantly improve cooking safety and reduce the risk of foodborne illnesses. For instance, research from the USDA has highlighted the importance of internal temperatures. According to one report, a significant percentage of home cooks do not use food thermometers regularly, leading to potential food safety risks.
A survey by the Food Marketing Institute found that while most people understand the importance of cooking meat to a safe internal temperature, many do not use thermometers. This gap between knowledge and practice underscores why tools like accurate meat thermometers are essential for public health and culinary success.
Here’s a quick look at temperature guidelines. Note that these are minimums; resting time can further enhance safety and texture.
| Food Type | Minimum Internal Temperature (Fahrenheit) | Minimum Internal Temperature (Celsius) |
|---|---|---|
| Ground Meats (Beef, Pork, Veal, Lamb) | 160°F | 71°C |
| Poultry (Chicken, Turkey, Duck) | 165°F | 74°C |
| Whole Cuts of Beef, Pork, Veal, Lamb (Steaks, Roasts, Chops) | 145°F (with 3-minute rest) | 63°C (with 3-minute rest) |
| Fish | 145°F | 63°C |
Understanding Meat Thermometer Technology
The way meat thermometers work has evolved significantly, from simple dial thermometers to advanced digital and smart devices. Understanding the technology behind them helps you appreciate their accuracy, troubleshoot issues, and choose the best one for your needs. This section breaks down the core technologies that make these essential kitchen tools function.
Analog Thermometer Mechanics
Analog meat thermometers, also known as dial thermometers, are the classic choice. They are simple, durable, and don’t require batteries. Their operation relies on a clever physical principle.
At its heart, an analog thermometer uses a bimetallic strip. This strip is made of two different types of metal bonded together. When the temperature changes, the metals expand or contract at different rates.
Because they are bonded, this differential expansion causes the strip to bend.
- Bimetallic Strip: This is the core component. It’s usually a coiled strip of two metals, like brass and stainless steel, welded or brazed together. As heat is applied to the probe, the metals expand. One metal expands more than the other, forcing the coil to uncoil slightly.
- Leverage and Pointer: The uncoiling motion of the bimetallic strip is transferred through a simple mechanical linkage to a pointer on the dial. A small amount of movement in the coil translates into a visible movement of the needle across the temperature scale.
- Calibration Nut: The nut or screw found on the back of many analog thermometers allows you to adjust the position of the pointer. This is used to calibrate the thermometer, ensuring the needle points to the correct temperature (usually 32°F or 0°C in an ice bath).
- Durability: Because they have no electronics, analog thermometers are generally very robust. They can often withstand drops and harsh cleaning better than their digital counterparts, though the probe itself can still be damaged.
The accuracy of an analog thermometer can be affected by its age and how it’s been handled. Over time, the metals can fatigue, or the linkage can become worn, leading to less precise readings. Regular calibration is key to maintaining their usefulness.
Digital Thermometer Electronics
Digital meat thermometers offer speed and precision through electronic components. They convert heat into an electrical signal that is then displayed numerically.
The main sensing element in most digital thermometers is a thermistor or a thermocouple. These components are highly sensitive to temperature changes and can translate those changes into measurable electrical resistance or voltage. This electrical signal is then processed by a small circuit board and displayed on an LCD screen.
- Thermistor: A thermistor is a type of resistor whose resistance changes significantly with temperature. As the temperature rises, the resistance of a Negative Temperature Coefficient (NTC) thermistor decreases, and vice-versa. This change in resistance is measured by the thermometer’s circuitry.
- Thermocouple: A thermocouple is made from two different metals joined at two points. A temperature difference between these junctions creates a small voltage, which is proportional to the temperature difference. Thermocouples are known for their fast response times and ability to measure a wide range of temperatures.
- Analog-to-Digital Converter (ADC): The electrical signal from the thermistor or thermocouple is an analog signal. An ADC converts this analog signal into a digital format that the thermometer’s processor can understand and display.
- Liquid Crystal Display (LCD): This is the screen that shows the temperature. It’s made of segments that light up to form numbers.
- Battery Power: Digital thermometers rely on batteries to power the electronic components. Low batteries are a very common reason for inaccurate or erratic readings.
The advantage of digital thermometers is their speed and often higher precision, especially with thermocouple models. They can display temperatures to a tenth of a degree and give readings in seconds.
Smart Thermometers and Wireless Technology
The latest advancements in meat thermometer technology involve smart thermometers, which often connect wirelessly to your smartphone or tablet. These offer advanced features for serious cooks and grill masters.
Smart thermometers typically use Bluetooth or Wi-Fi to transmit temperature data. This allows you to monitor your cooking remotely, set alerts, and even track cooking progress over extended periods. Many come with apps that offer pre-set temperatures for different types of meat and desired doneness levels.
- Bluetooth/Wi-Fi Connectivity: These thermometers broadcast temperature data over short (Bluetooth) or long (Wi-Fi) distances. This enables remote monitoring from another room or even when you’re away from home.
- Companion Apps: The accompanying mobile applications are central to the smart thermometer experience. They provide user-friendly interfaces for viewing temperatures, setting custom alerts (e.g., “notify me when it reaches 140°F”), and often include recipe suggestions or cooking guides.
- Multiple Probes: Many smart thermometers come with multiple probes, allowing you to monitor the temperature of several pieces of meat simultaneously, or to measure both the meat and the oven/grill temperature.
- Long-Term Monitoring: For slow-cooked dishes like pulled pork or brisket, smart thermometers can track temperature changes for many hours, providing valuable data and peace of mind.
- Data Logging: Some apps can log your cooking sessions, allowing you to review past cooks and replicate successful recipes or techniques.
While these smart devices offer convenience and advanced features, they also introduce more potential points of failure, such as connectivity issues or app glitches. However, when they work correctly, they can greatly enhance the cooking experience for enthusiasts.
Best Practices for Meat Thermometer Care
Proper care and maintenance are essential for ensuring your meat thermometer, whether analog or digital, remains accurate and lasts for a long time. Treating your thermometer well means it will serve you reliably, preventing the common frustrations of inaccurate readings and the need for constant fixes.
Think of your thermometer as a precision instrument. Like any good tool, it needs to be handled with care and kept clean. Following a few simple guidelines will make a big difference in its performance and lifespan.
- Always Clean After Use: This is the most critical step. After each use, wash the probe thoroughly with warm, soapy water. For digital thermometers, be careful not to submerge the entire unit unless it’s specifically designed to be waterproof. Wipe down the body and display with a damp cloth.
- Avoid Extreme Temperatures: Do not leave your thermometer in a hot oven or grill, or in direct sunlight for extended periods. Digital thermometers, in particular, can be damaged by excessive heat, leading to component failure.
- Store Properly: Store your thermometer in a clean, dry place. Many digital thermometers come with a protective sleeve or sheath for the probe. Use this to prevent accidental damage to the probe and to keep it clean.
- Handle with Care: Avoid dropping your thermometer, especially analog ones, as this can dislodge internal mechanisms. For digital models, be gentle with the buttons and the display screen.
- Calibrate Regularly: Even with the best care, thermometers can lose accuracy over time. Make it a habit to calibrate your thermometer every few months, or before a particularly important cooking event, especially if you haven’t used it in a while.
- Check Batteries (Digital): For digital thermometers, replace the batteries at least once a year, or whenever you notice slow response times or inconsistent readings. Always use fresh, high-quality batteries.
By adopting these simple practices, you can extend the life of your meat thermometer and ensure it provides accurate readings for years to come. This makes cooking safer, more enjoyable, and consistently successful.
Frequently Asked Questions
Question: How often should I calibrate my meat thermometer?
Answer: It’s a good idea to calibrate your meat thermometer every few months, or if you suspect it’s giving inaccurate readings. For very frequent users, calibrating once a month is ideal. For casual users, every 3-6 months is usually sufficient.
Question: Can I leave my digital meat thermometer in the meat while it cooks?
Answer: Some digital thermometers are designed as “leave-in” probes and can withstand oven or grill temperatures. However, many “instant-read” digital thermometers are not designed for this and can be damaged by prolonged heat. Always check your thermometer’s manual to see if it’s safe to leave in during cooking.
Question: My analog thermometer needle is stuck. What should I do?
Answer: If the needle on your analog thermometer is stuck, it might be bent or the internal mechanism could be damaged. Try the ice bath calibration first. If it’s still stuck or shows no response, the thermometer might need to be replaced, as analog mechanisms can be difficult to repair.
Question: What’s the difference between a thermistor and a thermocouple thermometer?
Answer: Thermistor thermometers are generally less expensive and good for general use, but can be slower to respond. Thermocouple thermometers are typically faster, more accurate, and can measure a wider temperature range, making them popular for professional use and for those who need rapid readings.
Question: Is it safe to use a meat thermometer that reads a few degrees off?
Answer: It’s not ideal, especially for food safety. If your thermometer is off by just a few degrees, you can learn to adjust the reading mentally, but for critical cooking where precision is key (like poultry), it’s best to have a fully accurate thermometer. A significant inaccuracy of more than 5°F (3°C) should be corrected or the thermometer replaced.
Wrap Up
Fixing a meat thermometer losing accuracy is usually straightforward. Recalibrating with an ice bath, checking batteries, or gentle adjustments often do the trick. Trust your repaired thermometer for safe and perfectly cooked food.
Happy cooking!

