

Using a meat thermometer might seem a bit tricky at first, especially if you’ve never used one before. You want your food to be just right – not undercooked and not overcooked. This is why learning How to Use Instant Read Meat Thermometer is so helpful.
Don’t worry, it’s much easier than it sounds! We’ll walk you through it step-by-step so you can cook with confidence. Get ready to make delicious meals every time.
Understanding Your Instant Read Meat Thermometer
This section will explain what an instant read meat thermometer is and why it’s an essential tool for any cook. We’ll cover its basic parts and how it works to give you quick and accurate temperature readings. Knowing these basics helps you use it correctly and get the best results in the kitchen.
We’ll also touch on why this tool is so popular for home cooks and professional chefs alike.
What is an Instant Read Meat Thermometer?
An instant read meat thermometer is a small, portable device designed to measure the internal temperature of food very quickly. Think of it as a super-fast thermometer for your cooking. It usually has a metal probe that you insert into the thickest part of the food.
A digital display or an analog dial then shows you the temperature almost immediately, usually within a few seconds.
These thermometers are really handy because they take the guesswork out of cooking meat. Instead of poking and prodding or guessing based on how the food looks, you get a precise number. This number tells you exactly if your chicken is safe to eat, if your steak is cooked to your liking, or if your roast is perfectly done.
The “instant read” part means it’s designed for speed. Unlike older thermometers that might take a minute or more, these give you a reading so fast you can check multiple items or reposition the probe without much delay. This speed is a big reason why so many people prefer them for everyday cooking.
Key Components of an Instant Read Thermometer
Most instant read meat thermometers have a few key parts that work together. The probe is the pointy metal part you stick into the food. It’s usually made of stainless steel, which is good because it’s durable and won’t rust.
This probe has a sensor at the tip that detects the heat of the food.
Connected to the probe is the main body of the thermometer. This is where the display is. For digital models, you’ll see a screen that shows numbers.
For analog ones, there’s a needle that moves around a dial. This part also houses the battery for digital models or the internal mechanism for analog ones. Some digital thermometers have buttons to turn them on and off or to switch between Fahrenheit and Celsius.
There’s often a protective sleeve or cap for the probe. This is important for safety and hygiene, keeping the probe clean when not in use and preventing accidental pokes. Make sure to keep this handy and put it on when you’re done.
It helps keep your thermometer in good shape for a long time.
How Does It Measure Temperature So Quickly?
The magic behind the “instant read” feature lies in advanced sensor technology. The tip of the metal probe contains a thermistor or a thermocouple. A thermistor is a type of resistor whose resistance changes significantly with temperature.
As the probe heats up, the thermistor’s resistance changes, and this change is converted into an electrical signal.
A thermocouple works a bit differently. It’s made of two different metals joined together. When there’s a temperature difference between the ends of the thermocouple, it generates a small voltage.
This voltage is directly proportional to the temperature difference. Both thermistors and thermocouples are very sensitive and can react to temperature changes almost immediately.
This electrical signal is then sent to the thermometer’s internal circuitry. For digital thermometers, this circuitry processes the signal and displays the corresponding temperature on the screen. Analog thermometers use a mechanical system linked to the sensor to move the needle.
The design focuses on minimizing any delay between the heat hitting the sensor and the reading appearing, making it truly “instant.”
Getting Started: Using Your Thermometer for the First Time
Before you start cooking, it’s a good idea to get familiar with your new thermometer. This section will guide you through the initial setup and testing. We’ll cover how to turn it on, check its accuracy, and make sure it’s ready for your first cooking adventure.
These simple steps will help you avoid any confusion later on.
Turning On and Calibrating Your Thermometer
Most instant read meat thermometers are ready to go right out of the box. For digital models, you’ll usually find a small button on the side or top. Press this button to turn it on.
You might see some numbers flash, or it might just show the last temperature it read. If it has buttons for Fahrenheit and Celsius, you can select your preferred unit of measurement.
Calibration is important to ensure your thermometer is accurate. Some thermometers come pre-calibrated, while others might have a calibration feature. A simple way to check accuracy is with an ice water bath.
Fill a glass with ice and water. Stir it for about 30 seconds, then insert the probe into the ice water, making sure it doesn’t touch the sides or bottom of the glass.
A properly calibrated thermometer should read 32°F (0°C) in ice water. If yours is off by a degree or two, don’t worry too much. Many digital thermometers have a calibration mode.
You’ll typically need to press and hold a button or a combination of buttons to enter this mode, and then follow the on-screen prompts to adjust the reading to 32°F. Always check your thermometer’s manual for specific calibration instructions.
The Ice Water Test Explained
The ice water test is a very common and reliable way to check the accuracy of your instant read meat thermometer. Here’s why it works: pure water freezes at a specific temperature, which is 32 degrees Fahrenheit (0 degrees Celsius) at standard atmospheric pressure. By placing the thermometer’s probe in this freezing water, you’re giving it a known, stable temperature to measure.
To perform the test, you’ll need a cup or bowl, crushed ice, and cold water. Fill the container with ice, then add enough cold water to cover the ice. Stir this mixture for about 30 seconds.
This helps ensure the water is as cold as it can get and the ice is evenly distributed. Then, submerge the probe of your thermometer into the slushy mixture.
Make sure the probe is fully immersed in the ice water, but be careful not to let it touch the bottom or sides of the container, as these surfaces might be a different temperature than the water itself. Hold it there for a few seconds until the reading stabilizes. If your thermometer reads 32°F (0°C), it’s likely accurate.
If it’s off by a small amount, refer to your manual for recalibration steps.
Understanding Different Meat Temperatures
Knowing the target internal temperatures for different types of meat is crucial for safe and delicious cooking. These temperatures are not just about taste; they are also about killing harmful bacteria. For example, poultry like chicken and turkey should always reach an internal temperature of 165°F (74°C) to be safe to eat.
This is a critical food safety standard.
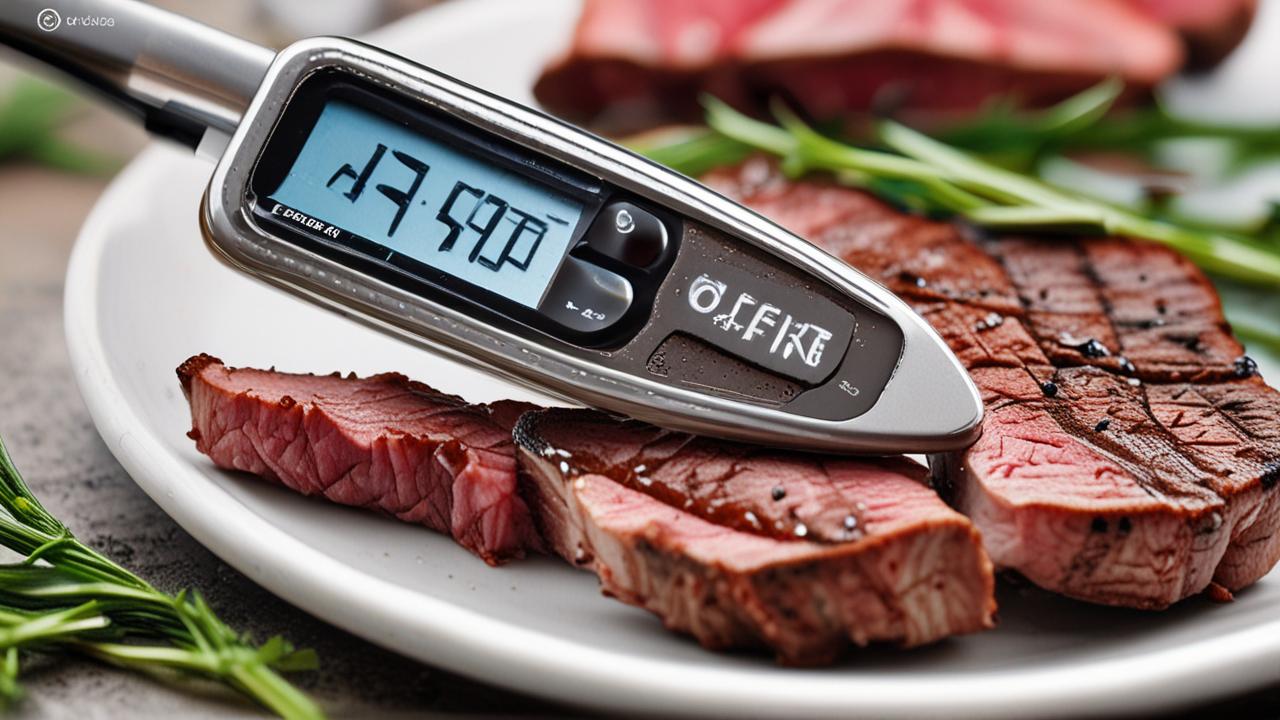
For beef, pork, lamb, and veal, the target temperatures can vary depending on how you like your meat cooked. Medium-rare for steak is usually around 130-135°F (54-57°C). Medium is 140-145°F (60-63°C), and well-done is 160°F (71°C) and above.
It’s important to remember that these temperatures are for when the meat is removed from the heat, as it will continue to cook a little while resting.
For ground meats, like ground beef or pork, it’s generally recommended to cook them to at least 160°F (71°C) regardless of preference. This is because grinding can distribute bacteria throughout the meat. Always use your instant read meat thermometer to check the thickest part of the meat, away from any bones, to get an accurate reading.
This is key to safe and enjoyable eating.
Step-by-Step: How to Use Instant Read Meat Thermometer While Cooking
Now that you’re familiar with your thermometer, let’s walk through the actual process of using it when you’re cooking. This section provides clear, actionable steps for inserting the probe, reading the temperature, and knowing when your food is ready. We’ll cover common scenarios to help you become a confident cook.
Inserting the Probe Correctly
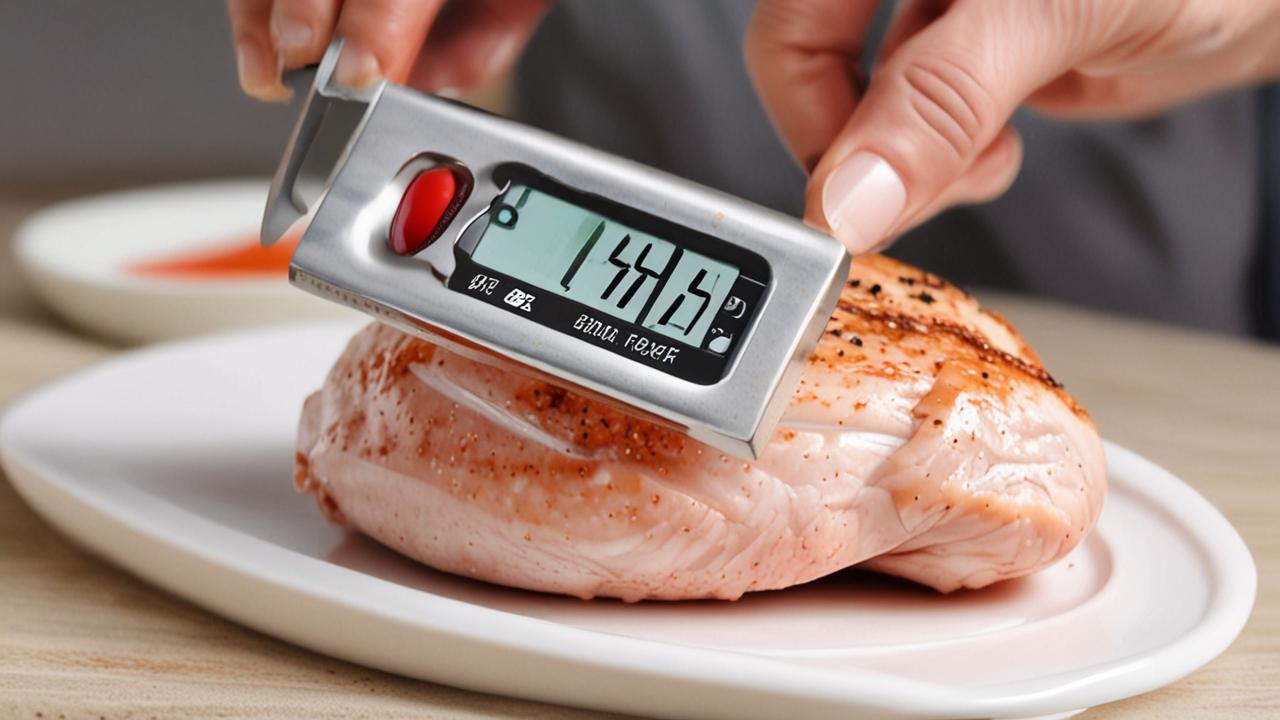
The most important part of using your thermometer is inserting the probe correctly. For most meats like steaks, roasts, or chicken breasts, you want to insert the probe into the thickest part of the food. This means finding the center of the meat.
Avoid inserting the probe into fatty areas, as fat cooks differently than muscle and can give you an inaccurate reading.
Also, try to avoid touching any bones. Bones conduct heat differently than meat and can make the thermometer think the meat is hotter or colder than it actually is. If you’re cooking a whole bird like a turkey, you’ll want to insert the probe into the thickest part of the thigh, being careful to stay away from the bone.
For smaller items, like burgers or chicken wings, you might need to insert the probe sideways to reach the center. The goal is always to measure the temperature of the actual meat that will be eaten, not the surrounding fat or bone. A clean insertion ensures the best possible reading.
Reading the Temperature and Understanding the Results
Once you’ve inserted the probe into the thickest part of the meat, hold it steady. If you have a digital thermometer, the temperature will appear on the screen. It usually only takes a few seconds.
For analog models, watch the needle until it stops moving. The number it points to is the internal temperature of your food.
Compare the temperature you see to the safe minimum internal temperatures we discussed earlier. If it’s below the target temperature, the food needs more cooking time. You can then remove the thermometer, let the food cook a bit longer, and then re-check the temperature.
Remember that meat continues to cook for a short time after you remove it from the heat source. This is called “carryover cooking.” For larger cuts of meat like roasts, the temperature can rise by 5-15°F (3-8°C) during resting. So, it’s often best to remove the meat from the heat when it’s a few degrees below your final desired temperature.
Checking Different Types of Food
The principles for using an instant read meat thermometer apply to a wide variety of foods beyond just meat. For example, when baking, you can use it to check if cakes or breads are fully cooked. Insert the probe into the center of the baked good; if it comes out clean, it’s usually ready.
For pies, check the filling temperature.
For fish, the target internal temperature is typically 145°F (63°C). You want the flesh to be opaque and flake easily with a fork. Insert the thermometer into the thickest part of the fish fillet.
Some people prefer their fish cooked a little less, but for food safety, 145°F is the recommended minimum.
When cooking vegetables like potatoes or large squash, you can use the thermometer to check for tenderness. Insert the probe into the center. If it slides in easily, the vegetable is cooked through.
This is useful for dishes like baked potatoes or roasted root vegetables.
Sample Scenarios for Using Your Thermometer
Let’s look at a couple of common cooking situations where your instant read meat thermometer will be your best friend.
- Cooking a Chicken Breast: You’ve seasoned a couple of boneless, skinless chicken breasts and put them on the grill. After a few minutes on each side, you think they might be done. Instead of guessing, you carefully insert your instant read thermometer into the thickest part of one breast. The display shows 160°F (71°C). You know chicken needs to reach 165°F (74°C), so you put it back on the grill for a few more minutes, re-checking until it reaches the safe temperature.
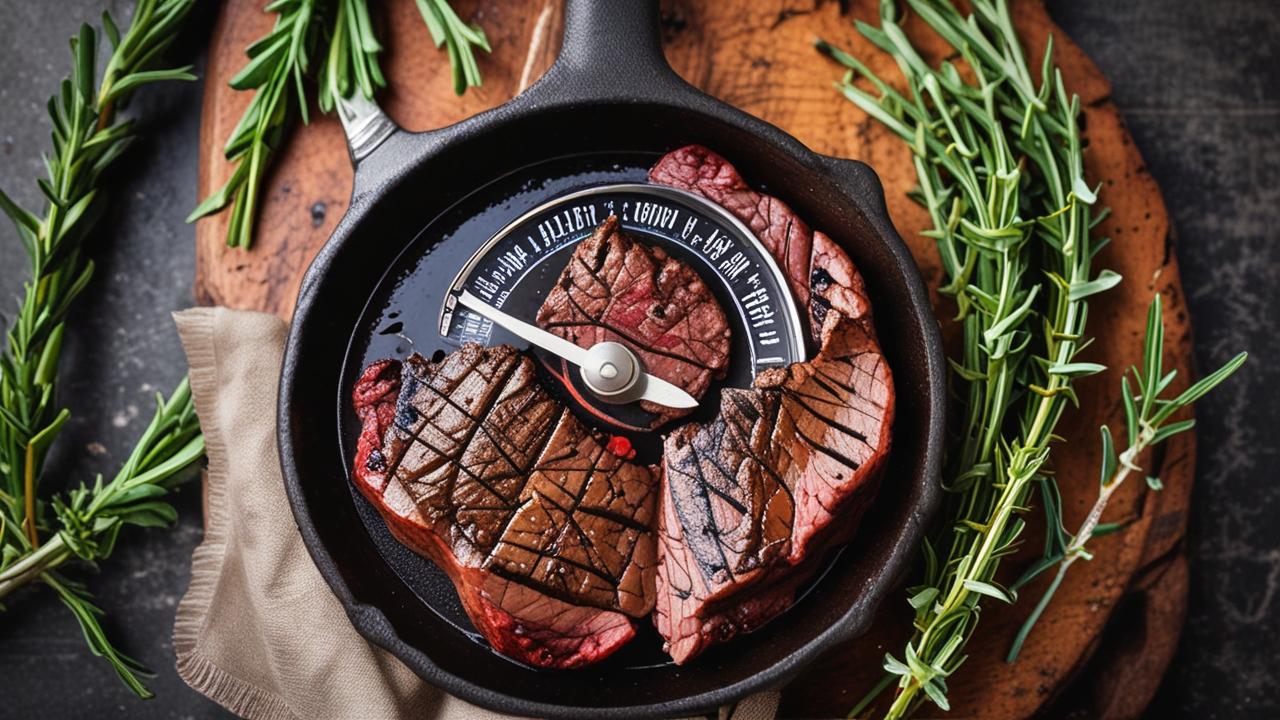
- Grilling a Steak: You’re grilling a thick ribeye steak. You’ve cooked it to your desired look, and now you need to check the internal temperature. You insert the probe into the center of the steak, avoiding the fat cap. The thermometer reads 132°F (56°C). You know you want it medium-rare, which is around 130-135°F. You can confidently pull the steak off the grill, knowing it’s perfectly cooked.
Tips for Maintaining and Caring for Your Thermometer
To ensure your instant read meat thermometer lasts a long time and continues to provide accurate readings, proper care is essential. This section will offer practical advice on cleaning, storing, and troubleshooting your device. Following these tips will help you get the most out of your investment.
Cleaning Your Instant Read Meat Thermometer
Cleaning your thermometer is straightforward but very important for hygiene and to prevent cross-contamination. After each use, you should always wash the probe thoroughly. For digital thermometers, the probe is usually water-resistant, but the main body with the electronics should not be submerged in water.
Use warm, soapy water and a soft cloth or sponge to gently wipe down the probe.
Rinse the probe with clean water to remove any soap residue. You can then dry it completely with a clean towel or paper towel. Some people prefer to sanitize the probe after washing, especially if they’ve been cooking raw meat.
A quick wipe with rubbing alcohol can help sanitize the probe, but make sure to rinse it with water afterward if you’re concerned about any taste residue, especially before using it for something like baking.
For analog thermometers, be extra careful with the cleaning process, as they might be more sensitive to water. Always refer to the manufacturer’s instructions for the best cleaning methods. A clean probe ensures that your readings are accurate and that you’re not spreading bacteria between different foods.
Proper Storage Techniques
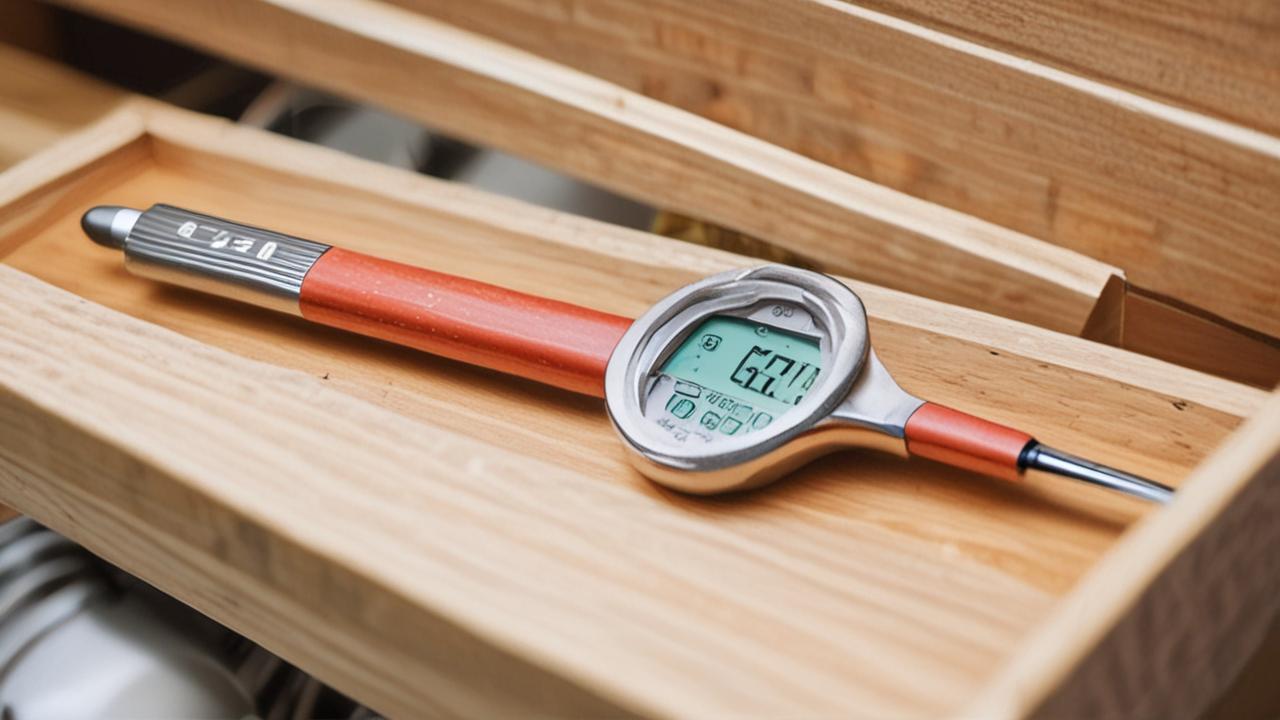
Storing your instant read meat thermometer correctly helps protect it from damage and keeps it handy when you need it. Most thermometers come with a protective sleeve or cap for the probe. Always use this sleeve when the thermometer is not in use.
This prevents the sharp probe from damaging other items in your utensil drawer or accidentally poking you or someone else.
Find a dedicated spot for your thermometer. A utensil drawer is fine, but consider keeping it separate from sharp knives or other tools that could scratch or bend the probe. Some people like to store their thermometer in a small box or pouch.
If your thermometer is magnetic, you might be able to stick it to the side of your refrigerator, making it very accessible.
Avoid storing your thermometer in places with extreme temperatures, such as directly next to a hot oven or in a very cold garage. Extreme heat can damage the electronic components of digital thermometers, and extreme cold can affect battery performance. Keeping it in a standard room temperature environment is ideal.
Troubleshooting Common Issues
Sometimes, your thermometer might act up. One common issue is getting inconsistent readings. This can happen if the probe isn’t inserted correctly, if it’s touching a bone or fat, or if the battery is low on a digital model.
Try re-inserting the probe in a different spot or checking the battery.
If the display on a digital thermometer is erratic or not showing anything, it’s often a sign that the battery needs to be replaced. Most digital thermometers use small button-cell batteries, which are usually easy to find and replace. Just check your manual for the correct battery type and how to open the battery compartment.
If your thermometer seems to be consistently off, even after checking the battery, it might be time to recalibrate it using the ice water test method mentioned earlier. If it still doesn’t read 32°F (0°C), or if the probe itself appears damaged (bent, corroded), it might be time to consider purchasing a new one. A damaged probe can lead to inaccurate readings and is difficult to clean properly.
Benefits of Accurate Temperature Readings
Using an instant read meat thermometer offers several significant benefits that improve your cooking experience and the safety of your food. This section highlights why making this tool a regular part of your kitchen routine is a wise choice. You’ll see how it leads to better results and more confidence in the kitchen.
Ensuring Food Safety
The most critical benefit of using an instant read meat thermometer is ensuring food safety. Undercooked meat can harbor harmful bacteria like Salmonella, E. coli, and Listeria, which can cause severe foodborne illnesses.
By checking the internal temperature, you confirm that the meat has reached a temperature high enough to kill these dangerous pathogens.
For instance, statistics show that in the US, about 1 in 6 people get sick from contaminated food each year, and around 3,000 people die. Many of these illnesses could be prevented by cooking food to the correct internal temperatures. Using a thermometer takes the guesswork out of this crucial step, making your meals safer for you and your family.
This is especially important for vulnerable populations, such as young children, the elderly, pregnant women, and individuals with weakened immune systems, who are at a higher risk of complications from foodborne illnesses. Knowing your food is cooked to the right temperature provides peace of mind.
Achieving Perfect Doneness Every Time
Beyond safety, an instant read thermometer is your key to achieving your desired level of doneness for meats like steak, pork, and chicken. Instead of relying on visual cues or timing alone, which can be unreliable, a thermometer gives you precise control. You can consistently cook your steaks to medium-rare, your pork chops to juicy medium, or your chicken to perfectly cooked without drying it out.
Imagine grilling a steak for guests and knowing exactly when it’s reached that perfect pink center you promised. Or roasting a chicken that’s moist and tender all the way through. A thermometer empowers you to replicate those restaurant-quality results in your own kitchen.
This level of precision is impossible without a reliable temperature check.
This accuracy also helps prevent overcooking, which is a common reason for dry, tough, and unappetizing food. By knowing the exact moment your food reaches its ideal temperature, you can stop the cooking process at the perfect time, preserving moisture and flavor.
Saving Time and Reducing Waste
Using an instant read thermometer can actually save you time and reduce food waste. Because it provides rapid and accurate readings, you can quickly check if your food is ready. This means less time spent hovering over the stove or grill, and fewer instances of having to re-cook something that was underdone.
Furthermore, by avoiding overcooking, you prevent ruining an expensive cut of meat. An overcooked steak or a dry roast is often inedible and ends up in the trash. A thermometer helps you make sure your ingredients are cooked perfectly the first time, saving you money and the frustration of wasted food.
This efficiency makes cooking more enjoyable and less stressful.
For busy home cooks, the speed of an instant read thermometer is a real advantage. You can quickly check the doneness of multiple items, like burgers on a grill, without significant delays. This efficiency contributes to a smoother cooking process, especially when you’re entertaining or preparing a multi-component meal.
Comparing Instant Read Thermometers to Other Types
While instant read thermometers are incredibly popular, it’s helpful to know how they compare to other types of meat thermometers available. This section will briefly touch on other options and highlight why the instant read version often stands out for everyday use.
Oven-Safe Probe Thermometers
Oven-safe probe thermometers, often called leave-in thermometers, have a probe that stays in the food during cooking and a cable that connects it to a display unit outside the oven. This is great for monitoring roasts or turkeys for long cooking times without opening the oven door.
While convenient for long cooks, they typically don’t provide an “instant” reading if you want to check something quickly. You have to wait for the temperature to stabilize, and they aren’t as portable for checking multiple items or quick tasks like grilling burgers.
Dial Thermometers
Traditional dial thermometers have a round face with a needle. They are often less expensive but can be slower to read and sometimes less accurate than modern digital instant read models. Some dial thermometers are designed to be left in the food while cooking, while others are meant for quick checks.
The main drawback is that the dial can be harder to read quickly, and they might not be as responsive to rapid temperature changes. They also don’t always offer the same level of precision as digital instant read thermometers.
Why Instant Read Stands Out
The primary advantage of an instant read meat thermometer is its speed and accuracy for quick checks. If you’re grilling steaks, checking chicken breasts, or baking a cake, you need a reading in seconds, not minutes. Instant read thermometers excel at this, giving you immediate feedback.
They are also highly portable and easy to use. Their compact size makes them convenient to carry for picnics or when cooking outdoors. While they require you to insert and remove them for each check, this process is fast and efficient, especially for a variety of cooking tasks.
For most home cooks, an instant read digital meat thermometer offers the best balance of speed, accuracy, convenience, and affordability, making it an indispensable kitchen tool.
Frequently Asked Questions
Question: How often should I calibrate my instant read meat thermometer?
Answer: It’s a good idea to calibrate your thermometer every few months, or anytime you suspect it might be inaccurate. You can also calibrate it before a big event or if you’ve dropped the thermometer. The ice water test is the simplest way to check.
Question: Can I leave an instant read thermometer in the meat while it cooks?
Answer: No, instant read thermometers are designed for quick checks. Leaving them in the meat for extended periods can damage the electronics or the probe, and it won’t give you an accurate reading as the temperature fluctuates.
Question: What is the best place to insert the thermometer for a whole chicken?
Answer: For a whole chicken, insert the probe into the thickest part of the thigh, making sure not to touch the bone. You also want to check the breast meat. The USDA recommends 165°F (74°C) for both.
Question: My digital thermometer shows “Err.” What does that mean?
Answer: An “Err” message usually indicates an error in the reading, often due to a loose connection, low battery, or a reading outside the thermometer’s normal range. Try replacing the battery or recalibrating. If the problem persists, contact the manufacturer.
Question: Are all instant read meat thermometers waterproof?
Answer: Not all of them are fully waterproof. Many are water-resistant, meaning you can wash the probe under running water, but you shouldn’t submerge the entire unit. Always check the manufacturer’s specifications for your specific model.
Conclusion
Using an instant read meat thermometer is a simple skill that makes a big difference in your cooking. You now know how to check its accuracy, insert it correctly, and read the results. This will help you serve safe, delicious food every time, whether you’re grilling, roasting, or baking.
Enjoy cooking with newfound confidence!


