
Knowing if your meat thermometer is accurate can make a big difference in your cooking. Sometimes, beginners find How to Calibrate a Meat Thermometer at Home a bit confusing, but it’s actually quite simple. You don’t need fancy tools or a lot of experience.
We’ll walk you through it step-by-step so you can cook with confidence. Get ready to learn a handy trick that will help your food turn out perfectly every time.
Why Calibrating Your Meat Thermometer Matters
Keeping your meat thermometer accurate is super important for safe and delicious cooking. When a thermometer is spot on, you know your food is cooked to the right temperature, which means it’s safe to eat and tastes great. If it’s off, you might undercook your food, which is a health risk, or overcook it, making it dry and tough.
This section will explain why this simple check is a must-do for anyone who cooks.
Ensuring Food Safety
Food safety is the main reason you want an accurate thermometer. Different meats need to reach certain internal temperatures to kill harmful bacteria. For example, ground beef needs to reach 160°F (71°C) to be safe.
Poultry like chicken and turkey should reach 165°F (74°C). Pork should be cooked to at least 145°F (63°C) with a rest time. Without a calibrated thermometer, you’re just guessing if your food is safe.
Guessing can lead to serious foodborne illnesses. Bacteria like Salmonella and E. coli can be present in undercooked meat.
These can cause symptoms ranging from stomach upset to severe sickness. A reliable thermometer takes the guesswork out of cooking. It acts as your guide to making sure your family and friends are safe when they enjoy your meals.
It’s a small step that offers big peace of mind.
Achieving Perfect Cooking Results
Beyond safety, a correct thermometer helps you achieve the best flavor and texture. Nobody likes dry chicken or overcooked steak. When you know your thermometer is accurate, you can trust the temperatures it gives you.
This allows you to cook meats to their ideal doneness. For instance, a medium-rare steak needs to hit a specific temperature range. If your thermometer is off, you might miss that perfect spot and end up with a tougher, less enjoyable piece of meat.
Proper temperature control means tender, juicy results every single time.
- Consistent Outcomes: When your thermometer is calibrated, you get the same great results every time you cook.
- Preventing Waste: Overcooked food is often thrown away, which is a waste of money and ingredients.
- Mastering Different Meats: Different types of meat, and even different cuts, benefit from precise temperature control.
This means you can follow recipes with confidence, knowing the temperature readings will be reliable. It helps build your cooking skills because you can trust your tools.
A calibrated thermometer helps you avoid this. You can cook your food perfectly the first time, saving you from having to start over or deal with disappointing meals. It’s an economical practice.
Learning to cook each one to its ideal state is key to becoming a better cook. Your thermometer is your primary tool for this. It helps you understand how heat affects different foods.
The Simple Ice Bath Method for Calibration
There are a few ways to check if your meat thermometer is working right, but the easiest and most common method uses ice and water. This is a fantastic starting point for beginners because it requires just a few common household items. In this section, we’ll break down this straightforward process so you can get a reliable reading.
You’ll see just how simple it is to ensure your thermometer is accurate.
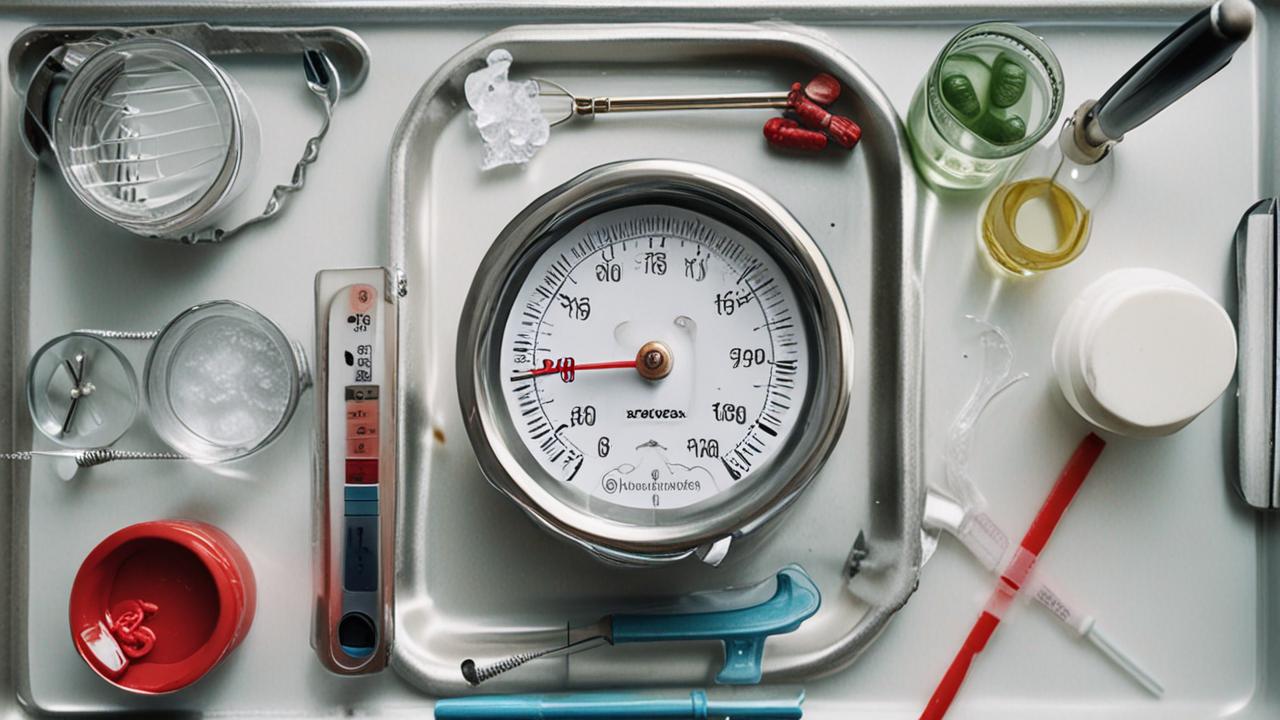
What You’ll Need
Gathering your supplies is the first step. You don’t need anything special for this. Just a few things you probably already have in your kitchen.
Having everything ready makes the process smooth and quick. Here’s what you’ll need:
- A clean cup or glass
- Water
- Ice cubes
- Your meat thermometer
This will hold the ice and water for the test. A clear cup is helpful so you can easily see the water level and the ice.
Regular tap water is perfectly fine for this test. You’ll be mixing it with ice to create a very cold solution.
You’ll need enough ice to fill about half to three-quarters of your cup. The more ice, the colder the water will get, making the test more accurate.
This is the tool we are checking! Make sure it’s clean before you start.
Step-by-Step Calibration Process
Now that you have your items, let’s get to the actual calibration. It’s a short process that gives you valuable information about your thermometer. Follow these simple steps carefully, and you’ll be done in no time.
- Fill the cup about halfway with water.
- Add a generous amount of ice cubes to the water.
- Stir the ice and water mixture.
- Wait a few minutes.
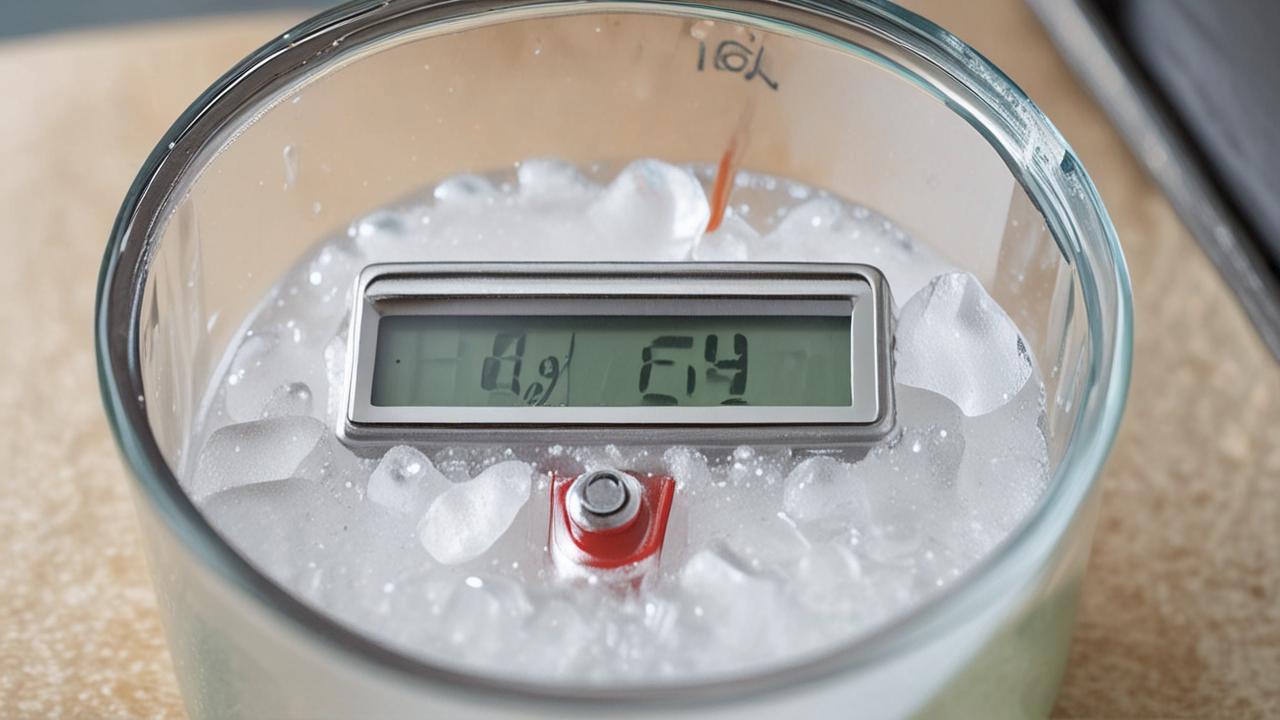
- Place the thermometer probe into the ice water.
- Read the temperature.
Start by adding some water to your clean cup or glass. Don’t fill it too much yet, as the ice will also take up space and add more water.
Pile in enough ice so that the water is very cold and some ice cubes are floating above the water level. This creates a very cold mixture.
Gently stir the contents for about 30 seconds. This helps to ensure the water is as cold as possible and that the temperature is uniform throughout the cup. A simple spoon works fine for this.
Let the mixture sit for a minute or two. This allows the water to reach its coldest point, which is just above freezing.
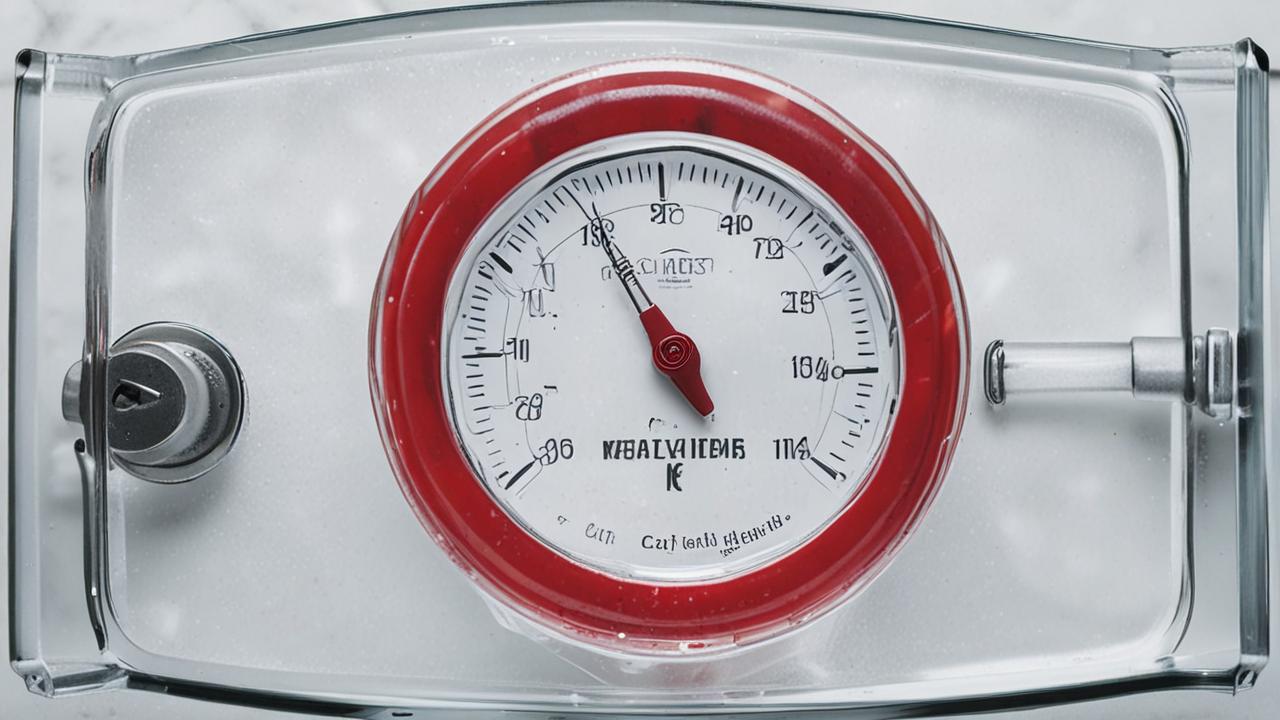
Carefully insert the probe of your meat thermometer into the center of the ice-water mixture. Make sure the probe is submerged in the water but doesn’t touch the bottom or sides of the cup. This is important for an accurate reading.
Hold the thermometer steady and read the temperature displayed. A perfectly calibrated thermometer should read 32°F (0°C) in this ice-water bath. The water mixture is at its freezing point, so this is the benchmark.
Interpreting Your Thermometer’s Reading
Once you have the reading from your thermometer, it’s time to figure out what it means. This is where you’ll know if your thermometer is accurate or if it needs a little adjustment. Most digital meat thermometers can’t be adjusted directly, but knowing the difference helps you cook smarter.
If your thermometer reads 32°F (0°C): Great news! Your thermometer is accurate. You can use it with confidence for all your cooking needs.
It’s properly calibrated and ready to help you achieve perfect results.
If your thermometer reads slightly different: For example, if it reads 30°F (-1°C) or 34°F (1°C), that’s a small difference. For most home cooking, this slight variation might be acceptable. You can learn to mentally adjust your cooking temperatures.
For instance, if it reads 2°F too low, add 2°F to the target temperature you’re aiming for.
If your thermometer reads significantly different: If the reading is off by more than a few degrees, it’s a sign that your thermometer might be unreliable. For precise cooking and food safety, it’s best to consider replacing it. A thermometer that’s off by many degrees can lead to undercooked or overcooked food.
Adjusting for Inaccurate Readings
Sometimes, your thermometer might not be perfect, and that’s okay. You can still cook accurately even if your thermometer isn’t reading exactly 32°F in ice water. The key is to understand how much it’s off and make simple adjustments.
This section covers how to work with readings that aren’t spot on.
Mental Adjustments for Minor Differences
If your thermometer shows a reading that’s a degree or two off from 32°F, you don’t necessarily need a new one. Think of it as learning a little trick for your specific thermometer. For instance, if your thermometer consistently reads 30°F in ice water, it means it’s running 2°F low.
When you’re cooking, you’ll simply add those 2°F to the target temperature. So, if a recipe calls for chicken breast to reach 165°F, you would cook it until your thermometer reads 167°F. This mental math is easy to remember once you’ve done the ice bath test.
It allows you to keep using a thermometer that’s mostly reliable.
When to Consider Replacement
While small discrepancies are manageable, there are times when a thermometer is just too inaccurate to be trusted. If your thermometer shows a reading that’s off by 5°F or more, it becomes hard to make reliable cooking decisions. For instance, if you’re trying to cook something to exactly 145°F and your thermometer is off by a lot, you might accidentally overcook or undercook it significantly.
Food safety is paramount, and relying on a very inaccurate thermometer for critical temperatures like those for pork or poultry puts you at risk. It’s also frustrating when your food doesn’t turn out as planned because of faulty equipment. Investing in a new, accurate thermometer is a worthwhile expense to ensure both safety and culinary success.
Many good digital thermometers are quite affordable.
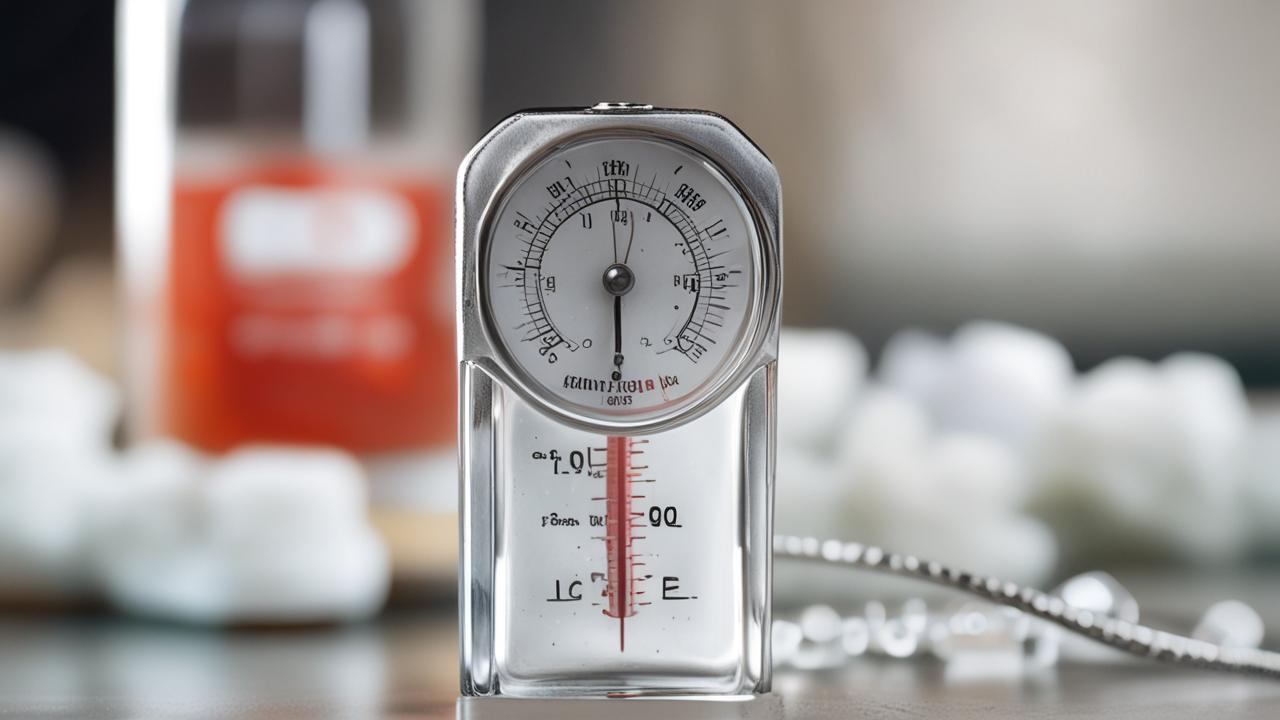
Boiling Water Test for Higher Temperatures
While the ice bath is great for checking the freezing point, you can also check the boiling point of water. This gives you another data point for your thermometer’s accuracy, especially for higher temperatures. The boiling point of water is a constant, but it can change slightly with altitude.
For most home cooks, the standard boiling point is around 212°F (100°C) at sea level.
To perform this test, boil a pot of water on the stove. Once it’s at a rolling boil, carefully insert the thermometer probe. Make sure the probe is in the boiling water but not touching the bottom of the pot.
The thermometer should read close to 212°F (100°C). If it’s significantly off, this further confirms issues with the thermometer’s calibration.
Maintaining Your Meat Thermometer
Taking care of your meat thermometer means it will last longer and stay accurate. Simple cleaning and proper storage are key. This section offers tips to keep your thermometer in good working order so you can rely on it for years to come.
Proper Cleaning Techniques
After each use, cleaning your meat thermometer is essential. This prevents food residue from building up and ensures the probe is ready for its next use. For most digital thermometers, it’s best to wipe the probe with a damp cloth and some mild soap.
Then, rinse it with clean water and dry it thoroughly.
It’s important to note that many digital meat thermometers are not waterproof. Do not submerge the entire thermometer in water, especially the part with the display and buttons. Water can get inside and damage the electronics.
Always check the manufacturer’s instructions for specific cleaning recommendations.
Storage Tips for Longevity
How you store your thermometer can also affect its lifespan. If you have a thermometer with a protective sheath or case, use it. This keeps the probe from getting damaged or dull.
Store the thermometer in a dry place, away from extreme heat or moisture. A kitchen drawer or a spice rack are good options.
Avoid storing it where it might get crushed or have heavy items placed on top of it. Proper storage helps prevent physical damage to the thermometer, ensuring it remains in good condition for accurate readings. Keeping it safe means it’s ready when you need it.
When to Re-Calibrate
While you don’t need to calibrate your thermometer every single time you use it, it’s good practice to check it periodically. If you drop your thermometer, or if it’s been stored for a long time, it’s a good idea to re-calibrate it. Also, if you notice your cooked food isn’t turning out right, or if you suspect the readings are off, perform the ice bath test again.
Making calibration a regular habit, perhaps once every few months or before cooking for a special occasion, ensures you’re always working with accurate data. This proactive approach prevents surprises and helps maintain the quality of your cooking. It’s a small effort for significant culinary benefit.
Frequently Asked Questions
Question: How often should I calibrate my meat thermometer?
Answer: It’s a good idea to calibrate your meat thermometer every few months, or if you suspect it’s not giving accurate readings. Dropping it is also a sign to check its accuracy.
Question: Can I adjust my digital meat thermometer?
Answer: Most digital meat thermometers cannot be physically adjusted. The calibration process helps you understand its accuracy and make mental adjustments when cooking.
Question: What’s the difference between Fahrenheit and Celsius for calibration?
Answer: The ice bath test should result in 32°F or 0°C. Both are equivalent measures of the freezing point of water and serve as the calibration point.
Question: My thermometer is off by a lot. What should I do?
Answer: If your thermometer is significantly off (by 5°F or more), it’s best to consider replacing it for accurate cooking and food safety.
Question: Does altitude affect boiling point calibration?
Answer: Yes, altitude can affect the boiling point of water. At higher altitudes, water boils at a lower temperature than at sea level. For most home cooking purposes, this difference is usually minor, but it’s something to be aware of for very precise measurements.
Final Thoughts
Knowing How to Calibrate a Meat Thermometer at Home is a simple skill that greatly improves your cooking. The ice bath method is easy and requires no special equipment. By checking your thermometer regularly, you ensure food safety and achieve perfectly cooked meals.
Trust your calibrated thermometer to guide you to delicious results every time.


