
It can be really frustrating when your meat thermometer isn’t showing the right temperature. Beginners often struggle with this because there are a few simple things that can go wrong. Don’t worry, it’s usually not a big problem!
This guide will walk you through easy steps to figure out why your thermometer might be acting up. We’ll get your cooking back on track so you can make perfectly cooked meals every time. Let’s look at some common fixes.
Understanding Your Meat Thermometer Basics
A meat thermometer is a chef’s best friend, especially for anyone new to cooking or grilling. It helps ensure that your food is cooked safely and tastes just right. Without a reliable thermometer, you might end up with undercooked, unsafe food or overcooked, dry meals.
This section will cover the fundamental parts of a meat thermometer and how they work, giving you a solid foundation for troubleshooting.
How a Meat Thermometer Works
At its core, a meat thermometer is designed to measure heat. Most common digital meat thermometers use a sensor at the tip of a metal probe. This sensor is usually a thermistor or a thermocouple.
A thermistor is a type of resistor whose resistance changes significantly with temperature. As the probe heats up in the meat, the thermistor’s resistance changes, and the thermometer’s internal circuitry translates this change into a temperature reading displayed on a screen.
A thermocouple works a bit differently. It uses two different metals joined together. When the junction of these two metals is heated, it creates a small electrical voltage.
The amount of voltage produced is directly related to the temperature. This voltage is then measured and converted into a temperature reading. Both methods are effective for accurately measuring food temperatures.
Types of Meat Thermometers
There are several types of meat thermometers you might encounter, each with its own strengths. The most common are digital instant-read thermometers. These are great because they give you a quick temperature reading, usually within a few seconds.
They have a probe that you insert into the thickest part of the meat.
Another popular type is the wireless or Bluetooth meat thermometer. These come with a probe that stays in the meat, and a transmitter that sends the temperature to a base unit or your smartphone. This is super handy because you can monitor the cooking from another room.
Oven-safe probe thermometers are also common, designed to withstand the heat of an oven or grill.
There are also older dial thermometers, which are analog and use a bimetallic strip that expands or contracts with heat to move a needle. While they are usually more affordable, they can be slower and sometimes less accurate than digital models. Knowing the type you have helps in understanding potential issues.
Common Thermometer Parts and Their Functions
Let’s break down the main parts of a typical digital meat thermometer. The probe is the long, metal skewer that you the temperature sensor is located.
It’s important to keep this part clean and undamaged.
The handle is the part you hold. It should be made of heat-resistant material so you don’t burn yourself. The display or screen shows the temperature reading.
This can be an LCD screen on digital models or a dial on analog ones.
Many digital thermometers have buttons for turning them on and off, switching between Fahrenheit and Celsius, or setting alarms. Some advanced models might have a probe wire connecting the probe to a base unit, allowing for wireless temperature monitoring.
Troubleshooting Common Meat Thermometer Reading Issues
When your meat thermometer starts acting strange, it can feel like a culinary crisis. Many beginners find themselves puzzled by inconsistent or seemingly incorrect readings. This section is dedicated to addressing these common frustrations and providing clear, actionable steps to get your thermometer back in working order.
We will cover the most frequent problems and their straightforward solutions.
Inaccurate Readings
An inaccurate meat thermometer is one of the most common problems, especially for those new to cooking. This can happen for a variety of reasons, from simple errors in usage to calibration issues. An inaccurate reading can lead to food that’s not safely cooked or is overdone, ruining a meal.
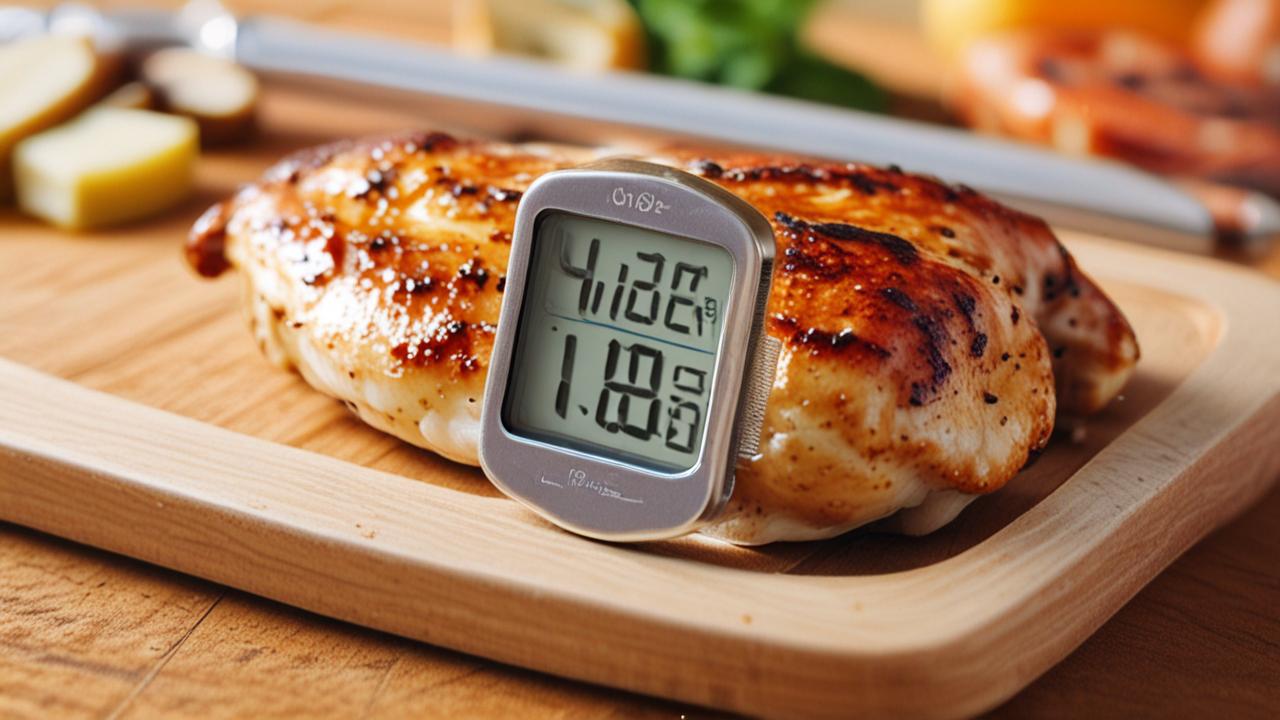
If you’re getting readings that just don’t seem right, like your chicken breast reading 180°F when it looks perfectly cooked, it’s time to investigate. This can be particularly confusing when you’re trying to follow a recipe precisely. A thermometer that consistently reads too high or too low can cause a lot of guesswork and stress in the kitchen.
Checking for Calibration Errors
Sometimes, your meat thermometer might not be showing the true temperature because it needs to be calibrated. This means it needs to be reset to accurately reflect standard temperatures. Calibration is especially important for digital thermometers that might have been dropped or exposed to extreme temperatures.
A simple way to check for calibration is using the boiling water or ice water method. For the boiling water test, bring a pot of water to a rolling boil. Submerge the thermometer probe in the boiling water, making sure it doesn’t touch the sides or bottom of the pot.
A reliable thermometer should read very close to 212°F (100°C) in boiling water at sea level.
For the ice water test, fill a glass with ice and water. Stir it well and then insert the probe. It should read very close to 32°F (0°C) in ice water.
If your thermometer is off by more than a degree or two in these tests, it likely needs calibration. Many digital thermometers have a calibration feature you can access through the settings, often by holding down a specific button. Always refer to your thermometer’s manual for exact calibration instructions.
The Importance of Proper Probe Placement
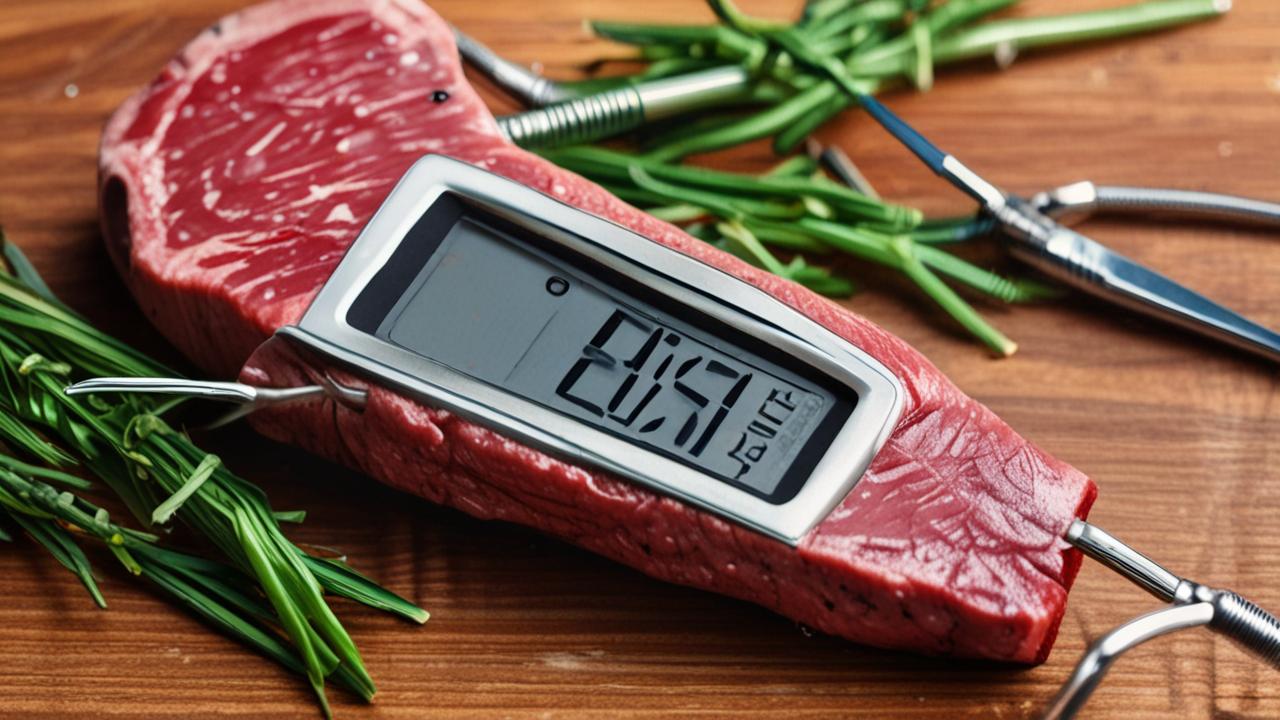
One of the biggest reasons for inaccurate readings is not placing the probe correctly. For roasts, poultry, or thick cuts of meat, you want to insert the probe into the thickest part. Make sure the probe tip is not touching bone, fat, or gristle.
These parts have different temperatures than the meat itself, which can skew your reading.
For example, if you’re cooking a whole chicken, insert the probe into the thickest part of the thigh, avoiding the bone. For a steak, aim for the center of the thickest section. If you’re cooking thinner items like burgers or fish fillets, you might need to insert the probe sideways.
Fat and bone conduct heat differently than muscle tissue. Fat tends to have a lower melting point and can register a lower temperature, while bone can be hotter or colder depending on how it’s heated. Ensuring the probe is solely in the meat muscle is key to getting an accurate temperature reading that reflects the internal doneness of the food.
Environmental Factors Affecting Readings
Where you use your thermometer can also impact its readings. Extreme ambient temperatures can sometimes affect digital thermometers, especially before they’ve stabilized. For example, if you’re using an instant-read thermometer outside on a very cold day, it might take a little longer to get a stable reading.
Also, the surface the meat is resting on can play a minor role. If the meat is on a very cold metal surface, it might cool the probe down slightly at the point of contact. However, the primary factor is still the heat within the meat itself.
It’s also worth noting that altitude can affect the boiling point of water. At higher altitudes, water boils at a lower temperature. This means your boiling water calibration test might show a lower temperature than 212°F (100°C), which is normal.
Most thermometer manuals account for this or provide specific instructions for high-altitude calibration.
Thermometer Not Turning On
It’s incredibly frustrating when you’re ready to cook and your thermometer won’t even turn on. This is a common issue, especially with digital models, and thankfully, it often has a simple fix. We’ll explore the usual suspects that prevent your thermometer from powering up.
Checking the Batteries
The most frequent reason a digital thermometer won’t turn on is dead or low batteries. This is especially true if you haven’t used it in a while or if it was left on accidentally. Most digital thermometers use small button cell batteries or AA/AAA batteries.
First, locate the battery compartment. It’s usually on the back of the handle or a small cover that slides off. Open the compartment and check if the batteries are correctly inserted, paying attention to the positive (+) and negative (-) ends.
If they look old or corroded,
After replacing the batteries, try turning the thermometer on again. If it powers up, great! If not, try using a second new set of batteries just to be absolutely sure the first set wasn’t faulty.
Sometimes, a simple battery change is all that’s needed to bring your thermometer back to life.
Loose Battery Contacts or Corrosion
Even with new batteries, a thermometer might not turn on if the battery contacts are dirty, corroded, or bent. Over time, battery acid can leak, or dirt and debris can accumulate on the metal contacts inside the battery compartment.
You can clean these contacts gently with a pencil eraser or a cotton swab lightly dampened with rubbing alcohol. Be sure to let the contacts dry completely before reinserting the batteries. If you see any visible corrosion (a whitish or greenish powdery substance), carefully scrape it away with a small, dull tool like a plastic toothpick or the edge of a credit card.
Avoid using anything too sharp that could damage the contacts.
Sometimes, the metal contacts might be slightly pushed in or bent. You can very carefully try to bend them back into place using a small, non-metallic tool, ensuring they make good contact with the battery. After cleaning and ensuring good contact, try turning the thermometer on again.
This simple cleaning step can often resolve power issues.
Internal Component Issues
If new batteries and clean contacts don’t solve the problem, there might be an issue with the internal electronics of the thermometer. This could be a loose wire, a faulty circuit board, or a damaged power switch. Unfortunately, internal component issues are often not user-repairable for most home cooks.
If your thermometer is still under warranty, this is the time to contact the manufacturer. They can guide you through further troubleshooting or arrange for a repair or replacement. If it’s out of warranty, you might need to consider purchasing a new thermometer.
High-quality thermometers are an investment in safe and delicious cooking, and often replacing a faulty one is more cost-effective than trying to repair complex internal damage.
Display Screen Issues
The display screen is how you get all the crucial information from your meat thermometer. When the screen is blank, flickering, or showing gibberish, it makes the thermometer useless. Let’s look at what could be causing these display problems and how to fix them.
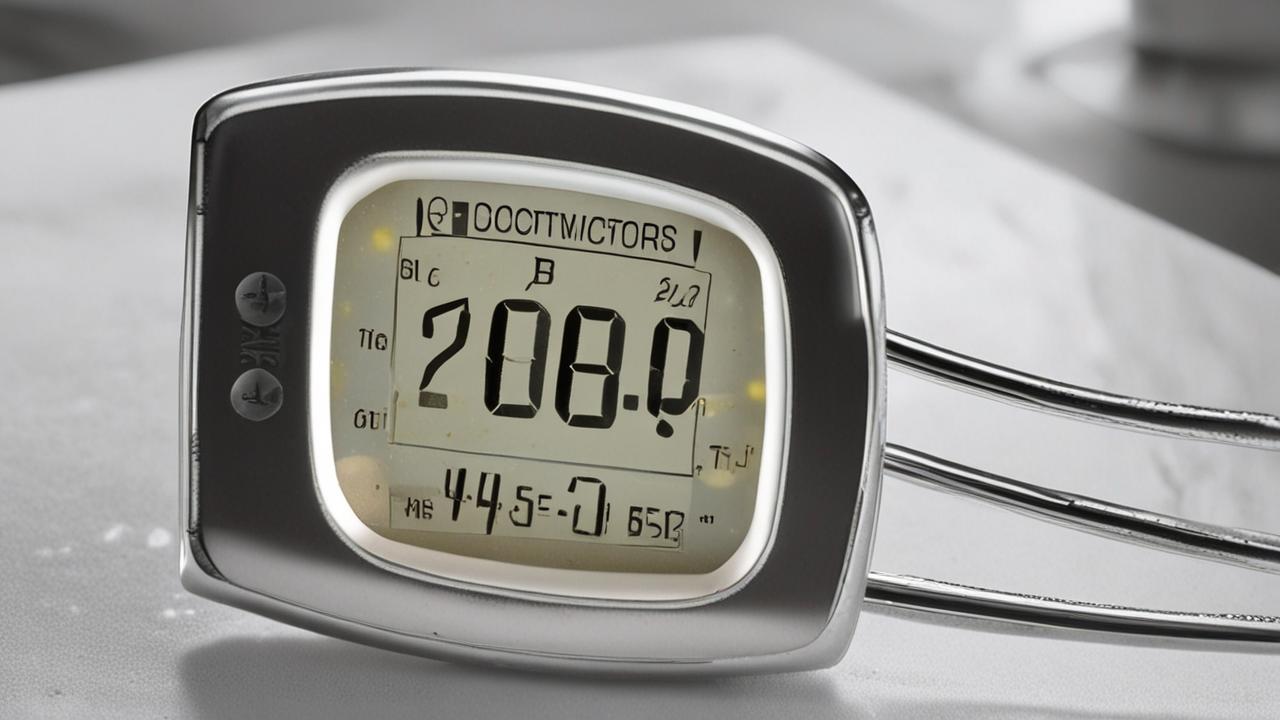
Blank or Unreadable Screen
A blank screen on a digital thermometer most commonly points back to power issues. Double-check the batteries, as we discussed earlier. Ensure they are fresh, correctly ‘s power, but the main display isn’t functioning.
If you’ve confirmed the batteries are good, the next step is to try a “hard reset” if your model allows for it. This usually involves removing the batteries for a minute or two and then reinserting them. This can sometimes clear temporary electronic glitches that might be preventing the screen from lighting up.
For thermometers with a protective plastic film on the screen, make sure you’ve removed it. While obvious, sometimes this film can obscure the display or interfere with touch-sensitive screens if your model has one. If none of these steps work, it could indicate a more serious internal fault with the LCD itself or the connection to the main board.
Flickering or Garbled Display
A flickering or garbled display often suggests a weak power source or a problem with the connection between the screen and the thermometer’s internal electronics. Again, start by replacing the batteries with brand new ones. Weak batteries can cause the display to behave erratically.
If the batteries are fine, consider if the thermometer has been exposed to extreme temperatures. Very cold or very hot conditions can sometimes cause temporary issues with LCD screens. Allowing the thermometer to return to room temperature might resolve the problem.
Ensure the thermometer hasn’t been dropped or subjected to impact, as this could loosen internal connections.
Some advanced thermometers might have a “reboot” or “reset” function that can be accessed through a menu. Check your user manual to see if this option is available. If the flickering or garbled display persists after trying these steps, it might be a sign of a defect that requires professional attention or replacement.
Water Damage or Physical Damage to the Screen
Meat thermometers, especially those used in kitchens and outdoors, are susceptible to water damage or accidental impacts. If the screen has been exposed to liquid, it can cause short circuits and damage the display components. Similarly, a cracked or dented screen can interfere with its functionality.
If you suspect water damage, turn the thermometer off immediately and remove the batteries. Do not attempt to turn it back on. Let it air dry completely for at least 24-48 hours in a dry, well-ventilated area.
You can also try placing it in a sealed bag with silica gel packets or uncooked rice, which can help absorb moisture. However, water damage is often irreversible and can lead to permanent failure.
Physical damage, like a cracked screen, is usually a sign that the internal components might also be compromised. While some minor cracks might not affect functionality immediately, they can worsen over time or allow moisture to enter. In cases of significant water or physical damage, it’s often safer and more practical to replace the thermometer to ensure accurate and safe temperature readings.
Maintenance and Best Practices for Longevity
Taking good care of your meat thermometer can save you a lot of headaches and ensure it works correctly for years to come. Simple maintenance routines and following a few best practices will help prevent many common issues before they even start. This section will guide you through keeping your thermometer in top shape.
Cleaning Your Meat Thermometer
Proper cleaning is essential for both hygiene and the longevity of your thermometer. After each use, you should clean the probe thoroughly. This prevents food particles from clinging to it and potentially affecting future readings or harboring bacteria.
For digital thermometers, the probe and a small part of the handle can usually be washed. Use warm, soapy water and a soft cloth or sponge. Rinse the probe well and dry it completely with a clean towel.
Avoid submerging the entire thermometer in water, especially if it’s not waterproof, as this can damage the electronics.
For analog dial thermometers, cleaning is similar, but be extra careful not to let water get into the dial mechanism. Some meat thermometers come with a protective sheath for the probe. Make sure to clean both the probe and the inside of the sheath before storing them together.
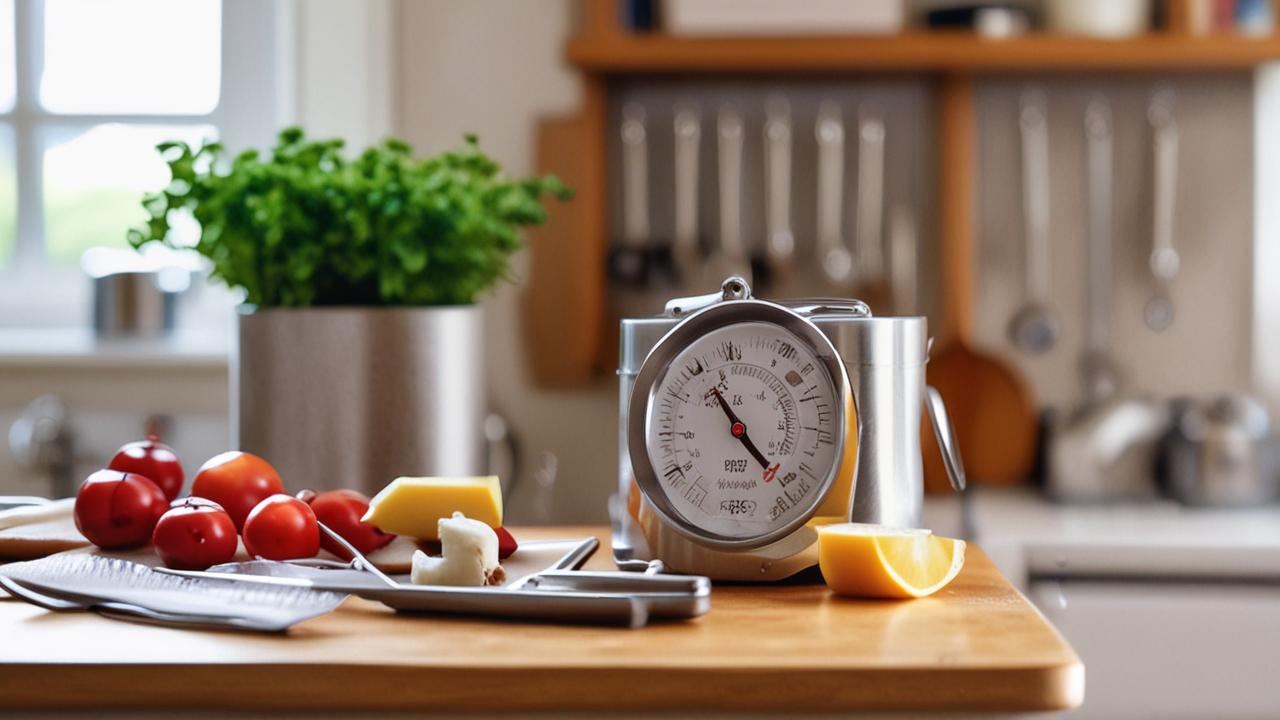
Proper Storage
How you store your meat thermometer can prevent damage and keep it ready for use. The ideal storage location is a dry place, away from extreme heat or cold. Many thermometers come with a protective sleeve or case for the probe.
Always use this when storing the thermometer to prevent the probe from being bent, scratched, or dulled.
Avoid storing the thermometer loose in a drawer where it can get knocked around or damaged by other utensils. Some people keep their thermometer in a dedicated kitchen drawer or even in a small container. If it’s a wireless model with a separate base unit or transmitter, store those components together in a safe place as well.
Keeping the thermometer in its original packaging or a designated storage spot helps protect its delicate components and ensures it’s in good condition the next time you need it. This prevents accidental drops or impacts that could lead to calibration issues or display problems.
Calibration Frequency
How often should you calibrate your meat thermometer? It depends on how much you use it and how accurate you need it to be. For most home cooks, calibrating once or twice a year is usually sufficient.
However, if you notice your readings seem off or you’ve recently dropped the thermometer, it’s a good time to check its calibration.
Professional chefs and bakers, who rely on extremely precise temperatures, might calibrate their thermometers more frequently, perhaps monthly. If your thermometer has a user-adjustable calibration feature, you can fine-tune it whenever you suspect an issue. For the average user, the ice bath and boiling water tests are excellent ways to quickly verify accuracy without needing to adjust anything.
Remember that older thermometers or those that have been heavily used might naturally drift in accuracy over time. Regular checks, even if you don’t perform a full calibration, can help you stay aware of any potential inaccuracies. Catching a slight drift early can prevent larger problems later on.
Advanced Troubleshooting: When Simple Fixes Don’t Work
If you’ve tried the basic solutions and your meat thermometer is still not performing as expected, it might be time to look at some more advanced troubleshooting steps. This section covers scenarios that go beyond simple battery changes or cleaning and might involve more technical checks or understanding limitations.
Checking for Thermometer Damage
Sometimes, the issue isn’t with the readings themselves but with the physical integrity of the thermometer. Inspecting the probe for any visible signs of damage is a crucial step. Look for any dents, bends, or kinks in the metal probe.
A bent probe might not reach the center of the meat correctly or could have damaged the internal sensor.
Also, examine where the probe connects to the handle or wire. Look for any cracks, loose connections, or signs of corrosion. If you have a probe with a wire, check the wire itself for any cuts, fraying, or damage.
A compromised wire can interrupt the signal from the probe to the display unit, leading to no reading or erratic readings.
If the probe or wire appears significantly damaged, it might be difficult or impossible to repair effectively. In such cases, the most reliable solution is to replace the thermometer. Safety and accuracy are paramount when cooking, and damaged equipment can compromise both.
Understanding Thermometer Limitations
Every tool has its limitations, and meat thermometers are no different. Understanding these can help you avoid troubleshooting issues that aren’t actually problems. For instance, instant-read thermometers are designed for quick checks, not for leaving in the meat for extended periods while it cooks.
Leaving an instant-read thermometer in the oven or on the grill can damage its sensitive electronics and cause inaccurate readings. These thermometers are meant to be inserted, read, and then removed. Probe thermometers with wireless capabilities are designed to stay in the meat and oven, but even they have temperature limits for their probes and transmitters.
Also, remember that different types of meat and different cuts can have slightly varying internal temperatures for doneness. A thermometer is a guide, but visual cues and resting times are also important. If your thermometer consistently gives readings that align with visual doneness (e.g., medium-rare steak at 130-135°F), even if it’s slightly different from a chart, it might still be accurate for your specific cooking style.
When to Consider Replacement
There comes a point where troubleshooting is no longer practical, and it’s time to think about getting a new meat thermometer. If your thermometer has suffered significant physical damage, like a cracked screen or a badly bent probe, it’s usually best to replace it. These types of damage can compromise accuracy and safety.
If you’ve tried all the troubleshooting steps, including checking batteries, cleaning contacts, and performing calibration tests, and the thermometer still provides consistently inaccurate readings, it’s likely time for a replacement. This is especially true if the thermometer is several years old, as electronic components can degrade over time.
Investing in a new, reliable meat thermometer is a small price to pay for ensuring your food is cooked to the perfect temperature, safely and deliciously. Look for models with good reviews and features that suit your cooking needs. A faulty thermometer can lead to unsafe food, so don’t hesitate to upgrade when necessary.
Frequently Asked Questions
Question: Why does my meat thermometer read differently every time I use it?
Answer: This can happen for several reasons. Ensure the probe is placed in the same part of the meat each time, avoiding bone or fat. Also, check if the thermometer needs calibration using the ice water or boiling water test.
Make sure the batteries are fresh and making good contact, as low power can cause inconsistent readings. Finally, allow the thermometer a few seconds to stabilize before reading the temperature.
Question: Can I use my meat thermometer in a microwave?
Answer: Generally, no. Most meat thermometers, especially those with metal probes and electronic components, should not be used in a microwave. Metal can cause arcing and sparks, which can damage the microwave and the thermometer.
Always check your thermometer’s manual to confirm if it’s microwave-safe, but for most, it’s best to stick to conventional ovens, grills, or stovetops.
Question: My thermometer says the meat is done, but it looks undercooked. What should I do?
Answer: First, double-check your thermometer’s calibration. If it’s accurate, ensure you placed the probe in the thickest part of the meat, away from bone or fat. Sometimes, thicker cuts need a little more time to reach the target temperature throughout.
Trust your thermometer’s reading if you’ve confirmed its accuracy, but always keep an eye on the meat’s appearance and let it rest after cooking, as the internal temperature can rise slightly during resting.
Question: How do I clean a meat thermometer with a wire probe?
Answer: For a wire probe thermometer, you can typically wash the metal probe with warm, soapy water and a soft cloth or sponge. Rinse it thoroughly and dry it completely. Be careful not to submerge the display unit or the connector where the wire plugs into it.
Clean the wire itself gently, ensuring no kinks or damage occur. Always refer to your thermometer’s manual for specific cleaning instructions.
Question: Is it okay to leave a wireless meat thermometer probe in the meat while it cooks?
Answer: Yes, wireless meat thermometers are designed for this purpose. The probe is made to withstand the high temperatures inside an oven, grill, or smoker. The transmitter unit, however, should typically be kept outside the heat source to prevent damage.
This allows you to monitor the meat’s temperature remotely from your phone or a base unit.
Summary
Fixing your meat thermometer reading issues is often straightforward. By checking batteries, probe placement, and calibration, you can usually solve most problems. Keep your thermometer clean and stored properly to ensure it lasts.
If issues persist, consider physical damage or the need for a replacement to guarantee safe cooking temperatures.


