
Sometimes your wireless meat thermometer can be a bit tricky, especially if you’re new to using one. It’s easy to feel a little stuck when it’s not connecting or showing the right temperature. But don’t worry!
This guide is here to help you figure out why your thermometer might be acting up and how to fix it. We’ll walk through simple steps to get it working again, covering everything you need to know to get back to perfectly cooked meals. Let’s look at how to solve the Wireless Meat Thermometer Not Working Fix so you can grill or roast with confidence.
Common Wireless Meat Thermometer Issues and How to Solve Them
When your wireless meat thermometer isn’t working as expected, it can be frustrating. This section covers the most frequent problems beginners encounter and provides clear, easy-to-follow solutions. We’ll break down each issue so you can quickly pinpoint the cause and get your thermometer back on track.
This will help you avoid common pitfalls and ensure you get accurate readings every time you cook.
Connectivity Problems
Connectivity is the most common hurdle for wireless meat thermometers. This means the transmitter (the part with the probe in the meat) can’t talk to the receiver (the part you hold or place nearby). This can happen for a few reasons, like distance, obstacles, or low batteries.
-
Distance: Most wireless meat thermometers have a certain range they can work within. If you’re too far away, the signal might not reach the receiver. Try moving the receiver closer to the grill or oven where the transmitter is.
Some models specify a range, like 100 feet or 300 feet. Going beyond this limit is a sure way to lose connection.
-
Obstacles: Things between the transmitter and receiver can block the wireless signal. This includes thick walls, metal objects, or even water. When cooking outdoors, a metal grill lid can sometimes interfere.
Make sure there’s a clear line of sight between the two units whenever possible. This is especially important if you’re cooking in a busy kitchen or a yard with many things in the way.
-
Interference: Other wireless devices can sometimes mess with your thermometer’s signal. Things like Wi-Fi routers, microwaves, or even other Bluetooth devices can cause interference. If you suspect this is the issue, try turning off other nearby wireless devices temporarily.
You might also find that certain channels are less crowded and work better for your thermometer.
Low Battery Issues
Batteries are the heart of any wireless device. If they’re low or dead, your thermometer won’t work. This applies to both the transmitter and the receiver, and sometimes they use different types of batteries.
-
Battery Type: First, check what kind of batteries your thermometer needs. Most use standard AA or AAA batteries, but some might use button cells. Always use fresh, good-quality batteries.
Cheap or old batteries can cause weak signals or stop the device from turning on altogether.
-
Battery Replacement: If your thermometer has been working fine but suddenly stops, changing the batteries is often the first thing to try. Make sure you put them in the right way, matching the plus (+) and minus (-) signs. Sometimes, even if the device turns on, low batteries can cause it to disconnect or give inaccurate readings.
-
Battery Indicators: Many modern wireless thermometers have a battery indicator on the screen. Pay attention to this. If it shows low battery, replace the batteries immediately.
Don’t wait until it stops working completely, as this can happen at critical cooking moments.
Temperature Reading Errors
Getting the wrong temperature is as bad as not getting any temperature at all. This section looks at why your thermometer might be showing incorrect readings and what you can do about it. Accuracy is key for safe and delicious food.
-
Probe Placement: The probe needs to be in the thickest part of the meat, away from bone, fat, or gristle. If the probe touches a hot pan or is too close to the bone, it can give a false high reading. For large roasts, make sure the probe is centered in the thickest section.
For steaks or chicken breasts, aim for the center.
-
Calibration: Some thermometers can be calibrated. This means you can adjust them to ensure they read accurately. Check your user manual to see if your model has a calibration feature.
If it doesn’t, and you suspect it’s off, you might need to test it against a known accurate thermometer or consider replacing it.
-
Dirty Probe: A probe that’s covered in grease or food bits might not read the temperature correctly. Always clean the probe after each use. You can usually wipe it with a damp cloth and some mild soap.
Make sure it’s completely dry before putting it back in the storage case or using it again.
Device Not Turning On
It’s incredibly frustrating when your gadget simply won’t power up. This can be due to a few simple issues, and thankfully, most are easy to fix. Getting your device to turn on is the very first step to using it.
-
Check Batteries: This is the most common reason a device won’t turn on. Ensure you have fresh batteries installed correctly. Sometimes, a battery might seem installed correctly but isn’t making proper contact.
Try removing and reinserting them. If the batteries are old,
-
Power Button: Make sure you are pressing the power button correctly and holding it down for the required time if the instructions specify. Some buttons require a longer press to turn the device on or off. Check for any debris around the power button that might be preventing it from being pressed fully.
-
Reset Function: Some electronic devices have a reset button or a reset procedure. Consult your user manual to see if your thermometer has this feature. A reset can sometimes fix internal glitches that prevent the device from powering on.
This usually involves pressing a combination of buttons or using a small pin to press a recessed reset button.
Advanced Troubleshooting for Your Wireless Meat Thermometer
Once you’ve gone through the basic checks, there are a few more advanced steps you can take if your wireless meat thermometer is still not cooperating. These methods can help solve more stubborn issues and ensure your thermometer is performing at its best. This part is for when the simple fixes haven’t quite done the trick.
Re-pairing the Transmitter and Receiver
Many wireless meat thermometers need to be “paired” so the transmitter and receiver can recognize each other. This is like giving them a special handshake so they can talk. If they lose this connection, they won’t work together, even if they have fresh batteries and are close by.
-
Consult the Manual: The exact steps for re-pairing vary by brand and model. Always refer to your user manual first. It will tell you exactly which buttons to press and in what order.
Often, you’ll need to put both the transmitter and receiver into a pairing mode.
-
Pairing Process: Generally, you’ll turn on both the transmitter and receiver. Then, you might need to press and hold a specific button on the receiver until it starts searching for the transmitter. Next, you’ll likely need to press a button on the transmitter.
Keep them close together during this process. A successful pairing is usually indicated by a symbol on the screen or a beep.
-
Reset and Re-pair: If re-pairing doesn’t work the first time, try resetting both the transmitter and receiver first. This clears any previous pairing data. Then, follow the pairing steps again.
Sometimes, interference can disrupt the pairing process, so try this in an area with fewer wireless devices active.
Firmware Updates
Just like your smartphone or computer, some wireless meat thermometers have software, called firmware, that can be updated. These updates can fix bugs, improve performance, and add new features. However, not all thermometers have this capability.
-
Check Manufacturer Website: To see if your thermometer can be updated, visit the manufacturer’s official website. Look for a support or downloads section. If updates are available, they will provide instructions on how to download and install them.
This usually involves connecting the thermometer to a computer via USB.
-
Importance of Updates: Keeping your thermometer’s firmware up-to-date can resolve many issues, including connectivity problems, inaccurate readings, and device instability. It’s a good practice to check for updates periodically, especially if you’re experiencing persistent problems. A firmware update can sometimes be the best Wireless Meat Thermometer Not Working Fix.
-
Update Process: The update process typically involves downloading a software file to your computer and then using a cable to transfer it to the thermometer. Follow the manufacturer’s instructions very carefully. Interrupting the update process can sometimes damage the device.
Contacting Customer Support
If you’ve tried everything else and your thermometer still isn’t working, it might be time to reach out for help. The company that made your thermometer wants it to work well for you, and their support team can offer specific solutions.
-
When to Call: If your device is still under warranty, contacting customer support is a great option. They can guide you through troubleshooting steps unique to your model or arrange for a repair or replacement if necessary. Don’t hesitate to call if you’re completely stumped.
-
What to Prepare: Before you contact them, have your thermometer’s model number and serial number ready. Also, be prepared to explain the problem in detail and what steps you’ve already taken to fix it. This will help them diagnose the issue faster.
-
Types of Support: Customer support can be reached via phone, email, or online chat. Many manufacturers also have extensive FAQ sections and troubleshooting guides on their websites. Exploring these resources first can often provide a quick solution.
Factors Affecting Wireless Meat Thermometer Performance
Several environmental and usage factors can influence how well your wireless meat thermometer performs. Understanding these can help you prevent problems before they start and ensure consistent, reliable readings. These elements are often overlooked but play a significant role.
-
Temperature Extremes: While designed for cooking, very high or very low ambient temperatures can sometimes affect the electronics in both the transmitter and receiver. Extreme heat can cause components to overheat, and extreme cold can drain batteries faster or slow down response times. Always store your thermometer in a moderate environment when not in use.
-
Moisture and Grease: Excessive moisture or grease can damage the internal components of the transmitter or receiver if they are not properly sealed. While they are generally designed to withstand some kitchen conditions, prolonged exposure or immersion in liquid can cause failure. Ensure probes and units are dry and clean.
-
Durability and Build Quality: The overall build quality of a wireless meat thermometer plays a role in its reliability. Cheaper models might use less durable materials or less robust electronics, making them more prone to failure. Higher-quality thermometers often have better sealing against the elements and more resilient internal components.
Real-Life Scenarios and Solutions
Seeing how others have solved similar problems can be very helpful. These examples show common situations and how a Wireless Meat Thermometer Not Working Fix was applied in practice. They offer practical insights into troubleshooting.
-
Scenario: Sarah was grilling steaks, and her wireless thermometer suddenly showed “” on the receiver. She had moved the receiver about 50 feet away to sit on her patio chair. She had also just finished a phone call on her smartphone nearby.
Solution: Sarah walked back towards the grill, and the “” disappeared,
-
Scenario: Mark was slow-cooking a pork shoulder. The thermometer probe was inserted correctly, but the receiver kept showing the temperature dropping, even though the oven was at a steady 250°F. He had been using the same batteries for about a year.
Solution: Mark suspected the batteries. He
-
Scenario: Emily was trying to use her new wireless thermometer for the first time. The receiver wouldn’t connect to the transmitter at all, showing a “no signal” icon. She had followed the initial setup steps in the manual.
Solution: Emily looked up her specific model online and found a video tutorial on re-pairing. She discovered she needed to press a small, recessed button on the back of the transmitter with a paperclip to initiate pairing. After doing this, she successfully paired the devices and got her first accurate reading.
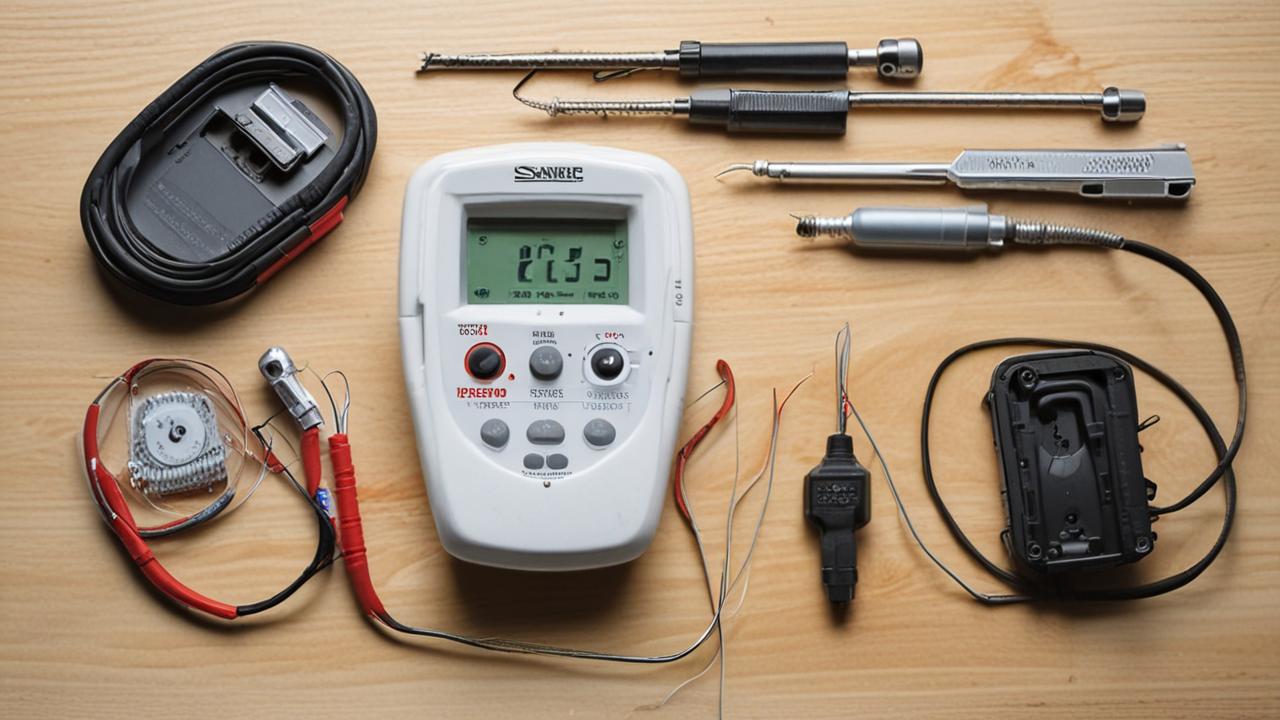
Understanding Key Components of Your Wireless Meat Thermometer
To effectively troubleshoot your wireless meat thermometer, it’s helpful to know its main parts and what they do. This knowledge can make diagnosing problems much easier and help you understand why certain fixes work. Each part plays a vital role in getting your temperature reading.
The Probe
The probe is the part that goes directly into the meat. It’s usually made of stainless steel and contains a temperature sensor at its tip. This sensor measures the internal temperature of the food.
-
Material: Stainless steel is used because it’s durable, easy to clean, and doesn’t react with food. It’s also designed to withstand high temperatures found in ovens and grills.
-
Sensor: Inside the probe is a thermistor or thermocouple that changes its electrical resistance or voltage based on temperature. This electrical signal is then sent to the transmitter.
-
Placement is Crucial: As mentioned, the probe must be in the thickest part of the meat, avoiding bone or fat. Fat and bone conduct heat differently, leading to inaccurate readings. Bone can also be much hotter than the meat itself.
The Transmitter
The transmitter is usually attached to the probe’s wire or is part of the probe unit itself. Its job is to take the temperature reading from the probe’s sensor and convert it into a wireless signal that the receiver can pick up.
-
Signal Conversion: It takes the raw temperature data and encodes it into a radio frequency (RF) or Bluetooth signal. This process requires a small amount of power, which is why the transmitter needs batteries.
-
Battery Power: Most transmitters use small batteries, like coin cells, and their lifespan is crucial for continuous operation. A weak battery can result in a weak or intermittent signal.
-
Durability: The transmitter needs to be robust enough to withstand the heat near the cooking surface. Many are designed to be placed on a grill grate or near an oven opening.
The Receiver
The receiver is the unit you hold or place nearby. It picks up the wireless signal from the transmitter and displays the temperature reading, often with other helpful information like target temperatures or cooking timers.
-
Signal Reception: It contains an antenna and circuitry to decode the wireless signal sent by the transmitter. It then translates this signal back into a readable temperature.
-
User Interface: The receiver usually has a digital display and buttons for controlling settings. This is where you’ll see the meat’s temperature, set alarms, and sometimes choose pre-programmed meat types.
-
Power Source: Receivers typically use AA or AAA batteries, and their battery life is generally longer than the transmitter’s because they don’t have to transmit a signal, only receive one. However, they still need fresh batteries to function correctly.
Tips for Maximizing Your Wireless Meat Thermometer’s Lifespan
Taking good care of your wireless meat thermometer will ensure it works reliably for a long time. Simple maintenance can prevent many common issues and save you from needing a Wireless Meat Thermometer Not Working Fix too soon. Treating your device with care is key.
-
Proper Cleaning: Always clean the probe after each use. Use a damp cloth and mild soap. Avoid submerging the probe wire or transmitter in water, as this can damage the electronics.
Ensure it’s completely dry before storing.
-
Correct Storage: Store your thermometer in its original case or a safe place where it won’t be damaged. Keep it away from extreme temperatures, moisture, and direct sunlight. This protects the components and prevents accidental damage.
-
Battery Care: Remove batteries if you plan to store the thermometer for an extended period (e.g., several months). This prevents battery leakage, which can corrode the battery compartment and damage the device. Always use fresh, high-quality batteries.
Frequently Asked Questions
Question: Why does my wireless meat thermometer keep disconnecting?
Answer: Disconnecting often happens because the transmitter and receiver are too far apart, there are obstacles blocking the signal, or batteries are low. Try moving the receiver closer, ensuring a clear line of sight, and replacing the batteries in both units.
Question: Can I wash the probe in the dishwasher?
Answer: Generally, no. Most probes and their attached wires are not waterproof and can be damaged by dishwashers. It’s best to wash them by hand with soap and water and ensure they are completely dry before use.
Question: My thermometer shows an error code. What does it mean?
Answer: Error codes usually indicate a specific problem. Check your user manual for a list of error codes and their meanings. Common codes relate to probe issues, low battery, or connection problems.
Question: How often should I replace the batteries?
Answer: This depends on usage and battery quality. For frequent cooks, it’s good to replace batteries every 6-12 months or when you notice any performance issues. Always check the battery indicator on the display if your model has one.
Question: Is it normal for the transmitter to get warm during use?
Answer: Yes, it’s normal for the transmitter to get slightly warm, especially if it’s placed close to the heat source. However, it should not be excessively hot to the touch. If it feels too hot, it might be too close to the direct heat, or there could be an issue.
Summary
Getting your wireless meat thermometer working perfectly is achievable with these simple fixes. We’ve covered battery checks, connection troubleshooting, and probe care. Follow these steps, and your device will give you accurate temperatures for delicious results every time.
You’ve got this!


