
Many folks learning to cook wonder, “Why Meat Thermometer Is Not Accurate?” It seems like a simple tool, but sometimes the readings seem a little off. This can make cooking feel tricky, especially when you want your food to be just right. But don’t worry!
It’s not as hard as it looks. We’ll go through it step-by-step to help you get perfect results every time. Next, we’ll look at the different kinds of thermometers and how to get the best reading from them.
Understanding Meat Thermometer Issues
Sometimes, the readings from your meat thermometer might not seem quite right. This is a common point of confusion for many home cooks, especially when they’re just starting out. You might follow the instructions, but the temperature still seems a bit surprising.
This section explores why this happens. We’ll break down the common reasons for these variations, making it easier to trust your tool.
Common Problems with Meat Thermometers
When you’re trying to cook something perfectly, a thermometer is supposed to be your best friend. However, a few things can make it seem like it’s not giving you the right number. It’s like trying to measure something with a ruler that has a bent end.
You get a measurement, but you know it’s not quite right.
One big reason is how you’re using it. For example, if you stick the thermometer into a fatty part of the meat, it won’t show the true temperature of the muscle. Fat cooks differently than muscle.
It’s like trying to read a thermometer in a cup of hot water when it’s actually sitting in ice water next to it. The readings will be very different.
Another issue is the type of thermometer itself. Some are quicker and more precise than others. An older, less sensitive model might take longer to give a reading, and by then, the meat’s temperature might have changed a bit.
This delay can lead to a slightly inaccurate final number.
Also, the thickness of the meat plays a role. If a thermometer is too long, it might poke out the other side of a thin cut. This means you’re reading the air temperature, not the meat temperature.
It’s important to match the thermometer to the size of what you’re cooking.
Calibration Matters
A thermometer needs to be accurate from the start. This is called calibration. Imagine a scale that always says you weigh two pounds more than you actually do.
You know that, so you just subtract two pounds mentally. Thermometers can be a bit like that if they aren’t calibrated properly.
Most digital thermometers are pretty good at staying calibrated. However, analog ones, especially the dial kind, can sometimes get knocked out of whack. This means the needle might not point to the correct temperature when it’s supposed to be at a known point, like boiling water.
If your thermometer seems consistently off, it might need to be recalibrated. This usually involves checking it in boiling water or ice water. If it doesn’t read 212°F (100°C) in boiling water or 32°F (0°C) in ice water, it’s off.
Some thermometers can be adjusted, while others might need replacing.
This is especially important for cooking meat to safe internal temperatures. Undercooked meat can be dangerous. Overcooked meat can be dry and tough.
Getting the temperature right is key to both safety and flavor.
Temperature Zones in Meat
Meat isn’t a single, uniform block of heat. Different parts can be hotter or colder. This is a key reason why thermometer readings can vary.
Think about a roast that’s been in the oven. The edges are exposed to more heat for longer, so they usually get hotter. The center, especially if it’s a thick piece, will be cooler.
When you stick a thermometer in, you’re getting a reading from one specific spot. If you hit a hotter edge, the reading will be higher. If you hit a cooler part of the center, it will be lower.
The goal is to find the thickest part of the meat, away from any bones or large pockets of fat, to get the most representative temperature.
Bones can also affect temperature. Bones conduct heat differently than meat. They can be hotter or colder than the surrounding meat, throwing off your reading.
Always try to avoid touching a bone with the thermometer probe. This is why reading the temperature in the thickest part of the muscle is so important.
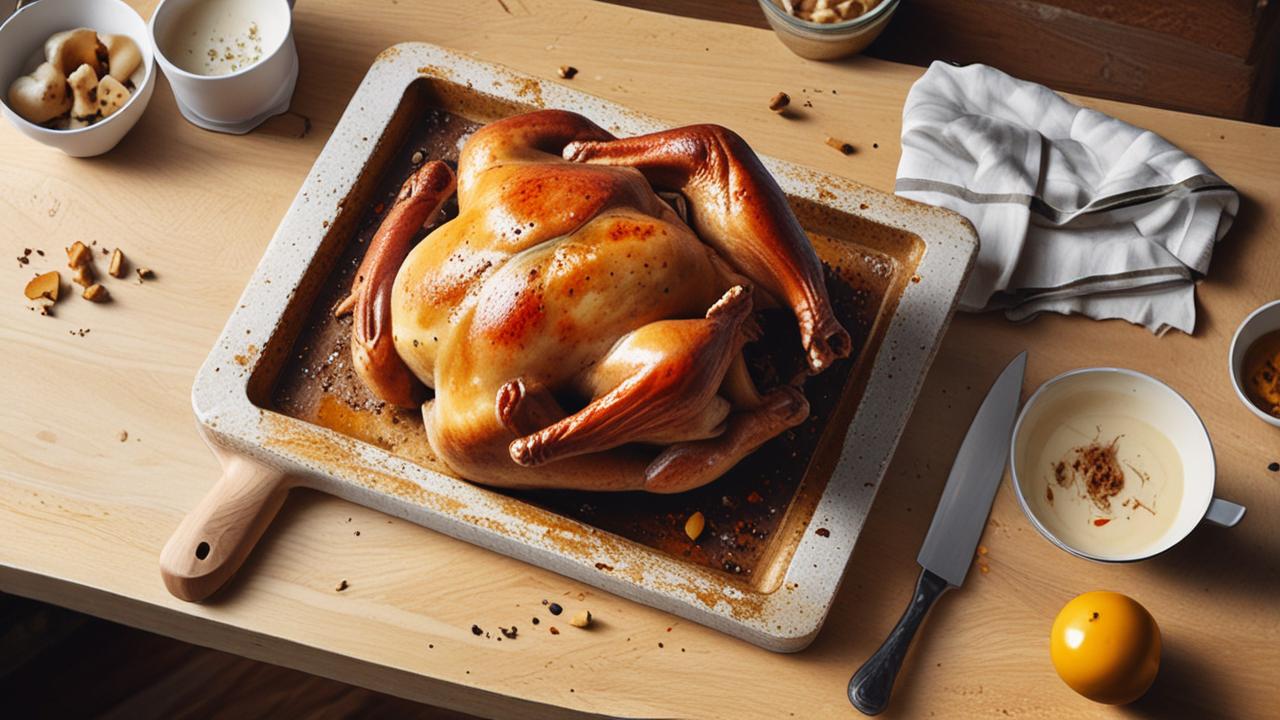
For larger cuts like whole chickens or roasts, you might need to take multiple readings. Check a few different spots to get a general idea. This is especially true for poultry, where the thigh meat often cooks slower than the breast meat.
Types of Meat Thermometers and Their Accuracy
There are several kinds of meat thermometers, and they all have their own strengths and weaknesses when it comes to accuracy. Knowing these differences can help you choose the best one for your needs and understand why one might give a different reading than another.
Instant-Read Thermometers
These are very popular for good reason. They give you a temperature reading very quickly, often in just a few seconds. This is great because you don’t have to leave the oven door open for too long, which can cause the oven temperature to drop.
Digital instant-read thermometers are usually quite accurate. They have a thin probe you insert into the meat. For the best results, make sure the probe is in the thickest part of the meat, away from bone or fat.
The speed means you can check the temperature at different points quickly.
However, they do require you to insert the probe each time you want a reading. This means you’re taking the meat out of the heat source to check it, or opening the oven door. This brief interruption can cause a slight temperature fluctuation.
The accuracy of an instant-read thermometer depends on its quality. Cheaper models might not be as precise as more expensive ones. It’s also important to keep the probe clean, as any residue can affect the reading.
Probe Thermometers (Leave-In)
These thermometers have a probe that stays in the meat while it cooks. A wire connects the probe to a display unit that sits outside the oven or grill. This is super convenient because you can monitor the temperature without opening the cooking device.
The advantage here is continuous monitoring. You can see the temperature rise in real-time. This helps you know exactly when your food is ready.
It also prevents the temperature loss from opening the oven door repeatedly.
However, the accuracy of the probe itself is key. If the probe isn’t placed correctly, it can give a misleading reading. For example, if it’s touching a bone or resting on the bottom of a pan, the temperature might be different than the actual meat temperature.
The quality of the wire and the display unit also matter. A damaged wire can lead to inconsistent readings. Some people find that probe thermometers are less precise than high-quality instant-read ones, especially for very thin cuts where getting the perfect placement is harder.
Dial Thermometers
These are the older-style thermometers with a round dial and a pointer. They are often less expensive than digital models. You stick the probe into the meat and read the temperature on the dial.
The main issue with dial thermometers is their speed and accuracy. They can take longer to give a reading than digital ones. Also, the internal mechanisms can be less precise and more prone to becoming inaccurate over time.
They are also more difficult to calibrate at home compared to digital ones.
They are still useful for general cooking, but for precision, especially when cooking to specific internal temperatures for safety or perfect doneness, digital thermometers are generally preferred. If you use a dial thermometer, it’s a good idea to check its accuracy regularly.
Infrared Thermometers
These are a bit different. They don’t touch the food at all. You point them at the surface of the meat, and they measure the temperature by detecting infrared radiation.
They are great for checking the surface temperature of grills or pans, or even the temperature of liquids very quickly.
For meat, they are less ideal for checking the internal temperature. They only measure what’s on the surface. The inside of the meat can be much cooler or hotter than the outside.
So, while they are very fast, they don’t give you the crucial internal reading needed for doneness.
They are best used for checking if your cooking surface is hot enough, or for quickly seeing the temperature of something you can’t easily reach. For understanding Why Meat Thermometer Is Not Accurate for internal cooking, infrared ones are usually not the answer.
Tips for Getting Accurate Readings
Getting an accurate temperature reading from your meat thermometer is all about knowing how to use it correctly. It’s not just about the tool; it’s about the technique. By following a few simple tips, you can make sure your thermometer is giving you reliable information every time you cook.
Placement is Key
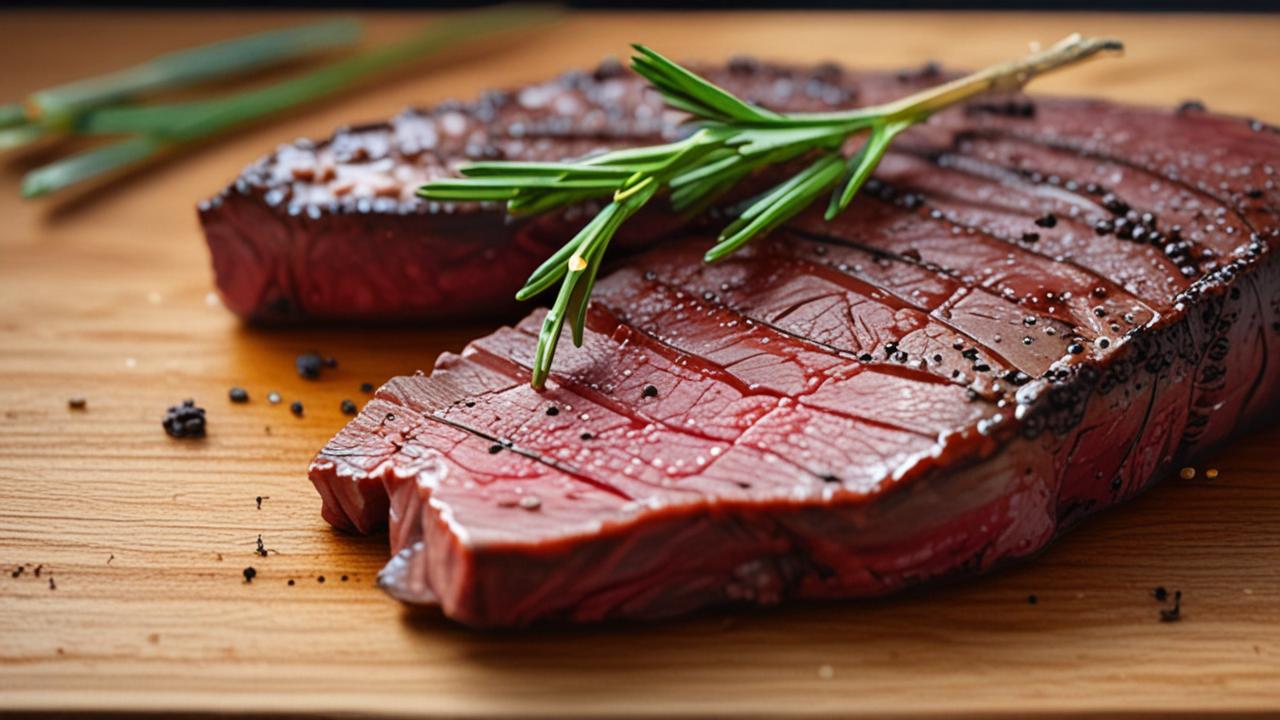
This is probably the most important rule. You need to insert the thermometer probe into the thickest part of the meat. Make sure it’s in the center and not touching any bone.
Bones conduct heat differently than meat, and they can give you a false reading. Fat also cooks at a different temperature than lean meat.
For a steak or a roast, aim for the middle of the meat. For a whole chicken or turkey, check the thickest part of the thigh, away from the bone. If you’re cooking something that’s not very thick, like a thin pork chop, you might need to be extra careful to ensure the probe isn’t going all the way through or hitting the hot pan.
When using a leave-in probe thermometer, be sure the probe tip is centered in the thickest part. If the probe is too close to the surface, you’ll get a reading that’s too high. If it’s near a bone, it might be too low or too high depending on the bone’s temperature.
For best results, pull the meat out of the oven or off the grill for a moment to take a reading with an instant-read thermometer. This prevents you from opening the oven door too much and losing heat, and it allows you to get a very precise placement.
Allow for Carryover Cooking
This is a concept that often surprises beginners. Even after you take meat off the heat, it continues to cook. This is called carryover cooking.
The heat that’s already in the meat keeps cooking it from the inside out.
So, the internal temperature will rise a few more degrees after you remove it from the oven or grill. For this reason, you should pull your meat off the heat when it’s a few degrees below your target temperature. For example, if you want your steak to be medium-rare at 135°F (57°C), you might pull it off when the thermometer reads 130°F (54°C).
The amount of carryover cooking depends on the size and thickness of the meat. Larger roasts will have more carryover cooking than a thin steak. It’s a good idea to let larger cuts rest for at least 10-15 minutes after cooking.
During this rest time, the temperature will equalize throughout the meat, and the carryover cooking will mostly happen.
This is why having a thermometer that gives you quick readings is so helpful. You can check the temperature, estimate how much carryover cooking there will be, and take the meat off at just the right moment. It takes a little practice, but it makes a big difference.
Resting the Meat
Resting your meat after cooking is crucial, and it also affects the final temperature you read. When meat cooks, the juices inside get pushed towards the surface. If you cut into it right away, all those juices will run out onto your plate.
When you let the meat rest, the juices redistribute back into the muscle fibers. This makes the meat much more tender and flavorful. It also allows the internal temperature to equalize.
The temperature might continue to rise slightly during the rest period due to carryover cooking.
So, when you take a temperature reading before resting, know that the temperature will likely be a degree or two higher after resting. This is a good thing! It means your meat will be perfectly cooked and juicy when you serve it.
The resting period also helps the meat relax, making it easier to carve.
For large cuts, like a turkey or a beef roast, resting for 15-30 minutes is common. For smaller cuts like steaks or chicken breasts, 5-10 minutes is usually enough. Always factor this resting time into your cooking schedule.
Factors Affecting Thermometer Readings
It’s not just about the thermometer itself; other things in the cooking process can influence the readings you get. Understanding these external factors can help you interpret your thermometer’s numbers more accurately and make better cooking decisions.
Oven and Grill Temperature Fluctuations
Ovens and grills are not perfect machines that hold a constant temperature. They have thermostats that cycle on and off to maintain a set temperature. This means the actual temperature inside your oven or grill can go up and down.
For example, when you open the oven door to check your meat, you let a lot of heat escape. The oven’s heating element then kicks on to bring the temperature back up. This fluctuation can affect how quickly and evenly your meat cooks.
It can also mean the temperature at the probe’s location is different from the thermostat setting.
Some ovens are better at holding steady temperatures than others. High-quality ovens often have better insulation and more precise thermostats. However, even the best oven will have some variation.
This is another reason why relying solely on cooking time is not ideal.
Similarly, grills, especially charcoal grills, can have uneven heat distribution. The side closest to the coals will be hotter than the side farther away. This means the temperature reading in one spot might be different from another.
Always try to measure the temperature in the area where the thickest part of your meat is located.
Using an oven thermometer that you place inside the oven can help you see the true temperature. This can tell you if your oven runs hot or cold compared to its dial setting. This information can then help you adjust your cooking times or temperatures.
Meat Thickness and Shape
The physical characteristics of the meat itself play a big role in how accurately a thermometer can read its temperature. A thick, uniform cut is much easier to measure than a thin, irregularly shaped piece.
When meat is very thin, like a chicken breast cutlet or a thin pork chop, it cooks very quickly. It’s hard to get the thermometer into the center without it being close to the surface. This can lead to an overestimation of the internal temperature if the surface is already cooked.
It also means the temperature can jump very rapidly, making it tricky to catch the perfect moment.
Irregularly shaped cuts, like a whole chicken with wings and legs, can also present challenges. The breast meat will likely cook faster than the thigh meat because it’s thinner and has less fat. If you place your thermometer in the breast, you might think the whole bird is done, but the thigh could still be undercooked.
This is why it’s often recommended to cook different parts of a bird separately if possible, or to use a thermometer that can monitor multiple points. For larger roasts, the shape can also mean some parts are closer to the heat source than others, leading to uneven cooking and varying internal temperatures.
Fat Distribution and Marbling
Fat within the meat, known as marbling, can also affect temperature readings and how the meat cooks. Fat melts at a lower temperature than muscle tissue and can conduct heat differently. Areas with more fat can cook faster or at a slightly different rate than leaner areas.
When you insert a thermometer, if it hits a pocket of fat, the reading might be slightly skewed. Fat is less dense than muscle and can insulate the probe. This means the thermometer might register a temperature that isn’t representative of the surrounding lean meat.
For example, if the probe is mostly in fat, it might read lower than the actual muscle temperature.
Marbling, the fine flecks of fat within the muscle, can also influence internal temperatures. Marbling helps keep the meat moist and adds flavor, but it means there are variations in density and heat conduction throughout the cut. This can make it harder to get a single, perfectly accurate reading.
To combat this, always try to place the thermometer probe in the leanest, thickest part of the muscle, avoiding large chunks of fat. This gives you the most reliable measurement of the meat’s core temperature, which is what you’re aiming to cook to.
Altitude and Ambient Temperature
Believe it or not, even where you are and the temperature outside can sometimes play a small role in how your meat thermometer works or how your food cooks. This is usually a minor factor, but it’s good to be aware of.
At higher altitudes, water boils at a lower temperature. For example, at sea level, water boils at 212°F (100°C), but at 5,000 feet, it boils at around 203°F (95°C). If you are calibrating a dial thermometer in boiling water at a high altitude, and you assume it’s 212°F, your calibration will be off.
This difference is usually small enough that it doesn’t drastically affect most meat cooking unless you are at extremely high altitudes or trying to cook to very precise temperatures where even a few degrees matter. Most modern digital thermometers are less affected by ambient pressure changes.
The ambient temperature around your cooking area can also have a slight influence. If you’re grilling on a very cold day, the grill might struggle to maintain its temperature, leading to longer cooking times and potentially more temperature fluctuations. If you’re using a leave-in probe, the wire running out of the oven or grill could be exposed to cold air, which could theoretically affect the reading, though this is usually minimal.
For most home cooks, these factors are less critical than proper probe placement and understanding carryover cooking. However, if you are cooking in extreme conditions or for very precise culinary competitions, these might be things to consider.
Advanced Tips for Precise Meat Thermometer Use
Once you’ve got the basics down, there are a few more advanced techniques and pieces of knowledge that can help you get even more precise results with your meat thermometer. These tips focus on refining your technique and understanding the nuances of temperature.
Calibrating Your Thermometer
This is something many people skip, but it’s super important for ensuring accuracy. Calibration means checking that your thermometer is giving the correct reading at a known temperature. For most meat thermometers, this means checking them in ice water and boiling water.
To calibrate in ice water: Fill a glass with crushed ice and add cold water. Stir it for about 30 seconds to ensure the temperature is as low and even as possible. Insert your thermometer probe into the ice water, making sure it doesn’t touch the sides or bottom of the glass.
It should read 32°F (0°C).
To calibrate in boiling water: Bring a pot of water to a rolling boil. Insert the thermometer probe into the boiling water, again, making sure it doesn’t touch the bottom of the pot. It should read 212°F (100°C) at sea level.
Remember that this boiling point decreases with altitude.
If your thermometer doesn’t read the correct temperature in these tests, don’t despair. Many digital thermometers have a calibration setting where you can adjust the reading. If yours doesn’t, or if it’s very far off, it might be time to replace it.
A properly calibrated thermometer is key to understanding Why Meat Thermometer Is Not Accurate when it’s actually the tool itself that’s the issue.
Using a Thermometer for Sous Vide
Sous vide cooking involves vacuum-sealing food in bags and cooking it in a temperature-controlled water bath. This method is known for its incredible precision and consistency. A meat thermometer is still useful in sous vide, but in a slightly different way.
First, you might use a thermometer to check the actual temperature of your water bath. While the sous vide circulator is designed to maintain a precise temperature, it’s always a good idea to double-check with a reliable thermometer, especially if you’re aiming for very specific results. This helps ensure the water bath is exactly where you set it.
Second, after the food has been cooked sous vide to perfection, you might want to use an instant-read thermometer to check the internal temperature before searing it. This is a final check to confirm that the meat has reached the desired doneness throughout. Even though sous vide is very precise, a quick check can provide extra peace of mind.
The beauty of sous vide is that it eliminates much of the guesswork. The meat cooks to a specific temperature and holds there. So, when you sear it, you’re primarily adding texture and color, not cooking it further to reach a target temperature.
A thermometer in this context is more of a confirmation tool.
Understanding Different Doneness Levels
Different meats and personal preferences call for different internal temperatures. Knowing these target temperatures is crucial for using your thermometer effectively. For example, beef can be enjoyed rare, medium-rare, medium, medium-well, or well-done, and each has a specific temperature range.
Here’s a quick guide:
- Rare Beef: 125-130°F (52-54°C). Very red center.
- Medium-Rare Beef: 130-135°F (54-57°C). Red, warm center.
- Medium Beef: 135-145°F (57-63°C). Pink center.
- Medium-Well Beef: 145-155°F (63-68°C). Slightly pink center.
- Well-Done Beef: 155°F+ (68°C+). Little to no pink.
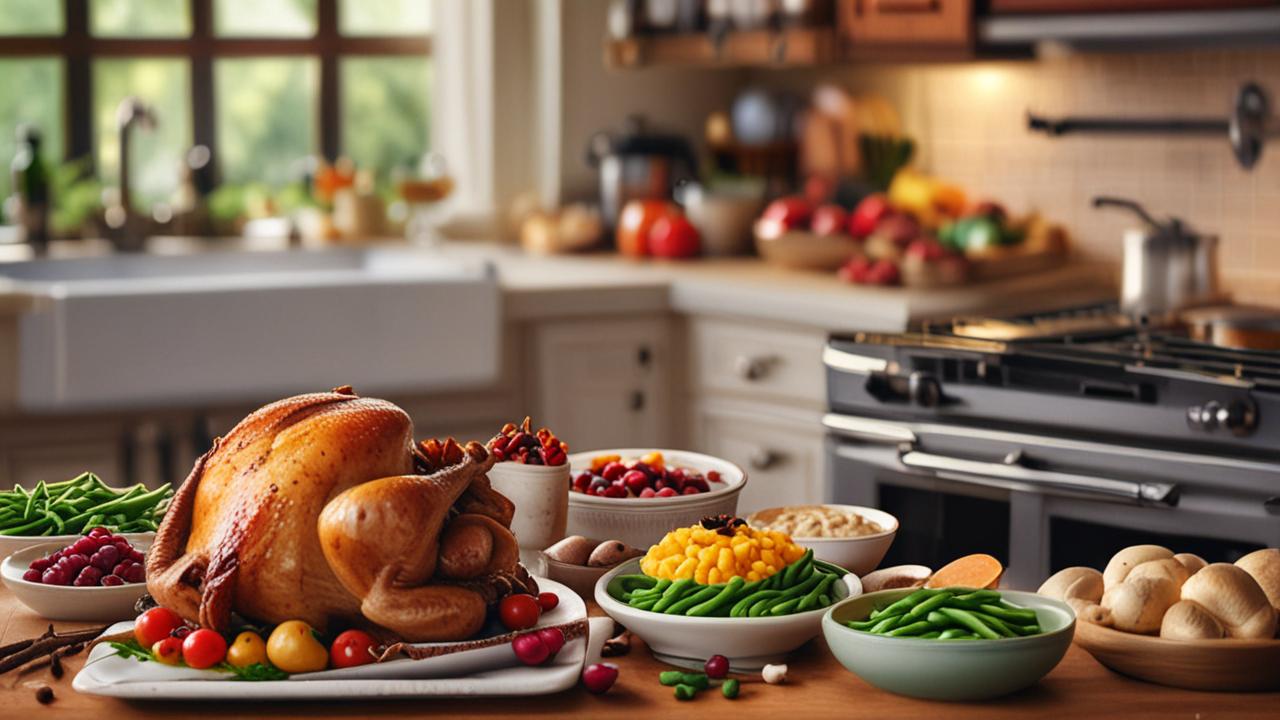
Pork is now safely cooked at a lower temperature than it used to be, typically around 145°F (63°C) for medium, which results in a slightly pink center and very juicy meat. Chicken and turkey should always reach an internal temperature of 165°F (74°C) for safety, ensuring all harmful bacteria are killed.
Fish is often cooked until it flakes easily with a fork, usually between 125-145°F (52-63°C) depending on the type of fish and desired doneness. Lamb can be cooked similarly to beef, with medium-rare being a popular choice.
Using your thermometer to hit these specific temperatures is the best way to ensure your food is cooked perfectly and safely. It removes the guesswork and helps you achieve consistent results every time.
| Meat Type | Rare | Medium-Rare | Medium | Medium-Well | Well-Done | Safe (Poultry/Ground Meat) |
|---|---|---|---|---|---|---|
| Beef/Lamb (Steaks/Chops) | 125-130°F (52-54°C) | 130-135°F (54-57°C) | 135-145°F (57-63°C) | 145-155°F (63-68°C) | 155°F+ (68°C+) | N/A |
| Pork (Chops/Roasts) | N/A | N/A | 145°F (63°C) | 150-155°F (66-68°C) | 160°F+ (71°C+) | 160°F (71°C) |
| Chicken/Turkey (Whole/Parts) | N/A | N/A | N/A | N/A | N/A | 165°F (74°C) |
Using Thermometers for Different Cooking Methods
The cooking method you choose can also influence how you use your meat thermometer and what you should expect from it. Each method presents unique challenges and opportunities for temperature measurement.
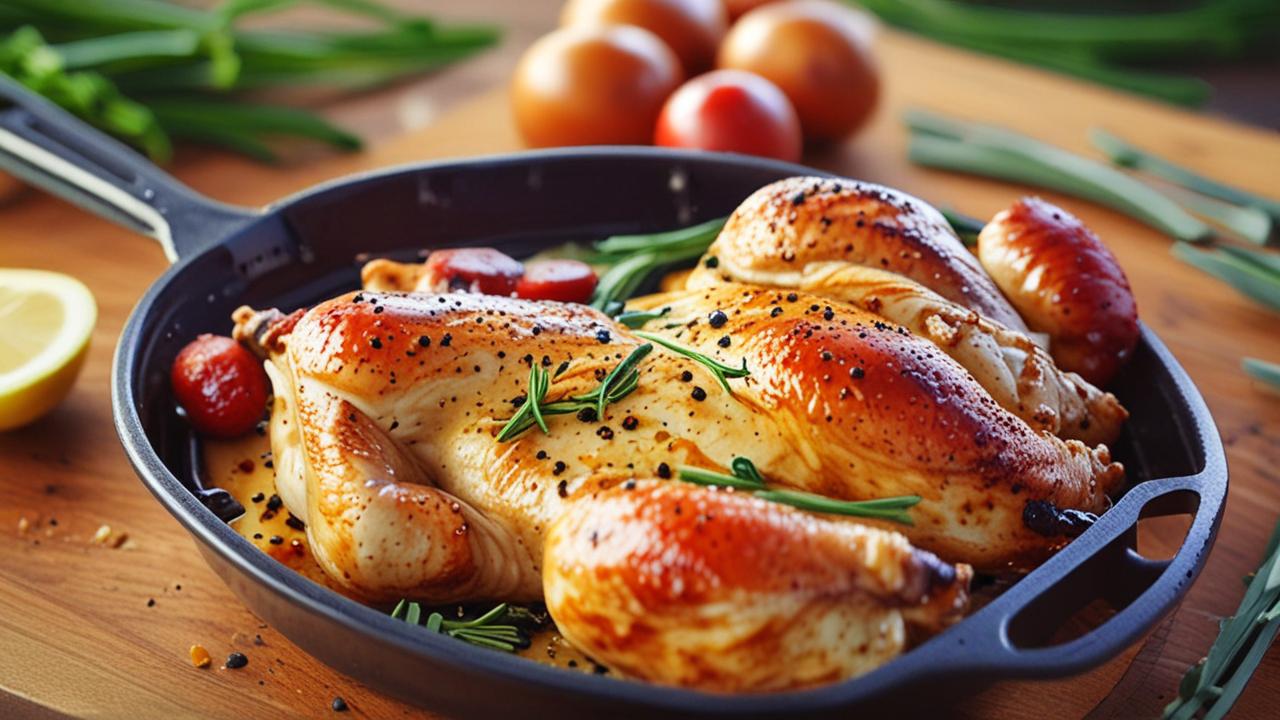
For grilling, instant-read thermometers are very handy. You can quickly check the steak or burger without letting too much heat escape. However, remember that the outside of the grill might be much hotter than the inside, so place the probe in the center of the thickest part of the meat.
When baking, especially for larger items like roasts or whole birds, a leave-in probe thermometer is often preferred. This allows you to monitor the temperature continuously without opening the oven door frequently. You can set an alarm on some models to let you know when it reaches your target temperature.
For smoking, low and slow cooking means the meat takes a long time to reach temperature. A leave-in thermometer is essential here, as you’ll be monitoring the meat for hours. You also need to account for the fact that the smoking process can affect the meat’s surface temperature differently than direct heat cooking.
When pan-searing, especially for thin cuts, speed is key. An instant-read thermometer is best. You want to get in, get the reading, and get the meat off the heat quickly to avoid overcooking.
No matter the method, the principles of accurate placement and understanding carryover cooking remain the same. The thermometer is a tool to guide you, but your knowledge of how different cooking methods work will help you use it best.
Frequently Asked Questions
Question: Why does my meat thermometer give different readings each time I use it?
Answer: Different readings can happen if you’re not inserting the thermometer into the exact same spot each time, especially in meats that cook unevenly. Also, if the thermometer isn’t calibrated correctly, its readings will be consistently off. Ensure you’re placing the probe in the thickest part, away from bone or fat, and check its calibration regularly.
Question: Can I trust the temperature on my oven’s display?
Answer: Oven displays are often not perfectly accurate. Many ovens can be off by 25°F (about 14°C) or more. It’s a good idea to use a separate oven thermometer placed inside the oven to see its actual temperature.
This helps you know if your oven runs hot or cold, which affects cooking times.
Question: How long should I let meat rest after cooking?
Answer: Resting is important! For smaller cuts like steaks, let them rest for 5-10 minutes. For larger roasts or whole birds, rest for at least 15-20 minutes.
Resting allows the juices to redistribute, making the meat more tender and moist.
Question: My meat thermometer reads a different temperature than my friend’s thermometer. Which one is right?
Answer: Thermometers can vary in accuracy. The best way to know is to calibrate both thermometers in ice water (32°F/0°C) and boiling water (212°F/100°C at sea level). If one is significantly off, it may need recalibration or replacement.
Always aim to use a thermometer you trust.
Question: What is “carryover cooking”?
Answer: Carryover cooking is the heat that remains in the meat after you remove it from the heat source. This residual heat continues to cook the meat from the inside out, causing the internal temperature to rise a few more degrees. This is why you often remove meat a few degrees before it reaches your target temperature.
Summary
Getting accurate readings from your meat thermometer is simpler than you think. It’s about proper placement, knowing your thermometer, and a little bit about how heat works. By following these steps, you can cook meat perfectly every time.
You’ve got this!


