
Getting meat cooked just right can be tricky, especially when you’re new to cooking. You want it juicy and tasty, not dry or underdone. The thought of How to Get Perfect Meat Temperature Every Time might seem a little confusing at first.
But don’t worry, it’s actually quite simple! We’ll walk you through it step-by-step to make sure your meals are always delicious.
Why Perfect Meat Temperature Matters
Getting the temperature right is super important for both safety and flavor. When meat is cooked to the correct internal temperature, you know it’s safe to eat because harmful bacteria have been killed. This temperature guide is especially helpful for larger cuts of meat like roasts or whole chickens.
Without it, you might guess, and guessing can lead to undercooked food or overcooked, dry meat. We’ll show you exactly why this simple step makes a big difference.
Food Safety Basics
Food safety is the most important reason to cook meat to the right temperature. Bacteria like E. coli and Salmonella can be present in raw meat.
These tiny germs can make you very sick. Cooking meat to a specific internal temperature kills these dangerous bacteria. This is especially true for ground meats, poultry, and pork.
The U.S. Department of Agriculture (USDA) provides recommended safe minimum internal temperatures for different types of meat. Following these guidelines ensures your food is safe for everyone to enjoy.
For example, ground beef should reach 160°F (71°C). Whole cuts of beef, pork, veal, and lamb (like steaks, chops, and roasts) need to be at least 145°F (63°C) with a three-minute rest time. Chicken and turkey, whether whole or ground, must reach 165°F (74°C).
These temperatures are not just suggestions; they are scientifically proven to eliminate the most common foodborne pathogens.
Flavor and Texture
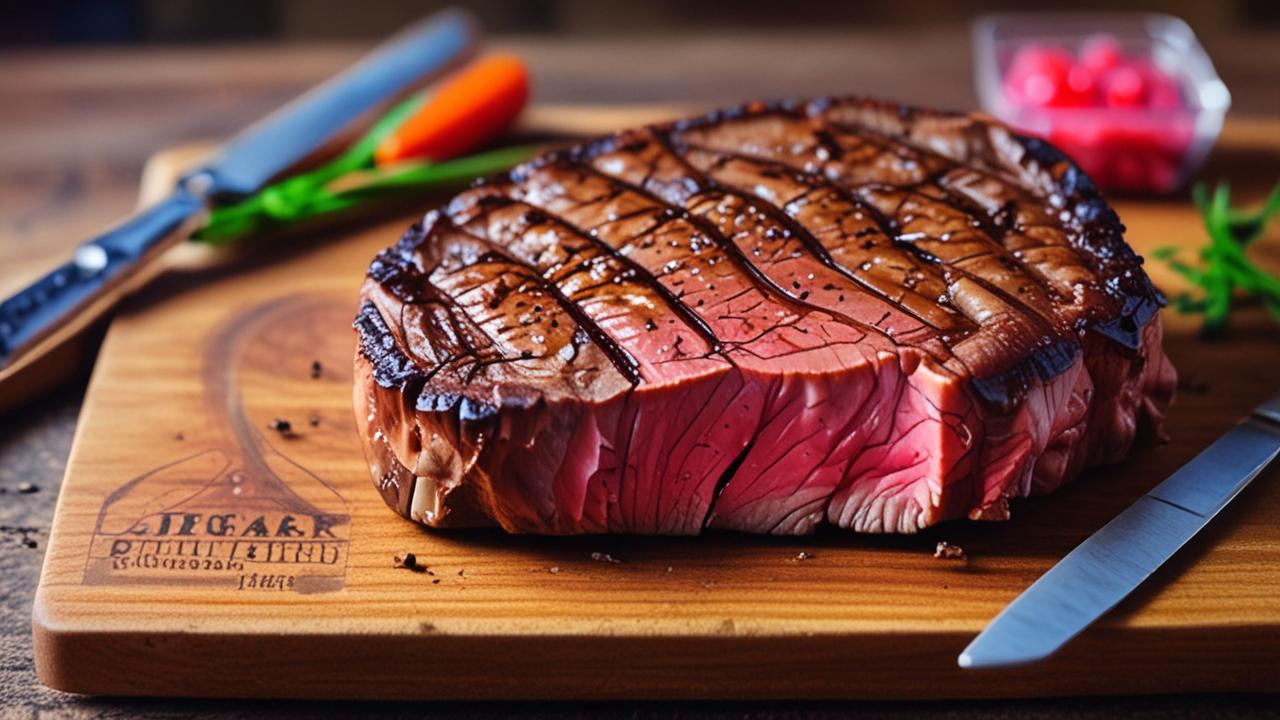
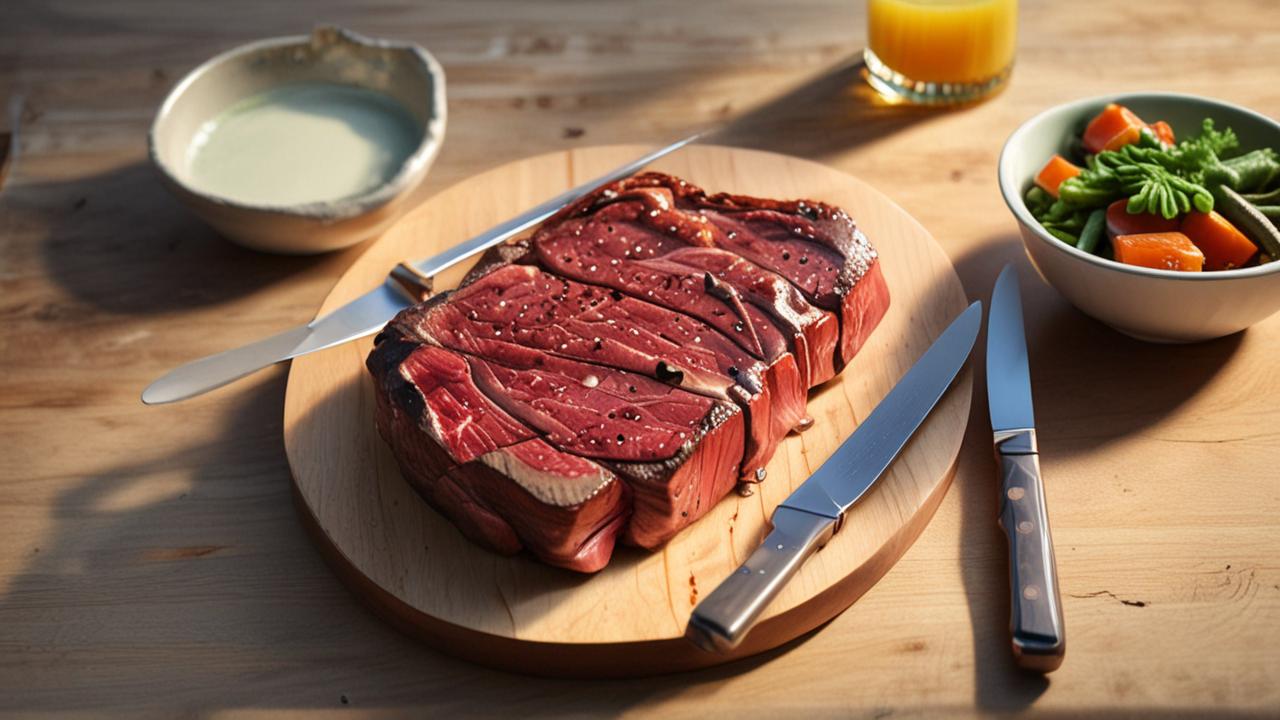
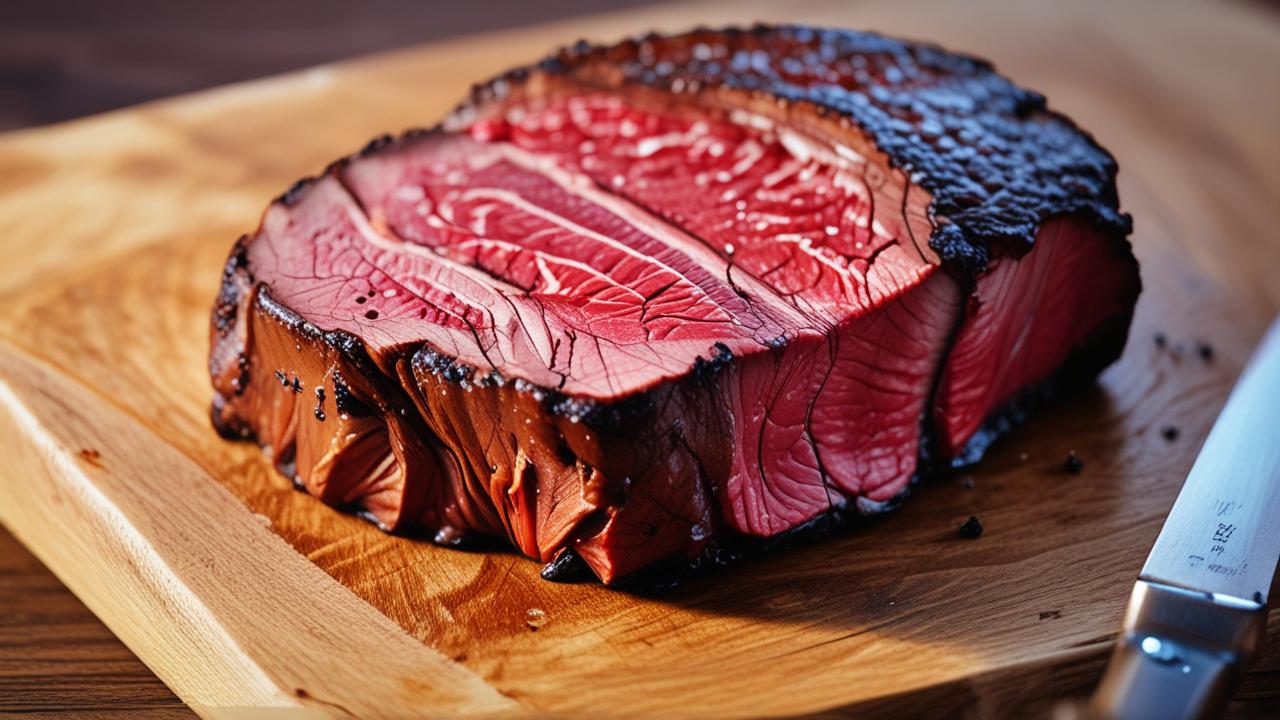
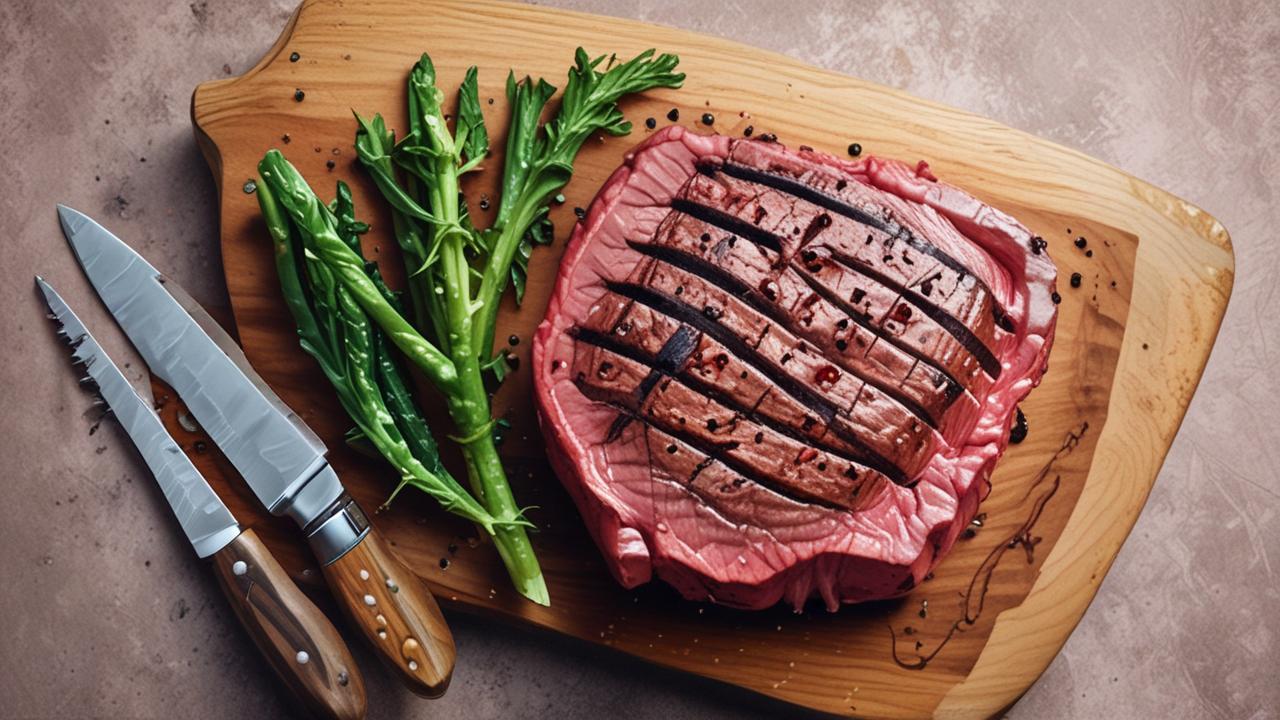
Beyond safety, hitting the perfect temperature is key to delicious food. Different temperatures unlock different textures and flavors in meat. For instance, steak is best when cooked to medium-rare, which is around 130-135°F (54-57°C).
This temperature allows the meat to remain tender and juicy, with a pink center. If you overcook it past 140°F (60°C), it starts to dry out and become tough.
Similarly, slow-cooked pork shoulder becomes incredibly tender and shreddable when it reaches an internal temperature of 190-205°F (88-96°C). At this higher temperature, the connective tissues in the meat break down, resulting in a melt-in-your-mouth experience. Knowing the right temperature helps you achieve the desired outcome, whether that’s a perfectly seared steak or a succulent roast.
Tools for Measuring Meat Temperature
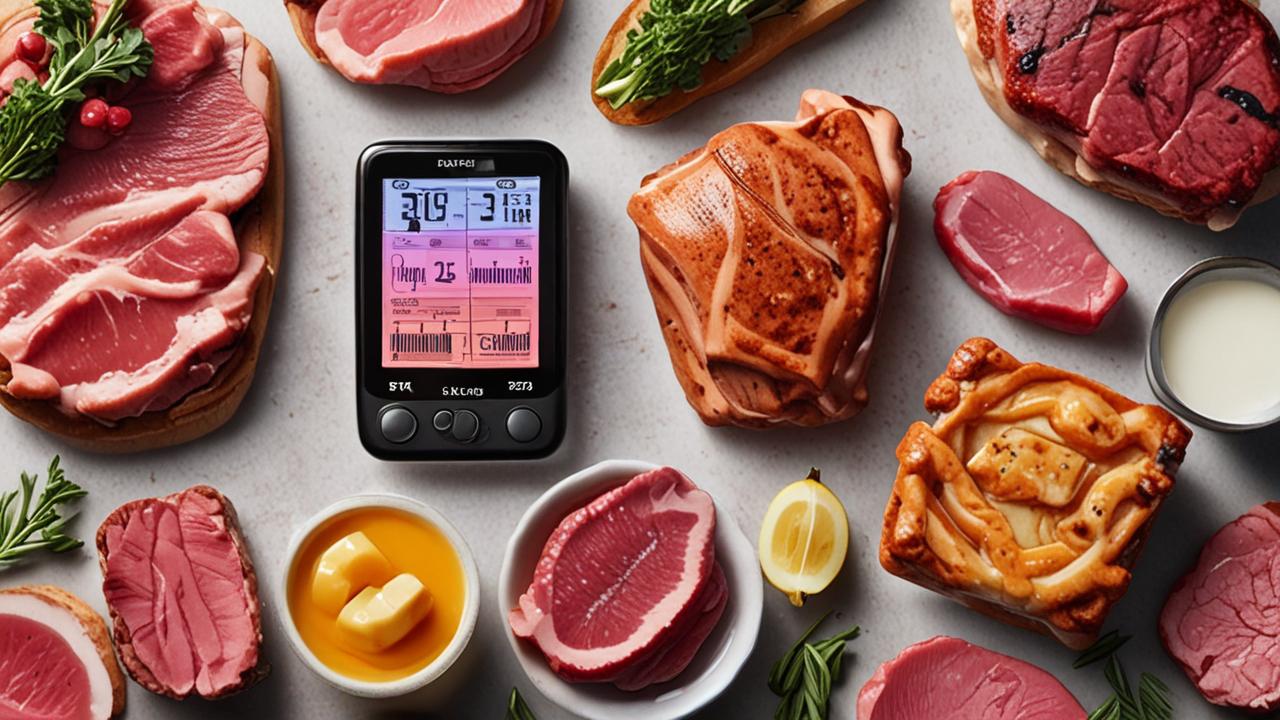
Having the right tools makes all the difference when you want to know the temperature of your meat. A meat thermometer is your best friend for this job. There are different kinds, but they all help you get accurate readings so you can be confident your food is cooked just right.
This section will talk about the most common types and how to use them.
Digital Instant-Read Thermometers
Digital instant-read thermometers are very popular because they are fast and easy to use. You just stick the probe into the thickest part of the meat, avoiding bone. In a few seconds, the digital display shows you the exact temperature.
This is much better than guessing or cutting into the meat, which lets juices escape.
These thermometers are great for quick checks on steaks, chicken breasts, or burgers. Most models have a thin probe that leaves a small hole. Make sure to calibrate your thermometer occasionally to ensure it’s accurate.
Some advanced models can even read temperatures in under 5 seconds, giving you an almost immediate result. They usually run on small batteries, and many have a protective sleeve for the probe.
How to Use a Digital Instant-Read Thermometer:
- Insert the Probe: Gently push the metal probe into the thickest part of the meat. Make sure it doesn’t touch any bone or fat pockets, as these can give false readings.
- Wait for Reading: Hold the thermometer steady. It usually takes between 4 to 10 seconds to get a final temperature.
- Read the Display: Note the temperature shown on the digital screen. Compare it to the safe minimum internal temperatures or your desired doneness.
- Clean Properly: After use, wash the probe with warm, soapy water and dry it thoroughly.
Other Types of Thermometers
Besides instant-read models, there are other useful thermometers. Oven-safe probe thermometers have a long probe that stays in the meat while it cooks in the oven. A wire connects this probe to a display unit outside the oven.
This lets you monitor the temperature without opening the oven door, which helps keep the oven temperature stable. This is super handy for roasts or turkeys.
Another type is an infrared thermometer, which measures surface temperature. While useful for checking grill or pan heat, it’s not ideal for internal meat temperature. For precise internal readings, the probe-style thermometers are the best choice.
Some thermometers also come with wireless features, allowing you to check the temperature from your phone.
Calibration and Accuracy
It’s important that your thermometer is accurate. This means checking it every so often to make sure it’s giving you the right number. A simple way to do this is the ice water test.
Fill a glass with ice water and stir it well for about 30 seconds.
Then, insert the thermometer probe into the ice water, making sure it doesn’t touch the sides or bottom of the glass. The thermometer should read 32°F (0°C). If it’s off by a few degrees, you might be able to adjust it, or you’ll need to account for the difference when you’re cooking.
Most digital thermometers have a calibration feature, often accessible through a button or setting on the device.
Achieving Target Meat Temperatures
Knowing the target temperatures for different kinds of meat is the next step after getting your thermometer. These temperatures are like a roadmap to perfectly cooked food. They ensure your meat is safe to eat and tastes amazing.
We will cover common meats and their ideal temperatures for different levels of doneness.
Beef, Pork, Lamb, and Veal
For whole cuts of beef, pork, lamb, and veal (like steaks, chops, and roasts), the USDA recommends a minimum internal temperature of 145°F (63°C) followed by a three-minute rest. This temperature will result in medium-rare to medium doneness, depending on the cut and thickness.
Here’s a breakdown of common desired doneness levels for these meats:
- Rare: 120-125°F (49-52°C). Very red center, cool to warm.
- Medium-Rare: 130-135°F (54-57°C). Warm red center. This is often considered ideal for flavor and tenderness.
- Medium: 135-140°F (57-60°C). Pink center.
- Medium-Well: 140-145°F (60-63°C). Slightly pink center.
- Well-Done: 160°F (71°C) and above. No pink, cooked all the way through.
Remember that carryover cooking will increase the temperature by a few degrees as the meat rests. So, pull your meat off the heat a little before it reaches the exact target temperature you want.
Poultry (Chicken and Turkey)
Poultry, including chicken and turkey, must be cooked to a higher internal temperature for safety. The USDA recommends a minimum of 165°F (74°C) for all poultry. This temperature ensures that any harmful bacteria, such as Salmonella, are killed.
When checking the temperature of poultry, make sure to insert the thermometer into the thickest part of the thigh, avoiding the bone. If you are cooking a whole bird, check the temperature in several places, including the breast and the thigh. The temperature should be 165°F (74°C) throughout.
It’s important to note that poultry cooked to 165°F (74°C) will not be pink. It will be white or lightly browned throughout. For a whole roast chicken or turkey, you might find that the breast cooks faster than the thighs.
You can tent the breast with foil to slow its cooking if needed.
Fish
Fish is a bit different. The general guideline for fish is to cook it until it flakes easily with a fork. This usually happens at an internal temperature between 140-145°F (60-63°C).
However, some delicate fish, like salmon, can be enjoyed at lower temperatures, around 120-125°F (49-52°C), for a more tender and moist result.
It’s important to be careful not to overcook fish, as it can quickly become dry and tough. For thin fillets, the temperature can rise very quickly. Always use a thermometer for accuracy, but also rely on visual cues like the flesh turning opaque and flaking easily.
For whole fish, insert the thermometer into the thickest part of the flesh near the spine.
Ground Meats
Ground meats, such as ground beef, pork, lamb, and even poultry, require special attention. Because the grinding process can spread bacteria from the surface throughout the meat, it’s essential to cook them thoroughly. The USDA recommends a minimum internal temperature of 160°F (71°C) for ground beef, pork, lamb, and veal.
For ground poultry, the safe temperature is 165°F (74°C).
These temperatures apply to all ground meat products, including patties, sausages, and meatloaf. Even if you prefer your burgers medium-rare, it’s not safe to eat ground beef below 160°F (71°C). This is a crucial safety rule to follow for everyone’s health.
Tips for Consistent Results
Getting perfect meat temperature every time involves a few smart cooking habits. It’s not just about the thermometer; it’s also about how you handle and cook the meat. These tips will help you get consistent, delicious results whether you’re grilling, roasting, or pan-searing.
Resting Your Meat
This is one of the most important steps many people skip. After cooking meat to its target temperature, you must let it rest. This means taking it off the heat and letting it sit for a few minutes before cutting into it.
A general rule is to let larger cuts rest for at least 10-20 minutes. Smaller cuts like steaks can rest for 5-10 minutes.
Why is resting so important? When meat cooks, the juices are pushed to the center. If you cut into it immediately, all those delicious juices will run out onto the plate, leaving the meat dry.
Resting allows the juices to redistribute evenly throughout the meat, making it much more tender and flavorful. It’s also during this resting period that the internal temperature of the meat can continue to rise a few degrees, a process called carryover cooking.
Understanding Carryover Cooking
Carryover cooking is when the internal temperature of meat continues to rise after it’s removed from the heat source. This happens because the meat is still hot inside, and that heat will continue to cook the cooler outer layers. For larger cuts of meat, this rise can be anywhere from 5°F to 15°F (3°C to 8°C).
Because of carryover cooking, it’s usually best to remove your meat from the heat source when it’s about 5°F (3°C) below your final target temperature. For example, if you want your steak to be 135°F (57°C) medium-rare, you might pull it off the grill when it reaches 130°F (54°C). The temperature will then rise to 135°F (57°C) during the resting period.
This prevents overcooking and helps you achieve that perfect doneness every time.
Cooking Methods and Temperature
Different cooking methods can affect how quickly meat reaches its target temperature and how evenly it cooks. Grilling, for instance, often involves direct heat, which can cook the outside faster than the inside. Roasting in an oven provides a more even heat but can take longer.
Pan-searing is great for developing a crust on steaks or chicken. You get high heat for searing, then you might move it to a lower heat or finish it in the oven. For thick cuts, consider a reverse sear method: roast the meat at a low temperature first, then sear it quickly at the end.
This helps ensure the inside is cooked evenly before the outside gets too done.
Here’s a quick look at how methods can impact cooking:
| Cooking Method | Pros | Cons | Best For |
|---|---|---|---|
| Grilling | Char flavor, quick cooking | Can cook unevenly, flare-ups | Steaks, burgers, chicken pieces |
| Roasting | Even cooking, good for large cuts | Takes longer, requires oven | Whole chickens, roasts, turkeys |
| Pan-Searing | Great crust, quick | Can be messy, easy to overcook | Steaks, chops, chicken breasts |
| Smoking | Deep flavor, tenderizes | Very slow, requires smoker | Brisket, ribs, pork shoulder |
Frequently Asked Questions
Question: What is the most important tool for checking meat temperature?
Answer: The most important tool is a reliable meat thermometer, preferably a digital instant-read one, as it gives you accurate readings quickly.
Question: Why does meat need to rest after cooking?
Answer: Resting allows the meat juices to redistribute throughout the meat, making it more tender and moist. Cutting too soon makes the juices run out.
Question: Can I use my food thermometer for candy making?
Answer: It’s generally not recommended. Different foods have different needs. Using a thermometer dedicated to meat for candy can lead to inaccurate candy results.
Question: How do I know if my thermometer is accurate?
Answer: You can test your thermometer’s accuracy using the ice water test. It should read 32°F (0°C) in ice water. Some digital thermometers also have a calibration feature.
Question: Is it safe to eat meat that is still a little pink?
Answer: It depends on the type of meat. Beef, pork, lamb, and veal can be safe at lower pink temperatures (medium-rare). However, poultry and ground meats must reach higher temperatures and should not be pink for safety reasons.
Final Thoughts
You now have the knowledge to get perfect meat temperature every time. Using a good thermometer and knowing the right temperatures for different meats are key. Always remember to let your meat rest after cooking for the best flavor and texture.
Happy cooking!


