
Learning How to Use Meat Thermometer for Steak can seem tricky at first. You want that perfect juicy steak, not one that’s dry or undercooked. It’s easy to feel unsure about when to check the temperature and where to put the thermometer.
But don’t worry! We’re going to make it super simple with easy steps. Stick around, and we’ll get you cooking steaks like a pro.
Let’s get to the good stuff!
Understanding Your Meat Thermometer
This section helps you get to know the tool you’ll be using. A meat thermometer is your best friend for cooking meats perfectly. It tells you the exact internal temperature of your steak, so you don’t have to guess.
Guessing can lead to overcooked, dry meat or food that isn’t safe to eat. Knowing how to use your thermometer means you can cook your steak exactly how you like it, every single time. We’ll cover the different types you might see and what makes them useful.
Types of Meat Thermometers
There are a few main kinds of meat thermometers. Each has its own way of working and is good for different situations. Understanding these can help you pick the best one for your cooking style.
- Instant-Read Thermometers: These are super popular and easy to use. You just stick the probe into the thickest part of the steak, and it gives you a reading in a few seconds. They are small and portable, great for checking steaks while they cook. Many digital models have clear screens that make reading the temperature simple. They are perfect for quick checks without letting too much heat escape.
- Probe Thermometers (Leave-In): These have a long probe that stays in the meat during cooking. A wire connects the probe to a display unit that sits outside your oven or grill. This is handy because you don’t have to open the oven or grill to check the temperature. Some even have alarms that go off when the meat reaches your desired temperature. They are great for longer cooks or when you want to monitor progress without disturbing the cooking process.
- Smart Thermometers: These are the high-tech option. They connect to your smartphone via Bluetooth or Wi-Fi. You can see the temperature on your phone, set alerts, and often even track cooking history. Many smart thermometers come with apps that offer cooking guides and timers. They offer a lot of convenience and control, especially if you like to multitask.
Choosing the right thermometer depends on how you like to cook. For quick grilling or pan-searing, an instant-read is fantastic. For slow roasting or smoking, a leave-in probe thermometer is more convenient.
Smart thermometers offer the most features for those who love technology in the kitchen.
Reading the Thermometer Display
Once you have your thermometer, you need to know what the numbers mean. Digital thermometers usually show the temperature in degrees Fahrenheit (°F) or Celsius (°C). Make sure you know which setting yours is on.
Analog thermometers have a dial with a needle pointing to the temperature.
The key is to look for the specific temperature range that matches your desired level of doneness for steak. We’ll talk more about those temperatures later. Always ensure the probe is clean before and after use to avoid cross-contamination and ensure accurate readings.
Some thermometers come with protective sleeves for the probe.
It’s a good idea to test your thermometer before cooking. You can do this by placing the probe in a glass of ice water. It should read around 32°F (0°C).
You can also test it in boiling water; it should read around 212°F (100°C), depending on your altitude.
Preparing Your Steak for Temperature Checks
Getting your steak ready is just as important as knowing how to use the thermometer itself. This involves a few simple steps that ensure you get the most accurate temperature reading possible. Proper preparation also helps your steak cook evenly, making the thermometer’s job easier.
We’ll guide you through selecting the right steak cut and bringing it to room temperature before cooking. These steps lay the groundwork for success.
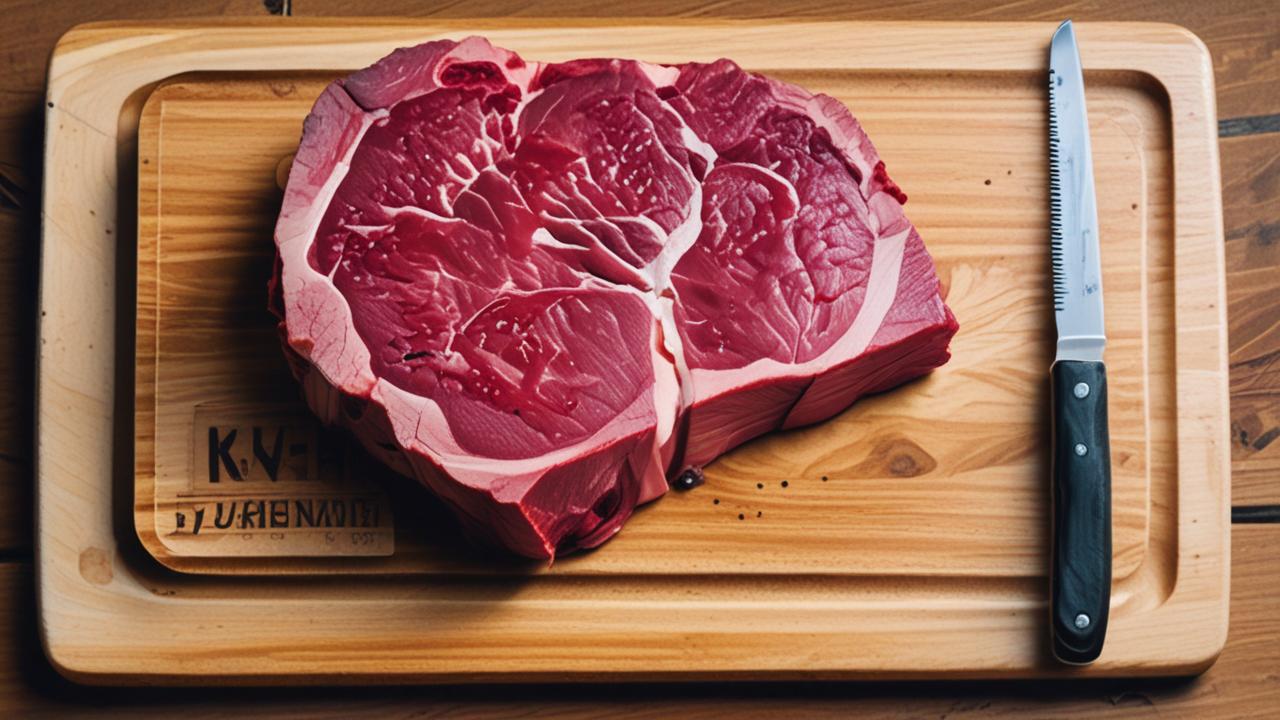
Choosing the Right Steak Cut
Different steak cuts have different thicknesses and fat content. This affects how they cook and where you should insert the thermometer. Thicker cuts, like a ribeye or New York strip, are easier to get an accurate reading on because they give you more room to insert the probe away from the surface heat.
Thinner steaks can cook very quickly, so you might need to check them more often.
Consider the marbling, which is the little flecks of fat within the muscle. More marbling means a juicier and more flavorful steak. Cuts like ribeye and Wagyu are known for their excellent marbling.
Leaner cuts, like sirloin, can dry out more easily if overcooked.
When you’re starting out, it’s best to choose a steak that’s at least 1 inch thick. This gives you a good buffer zone for temperature accuracy. Thinner steaks cook so fast that a thermometer might not even be necessary; you can often tell by touch or sight.
Focusing on thicker cuts makes the process of learning How to Use Meat Thermometer for Steak much simpler.
Bringing Steak to Room Temperature
Taking your steak out of the refrigerator about 30 to 60 minutes before cooking is a key step. This allows the steak to warm up closer to room temperature. Why is this important?
A cold steak will cook unevenly. The outside might get overcooked before the inside reaches the desired temperature.
When the steak is closer to room temperature, the heat penetrates more evenly from the outside to the center. This results in a steak that is perfectly cooked throughout. It also helps the steak cook faster, reducing the time it spends on the hot grill or pan, which can prevent drying out.
For thicker steaks, you might need to let them sit out a bit longer. For thinner steaks, 30 minutes might be enough. Just place the steak on a plate or cutting board at room temperature.
Do not leave it out for more than two hours, as this can become a food safety concern.
Seasoning Your Steak
Seasoning is where you add flavor! Most people use salt and pepper, but you can get creative with other spices. A good rule of thumb is to season generously just before cooking.
Salt, especially, helps to draw out some moisture, which can aid in creating a nice crust when searing.
Some chefs like to salt their steaks much earlier, even hours before cooking, and let it sit uncovered in the fridge. This is called dry-brining and can help tenderize the meat and develop a deeper flavor. However, for a simple approach, just salt and pepper right before it hits the heat is perfectly fine.
When you are ready to check the temperature, seasoning won’t interfere. Just make sure the probe goes into the meat itself, not through a thick layer of seasoning or sauce.
The Process: How to Use Meat Thermometer for Steak
Now for the practical part! This is where we put everything together and explain exactly what to do. We’ll walk through inserting the thermometer, reading the results, and knowing when your steak is ready.
Following these steps will help you achieve that perfect steak doneness you’re aiming for. It’s a straightforward process that makes a big difference.
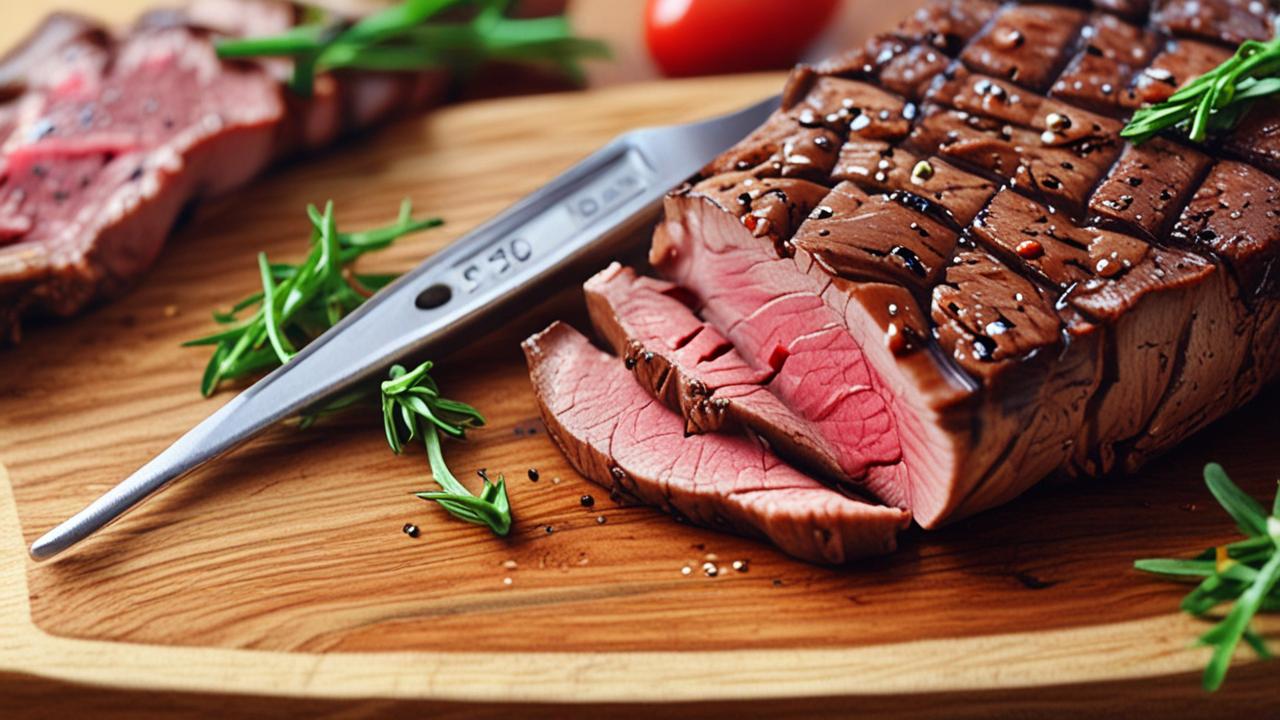
When and Where to Insert the Thermometer
The best time to check the temperature is when the steak is almost done. You don’t want to keep poking it while it’s still raw, as this lets out heat and juices. Start checking a few minutes before you think it will be ready.
This gives you a chance to adjust your cooking time if needed.
The key is to insert the probe into the thickest part of the steak. Avoid hitting bone or large pockets of fat, as these can give you a false reading. For most steaks, this means inserting the probe horizontally into the side, reaching the very center.
If you are using a leave-in thermometer, ensure the probe is in the thickest part and the tip is not touching any part of the pan or grill grates.
For irregularly shaped steaks, try to find the deepest, most central point. If the steak is very thin, you might need to check multiple spots to ensure it’s cooking evenly. A good starting point for thinner steaks is to check after just a few minutes of cooking on the first side.
Reading the Temperature for Doneness
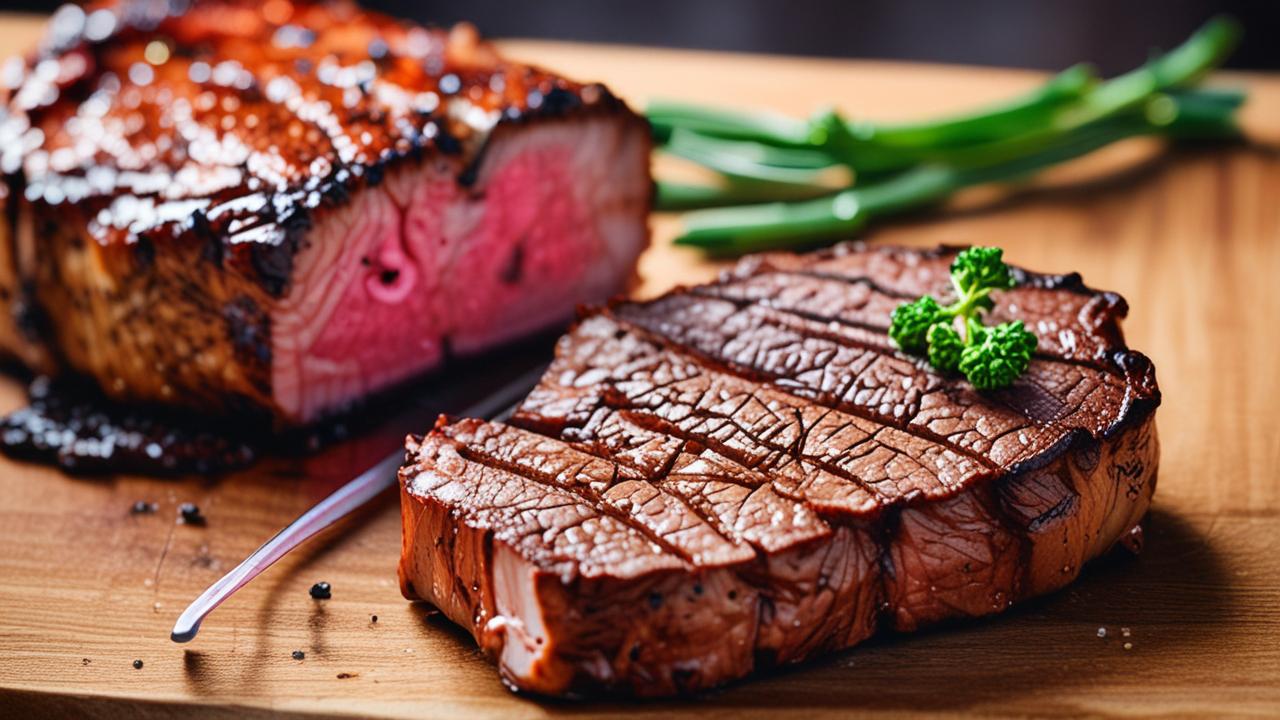
Here’s a look at the target temperatures for different levels of steak doneness. Remember, these are the temperatures after the steak rests for a few minutes. The internal temperature will rise a few degrees as it rests, a process called carryover cooking.
So, you’ll want to pull the steak off the heat a little before it reaches these exact numbers.
| Doneness Level | Internal Temperature (°F) | Internal Temperature (°C) | Description |
|---|---|---|---|
| Rare | 120-125°F | 49-52°C | Cool red center |
| Medium-Rare | 130-135°F | 54-57°C | Warm red center |
| Medium | 140-145°F | 60-63°C | Warm pink center |
| Medium-Well | 150-155°F | 66-68°C | Slightly pink center |
| Well-Done | 160°F+ | 71°C+ | Little or no pink |
For example, if you want a medium-rare steak, you might pull it off the heat when the thermometer reads around 130°F (54°C). Then, let it rest, and the temperature will rise to about 135°F (57°C).
If you’re using an instant-read thermometer, wait for the number to stabilize. This usually only takes a few seconds. For leave-in thermometers, just read the display.
It’s a good idea to have this chart handy or memorized.
Resting Your Steak
This step is crucial and often overlooked! Once your steak reaches its target temperature (or a few degrees below), take it off the heat immediately. Place it on a clean cutting board or plate.
Tent it loosely with aluminum foil.
Letting the steak rest allows the juices to redistribute throughout the meat. If you cut into it right away, all those delicious juices will run out onto the plate, leaving you with a dry steak. A rest time of 5 to 10 minutes is usually sufficient for most steaks.
During resting, the internal temperature continues to rise by a few degrees. This is known as carryover cooking. For a 1-inch thick steak, 5 minutes of rest is good.
For thicker steaks, you might need up to 10 minutes. This resting period is part of what makes the final temperature reading so important.
Troubleshooting Common Issues
Sometimes things don’t go perfectly, and that’s okay. If your steak seems to be cooking too fast, take it off the heat a bit earlier than planned and let it rest. You can always put it back on for another minute or two if it’s not done enough after resting.
If you’re getting wildly different readings from different spots on the steak, it might mean the steak is cooking unevenly. This could be due to hot spots on your grill or pan, or the steak itself might be unevenly thick. Try to rotate the steak more frequently to promote even cooking.
Another issue can be probe placement. If you accidentally hit bone or a large fat pocket, your reading will be off. Don’t be afraid to pull the probe out and re-insert it in a different spot.
A consistent reading from the center of the thickest part is what you’re looking for.
Tips for Perfect Steak Cooking
Beyond just using the thermometer, a few extra tips can help elevate your steak-cooking game. These little tricks can make the difference between a good steak and a great one. We’ll cover things like searing and what to do with different cooking methods.
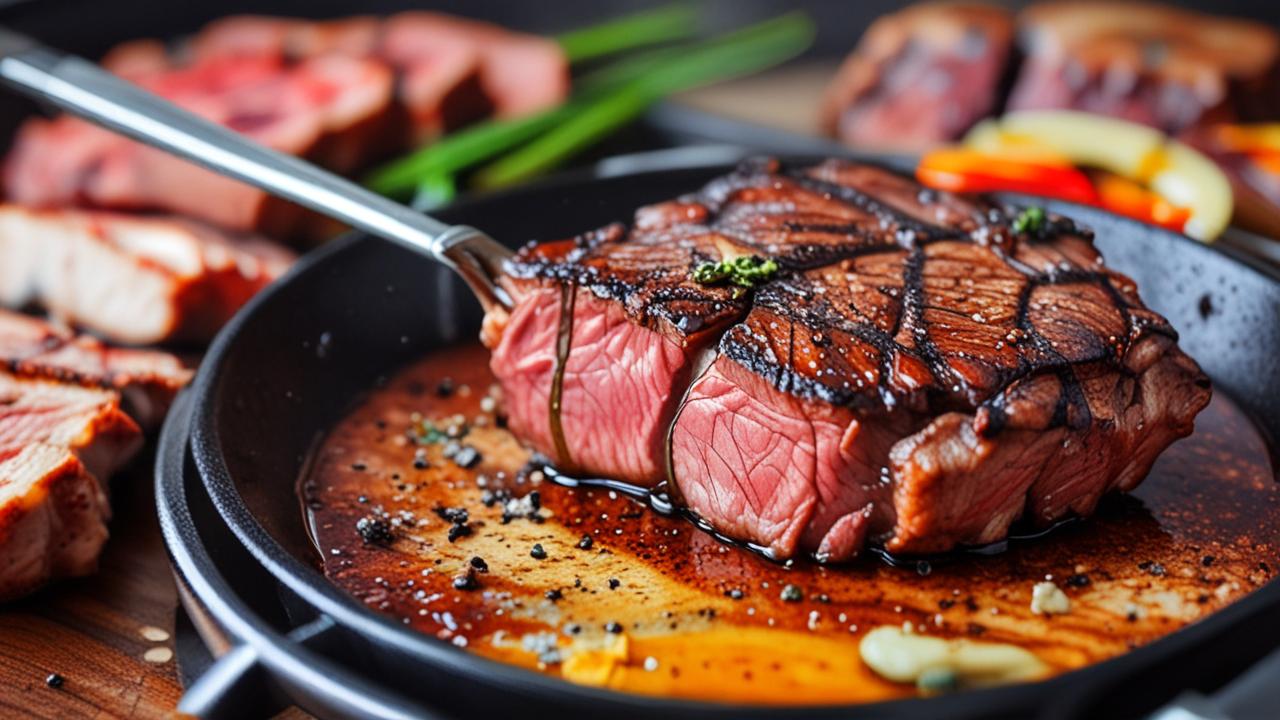
The Importance of Searing
Searing is what creates that delicious, browned crust on the outside of your steak. This process, called the Maillard reaction, happens at high temperatures and creates hundreds of new flavor compounds. It’s what makes steak taste so good!
To get a good sear, your pan or grill needs to be very hot. Make sure you’ve preheated it properly. Don’t overcrowd the pan; cook steaks one or two at a time so they sear instead of steam.
A good sear locks in juices, although this is a bit of a myth; the main benefit is flavor and texture.
Use a cooking fat with a high smoke point, like canola oil, grapeseed oil, or clarified butter (ghee), for searing. You can then lower the heat to finish cooking the inside to your desired temperature, using your meat thermometer to guide you.
Grilling vs. Pan-Searing
Both grilling and pan-searing can produce amazing steaks, but they offer slightly different results. Grilling often imparts a smoky flavor that many people love. It’s also great for achieving those classic grill marks.
Pan-searing, especially in a cast-iron skillet, can create an incredible crust. It also allows you to easily baste the steak with butter, garlic, and herbs towards the end of cooking. This basting adds a lot of extra flavor.
When grilling, ensure your grill is clean and well-oiled. Use two-zone heating: one side very hot for searing, and the other side cooler for finishing the steak. For pan-searing, use a heavy-bottomed skillet that distributes heat evenly.
Using a Thermometer for Different Cuts
The basic principle of How to Use Meat Thermometer for Steak remains the same for most cuts. However, the thickness of the cut will determine how long you cook it and when you should start checking the temperature. Thicker cuts, like a 2-inch-thick porterhouse, will take longer than a 1-inch-thick strip steak.
For very thick cuts, like a standing rib roast or a large filet, you might want to sear them first, then finish them in the oven. This allows for more even cooking. The thermometer is essential here to know when to pull it from the oven.
Smaller, thinner steaks, like flank steak or skirt steak, cook very quickly. You’ll want to start checking them earlier, often after only a few minutes on the grill.
Remember to always insert the thermometer into the thickest part of the meat, away from any bone. This ensures you get the most accurate reading for the center of the steak.
Frequently Asked Questions
Question: Do I need a special thermometer for steak?
Answer: Not necessarily! While some thermometers are designed for meat, a good quality digital instant-read thermometer will work perfectly for steak. Just make sure it’s accurate and easy to read.
Question: Can I use the touch test instead of a thermometer?
Answer: The touch test is an old method, but it’s not very accurate. It relies on the feel of the steak to guess doneness. A thermometer takes the guesswork out and gives you precise results.
Question: How often should I check the temperature of my steak?
Answer: Start checking a few minutes before you think the steak will be done. For most steaks, checking every 2-3 minutes at that point is enough. Over-checking can release too much heat.
Question: My steak looks done, but the thermometer says it’s not. What should I do?
Answer: Trust your thermometer! It’s the most accurate way to tell doneness. Continue cooking until the thermometer shows the temperature you want, and remember to account for carryover cooking during resting.
Question: Can I leave the thermometer in the steak while it cooks on the grill?
Answer: Yes, if you have a probe thermometer with a wire that goes to an external display. This is very convenient. Just make sure the probe is inserted correctly into the thickest part of the steak.
Final Thoughts
Learning How to Use Meat Thermometer for Steak is simple with these steps. You now know how to choose a thermometer, prepare your steak, find the thickest part to insert the probe, and read the temperature for perfect doneness. Remember to let your steak rest afterward.
You’re ready to cook delicious steaks every time!


