Learning How to Use a Wireless Meat Thermometer might seem tricky at first, especially if you’ve only ever used the old-school kind. It feels like a lot of wires and blinking lights! But don’t worry, it’s actually super simple once you know the basic steps.
We’ll walk you through it step-by-step so you can cook perfectly every time. After this, you’ll be a pro at getting those juicy, tender results everyone loves.
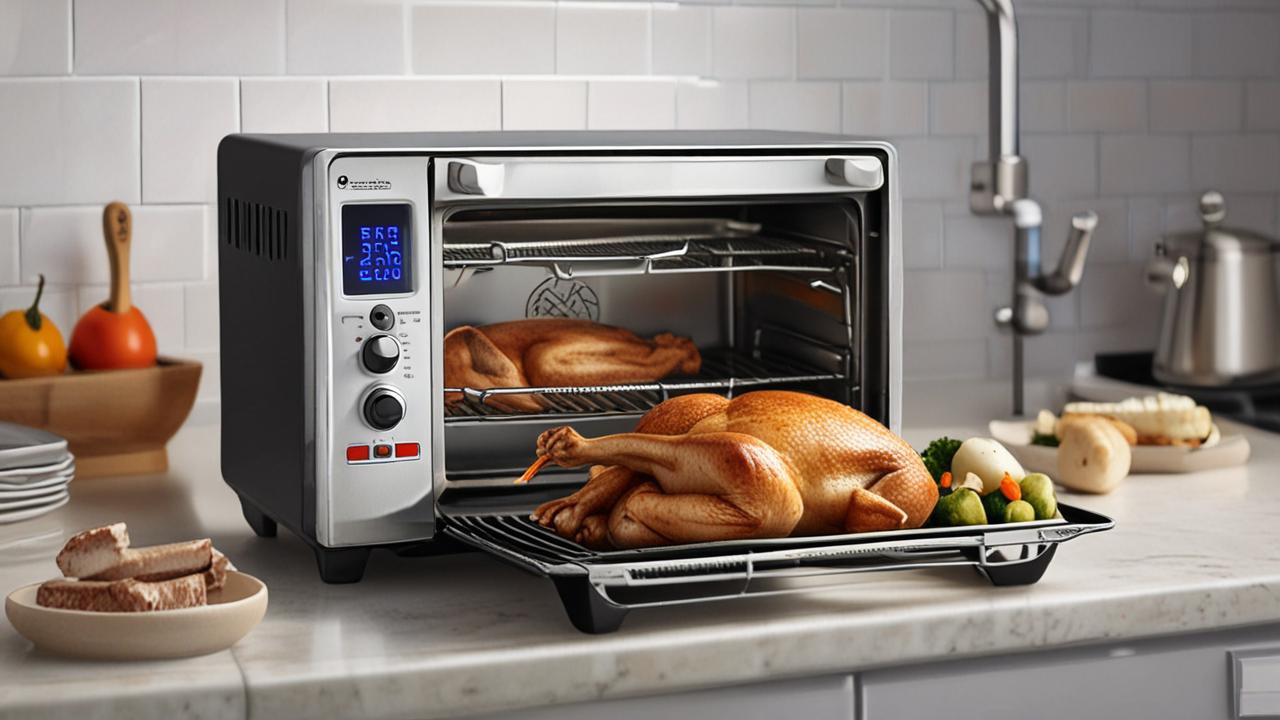
Getting Started with Your Wireless Meat Thermometer
This section will guide you through the initial setup and essential features of your wireless meat thermometer. It’s all about making sure you’re ready to go before you even start cooking. We’ll cover what comes in the box, how to charge or insert batteries, and the first steps to connect the different parts. Having everything ready makes cooking much smoother and more enjoyable.
Unpacking and Initial Setup
When you first get your wireless meat thermometer, take everything out of the box. You’ll usually find a transmitter, a receiver, and a meat probe. Sometimes there’s a charging cable or batteries included. Check your device’s manual to see what kind of power source it needs. Most probes need to be plugged into the transmitter. Make sure this connection is snug.
What’s in the Box
This is where you check all the components. You should have the main unit (often called the receiver), the part that goes into the meat (the probe), and the transmitter that sends the signal. It’s like a little team working together. Seeing all the pieces helps you know you have everything you need to start cooking.
Powering Up Your Device
Your thermometer needs power to work. Some come with rechargeable batteries, while others need regular AA or AAA batteries. If it has a charging port, plug it in using the provided cable. If it uses batteries, open the battery compartment and put them in the right way. A blinking light usually means it’s powered on and ready.
Pairing the Transmitter and Receiver
The probe and transmitter are usually one unit, and the receiver is the part you hold or set nearby. For them to talk to each other, they need to be paired. This often happens automatically when you turn them both on. Sometimes, you might need to press a button on both devices to get them to connect. A solid light on both usually means they’re linked up.
Understanding the Components
Knowing what each part does makes using your thermometer much easier. It’s like understanding the roles in a play before the curtain goes up. Each piece has a specific job to help you get the perfect cooking temperature.
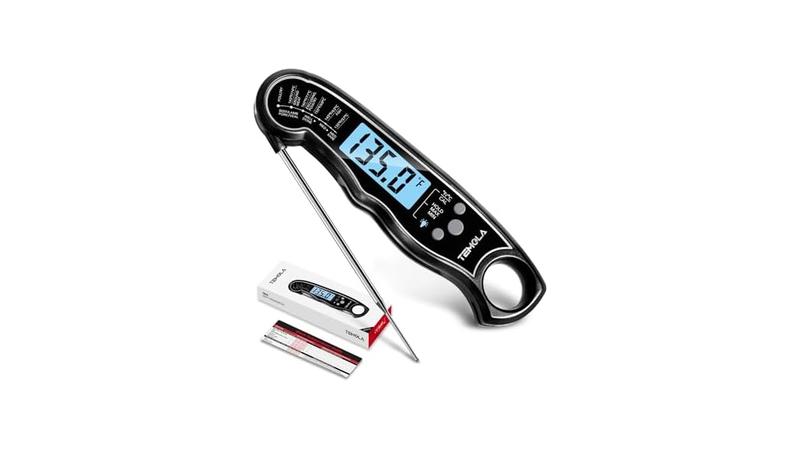
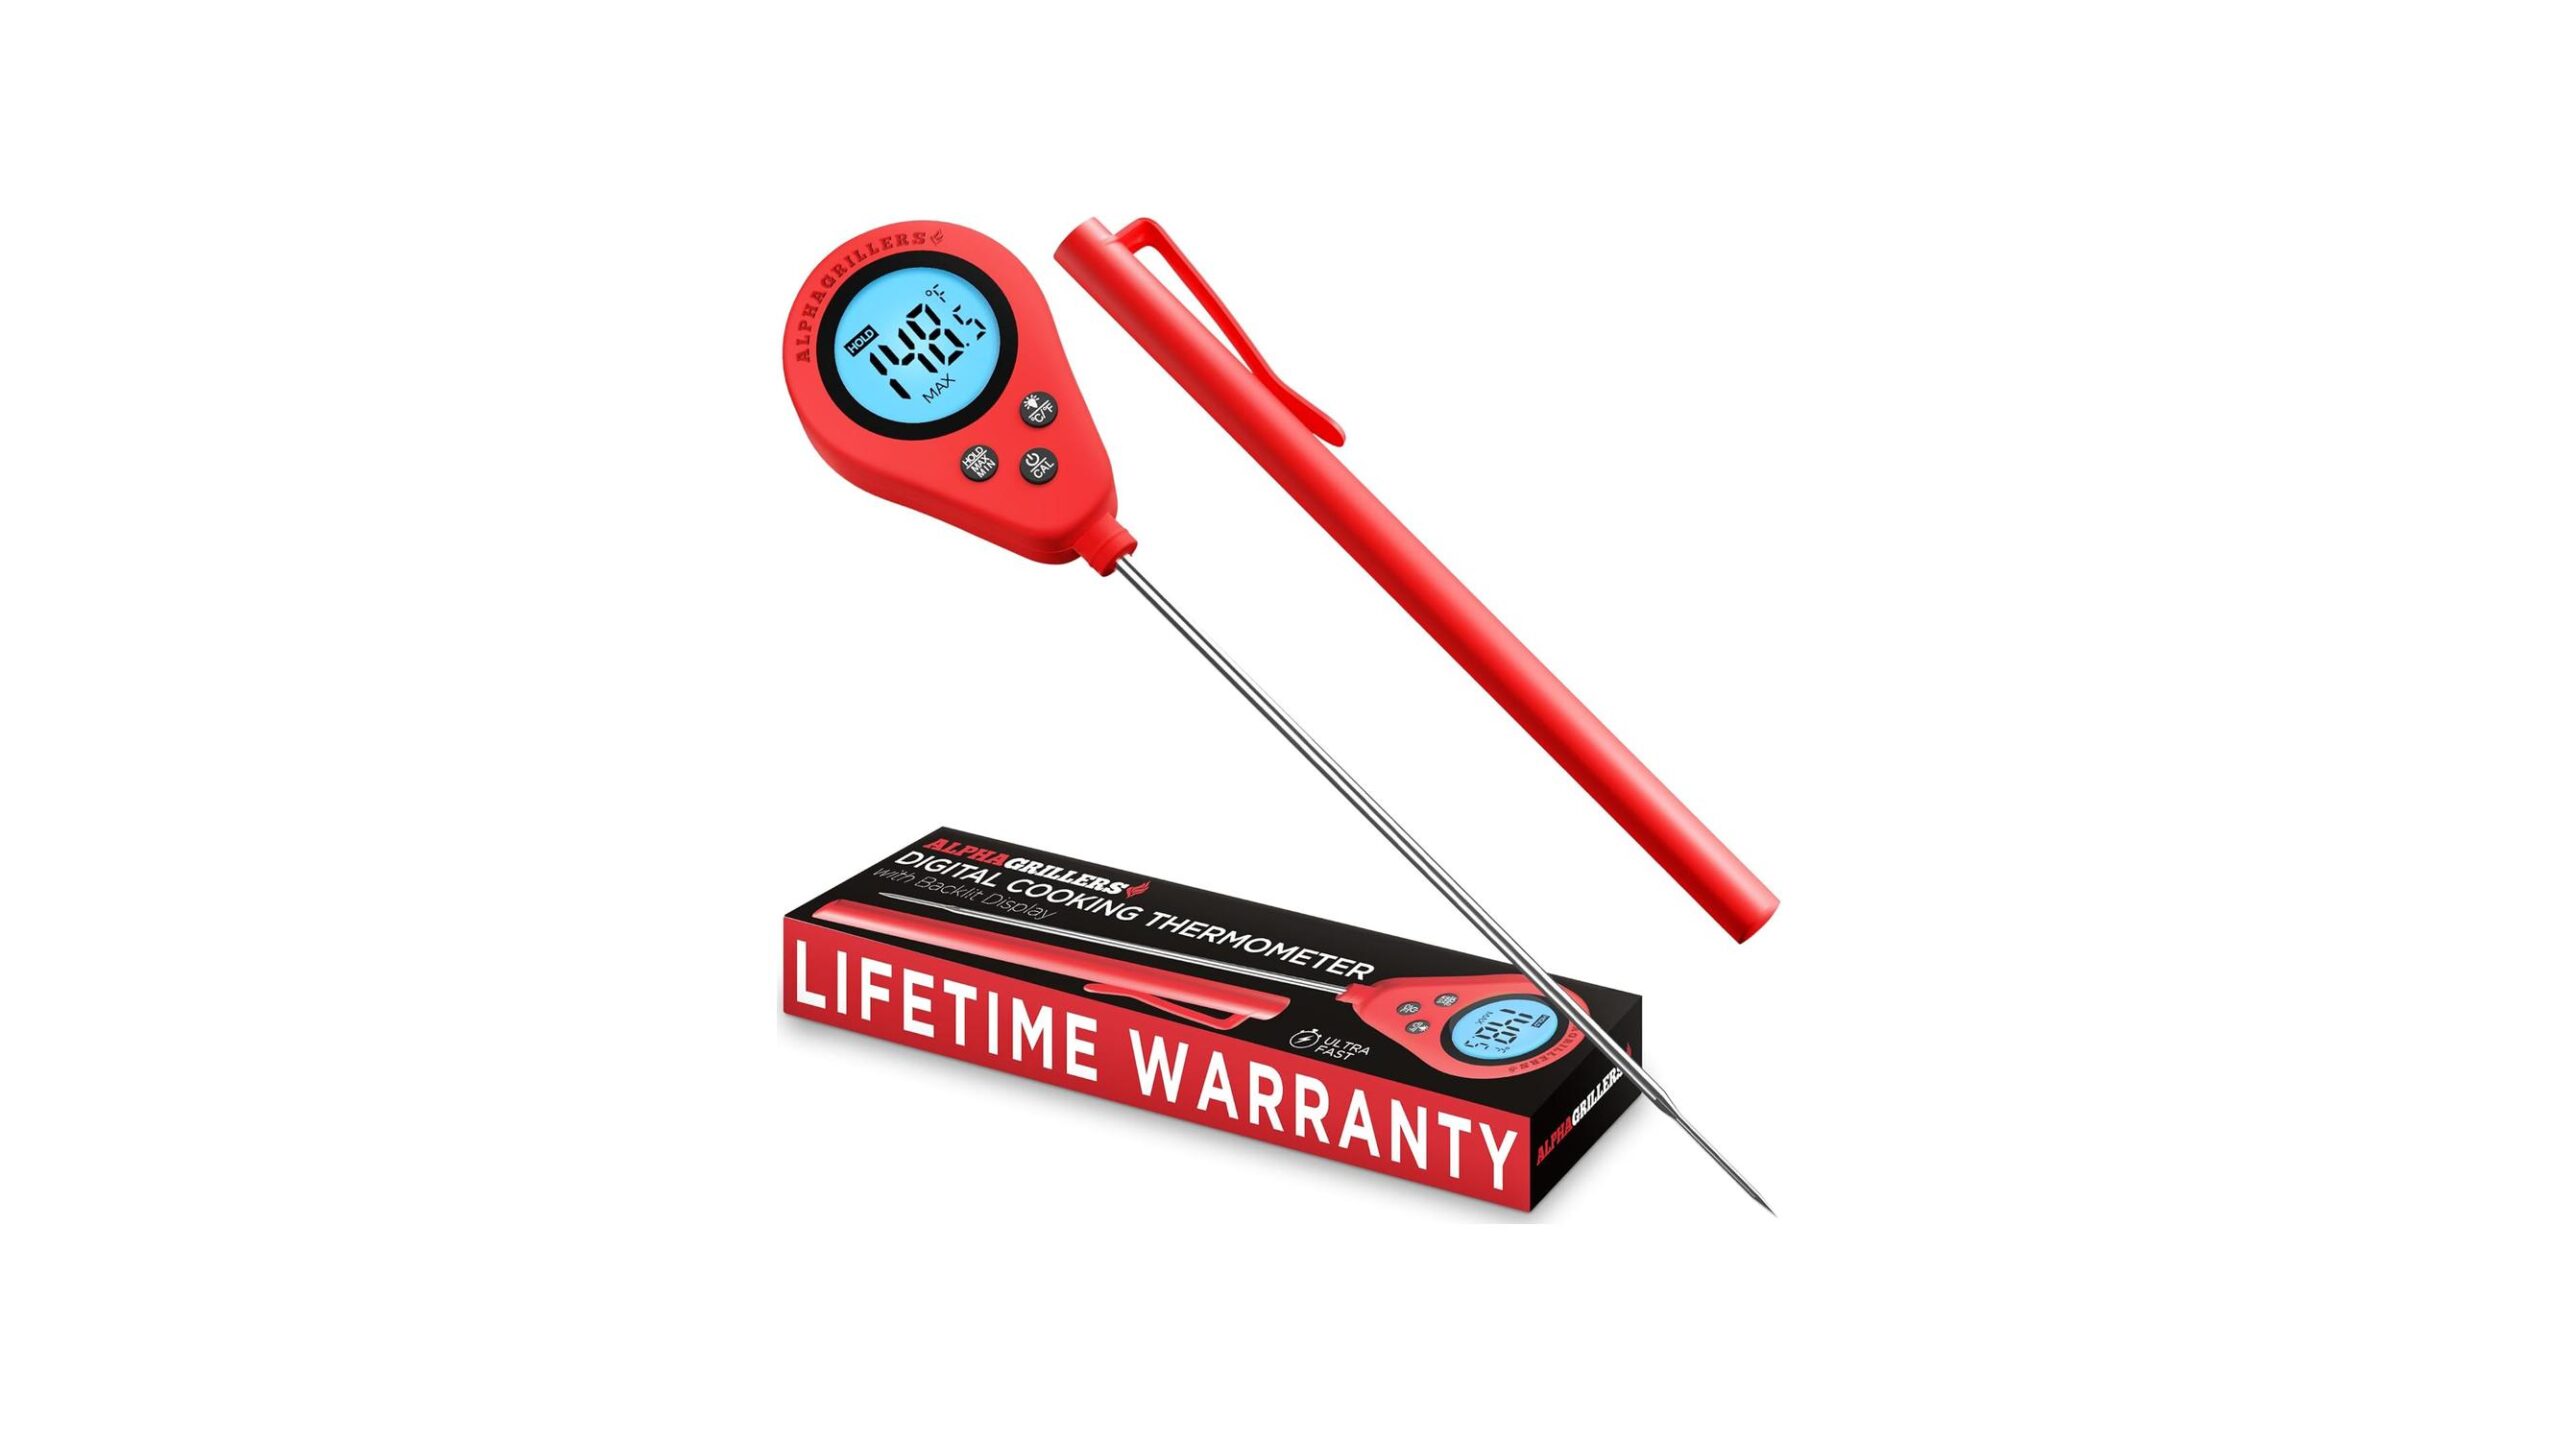
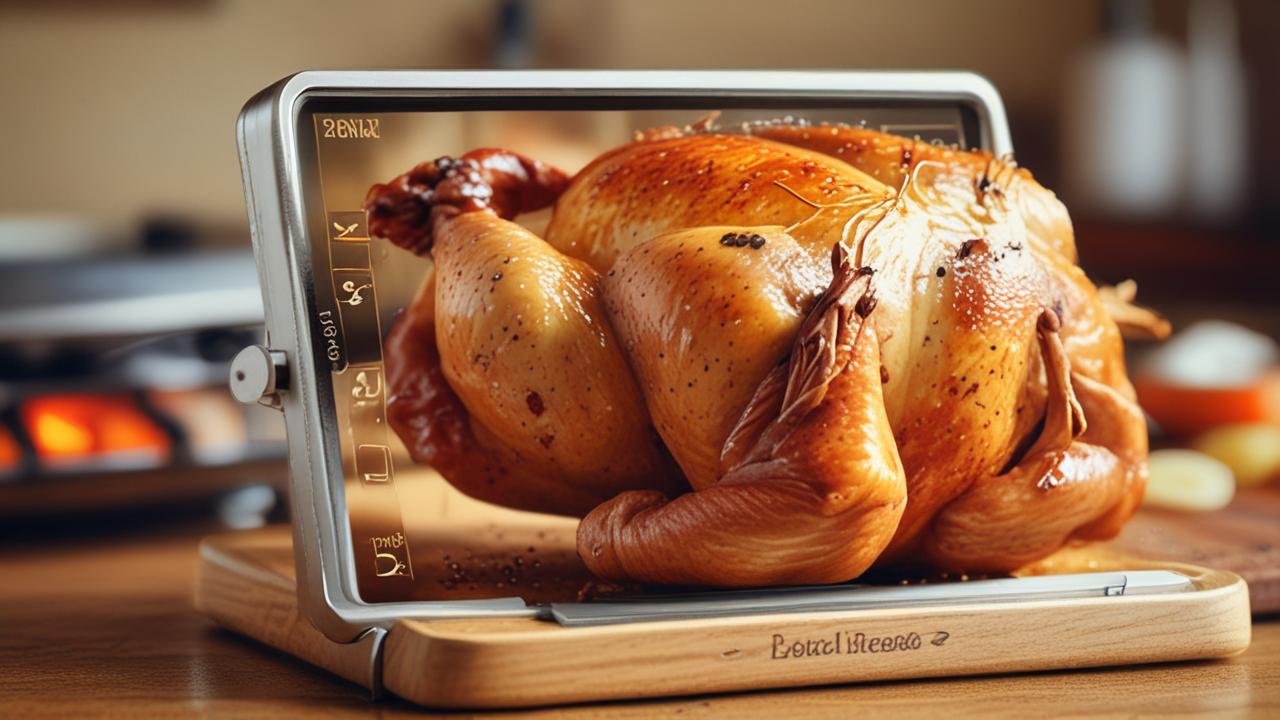
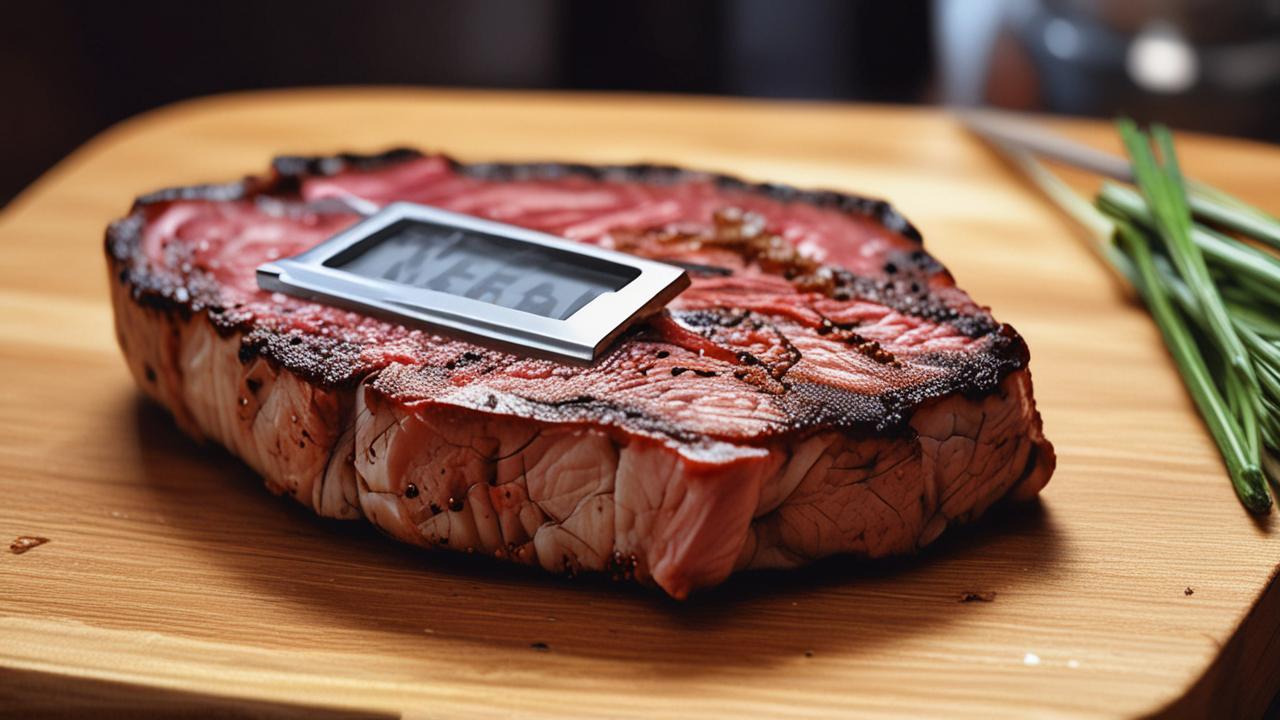
The Meat Probe
This is the sharp, metal part that you stick into your food. It’s designed to withstand high oven or grill temperatures. The probe measures the internal temperature of the meat. It’s usually made of stainless steel, which is durable and safe for food.
The Transmitter Unit
This is the piece that the probe plugs into. It’s the brain of the operation for the probe end. It takes the temperature reading from the probe and sends that information wirelessly. This unit is often placed near the grill or oven.
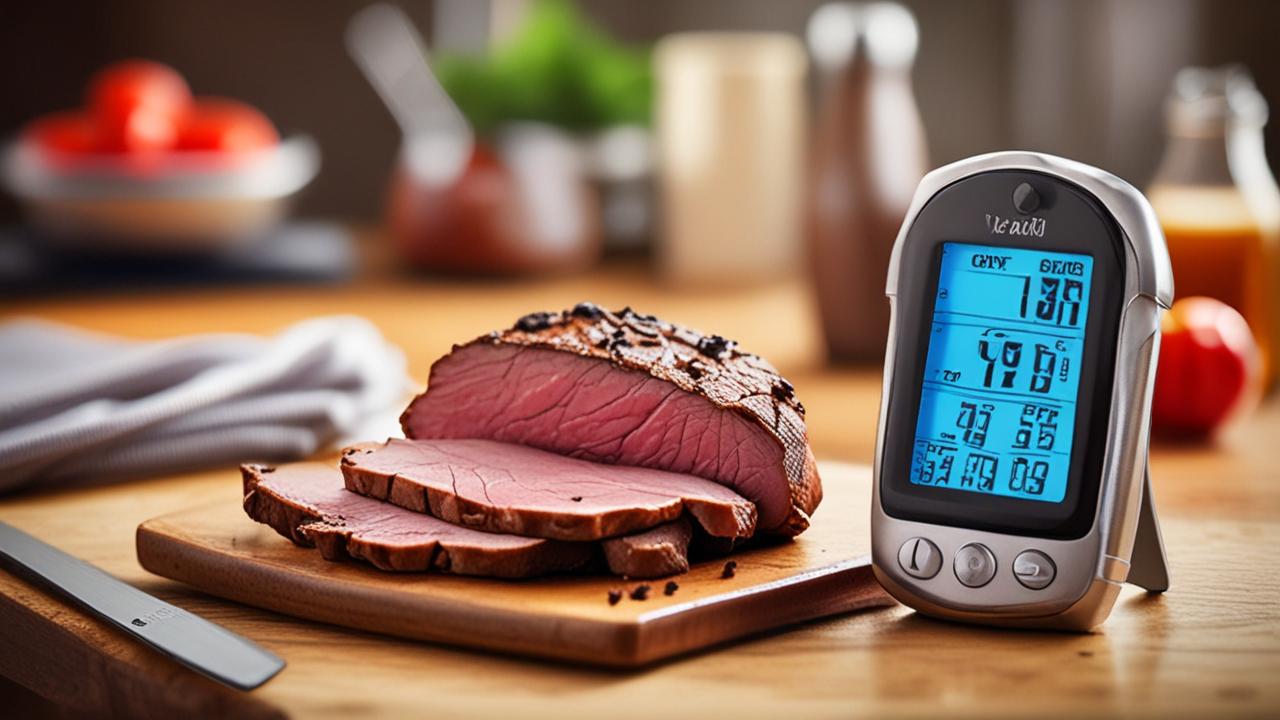
The Receiver Unit
This is the device you’ll be looking at most. It receives the temperature signal from the transmitter. It usually has a screen to show you the current temperature, the target temperature, and sometimes even alerts. Some receivers can be clipped to your belt or placed on a counter.
How to Use a Wireless Meat Thermometer for Perfect Cooking
This section is the heart of our guide. We’ll break down the actual process of using your wireless meat thermometer from start to finish. It’s all about making sure you get accurate readings and delicious results every single time you cook.
Preparing the Probe and Transmitter
Before you put anything in the oven or on the grill, you need to get the probe and transmitter ready. This involves making sure the probe is clean and properly inserted into the transmitter. A little bit of prep work now saves a lot of hassle later.
Cleaning the Probe
It’s important to clean the probe before each use, especially if it’s been used before. Use warm, soapy water and a soft cloth. Rinse it well and dry it completely. Never put the transmitter unit itself in water.
Inserting the Probe into the Transmitter
Most probes have a specific connector that plugs into the transmitter. Make sure this connection is firm and secure. If it’s loose, the temperature reading might not be accurate.
Placing the Transmitter Unit
The transmitter is usually designed to sit near your cooking surface. It needs to be close enough to communicate with the receiver but not so close that it gets too hot. Check your device’s manual for recommended placement. Some transmitters have clips to attach them to grill grates.
Connecting to Your Food
Now comes the part where you actually get the temperature reading from your food. This is done by inserting the probe correctly. The placement of the probe is key to getting an accurate temperature.
Choosing the Right Spot
You want to insert the probe into the thickest part of the meat. Avoid hitting bones or large pockets of fat, as these can give you a false temperature reading. For example, in a chicken breast, aim for the center. For a roast, find the thickest section away from the outside.
Inserting the Probe Properly
Push the probe straight into the meat until it reaches the thickest part. Don’t force it. If you feel a lot of resistance, you might be hitting bone or gristle. Gently adjust the angle. The tip of the probe should be in the center of the meat.
Positioning for Different Cooking Methods
For grilling, you might need to ensure the probe and transmitter are not directly over the flames. For oven cooking, make sure the probe doesn’t touch the oven walls or rack. Some people leave the oven or grill door slightly ajar to accommodate the probe wire, but check your device’s instructions.
Setting Up the Receiver
The receiver is your command center. This is where you’ll tell the thermometer what you’re cooking and what temperature you’re aiming for. Getting this set up correctly is crucial for the thermometer to alert you when your food is ready.
Turning On the Receiver
Press the power button on the receiver. It should automatically start searching for the transmitter. Look for a signal icon on the screen.
Selecting Food Type and Doneness (if applicable)
Many wireless meat thermometers have pre-set programs for different types of meat like beef, pork, chicken, or fish. You can often select your desired level of doneness, such as rare, medium, or well-done. This helps the thermometer calculate when your food will be ready.
Setting a Custom Temperature Alert
If your thermometer doesn’t have pre-set programs or you want a specific temperature, you can usually set a custom alert. You’ll enter the exact internal temperature you want the meat to reach. For example, 165°F (74°C) is a common target for chicken.
Reading and Interpreting the Data
Once everything is set up, you just need to watch the receiver. It will do all the hard work for you. Understanding what the numbers mean and how to react to alerts is the final step to successful cooking.
Monitoring Temperature Changes
The receiver will show you the current temperature of your meat in real-time. You’ll see it slowly climb as your food cooks. It’s fascinating to watch, and it takes the guesswork out of knowing when your food is getting close to being done.
Real-Time Temperature Updates
The temperature reading on your receiver will update every few seconds. This gives you a constant stream of information about how your food is cooking. You can see the immediate effect of adjusting the heat on your grill or in your oven.
Watching the Temperature Rise
As the meat cooks, the temperature will steadily increase. You might notice the rate of increase slows down as it gets closer to your target temperature. This is normal as the meat’s internal temperature stabilizes.
Understanding Temperature Fluctuations
If you open the oven or grill door frequently, you might see small dips in the temperature. This is normal, but try to minimize opening the doors to keep the cooking environment stable. Consistent temperature helps food cook evenly.
Responding to Alerts
The best part of a wireless meat thermometer is the alert system. When your food reaches the temperature you set, the receiver will let you know. This means you can step away from the heat and relax.
Audible and Visual Alarms
When your meat hits the target temperature, the receiver will usually beep loudly and/or flash a light. This is your cue that it’s time to check the food.
Knowing When to Remove Food
Once the alert sounds, it’s time to carefully remove your food from the heat source. Use oven mitts or grilling gloves to handle hot dishes and utensils.
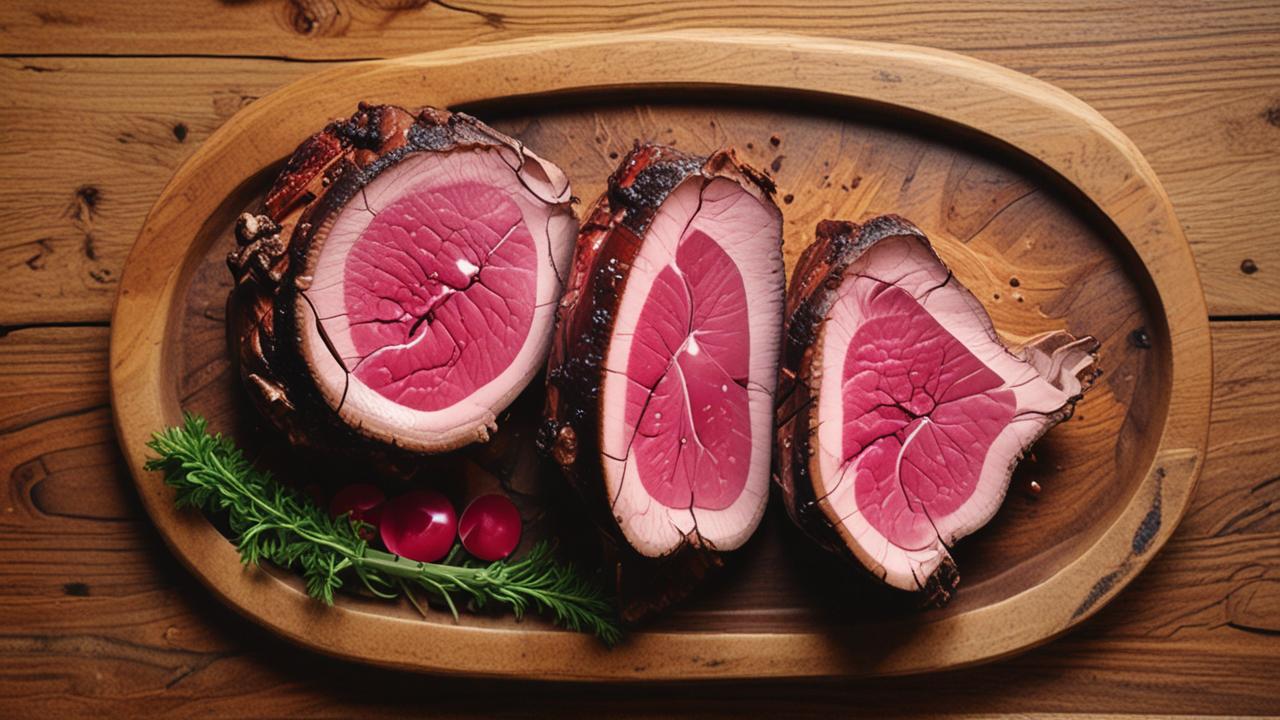
Resting Your Meat
After removing your food, it’s very important to let it rest. This allows the juices to redistribute throughout the meat, making it more tender and flavorful. Cover it loosely with foil while it rests. The internal temperature will continue to rise slightly during resting, a process called carryover cooking.
Troubleshooting Common Issues
Even with the best tools, sometimes things don’t work perfectly. Here are some common problems you might encounter with your wireless meat thermometer and how to fix them.
Connection Problems
The most frequent issue is the receiver not getting a signal from the transmitter. This can be frustrating, but it’s usually easy to fix.
Check Battery Levels
Low batteries in either the transmitter or receiver can cause a weak signal or no signal at all. Replace the batteries in both units if they are old.
Ensure Proper Pairing
Make sure the transmitter and receiver are properly paired. Sometimes, you might need to re-pair them by following the instructions in your manual. This often involves pressing buttons on both units simultaneously.
Proximity and Obstructions
Ensure the transmitter is not too far from the receiver and that there are no major obstructions between them, like thick walls or metal appliances. The signal range is limited, so stay within the recommended distance.
Inaccurate Temperature Readings
If your thermometer seems to be giving you weird numbers, there are a few things to check.
Probe Placement
As mentioned before, the probe must be in the thickest part of the meat, away from bone and fat. Double-check that the probe is inserted correctly and is not touching the sides of the pot or pan, or the heating elements in an oven.
Probe Damage
Inspect the probe for any visible damage. A bent or broken probe may not transmit temperature accurately. If the probe itself seems damaged, you might need to replace it.
Calibration
Some thermometers can be calibrated. Check your manual to see if yours has this feature. If not, compare its reading to a reliable thermometer for a few uses to gauge its accuracy.
Advanced Tips and Tricks
Once you’re comfortable with the basics, you can start using your wireless meat thermometer like a pro. Here are some extra tips to make your cooking even better.
Using Multiple Probes
Some wireless meat thermometers come with more than one probe. This is great for cooking multiple items at once or for very large cuts of meat.
Monitoring Different Foods Simultaneously
If you’re cooking a steak and chicken breasts at the same time, you can use separate probes for each. This allows you to monitor their individual temperatures and know when each is perfectly cooked without overcooking the other.
Ensuring Even Cooking in Large Roasts
For very large roasts, like a whole turkey or a big pork shoulder, using two probes can help you ensure the temperature is even throughout the meat. This is especially helpful if one side tends to cook faster than the other.
Setting Individual Alarms
With multiple probes, you can usually set different target temperatures and alerts for each one. This means your receiver will notify you when each food item reaches its ideal doneness.
Leveraging App Connectivity
Many modern wireless meat thermometers connect to smartphone apps. These apps offer advanced features and convenience.
Remote Monitoring
You can monitor your food’s temperature from anywhere in your house using your smartphone. This means you don’t have to constantly check the receiver unit.
Extended Features and Data Logging
Apps often provide detailed cooking history, custom alerts, and even recipe suggestions based on the meat you’re cooking. They can also track temperature over time, showing you the cooking curve.
Notifications and Notifications
Receive notifications on your phone when your food is ready, or if the temperature goes out of the desired range. This is incredibly useful when you have guests over or are busy with other tasks.
Frequently Asked Questions
Question: How long does the battery usually last in a wireless meat thermometer?
Answer: Battery life varies greatly depending on the model and how often it’s used. Some can last for weeks or even months on a single set of batteries, especially if they have good power-saving features. Others, particularly those with constant signal transmission or app connectivity, might need battery changes more frequently.
Question: Can I use my wireless meat thermometer in a smoker?
Answer: Yes, most wireless meat thermometers are designed to withstand the high temperatures of grills and smokers. However, it’s crucial to check the probe’s heat tolerance and the transmitter’s proximity recommendations. Ensure the transmitter unit is placed where it won’t overheat.
Question: Is it safe to leave the probe in the meat while it’s resting?
Answer: It’s generally not necessary to leave the probe in the meat while it’s resting. The internal temperature will continue to rise slightly during the rest period (carryover cooking). Removing the probe allows it to cool down and prevents it from potentially overcooking the meat if left in too long.
Question: What is “carryover cooking”?
Answer: Carryover cooking is the process where the internal temperature of food continues to rise for a short period after it’s removed from the heat source. This happens because the residual heat within the food continues to cook it. It’s why it’s often recommended to remove food from heat a few degrees before it reaches the final target temperature.
Question: How do I clean the meat probe after use?
Answer: The meat probe should be cleaned thoroughly after each use. Use warm, soapy water and a soft cloth or sponge. Rinse it well and dry it completely.
Never submerge the transmitter unit in water, as this can damage the electronics.
Summary
Learning How to Use a Wireless Meat Thermometer is straightforward. You simply set up the probe and transmitter, connect them to your food, and use the receiver to monitor temperatures. This tool takes the guesswork out of cooking, ensuring your meals are perfectly done every time. Now you can cook with confidence!