

Having your meat thermometer not accurate how to fix can be a real headache when you’re trying to cook up something delicious. It’s a common problem, especially for folks just starting out in the kitchen. You want your food perfectly cooked, not underdone or dried out, and a wonky thermometer makes that tough.
Don’t worry, though! We’ll walk through simple steps to get your thermometer reading right again. We’ll look at what might be wrong and how to fix it so you can cook with confidence.
Understanding Why Your Meat Thermometer Not Accurate How to Fix
It’s frustrating when your meat thermometer isn’t giving you the right temperature. This often happens because of simple things like battery issues, calibration problems, or even just damage from use. For beginners, the thought of a faulty tool can be worrying.
They might feel unsure about cooking meats like chicken or roasts. This section will cover the most common reasons why your thermometer might be off. We’ll explain these issues in simple terms so you can easily spot what’s going on.
Knowing the cause is the first big step to fixing it.
Battery Power and Thermometer Function
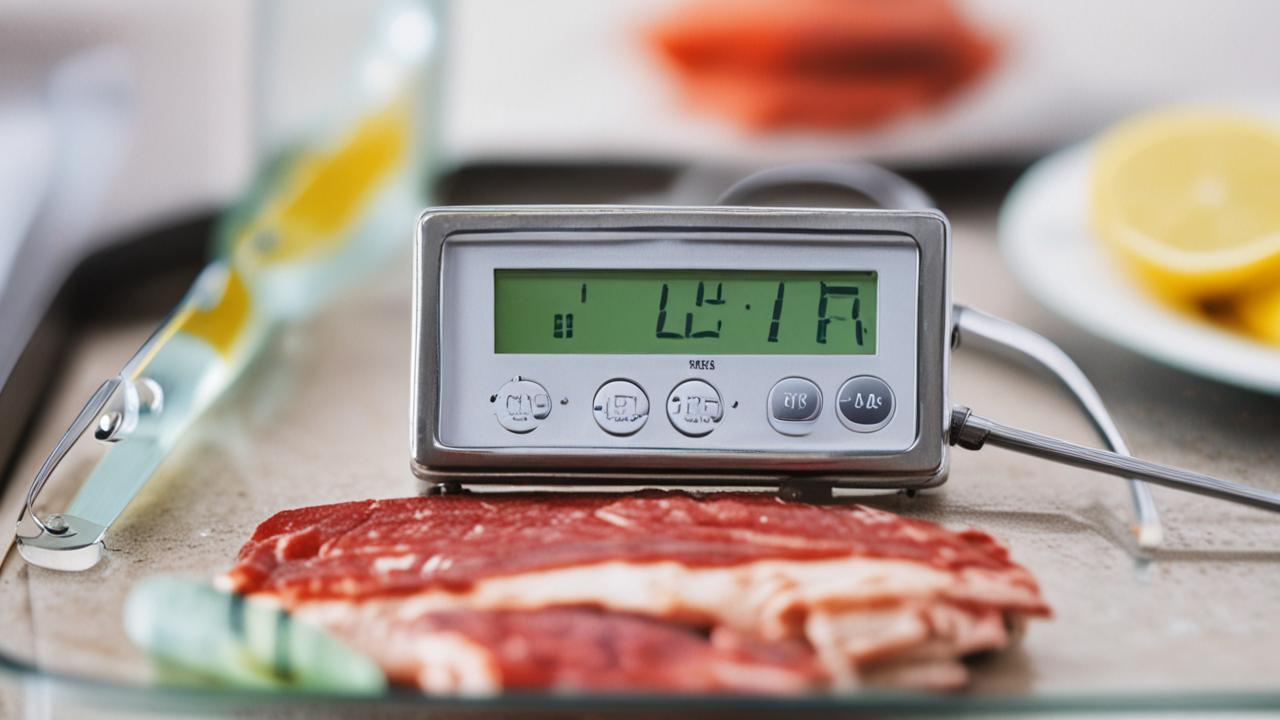
One of the most frequent culprits behind an inaccurate meat thermometer is a weak or dead battery. Many digital thermometers rely on a small button battery to power their display and sensor. When this battery starts to fade, the thermometer can’t get a consistent or strong enough signal to read temperatures correctly.
This might show up as erratic readings, a dim display, or no reading at all. It’s easy to overlook this, especially if the thermometer has been sitting in a drawer for a while. A simple battery change can often resolve the issue entirely.
- Weak Battery Effects: A low battery can cause the digital display to flicker, show random numbers, or even go blank. This makes it impossible to get a reliable temperature reading.
- Replacing the Battery: Most digital meat thermometers have a small battery compartment on the back or side. You’ll usually need a small screwdriver to open it. Make sure to get the correct type of battery, often a coin cell like a CR2032.
- Testing After
The Importance of Calibration
Calibration is like giving your thermometer a fresh start, ensuring it’s set to the correct zero point. Over time, or after a bump or drop, a thermometer can lose its calibration. This means its internal settings might be slightly off, leading to inaccurate readings.
Think of it like a scale that needs to be zeroed out before you weigh something. If it’s not, your weight will be off. For meat thermometers, this calibration is crucial for getting your food to the perfect, safe temperature.
We’ll show you how to check and adjust it.
Understanding Calibration
Calibration is the process of checking and adjusting a measuring instrument to ensure its accuracy. For a meat thermometer, this means making sure it reads the correct temperature for known points, like freezing and boiling water. Without proper calibration, even a good quality thermometer can give you misleading results.
This can lead to undercooked, unsafe food or overcooked, dry meat. Regular calibration is a key part of any meat thermometer not accurate how to fix strategy.
For instance, if your thermometer is consistently reading 5 degrees Fahrenheit too high, you might think your chicken is done when it’s still a bit undercooked. This is a food safety concern. Conversely, if it reads too low, you might pull your steak off the grill too early, thinking it’s rare when it’s actually medium-rare.
This is where many home cooks get confused about why their results differ from recipes.
- Ice Water Test: This is the most common way to check calibration. Fill a glass with ice and water. Stir it well and let it sit for a few minutes. Insert the thermometer probe into the ice water, making sure it doesn’t touch the sides or bottom of the glass. It should read 32°F (0°C).
- Boiling Water Test: For this test, carefully lower the probe into a pot of boiling water. Be cautious of steam. The thermometer should read close to 212°F (100°C), though this can vary slightly with altitude.
- Adjusting Calibration: Many digital thermometers have a calibration mode. You’ll typically need to press and hold a button while in the ice water bath to set the 32°F reading. Consult your thermometer’s manual for specific instructions.
Physical Damage and Wear and Tear
Like any kitchen tool, meat thermometers can suffer from physical damage. Dropping your thermometer on a hard floor, bending the probe, or even just repeated use can affect its accuracy. The delicate sensor inside the probe can get damaged, leading to faulty readings.
Even small dents or scratches on the probe can interfere with how it measures heat. So, when your meat thermometer not accurate how to fix becomes a puzzle, think about how the thermometer itself has been treated.
Probe Integrity
The probe is the part that goes into the food. It contains the temperature sensor. If the probe is bent, kinked, or cracked, the sensor might not be able to accurately detect the heat.
This is especially true for digital thermometers where the sensor is at the very tip of the probe.
Imagine a thin wire inside the probe. If that wire gets damaged, it’s like trying to send a clear signal through a frayed cable. The information it sends back to the thermometer’s display will be messed up.
This is why it’s important to handle your thermometer with care.
- Visual Inspection: Carefully look over the probe for any signs of damage, such as bends, cracks, or corrosion. If the probe looks damaged, it might be time to consider a replacement.
- Cleaning Practices: Always clean your probe gently after each use. Avoid using abrasive cleaners or steel wool, which can scratch the surface. A soft cloth and warm, soapy water are usually best.
- Storage Tips: Store your thermometer in a safe place where the probe won’t get bent or knocked. Many come with protective sleeves or cases, which are great for this.
Environmental Factors Affecting Readings
While less common, sometimes external factors can influence your thermometer’s readings. Extreme temperatures outside of cooking, like leaving it in a very hot car, can potentially affect its internal components. Also, the environment where you test it can matter.
Testing in an area with strong drafts or near a heat source can skew the results, especially during calibration tests.
Drafts and Heat Sources
If you’re doing an ice water test, ensure you’re not near a draft from an open window or an air conditioning vent. These can cool the water or the thermometer itself, giving you a falsely low reading. Similarly, testing near a hot oven or stovetop can make the thermometer read higher than it should.
Always test in a stable, neutral environment.
For example, if you’re calibrating your thermometer on the kitchen counter, and you have the oven preheating nearby, the heat radiating from the oven could slightly warm the air around the thermometer’s probe during the ice bath. This might make the thermometer think the ice water is warmer than it is, leading to an incorrect calibration. Being mindful of your surroundings is a simple, often overlooked step when a meat thermometer not accurate how to fix situation arises.
- Stable Testing Area: Choose a location away from direct sunlight, drafts, or heat sources for calibration checks. A quiet spot on your counter is usually ideal.
- Avoid Extreme Storage: Don’t store your thermometer in places with extreme temperature fluctuations, like a car trunk or an uninsulated garage, as this can harm the electronics over time.
- Understanding Altitude Effects: Remember that boiling water temperature changes with altitude. While most home thermometers are calibrated for sea level, if you live at a high altitude, your boiling water test might show a slightly different reading.
Fixing a Meat Thermometer Not Accurate How to Fix: Step-by-Step
Now that we know why your thermometer might be acting up, let’s get it fixed. This section provides clear, easy steps to get your thermometer working correctly again. We’ll guide you through troubleshooting common issues, from changing batteries to recalibrating.
By following these simple instructions, you can restore accuracy to your cooking tool and gain confidence in your kitchen results. We aim to make this process straightforward, so you can get back to making delicious meals without worry.
Step 1: Check and Replace Batteries
This is the easiest fix and often the most effective. If your digital meat thermometer is showing odd readings or not turning on, the battery is the first suspect. Grab a small screwdriver and open the battery compartment.
Pop out the old battery and insert a fresh one, making sure to get the plus (+) and minus (-) sides in the right direction. Once the new battery is in, close it up and turn on your thermometer. See if the display looks better and try a temperature test.
For example, if your thermometer’s screen was dim and flickery before, a new battery might make it bright and clear. This alone can make a big difference in readability. If the thermometer was completely unresponsive, a new battery could bring it back to life.
This simple step saves you time and the expense of buying a new thermometer when yours might just need a little power boost.
- Identify Battery Type: Look at the old battery or check your thermometer’s manual to know what kind of battery you need. Common types are CR2032 or AAA.
- Proper Insertion: Ensure the new battery is inserted with the correct polarity (+ or -) facing the right way as indicated in the compartment.
- Dispose of Old Batteries Safely: Old batteries can leak harmful chemicals. Dispose of them responsibly according to local guidelines.
Step 2: Perform the Ice Water Calibration Test
This is your go-to test for checking accuracy. Get a glass and fill it with crushed ice and cold water. Stir it up really well.
Now, stick the probe of your meat thermometer into the icy mixture. Make sure the probe is fully submerged in the water and ice but not touching the bottom or sides of the glass. Wait about 30 seconds.
Your thermometer should read exactly 32°F (0°C). If it’s a few degrees off, don’t worry, that’s what we’ll fix next.
This test is a reliable benchmark. Ice water always melts at the same temperature under normal conditions. If your thermometer doesn’t show 32°F, it’s a clear sign that it needs adjusting.
This is a fundamental part of how to fix a meat thermometer not accurate issue. It uses a universal scientific constant to verify your tool’s performance.
- Use Plenty of Ice: Don’t skimp on the ice. You want a good mixture of ice and water to ensure a stable, cold temperature.
- Allow Time for Reading: Give the thermometer probe a moment to adjust to the cold. Instant readings can sometimes be less accurate than ones taken after a short pause.
- Clean Probe Before Testing: Always wipe the probe clean before any test to avoid residue affecting the temperature reading.
Step 3: Recalibrate Your Thermometer
If your thermometer failed the ice water test, it’s time to recalibrate. Most digital thermometers have a calibration feature. You’ll usually need to hold down a specific button when the thermometer is in the ice water.
This tells the thermometer, “This temperature you’re seeing (32°F) is what I want you to remember as the correct zero point.” Your thermometer’s manual will have the exact steps for your model. Follow those carefully to reset its accuracy.
For example, if your thermometer read 35°F in the ice water, and its manual says to press and hold the CAL button for 5 seconds while in ice water to recalibrate, you would do just that. The display might flash or show a confirmation. After this, test it again in ice water to ensure it now reads 32°F.
This process directly addresses the common problem of a meat thermometer not accurate how to fix.
Recalibration Methods
There are generally two ways to recalibrate:
- Manual Calibration: This involves putting the thermometer in ice water and pressing a specific button. The thermometer then locks in 32°F (0°C) as its correct reading.
- Offset Calibration: Some advanced thermometers allow you to enter an offset value. If your thermometer reads 35°F in ice water, you would tell it to subtract 3°F from all future readings.
Always refer to your thermometer’s instruction manual for the precise method recommended for your specific device. It’s designed to be straightforward, so don’t feel intimidated.
Step 4: Inspect for Physical Damage
Take a good look at your thermometer, especially the metal probe. Is it bent, kinked, or cracked? Has the tip that goes into the food been damaged?
If the probe looks physically compromised, it’s hard for it to give accurate readings. A bent probe might not reach the center of the meat correctly, or the sensor inside could be broken. If you see any significant damage, it might be time to replace the thermometer.
It’s safer and more reliable to have a tool that’s in good shape.
Think about a ruler with a bent edge. You can still measure things, but it’s harder to get precise lengths. A bent thermometer probe works similarly.
It might give you a general idea, but not the exact temperature you need for perfectly cooked food. This is an important visual check when dealing with a meat thermometer not accurate how to fix.
- Check Probe Straightness: Ensure the probe is straight and hasn’t been bent during storage or use.
- Look for Cracks or Dents: Examine the probe surface for any visible cracks, dents, or deep scratches.
- Test Probe Connection: Make sure the probe is firmly attached to the thermometer body. Some probes are detachable; ensure the connection is clean and secure.
Step 5: Test in Boiling Water
After checking batteries and calibrating, testing in boiling water is the next step. This confirms the thermometer’s accuracy at a higher temperature. Boil a pot of water on your stove.
Carefully insert the thermometer probe into the boiling water, ensuring it doesn’t touch the sides or bottom of the pot. The reading should be close to 212°F (100°C). Remember that boiling point changes with altitude, so a reading a few degrees higher or lower is usually okay.
If it’s drastically off, further troubleshooting might be needed.
This test shows how your thermometer handles heat. If it worked well in ice water but is way off in boiling water, there might be an issue with how it measures higher temperatures, or perhaps the calibration wasn’t fully successful. It’s another key check when you’re asking yourself, “Meat thermometer not accurate how to fix?” to ensure your tool is dependable across a range of temperatures.
- Boil Water Steadily: Ensure the water is at a rolling boil before inserting the probe for a consistent reading.
- Avoid Touching Pot: Make sure the probe is only in the water, not touching the hot metal of the pot, which can give a false high reading.
- Consider Altitude: Be aware that water boils at a lower temperature at higher altitudes.
When to Consider a New Thermometer
Sometimes, despite your best efforts, a thermometer just isn’t going to cooperate. If you’ve tried all the fixes and your meat thermometer not accurate how to fix problem persists, it might be time to invest in a new one. There are many great options available, from simple digital probes to advanced instant-read thermometers.
Choosing a reliable thermometer is key to consistently good cooking results. We’ll cover what to look for when you’re shopping for a replacement, ensuring you get a tool you can trust.
Signs Your Thermometer Needs Replacing
If your thermometer consistently gives wildly different readings, even after recalibrating, it’s a strong sign of internal failure. A display that flickers erratically, or a probe that feels loose and wobbly, also indicates it’s time for a new one. Don’t risk cooking food to the wrong temperature; safety and taste depend on accuracy.
If it takes a very long time to get a reading, that’s another clue it might be on its last legs.
Think of it this way: if you had a ruler that was warped and bent, you wouldn’t trust it for precise measurements. Similarly, a thermometer that’s showing signs of serious wear and tear is probably not reliable. When the effort to fix it outweighs the benefit, moving on to a new tool makes sense.
This is the final step in resolving a persistent “meat thermometer not accurate how to fix” dilemma.
- Inconsistent Readings: If you get significantly different temperatures when testing the same substance multiple times, the sensor may be faulty.
- Slow Response Time: A good instant-read thermometer should give a stable reading within a few seconds. If yours takes a minute or more, it’s likely an older or failing model.
- Physical Brittleness: If the probe or casing feels brittle or cracks easily, it suggests the materials are degrading, and it’s no longer safe or reliable to use.
Choosing a Reliable Replacement
When picking out a new thermometer, look for models with good reviews that mention accuracy and durability. Instant-read digital thermometers are generally very popular for their speed and ease of use. Features like a thin probe tip, a waterproof casing, and a backlit display can also be very helpful.
Some even come with a probe that can stay in the oven or grill, with a cable connecting to a base unit that alerts you when the food is ready. This offers convenience and precision for longer cooks.
For example, a popular type of thermometer offers a probe that can withstand oven temperatures and a base unit that lets you monitor from across the room. This is ideal for busy cooks. Another great option is a simple, sturdy digital probe that gives a fast and accurate reading within seconds.
When you’re looking for a replacement, prioritize ease of use and proven accuracy over flashy, unnecessary features. This ensures you get a tool that reliably helps you achieve perfectly cooked meals.
- Read Reviews Carefully: Pay attention to what other users say about accuracy, speed, and build quality.
- Consider Features: Think about what kind of cooking you do most. Do you need waterproof, oven-safe, or wireless features?
- Brand Reputation: Some brands have a long-standing reputation for producing high-quality kitchen tools, including thermometers.
Frequently Asked Questions
Question: How often should I calibrate my meat thermometer?
Answer: It’s a good idea to calibrate your meat thermometer at least once a year. However, if you notice inconsistent readings or if you’ve dropped the thermometer, it’s best to calibrate it right away.
Question: Can I use my meat thermometer in a microwave?
Answer: No, never put a metal meat thermometer in a microwave. It can cause sparks and damage the microwave and the thermometer.
Question: My thermometer reads 5 degrees F too high. Can I just remember to subtract 5 degrees?
Answer: While you could try to remember to adjust, it’s much safer and more reliable to recalibrate the thermometer. Forgetting to adjust could lead to undercooked food.
Question: What’s the difference between a digital and an analog meat thermometer?
Answer: Digital thermometers use an electronic sensor and display the temperature on a screen, usually offering faster and more precise readings. Analog thermometers use a bimetallic coil and have a dial; they are often less expensive but can be slower and less accurate.
Question: Is it okay if my thermometer probe gets a little greasy?
Answer: It’s best to clean the probe thoroughly after each use. Grease or food residue on the probe can interfere with its ability to accurately measure the temperature of the food.
Final Thoughts
Getting your meat thermometer to read accurately is simpler than it seems. By checking batteries, calibrating with ice water, and inspecting for damage, you can likely fix a “Meat Thermometer Not Accurate How to Fix” situation. If all else fails, choosing a reliable new thermometer is a smart step for perfect cooking.


