
Getting the temperature just right for your meat can be tricky, especially when you’re just starting out. Sometimes, even with a thermometer, the reading feels off, and you end up wondering if your food is safe to eat or overcooked. How to Avoid Wrong Meat Temperature Readings is something many home cooks struggle with.
But don’t worry! We’ll show you the simple steps to get it right every time. We’ll cover why this happens and how to fix it, so you can cook with confidence.
Understanding Meat Thermometers
Thermometers are your best friend when cooking meat. They tell you if your food is cooked safely and to your liking. But not all thermometers work the same way, and how you use them matters a lot.
This section will explore the different types of thermometers you might use and what makes them tick. We’ll also talk about why some readings might seem a bit off.
Types of Meat Thermometers
There are a few main kinds of thermometers you’ll see. Each one has its own way of measuring heat. Knowing the differences helps you pick the right tool for the job.
This way, you can be sure you’re getting an accurate picture of your meat’s internal heat.
- Instant-Read Thermometers: These are super handy. You stick them into the meat for a few seconds, and you get a quick temperature. They are great for checking doneness during cooking.
- Leave-In Thermometers: These stay in the meat while it cooks, often in the oven or grill. They have a probe that goes into the meat and a cable that connects to a base unit. This base sits outside the heat source, showing you the temperature without you having to open the oven.
- Smart Thermometers: These are like leave-in thermometers but connect to your phone or tablet. You can check the temperature from anywhere using an app. They often have alarms that go off when the meat reaches a certain point.
The accuracy of these tools depends on how they are made and how you use them. A cheap thermometer might not be as reliable as a more expensive one. Also, the material and design can affect how fast they read the temperature.
For example, a thin probe will heat up and cool down faster than a thick one.
How They Measure Heat
Most meat thermometers work by sensing the heat within the meat. This heat makes a small electrical signal change inside the thermometer. This change is then turned into the number you see on the display.
Think of it like a tiny heat detective telling you what’s happening inside your food. The quicker and more accurately it senses this heat change, the better your reading will be.
Some thermometers use something called a thermistor. This is a type of resistor whose resistance changes significantly with temperature. Other types might use thermocouples, which produce a voltage that changes with temperature.
The thermometer’s electronics then read this signal and convert it into a temperature reading, usually in Fahrenheit or Celsius.
Calibration and Accuracy
Just like a car needs its tires aligned, thermometers sometimes need to be calibrated to ensure they are accurate. Calibration means checking if the thermometer is showing the correct temperature. If it’s off, you can often adjust it.
A properly calibrated thermometer is key to getting reliable readings.
You can test your thermometer by putting its probe into a glass of ice water. It should read 32°F (0°C). If it doesn’t, you might need to calibrate it.
Many digital thermometers have a calibration feature you can access through the buttons. For analog ones, it might involve adjusting a screw or nut.
Common Mistakes Leading to Wrong Readings
Even with a good thermometer, you can still get a wrong reading if you’re not careful. The most common issues come down to where you place the thermometer and how the meat is structured. Small errors here can make a big difference in whether your meat is perfectly cooked or not.
Let’s look at the frequent pitfalls.
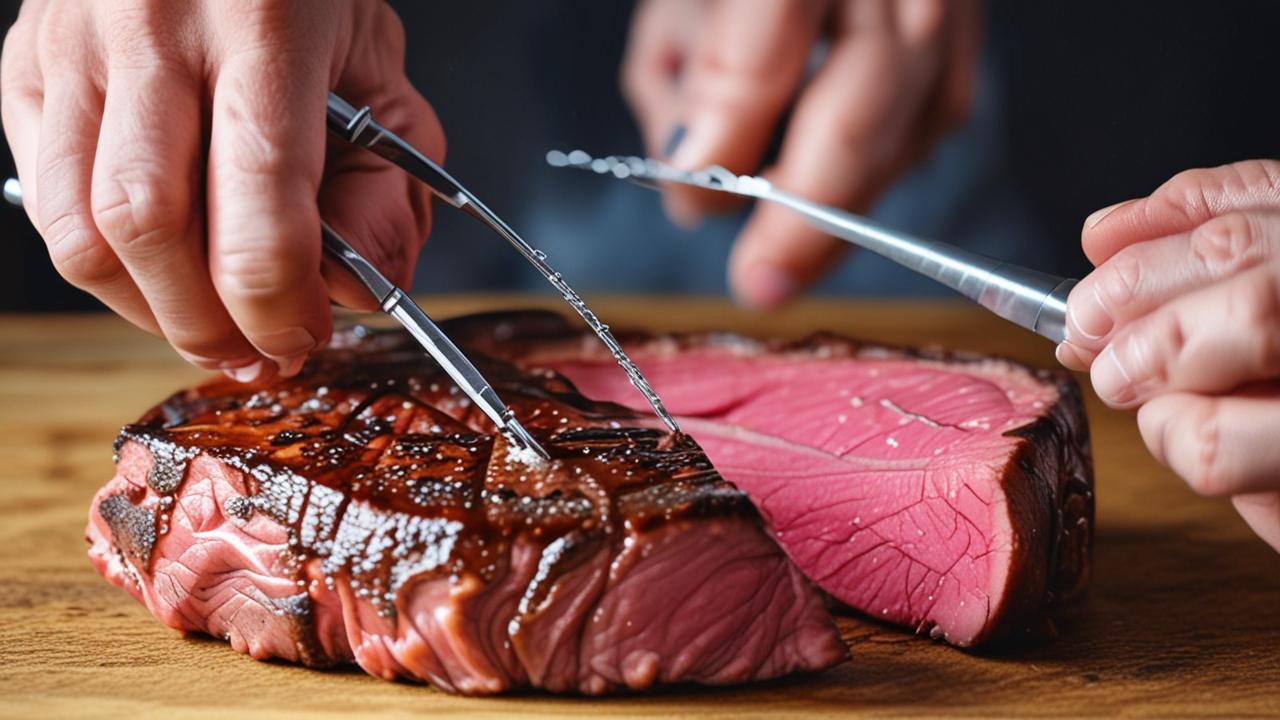
Placement is Key
Where you insert the thermometer probe is the most important factor. For most cuts of meat, you want to find the thickest part. Avoid hitting bone or fat pockets.
Bone conducts heat differently than meat, and fat melts, which can give you a misleading temperature. You want to measure the true internal temperature of the muscle.
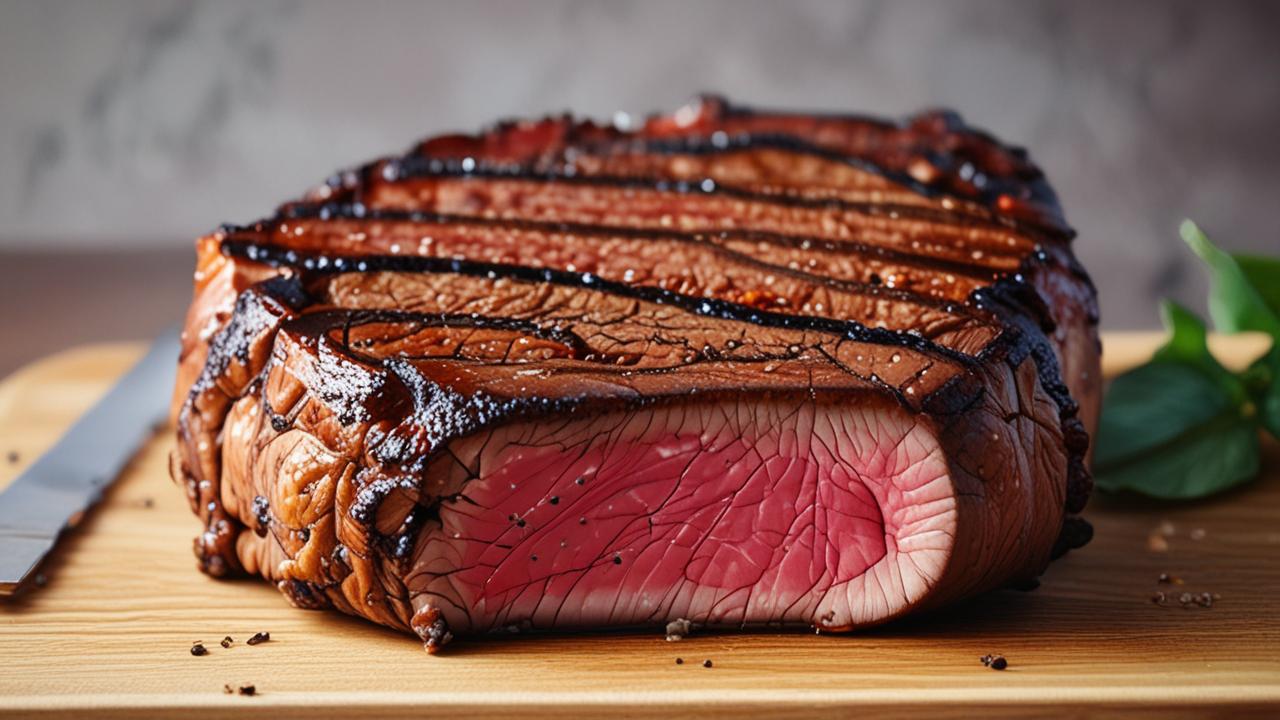
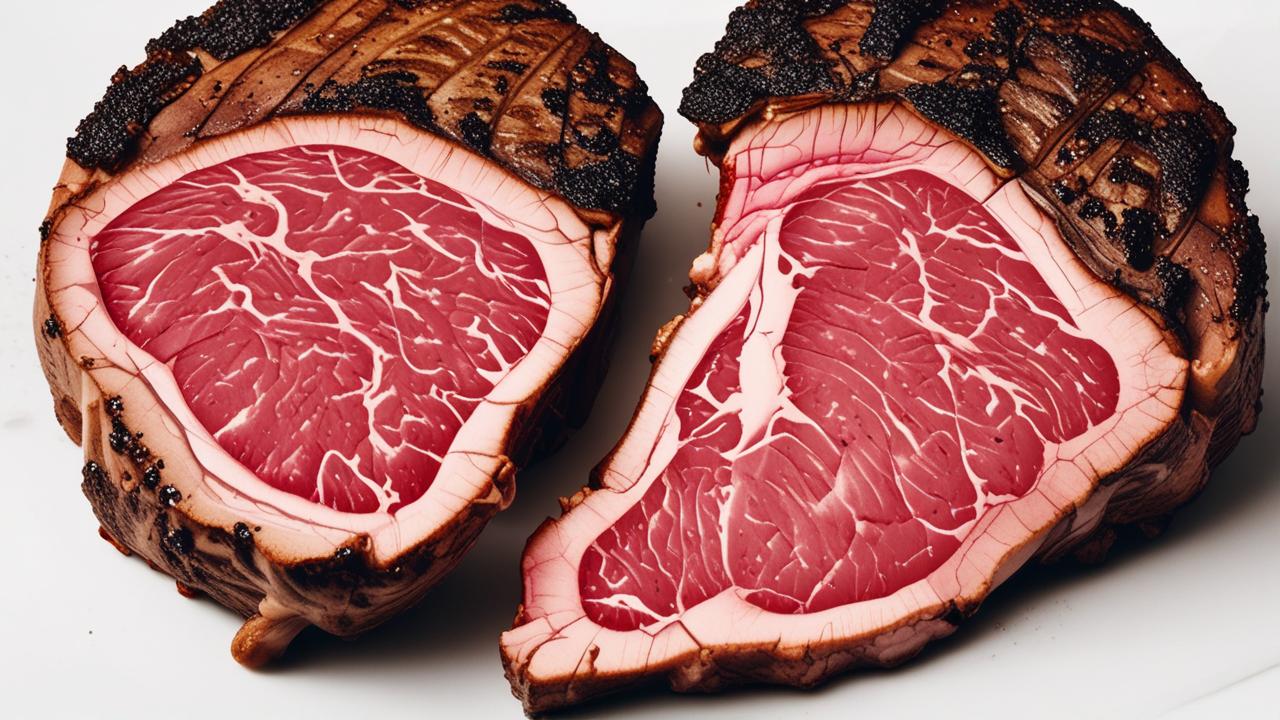
Imagine a thick steak. If you poke the thermometer near the edge, it might read done much sooner than the center. The center is what matters for safety and desired doneness.
For roasts or whole chickens, finding the thickest part of the thigh or the center of the breast is usually the best bet.
Avoiding Bone and Fat
Bone is a very poor conductor of heat compared to muscle tissue. If your probe touches bone, it will read cooler than the surrounding meat. This can make you think your food isn’t ready when it actually is, or worse, it might lead you to overcook the rest of the meat to compensate.
Fat also melts and can create a pocket of lower temperature, or if it’s a large piece of fat, it might insulate the probe.
For example, a pork shoulder has a large bone and layers of fat. If you place the thermometer probe into the thickest part of the fat cap, you’ll get a much lower reading than the actual meat temperature. Similarly, if the probe hits the bone in a leg of lamb, the reading will be inaccurate.
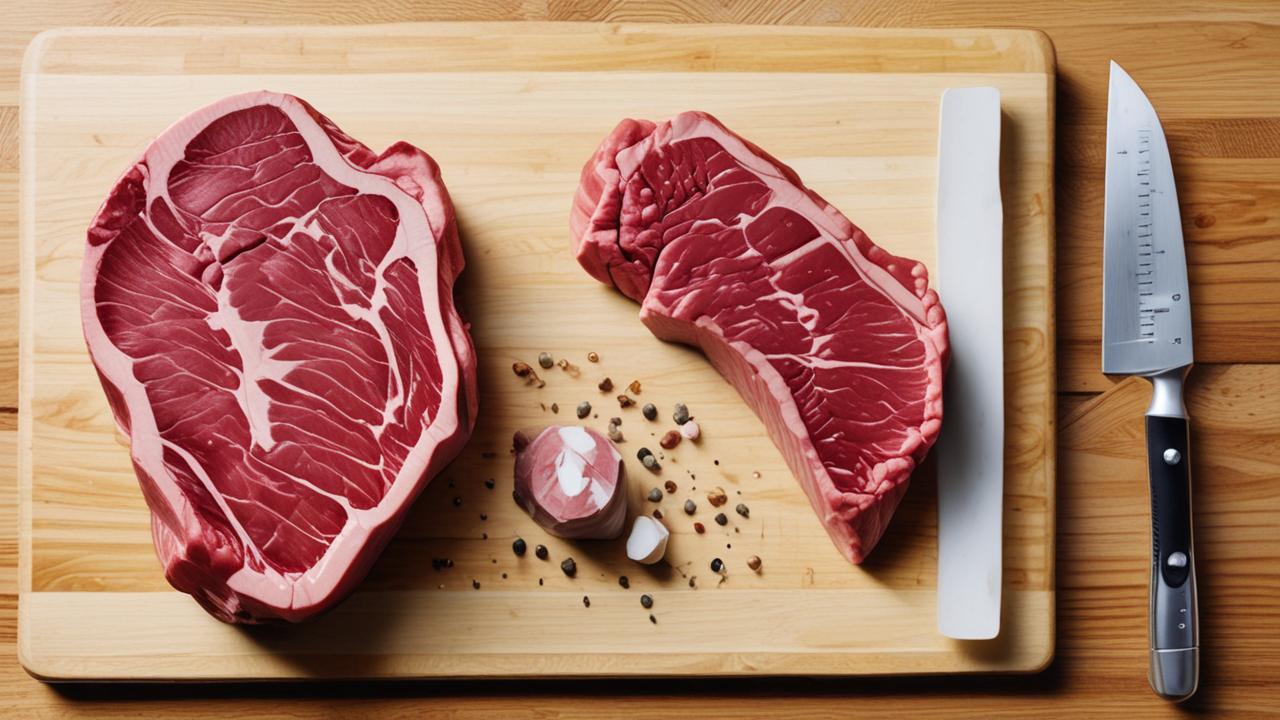
Thickness and Shape of the Meat
Very thin cuts of meat are hard to measure accurately with a standard probe thermometer. For things like thin chicken breasts or fish fillets, the probe might go all the way through or touch the pan. This can give you a falsely high reading.
It’s often better to use visual cues or a thermometer that can measure surface temperature for these items.
The shape of the meat also plays a role. A irregularly shaped roast might have thinner and thicker parts. You need to find the average thickest part.
For round things like whole chickens or turkeys, finding the deepest part of the thigh, away from the bone, is essential.
A study by the USDA found that improper thermometer placement was a leading cause of undercooked poultry, increasing the risk of foodborne illness. This highlights just how critical correct placement is. They recommend checking the temperature in the thickest part of the thigh, avoiding the bone.
Carryover Cooking
This is a concept many beginners overlook. When you take meat off the heat, its internal temperature continues to rise for a little while. This is called carryover cooking.
It happens because the heat already in the meat continues to cook the cooler center. If you wait until the meat reaches your target temperature while still cooking, it will be overcooked by the time you serve it.
For example, if you’re aiming for a medium-rare steak at 130°F (54°C), you might want to pull it off the heat when it reaches 125°F (52°C). The temperature will then rise to your target as it rests. This principle applies to most cuts of meat, especially larger ones that retain more heat.
Tips for Accurate Temperature Readings
Now that we know what can go wrong, let’s focus on how to get it right. These tips will help you use your thermometer effectively every time. Simple adjustments can make a huge difference in the quality and safety of your cooked meat.
Follow these steps for consistently good results.
Choosing the Right Spot
Always aim for the thickest part of the meat. For steaks and chops, this is usually the center. For roasts, find the middle of the largest muscle.
For poultry, the thickest part of the thigh, not touching the bone, is key. If the meat is irregularly shaped, try to find a spot that represents the average thickness.
Think about a large pork loin. It’s thickest in the middle. You want your thermometer probe to go into that center section.
If you have a whole chicken, the thigh is generally thicker than the breast. Checking the thigh ensures the dark meat is cooked through, which often means the breast is also safely cooked.
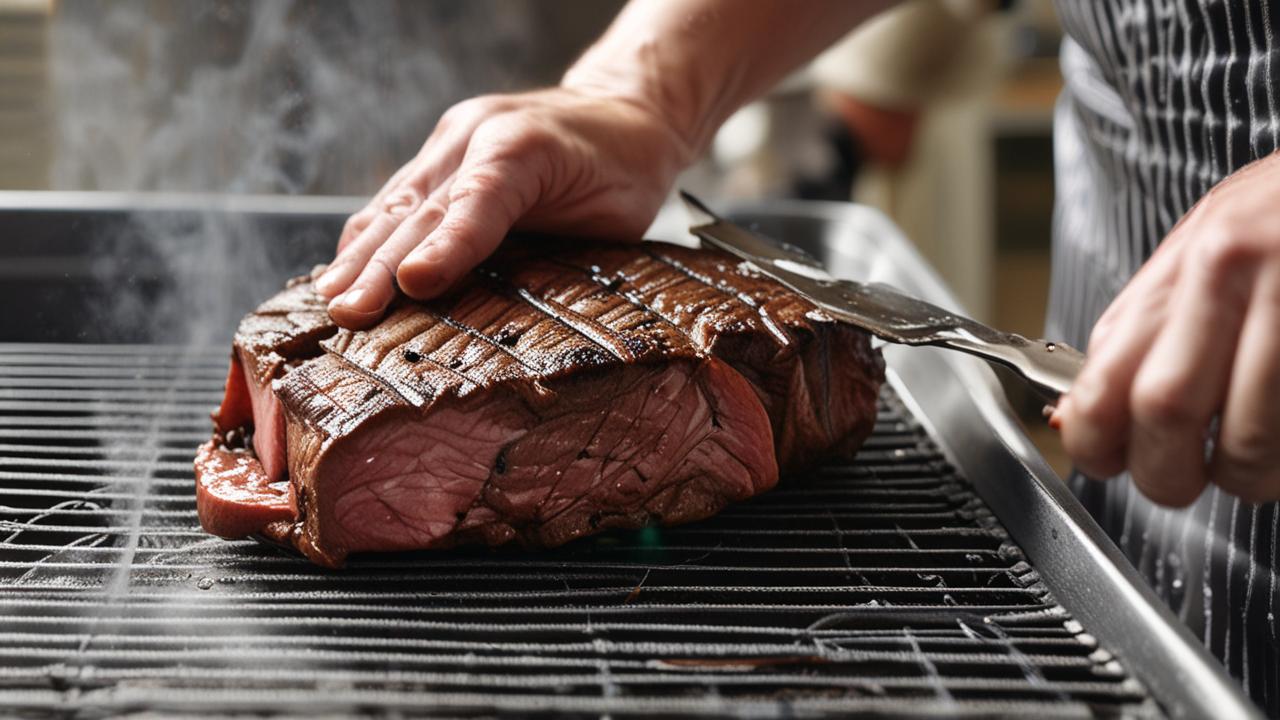
Technique for Insertion
When inserting the probe, do it slowly and steadily. If you feel resistance, you might be hitting bone or a tough piece of connective tissue. Gently adjust the angle until it slides in smoothly.
For very thick cuts, you might need to insert the probe at an angle rather than straight down.
For example, when checking a whole turkey, you might insert the probe horizontally into the thigh. This allows you to reach the deepest part without hitting the bone at the top. Ensure the probe is fully submerged in the meat and not touching any cooking surfaces like a grill grate or baking pan.
Resting Your Meat
As mentioned, carryover cooking is real. To account for it, let your meat rest after cooking. This is a crucial step for both juiciness and accurate final temperature.
Tent the meat loosely with foil to keep it warm. The resting time allows the juices to redistribute throughout the meat, making it more tender and flavorful.
A good rule of thumb is to let larger cuts rest for about 10-15 minutes. Smaller cuts like steaks might only need 5 minutes. During this time, the temperature will rise by 5-10 degrees Fahrenheit.
This is why you pull the meat off the heat a little before it reaches your final target temperature.
According to culinary experts, resting meat is as important as the cooking process itself. It allows the muscle fibers to relax, preventing the juices from running out when you cut into it. This leads to a more moist and enjoyable eating experience.
Here’s a simple guide for resting times:
- Steaks, Chops, and Fish: 5-10 minutes
- Roasts (Pork, Beef, Lamb): 15-20 minutes
- Whole Poultry (Chicken, Turkey): 15-20 minutes
Using Multiple Checks
For larger cuts or when you’re unsure, it’s wise to check the temperature in a couple of different spots. This gives you a more complete picture of how evenly the meat is cooking. You can also check the temperature at different times during the cooking process to monitor its progress.
For instance, when cooking a large pork shoulder, you might check the temperature in the thickest part of the meat, then a bit further into the roast. This helps you understand if one side is cooking faster than the other. You can then adjust your cooking position if needed.
Thermometer Features to Look For
When buying a thermometer, consider features that help prevent errors. Waterproof models are easy to clean. Backlit displays help in dim lighting.
A thin probe tip penetrates meat easily without making a large hole. Some have audible alarms to alert you when the desired temperature is reached.
A fast response time is also important. You don’t want to stand there with the thermometer in the meat for a minute. Look for models that give a reading in 3-5 seconds.
This speed helps you get an accurate temperature without the meat losing too much heat from being exposed.
When to Use Different Thermometers
Not all thermometers are suited for every cooking task. Knowing which tool to use when can greatly improve your accuracy and confidence. Let’s explore how different thermometers fit into your cooking routine.
Instant-Read for Quick Checks
Instant-read thermometers are fantastic for checking the doneness of steaks, burgers, chicken breasts, and fish fillets. Because they give a reading so quickly, you can check the meat without letting too much heat escape from your oven or grill. They are also great for checking multiple items at once, like a batch of cookies or muffins, to see if they are baked through.
Imagine grilling several burgers. You can quickly check each one as it cooks without disturbing the grilling process too much. This allows you to pull them off at their perfect doneness, ensuring no burger is overcooked or undercooked.
Leave-In for Roasts and Slow Cooking
Leave-in thermometers are ideal for roasts, whole chickens, turkeys, and anything that cooks for a long time. You set them up before cooking and can monitor the temperature without opening the oven door. This keeps the oven temperature stable, which is important for even cooking.
For example, when roasting a whole turkey, a leave-in thermometer ensures you know the internal temperature of the thigh and breast without constantly opening the oven. This prevents heat loss and helps achieve perfectly cooked poultry every time.
Statistics show that using a leave-in thermometer can reduce the time spent opening and closing oven doors by up to 75% during long cooking processes. This not only helps maintain oven temperature but also saves energy.
Smart Thermometers for Monitoring
Smart thermometers offer the convenience of remote monitoring. This is perfect for busy cooks or when you’re entertaining. You can be in the living room with your guests and still keep an eye on your roast cooking in the oven or grill.
Many have features that let you set custom temperatures and receive alerts.
A scenario: You’re smoking a brisket low and slow for many hours. A smart thermometer allows you to monitor its progress from your phone without having to go out to the smoker every hour. You get notified when it’s nearing your target temperature, giving you plenty of notice.
Comparing Thermometer Performance
Here’s a quick look at how different thermometers perform in common scenarios:
| Meat Type | Best Thermometer | Why |
|---|---|---|
| Steak, Burger, Fish | Instant-Read | Fast readings, easy to check multiple pieces. |
| Roast (Beef, Pork, Lamb) | Leave-In or Smart | Continuous monitoring without opening oven. |
| Whole Poultry (Chicken, Turkey) | Leave-In or Smart | Monitors thickest parts (thigh) for safe cooking. |
| Smoked Meats (Brisket, Ribs) | Leave-In or Smart | Essential for long, slow cooking processes. |
Common Misconceptions and Solutions
There are a few ideas people have about meat temperatures that aren’t quite right. Addressing these can help clear up confusion and lead to better cooking. Let’s look at some common myths and how to get the real story.
“My Meat is Browned, So It Must Be Cooked”
The color of meat can be deceiving. Browning happens due to chemical reactions at high temperatures, like the Maillard reaction. While browning often occurs as meat cooks, it’s not a reliable indicator of internal temperature or safety.
You can have browned meat that is still dangerously undercooked inside.
For example, ground beef can brown quickly on the outside, but if it’s not cooked thoroughly, it can still contain harmful bacteria. Relying only on color can lead to foodborne illness. Always use a thermometer for safety.
“Different Cuts Cook at the Same Temperature”
This is not true. Different cuts of meat, and even different parts of the same animal, have varying fat content, connective tissue, and thickness. These factors affect how quickly they cook and the ideal internal temperature for doneness.
For instance, a lean chicken breast cooks much faster than a fatty pork shoulder.
The USDA provides temperature guidelines for different types of meat, and these are based on extensive research into safe cooking levels. Always consult these guidelines for specific meat types.
“The Thermometer is Wrong if It Doesn’t Match My Old One”
If you have an old thermometer and a new one, and they show different readings, it’s not always because one is wrong. Thermometers can drift over time, or the new one might simply be more accurate. It’s best to test both thermometers using the ice water method (32°F/0°C) to see which one is giving a true reading.
If your old thermometer is a dial type, it might have lost its calibration. Digital thermometers are generally more accurate and easier to calibrate. If both are digital and still differ, compare them to a known accurate source or a third thermometer.
A survey revealed that nearly 40% of home cooks admit to not using a thermometer every time they cook meat, often relying on visual cues. This highlights a gap in knowledge that can be easily bridged with better information.
“You Need a Super Expensive Thermometer for Good Results”
While high-end thermometers offer advanced features and faster readings, you don’t need to break the bank for accurate results. Many affordable instant-read and leave-in thermometers perform very well. The key is to understand how to use them correctly and to ensure they are functioning properly.
A quality instant-read thermometer can be purchased for under $30 and provide excellent accuracy for most home cooking needs. Look for models with good reviews and a solid warranty.
Frequently Asked Questions
Question: How do I know if my meat thermometer is accurate?
Answer: You can test its accuracy by placing the probe in a glass of ice water. A correctly calibrated thermometer should read 32°F (0°C).
Question: Can I use the same thermometer for raw chicken and beef?
Answer: Yes, but it’s crucial to wash the thermometer thoroughly with hot, soapy water after each use, especially after checking raw poultry, to prevent cross-contamination.
Question: What is the “carryover cooking” and why is it important?
Answer: Carryover cooking is when the meat’s temperature continues to rise after it’s removed from the heat source. It’s important because you need to account for this rise when deciding when to take the meat off the heat, so it doesn’t get overcooked.
Question: How deep should I insert the thermometer probe?
Answer: Insert the probe into the thickest part of the meat, making sure it’s fully submerged in the meat and not touching bone, fat pockets, or the cooking surface like a pan or grill grate.
Question: What’s the difference between Fahrenheit and Celsius for meat temperatures?
Answer: They are just different scales for measuring temperature. Most recipes and guidelines in the US use Fahrenheit (°F), while many other countries use Celsius (°C). You should use the scale that matches your recipe or thermometer.

Summary
Getting meat temperature right is simple once you know the tricks. Always check the thickest part, avoid bone, and remember meat keeps cooking after you take it off the heat. Using the right thermometer for the job and knowing how to use it ensures your food is safe and delicious every time.


