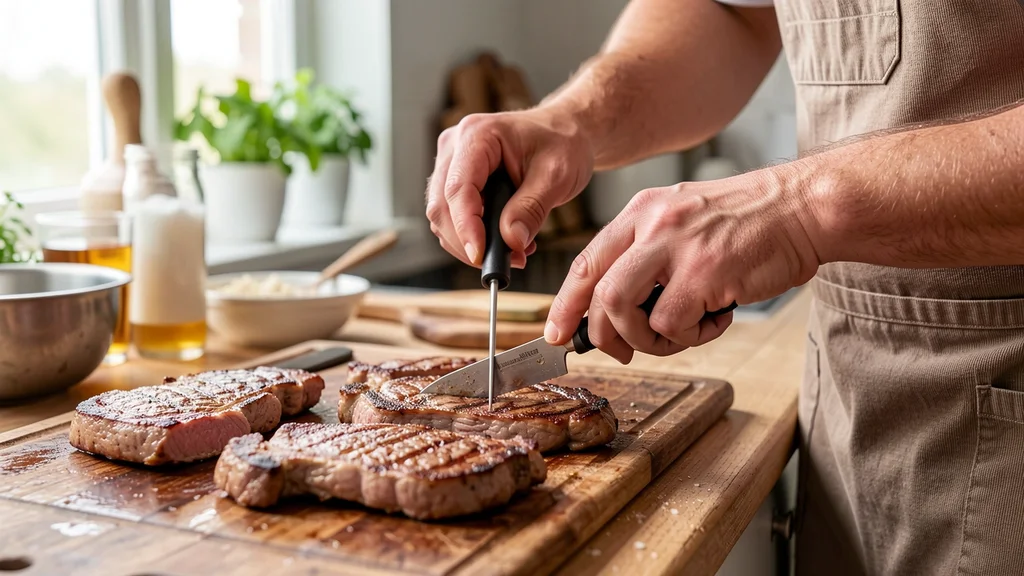
Pork Chop Internal Temperature Guide knowledge is the single most important skill for cooking juicy, safe meat. Cooking pork chops without a thermometer leads to dry, overcooked dinners or unsafe meals. This pork chop internal temperature guide covers exact temperatures, resting times, and practical methods to get perfect results every time.
You will learn how to use a meat thermometer correctly and avoid common mistakes that ruin your dinner. Whether you grill, bake, or pan-fry, hitting the right target changes everything. Follow this pork chop internal temperature guide to serve tender, flavorful chops your family will love.
Simply put, cook pork chops to an internal temperature of 145°F (63°C) measured at the thickest part. Remove them from the heat immediately and let them rest for three minutes before serving. This ensures safe, juicy, and perfectly cooked meat every single time.
What Is the Safe Pork Chop Internal Temperature
The United States Department of Agriculture sets strict standards for cooking meat safely. According to the USDA, the minimum safe internal temperature for whole cuts of pork is 145°F (63°C). This rule applies directly to your pork chop internal temperature guide routine.
This standard changed significantly in recent years. The USDA previously recommended cooking all pork to 160°F (71°C). That higher temperature resulted in dry, tough meat that turned many people away from pork chops entirely.
The updated 145°F recommendation includes a mandatory three-minute rest period after removing the meat from the heat source. During this rest time, the internal temperature remains constant or continues to rise slightly. This process destroys harmful pathogens like Salmonella, Trichinella, and E.
coli.
Cooking to exactly 145°F yields a slightly pink center. Many home cooks panic when they see pink meat, but a pink center is completely safe at this temperature. Trust your thermometer rather than the color of the meat.
- Target temperature: 145°F (63°C) for medium doneness
- Mandatory rest time: 3 full minutes off the heat
- Safe appearance: Slightly pink in the very center
- Pathogens destroyed: Salmonella, Trichinella, E. coli
- Old outdated standard: 160°F (71°C) – do not use this anymore
- Applies to: Bone-in, boneless, thick-cut, and thin-cut chops
Important: Ground pork requires a higher internal temperature of 160°F (71°C). The 145°F rule only applies to whole muscle cuts like pork chops, pork loin, and pork tenderloin. Always treat ground meat differently than whole cuts.
How to Measure Pork Chop Temperature Correctly
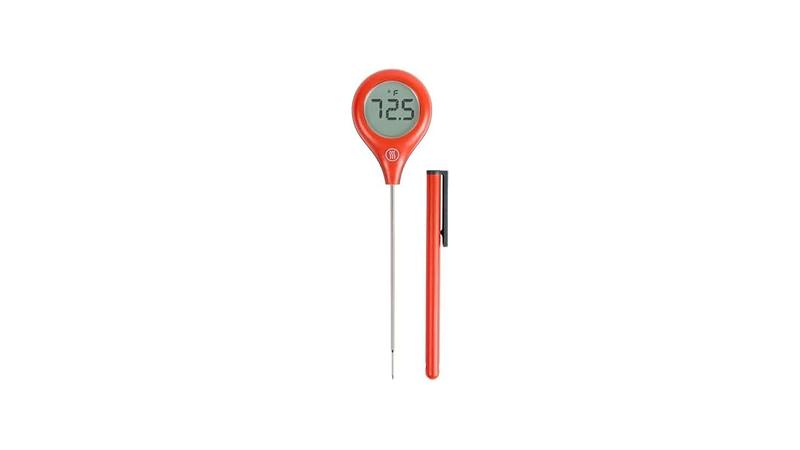
Using a meat thermometer is the only reliable way to follow any pork chop internal temperature guide. Guessing by touch, color, or cooking time leads to inconsistent results. A good digital instant-read thermometer costs less than twenty dollars and saves countless ruined dinners.
You must insert the thermometer probe into the thickest part of the meat. Avoid touching the bone, fat pockets, or the pan surface. Bones conduct heat differently than muscle tissue, giving you a false high reading if the probe touches them.
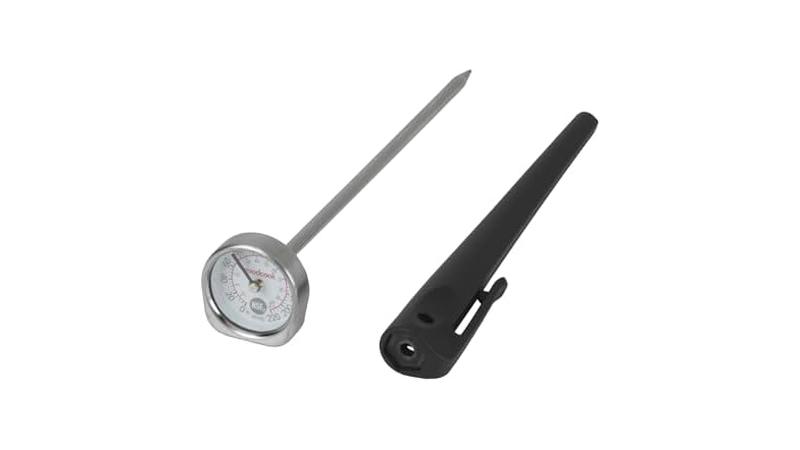
Digital thermometers provide readings in two to three seconds. Dial thermometers take much longer and are generally less accurate for thinner cuts like pork chops. Invest in a quality digital model from brands like ThermoWorks or OXO.
- Turn on your digital instant-read thermometer and wait for it to calibrate to zero.
- Identify the thickest section of the pork chop, keeping away from visible bones.
- Insert the probe horizontally into the side of the chop until the tip reaches the exact center.
- Wait for the numbers on the display to stop changing, usually about three seconds.
- Read the final temperature and remove the probe immediately.
- If the reading is below 145°F, return the chop to the heat and check again in one minute.
The National Pork Board reports that nearly 60% of home cooks overcook pork because they lack proper thermometer skills. Learning this simple technique transforms your cooking instantly.
| Thermometer Type | Speed | Accuracy | Best For |
|---|---|---|---|
| Digital Instant-Read | 2-3 seconds | Very High | Pork chops, steaks |
| Dial Bimetallic | 15-20 seconds | Moderate | Roasts, large cuts |
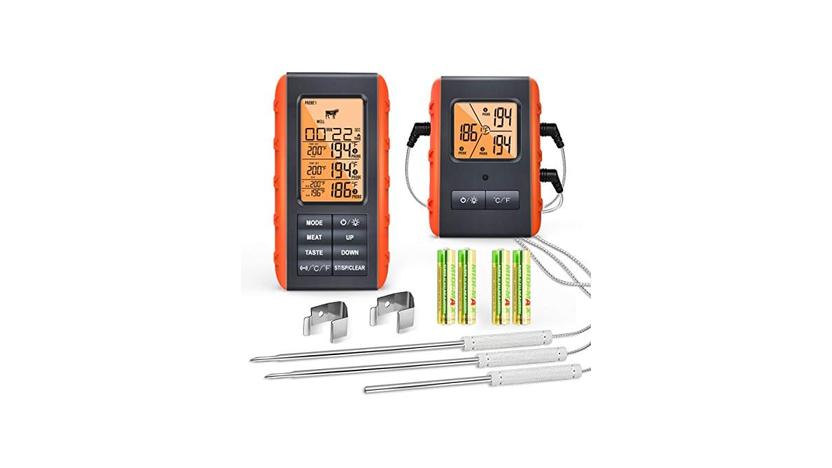
| Leave-In Probe | Continuous | High | Oven roasting, smoking |
| Infrared Surface | Instant | Surface only | Pan temps, griddles |
Choose a digital instant-read thermometer for the best experience with pork chops. Leave-in probes work well for oven roasting but can be cumbersome for quick pan-searing.
Temperature Targets for Different Doneness Levels
Not everyone prefers their pork chops cooked to the exact same level of doneness. Your pork chop internal temperature guide should include options for personal preference while maintaining food safety standards. The USDA minimum is 145°F, but you can adjust based on texture preferences.
A medium-rare pork chop pulls from the heat around 140°F and rises to 145°F during resting. This produces the juiciest possible result with a distinctly pink center. Some diners prefer this texture, though it pushes the absolute minimum safety boundary.
Medium doneness hits exactly 145°F after resting. The center shows a light blush of pink, and the meat retains excellent moisture. This is the sweet spot most chefs recommend for everyday cooking.
Medium-well pork chops reach 150°F to 155°F. The pink disappears almost entirely, leaving a firmer texture. Moisture loss becomes noticeable at this stage, so brining beforehand helps tremendously.
Well-done pork chops hit 160°F or higher. The meat turns completely white and firm. Cooking pork chops to this temperature dries them out significantly.
If you insist on well-done meat, use a heavy marinade or braise the chops instead of dry-heat methods.
| Doneness Level | Pull Temperature | Final Rested Temp | Center Color |
|---|---|---|---|
| Medium-Rare | 140°F (60°C) | 145°F (63°C) | Warm pink |
| Medium | 145°F (63°C) | 150°F (65°C) | Light blush |
| Medium-Well | 150°F (65°C) | 155°F (68°C) | Slight trace |
| Well-Done | 160°F (71°C) | 165°F (74°C) | White/gray |
Always account for carryover cooking when pulling your meat from the heat. The residual heat inside the chop continues raising the temperature even after you move it to a plate.
Why Resting Time Matters After Cooking
Resting is not optional. It is a critical step in any pork chop internal temperature guide. Skipping the rest period causes all the juices to spill out the moment you cut into the meat, leaving you with a dry chop and a puddle on your plate.
When meat cooks, the muscle fibers contract and push moisture toward the center. Removing the chop from the heat allows those fibers to relax gradually. As they relax, the juices redistribute evenly throughout the entire piece of meat.
The USDA mandates a minimum three-minute rest for pork cooked to 145°F. This rest period also serves a food safety function. The sustained heat during resting finishes destroying any remaining bacteria near the surface.
Thicker chops benefit from longer rest periods. A one-inch chop needs three minutes, but a two-inch thick bone-in chop might need five to seven minutes. Cover the meat loosely with aluminum foil to retain warmth without trapping steam, which ruins the crust.
- Redistributes natural juices back through the muscle fibers
- Allows carryover cooking to raise the temperature safely by 3-5 degrees
- Prevents juice loss when slicing or biting into the chop
- Satisfies the USDA three-minute safety requirement for 145°F pork
- Keeps the exterior crust intact if tented loosely with foil
- Improves overall tenderness and mouthfeel significantly
Tip: Place your rested pork chops on a warm plate instead of a cold one. Cold ceramic draws heat away from the meat too quickly, dropping the temperature below the ideal serving range before you even take a bite.
Consumer research shows that properly rested meat retains up to 20% more moisture compared to meat sliced immediately after cooking. That difference is massive for lean cuts like pork chops.
How Does Carryover Cooking Affect Pork Chops
Carryover cooking happens because the outer layers of the meat are hotter than the center when you pull it from the heat. That thermal energy moves inward, raising the core temperature even though the heat source is gone. Ignoring this physics principle ruins your pork chop internal temperature guide efforts.
The amount of temperature rise depends on the thickness of the chop and the intensity of the cooking method. A thin half-inch chop seared over blazing high heat might jump 10°F during resting. A thick chop baked gently at 350°F might only rise 3°F to 5°F.
You must pull your pork chops from the heat before they reach your target temperature. If you want a final temperature of 145°F, remove the meat when your thermometer reads 140°F. Waiting until it hits 145°F on the grill means it will reach 150°F or higher on the plate.
High-heat methods like grilling and pan-searing create more dramatic carryover cooking. Low-and-slow methods like sous vide produce almost zero carryover effect because the entire piece of meat sits at a uniform temperature.
- Know your target final temperature before you start cooking.
- Subtract 5°F from your target to find your pull temperature.
- Monitor the meat closely as it approaches the pull temperature.
- Remove the chop from the heat source immediately when it hits the pull number.
- Transfer the meat to a room-temperature plate or wire rack.
- Let it rest undisturbed for three to five minutes before checking the final temp.
Failing to account for carryover cooking is the number one reason home cooks serve dry pork chops. Mastering this concept elevates your cooking immediately.
Best Cooking Methods for Hitting Target Temperatures
Different cooking methods require different strategies to hit the exact numbers in your pork chop internal temperature guide. Pan-searing, grilling, baking, and sous vide all deliver great results if you manage the heat properly.
Pan-searing works best for chops under one inch thick. Use a cast iron skillet heated over medium-high fire. Sear each side for three to four minutes, then check the temperature.
Cast iron holds heat aggressively, making carryover cooking very prominent with this method.
Grilling provides excellent flavor through smoke and char. Set up a two-zone fire with direct heat on one side and indirect heat on the other. Sear the chops over the flames, then move them to the cool side to finish cooking gently.
This prevents burning the outside while the inside remains raw.
Oven baking suits thicker chops perfectly. Sear them in a hot skillet first, then transfer the entire pan to a 400°F oven. The ambient air cooks the center evenly without scorching the crust.
Check the temperature after five minutes in the oven.
Sous vide eliminates guesswork entirely. Seal the chops in a bag and submerge them in a water bath set precisely to 145°F. The meat cannot exceed the water temperature, making overcooking physically impossible.
Finish with a quick sixty-second sear in a screaming hot pan for texture.
| Cooking Method | Ideal Thickness | Heat Level | Approximate Time |
|---|---|---|---|
| Pan-Searing | Under 1 inch | Medium-High | 6-8 minutes total |
| Grilling | Any size | Two-Zone | 8-12 minutes total |
| Oven Baking | Over 1 inch | 400°F | 10-15 minutes |
| Sous Vide | Any size | 145°F water | 1-2 hours |
Match your cooking method to the thickness of your meat. Thin chops dry out fast under high heat, while thick chops burn on the outside before the center cooks using only a skillet.
Common Mistakes That Ruin Pork Chops
Even with a solid pork chop internal temperature guide, bad habits destroy your dinner. Home cooks repeat the same errors constantly. Identifying these mistakes helps you fix your technique immediately.
Cooking straight from the refrigerator is a major error. Cold meat drops the pan temperature drastically and cooks unevenly. The outside burns while the inside stays dangerously raw.
Pull your chops from the fridge thirty minutes before cooking to bring them closer to room temperature.
Skipping the brine or marinade leaves lean meat vulnerable to drying out. Pork chops lack the heavy intramuscular fat found in ribeye steaks. A simple saltwater brine for thirty minutes forces moisture into the muscle cells, providing a buffer against overcooking.
Flipping the meat too often prevents a proper crust from forming. Leave the chop alone once it hits the hot surface. Let it sear undisturbed for at least three minutes before turning it over just once.
Using a dull knife to trim or slice tears the muscle fibers instead of cutting them cleanly. This releases precious juices onto the cutting board. Always use a sharp chef knife or carving knife when handling cooked meat.
- Cooking meat directly from the refrigerator without tempering
- Ignoring the brining step for lean cuts
- Flipping the chop repeatedly instead of letting it sear
- Trusting visual color cues instead of using a thermometer
- Cutting into the meat immediately to check doneness
- Using thin pans that create hot spots and uneven cooking
- Overcrowding the skillet, which steams the meat instead of searing it
Warning: Never wash raw pork chops under running water before cooking. Splashing water spreads dangerous bacteria like Salmonella across your sink, countertops, and nearby utensils. Pat the meat dry with paper towels instead.
Americans consume roughly 50 pounds of pork per person annually according to the USDA Economic Research Service. With that much volume, fixing these basic mistakes dramatically improves your weekly meals.
How to Keep Pork Chops Juicy Every Time
Hitting the right number on your pork chop internal temperature guide guarantees safety, but extra steps guarantee flavor. Juiciness comes from preparation, cooking technique, and choosing the right cut of meat.
Bone-in pork chops stay juicier than boneless chops. The bone acts as an insulator, slowing down the cooking process near the center. This gives you a wider window of time to pull the meat off the heat before it dries out.
Rib chops and center-cut chops perform best.
Brining takes minimal effort and delivers massive results. Dissolve one-quarter cup of kosher salt in four cups of cold water. Submerge the chops for thirty minutes to two hours.
Rinse them thoroughly and pat them completely dry before they hit the pan. Wet meat does not brown properly.
Basting with butter adds both flavor and moisture control. During the last two minutes of pan-searing, add a tablespoon of unsalted butter, crushed garlic cloves, and fresh thyme to the skillet. Tilt the pan and spoon the foaming butter continuously over the top of the chops.
- Select bone-in chops that are at least one inch thick for better moisture retention.
- Brine the meat in saltwater for thirty minutes before cooking.
- Pat the chops completely dry with paper towels to ensure a hard sear.
- Cook over medium-high heat to develop a crust quickly without overcooking the center.
- Baste with melted butter and aromatics during the final minutes of cooking.
- Pull the meat five degrees early and rest it properly before serving.
Thickness matters more than anything else. Thin chops under half an inch cook so fast that the margin for error shrinks to mere seconds. Buy thick chops whenever possible to give yourself room to work.
Frequently Asked Questions
Is it safe to eat pork chops that are slightly pink?
Yes, eating slightly pink pork chops is completely safe as long as the internal temperature reaches 145°F (63°C) and the meat rests for three minutes. The USDA updated their guidelines to reflect this, moving away from the old 160°F standard that left meat gray and dry. Trust your thermometer over the color of the meat.
What happens if I overcook my pork chops past 160°F?
Cooking pork chops past 160°F squeezes out most of the natural moisture, resulting in a tough, dry, and chewy texture. The muscle fibers contract tightly and expel their juices onto the plate. While the meat remains perfectly safe to eat, the dining experience suffers greatly.
Use a thermometer to pull the meat earlier.
Do bone-in and boneless pork chops cook at the same rate?
No, bone-in pork chops take slightly longer to cook than boneless chops of the same thickness. The bone acts as a heat barrier, slowing down the cooking process in the meat directly surrounding it. This actually benefits you by preventing that section from drying out too quickly.
Always measure temperature away from the bone.
Can I use a leave-in probe thermometer for thin pork chops?
Leave-in probe thermometers work poorly for pork chops thinner than one inch. The probe needs at least half an inch of meat surrounding the tip to get an accurate reading without touching the pan or grill grate. For thin chops, stick to a fast digital instant-read thermometer inserted from the side.
Does the starting temperature of the meat affect cooking time?
Yes, meat taken directly from the refrigerator takes longer to cook and heats unevenly compared to tempered meat. A cold center forces you to apply heat longer, which overcooks the exterior before the middle reaches 145°F. Let your pork chops sit on the counter for twenty to thirty minutes before cooking for the best results.
Final Thoughts
Following a reliable pork chop internal temperature guide transforms your weeknight dinners from dry and disappointing to juicy and delicious. Cook to 145°F, rest for three minutes, and always use a digital thermometer. Apply these techniques tonight and enjoy perfectly cooked pork chops every single time.