

It’s super frustrating when your meat thermometer suddenly stops talking to its base. This Meat Thermometer Connection Lost Fix problem pops up often, especially for folks new to digital thermometers. You’re busy cooking, and then.
nothing. Don’t worry, though! We’ll walk through simple steps to get it working again.
Stick around, and we’ll sort out why this happens and how to fix it easily.
Understanding Your Meat Thermometer’s Signal
This section helps you grasp how your meat thermometer talks to its receiver. It’s like a tiny radio sending temperature updates. We’ll look at what can make that signal weak or break it altogether.
Knowing the basics makes finding the fix much simpler.
How the Thermometer Communicates
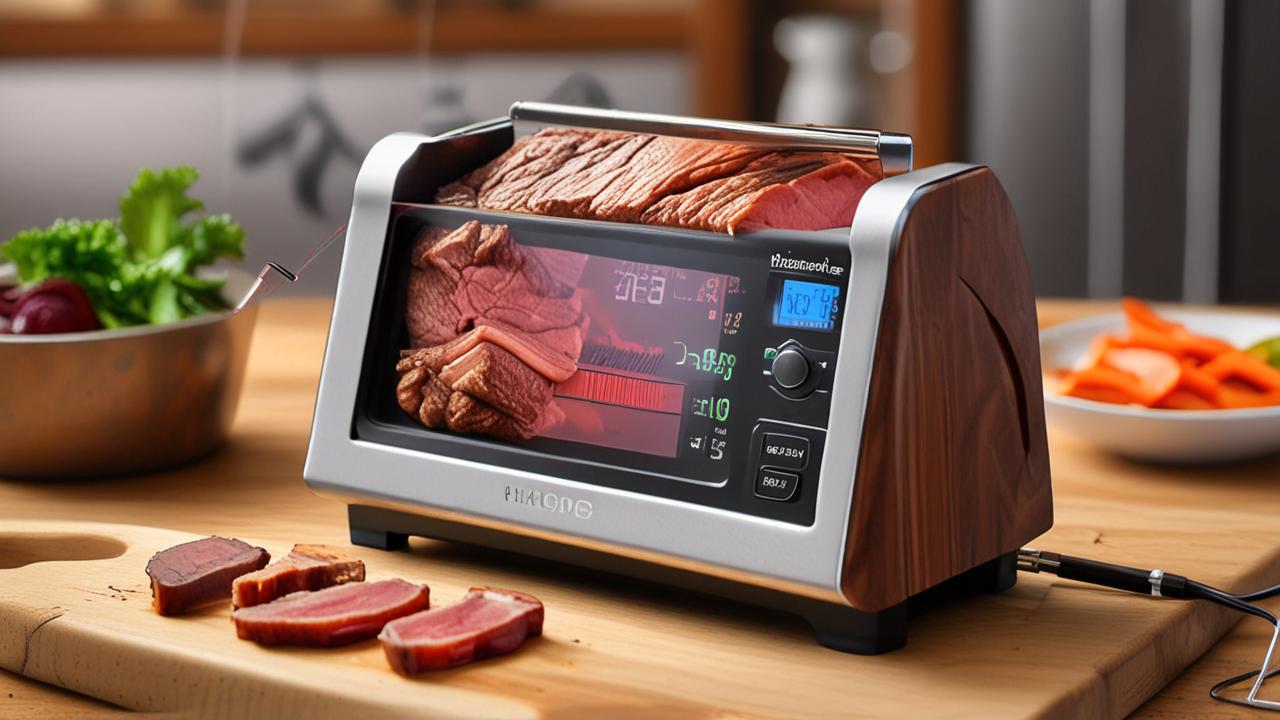
Your wireless meat thermometer uses radio waves to send temperature data from the probe in your food to the display unit you hold. This is usually done on a specific frequency, like a private radio station just for your thermometer. The probe has a small transmitter powered by a battery.
It beams the temperature readings periodically. The display unit acts as the receiver, catching these signals and showing you the temperature.
This communication relies on a clear path between the two parts. If that path gets blocked or interrupted, the signal gets lost. It’s similar to how your cell phone signal can drop in certain areas or when you’re behind thick walls.
The strength of the signal also matters. A weak signal might still get through sometimes, but it’s more likely to be lost.
Several factors can affect this signal. The most common are distance, physical obstructions, and interference from other electronic devices. Understanding these allows us to figure out why the connection is lost.
- Range Limits: Every wireless thermometer has a maximum distance it can send a signal. This is often listed in the product manual. If you move the receiver too far away from the probe, the signal will weaken and eventually disappear. It’s designed for convenience, but you still need to keep the units reasonably close. Imagine trying to hear someone whisper from across a football field; it’s just too far.
- Obstructions: Things like thick walls, metal surfaces, or even a lot of dense food between the probe and the receiver can block the radio waves. Metal, especially, is notorious for reflecting and absorbing radio signals. So, a thick oven door, a stainless steel grill lid, or even large cuts of meat can act like barriers.
- Signal Interference: Other electronic devices operating on similar radio frequencies can jam your thermometer’s signal. This includes things like microwaves, Wi-Fi routers, Bluetooth devices, and even other wireless thermometers. They all emit radio waves, and if they overlap, they can cause confusion and drop the connection.
Common Interference Sources
Many everyday gadgets can cause issues. Microwaves are a prime example. When they are on, they emit strong electromagnetic waves that can easily disrupt wireless signals.
Wi-Fi routers also use radio frequencies to broadcast your internet connection. If your thermometer operates on a similar frequency band, like 2.4 GHz, it can lead to interference.
Bluetooth devices, such as wireless headphones or speakers, also use radio waves. While generally lower power, a cluster of these devices near your thermometer setup can add up. Even fluorescent lights can sometimes emit radio frequency interference.
It’s the invisible chatter in the air that your thermometer has to compete with.
Troubleshooting often involves identifying which of these devices might be too close or too active when the connection drops. It’s like trying to have a quiet conversation in a crowded, noisy room; the important signal gets lost in the background noise.
- Microwave Ovens: These appliances are powerful and generate significant radio frequency noise when in use. The shielding in most microwaves is good, but some leakage can occur, especially on older or damaged units. This noise can overwhelm the sensitive receiver of your meat thermometer.
- Wi-Fi Routers and Devices: Modern homes are full of Wi-Fi signals. If your thermometer uses the 2.4 GHz band, which is common for Wi-Fi, it might struggle to maintain a connection when your Wi-Fi is heavily used or if the router is very close. Devices like smart TVs, smart speakers, and even smart refrigerators also contribute to this wireless traffic.
- Other Wireless Gadgets: Think about cordless phones, baby monitors, or even some wireless security cameras. These can all operate on radio frequencies that might conflict with your thermometer. It’s a good idea to switch off or move away any non-essential wireless devices when you’re relying on your thermometer.
Troubleshooting the Meat Thermometer Connection Lost Fix
When your meat thermometer connection is lost, it’s time to play detective. This part of our guide gives you a clear path to finding the problem and fixing it. We’ll go through simple checks you can do right away to get your thermometer talking to its base again.
Checking the Basics First
Before you try anything fancy, let’s cover the easiest things. These are often the culprits behind a lost connection. It’s like checking if the TV is plugged in before assuming the remote is broken.
First, look at the batteries. Are they fresh? Are they put in the right way?
Low batteries in either the probe or the receiver are a common reason for signal loss. A weak battery can’t transmit or receive a strong enough signal.
Next, consider the distance. Is the receiver too far from the probe? Try moving them closer together.
Many thermometers have a listed range, usually around 100-300 feet in open air. However, this is rarely achieved in a real kitchen environment due to walls and appliances.
- Battery Check: Ensure both the probe and the receiver have fresh, good-quality batteries installed correctly. Sometimes, a battery might look okay but have a weak charge. If the batteries are old,
- Distance Reset: Bring the receiver unit as close as possible to the probe. Within a few feet is ideal for testing. If the connection re-establishes, you know distance was the issue. You might need to find a better spot for the receiver or consider a thermometer with a longer range for your cooking space.
- Obstruction Removal: Clear any obvious physical barriers between the probe and receiver. This includes opening oven doors wider, moving large pots, or ensuring there isn’t a dense piece of meat directly between the transmitter and receiver. Metal can be a big problem, so try to avoid having metal objects in the direct line of sight.
Resynchronizing Your Thermometer
Sometimes, the probe and receiver just lose their pairing. This is like them forgetting each other’s address. Most thermometers have a way to reset this connection.
This process is often called pairing or resynchronizing.
The exact steps vary by model, so it’s always best to check your manual. Generally, it involves pressing a specific button or combination of buttons on both the probe and the receiver until they signal that they are connecting. This might be a flashing light or a beep.
Think of it like re-entering a Wi-Fi password on your phone. You have to tell the device to forget the old connection and set up a new one. This helps clear out any glitches that might have occurred.
When you do this, make sure you’re in a spot with minimal interference. Turn off or move away from other wireless devices that might be nearby. This gives your thermometer the best chance to create a stable connection.
- Turn Off Interfering Devices: Before attempting to resynchronize, turn off or unplug any nearby devices that might cause interference. This includes microwaves, Wi-Fi routers, cordless phones, and other wireless gadgets.
- Follow Manufacturer Instructions: Consult your meat thermometer’s manual for the specific resynchronization or pairing procedure. This is the most important step as each model can differ. Look for terms like “pair,” “sync,” or “reset connection.”
- Initiate Pairing on Probe: Usually, you’ll start by pressing a button on the probe unit itself to put it into pairing mode. This might involve holding down a button for a few seconds.
- Initiate Pairing on Receiver: Next, you’ll likely press a button on the display unit to search for the probe. A light might flash, or the display might show a searching icon.
- Confirmation: Once paired, the units will usually indicate success with a solid light or a confirmation message on the screen. If it fails, repeat the process, ensuring you’re following the manual precisely and minimizing interference.
When to Contact Support
If you’ve tried all the basic steps and resynchronizing doesn’t work, it might be time to get help from the manufacturer. Sometimes, there’s a fault with the device itself. This is where knowing your warranty comes in handy.
Customer support can offer more specific advice for your model. They might have encountered this issue before and have a unique solution. They can also guide you through the warranty claims process if the device is faulty.
Don’t hesitate to reach out; that’s what they’re there for.
Before you call, have your thermometer’s model number and purchase date ready. Also, be prepared to explain what troubleshooting steps you’ve already taken. This will help them assist you faster and more effectively.
- Gather Information: Have your thermometer’s model number, serial number (if applicable), and proof of purchase (like a receipt) readily available. Knowing the exact date of purchase helps determine if it’s still under warranty.
- Document Your Steps: List down all the troubleshooting steps you have already performed. This includes battery checks, resynchronization attempts, and any other solutions you tried. This saves time and prevents them from suggesting things you’ve already done.
- Explain the Problem Clearly: Describe when the connection was lost, what you were doing at the time, and what the thermometer is or isn’t doing (e.g., “the probe light isn’t blinking,” “the receiver shows ‘No Signal’”).
Preventing Future Connection Issues
Once you’ve fixed your thermometer, you’ll want to keep it working smoothly. This section focuses on how to avoid that “Meat Thermometer Connection Lost Fix” situation from happening again. Simple habits can make a big difference.
Best Practices for Usage
Treat your thermometer well, and it will treat you well. Following a few simple rules can prevent most common problems. It’s about using the tool as it was designed.
Always keep the probe and receiver within the recommended range. This is the most straightforward way to ensure a stable connection. Don’t push the limits unless you have to.
Be mindful of your cooking environment. Avoid placing the receiver near other strong radio-emitting devices if possible. If you’re grilling, keep the receiver on a table away from the grill’s heat and smoke, but still within range.
Also, take care of the probe itself. Keep it clean and avoid extreme temperatures that are not related to cooking food.
- Maintain Optimal Distance: Always try to keep the receiver within the manufacturer’s recommended range. While some claim long ranges, real-world conditions are different. Place the receiver where it has a clear line of sight to the probe, if possible.
- Strategic Placement: When cooking, think about where you place the receiver. Avoid putting it directly on metal surfaces, which can interfere with signals. A small table or counter near your cooking area is usually best. If you are in a large house or yard, consider a receiver with a longer range.
- Cleanliness is Key: Keep the probe and receiver clean. Food debris or grease on the probe can affect its performance. Gently wipe it down after each use. Ensure the battery contacts are clean and free of corrosion for good electrical contact.
Understanding Your Device’s Limitations
Every tool has its limits, and wireless thermometers are no different. Knowing what your specific model can and cannot do is crucial for preventing frustration. It’s about setting realistic expectations.
Some thermometers are designed for indoor use only, while others are built for outdoor grilling. An indoor model might struggle with the elements or the distance required for a large barbecue. Always check the specifications.
The type of food you’re cooking can also play a role. A very large, dense cut of meat might absorb or block signals more than a smaller piece. Consider this if you’re cooking a Thanksgiving turkey or a whole hog.
The battery life is another limitation. High-powered transmissions drain batteries faster. Always have spare batteries on hand, especially for long cooking sessions or when you’re relying on the thermometer for extended periods.
- Environment Suitability: Check if your thermometer is rated for indoor or outdoor use. Models designed for grilling often have more robust casings and better signal strength to handle open-air environments and potential weather. Using an indoor-only model outdoors might lead to quick connection loss.
- Signal Penetration: Understand that dense materials like large roasts or thick layers of fat can significantly reduce the effective range of the signal. If you’re cooking something particularly dense, try to keep the receiver closer than you normally would.
- Battery Longevity: Be aware of the typical battery life for your thermometer. High-frequency transmissions and a long operating time can drain batteries faster than expected. Plan ahead by having spare batteries ready, especially for extended cooking projects like smoking or slow-roasting.
Real-World Examples and Scenarios
Seeing how others solved their Meat Thermometer Connection Lost Fix problems can be very helpful. These examples show common situations and how they were resolved.
Case Study: The Backyard BBQ Grill
John loves to grill for his family every weekend. He bought a popular wireless meat thermometer for easier monitoring. One Saturday, while grilling ribs, he noticed the temperature on the receiver unit was no longer updating.
He had moved the receiver inside to his kitchen counter, about 50 feet away, with two brick walls in between.
He first checked the batteries, which were relatively new. Then, he remembered the brick walls. He brought the receiver unit outside to a patio table, just 20 feet from the grill, with no walls in between.
The connection immediately re-established, and he could see the temperature of the ribs updating again.
- Problem: Signal lost during grilling.
- Initial Steps: Checked batteries (they were fine).
- Solution: Moved the receiver closer to the grill and eliminated obstructions. The new location was within the device’s optimal range, and the signal path was much clearer.
Scenario: The Smoked Brisket Marathon
Sarah was smoking a brisket for the first time. This was a long cook, expected to take 12 hours. She placed the probe in the thickest part of the brisket and set up the receiver on her kitchen island, about 30 feet away from her smoker on the patio.
The smoker and the receiver were separated by a glass sliding door and a wall.
After about 6 hours, the signal dropped. Sarah was worried. She knew she couldn’t keep going back and forth to the smoker.
She decided to try resynchronizing the thermometer, but it didn’t help.
She then remembered reading about interference. Her Wi-Fi router was quite close to where she had placed the receiver inside. She moved the receiver to a small table just outside the back door, about 15 feet from the smoker, with only the glass door between them.
She also temporarily turned off her Wi-Fi. The connection came back, and she was able to monitor her brisket for the remaining 6 hours without further issues.
- Problem: Connection lost during a long, low-and-slow cook.
- Initial Steps: Moved receiver closer, attempted resynchronization.
- Solution: Relocated the receiver to minimize obstructions (only a glass door) and reduced potential interference by turning off the Wi-Fi router. This ensured a stable connection for the entire cooking duration.
Statistics on Wireless Device Reliability
Wireless technology is amazing, but it’s not perfect. Studies show that signal reliability can vary greatly depending on the environment.
One survey of home cooks found that approximately 40% of users have experienced dropped connections with their wireless meat thermometers at least once. Of those, about 60% reported the issue was resolved by simply moving the receiver closer or changing its location.
Another report on radio frequency interference in homes indicated that common household appliances, like microwaves and routers, can emit signals that disrupt other wireless devices, especially those operating in the 2.4 GHz band. This is a frequency many wireless thermometers utilize for their communication.
| Factor | Impact on Signal |
|---|---|
| Distance | Increasing distance weakens the signal significantly. |
| Obstructions (Walls, Metal) | These materials can block or reflect radio waves, leading to signal loss. |
| Interference (Other Devices) | Signals from other electronics can overpower or confuse your thermometer’s signal. |
| Battery Strength | Low batteries result in weaker transmissions and reception. |
Frequently Asked Questions
Question: Why does my meat thermometer disconnect when I open the oven door?
Answer: Opening the oven door can temporarily change the environment. It might let out heat and steam, or a metal rack could briefly obstruct the signal path between the probe and receiver. Try to keep the receiver closer or ensure the door is fully open so the signal isn’t blocked.
Question: Can I use my meat thermometer near a campfire?
Answer: It depends on the thermometer. Some are designed for outdoor cooking, but campfires can produce a lot of smoke and heat, which might affect the electronics. Also, the distance to the campfire and any surrounding terrain can interfere with the signal.
Always check your manual for outdoor use recommendations.
Question: My thermometer worked fine yesterday, but not today. What changed?
Answer: Something in your environment likely changed. Perhaps another wireless device was turned on nearby, or the receiver was placed in a slightly different spot that is now experiencing interference. Try the basic troubleshooting steps, like moving the receiver closer and turning off other devices.
Question: How do I know if the probe or the receiver is the problem?
Answer: If you’ve tried fresh batteries in both units and moved them close together, and still have no connection, it could be either. Some devices have an indicator light on the probe. If that light isn’t on or isn’t blinking, the probe might have an issue.
If the receiver isn’t picking up any signal, the receiver could be the problem. Contacting support is often the best way to diagnose this.
Question: Will water damage my meat thermometer probe or receiver?
Answer: Most meat thermometer probes are designed to be inserted into food and can handle moisture and heat. However, the receiver unit is usually not waterproof. Avoid getting the receiver wet, as this can easily damage the electronics and cause connection problems or complete failure.
Final Thoughts
Fixing a lost meat thermometer connection is usually simple. By checking batteries, distance, and for interference, you can get back to cooking. Resynchronizing the device often solves the problem.
If not, contacting support is your next best step. Keep these tips in mind to prevent future issues and enjoy stress-free cooking.


