
It’s super common for folks starting out with cooking to see their meat thermometer giving different readings. You might check the same spot twice and get a different number, or maybe one part of the meat seems done while another doesn’t. This can make you second-guess yourself, but don’t worry!
It’s usually not a big deal and there are simple reasons why this happens. We’ll walk through exactly what to do to get reliable temperatures every time, so you can cook with confidence. Get ready to learn some easy fixes!
Why Your Meat Thermometer Giving Different Readings Is Normal
Seeing different temperatures from your meat thermometer can be confusing, especially when you’re trying to get that perfect cook. This happens more often than you might think for several reasons, and it doesn’t mean your thermometer is broken or that you’re doing something wrong. Understanding these common issues is the first step to solving them.
We’ll look at why these variations occur and what you can do to get accurate, consistent results. This section will lay the groundwork for all the practical tips that follow.
Understanding Probe Placement
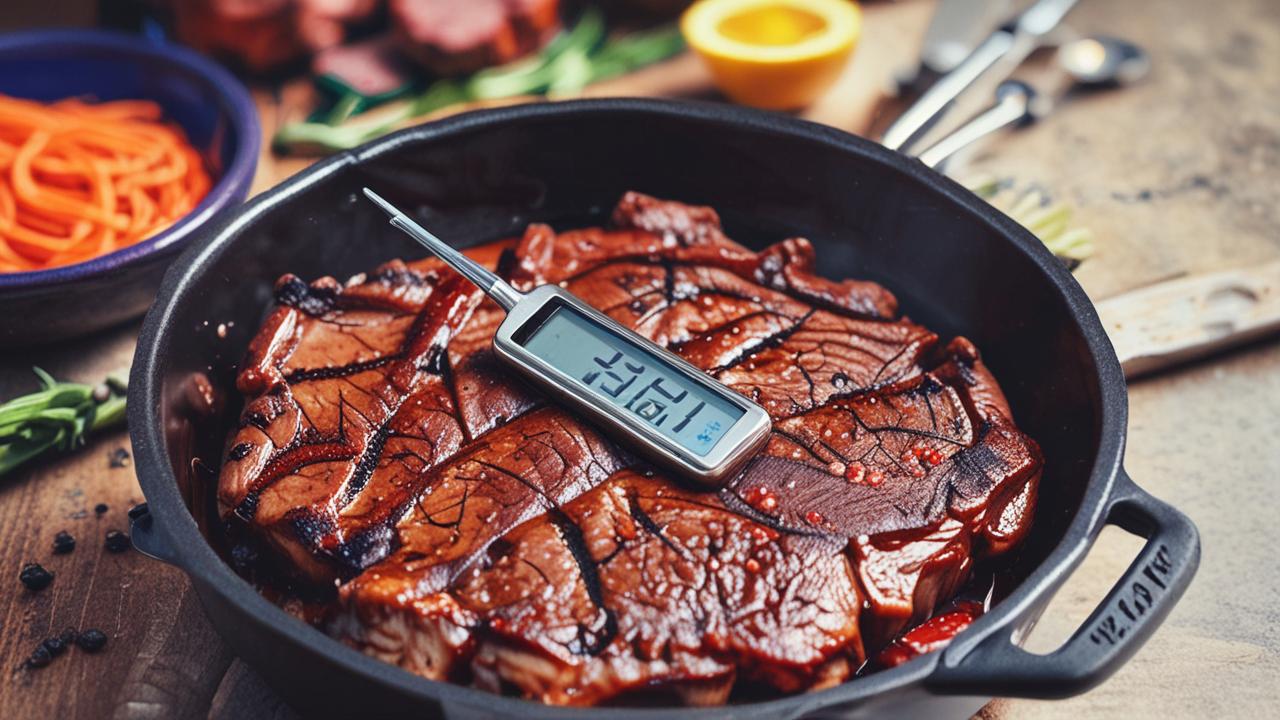
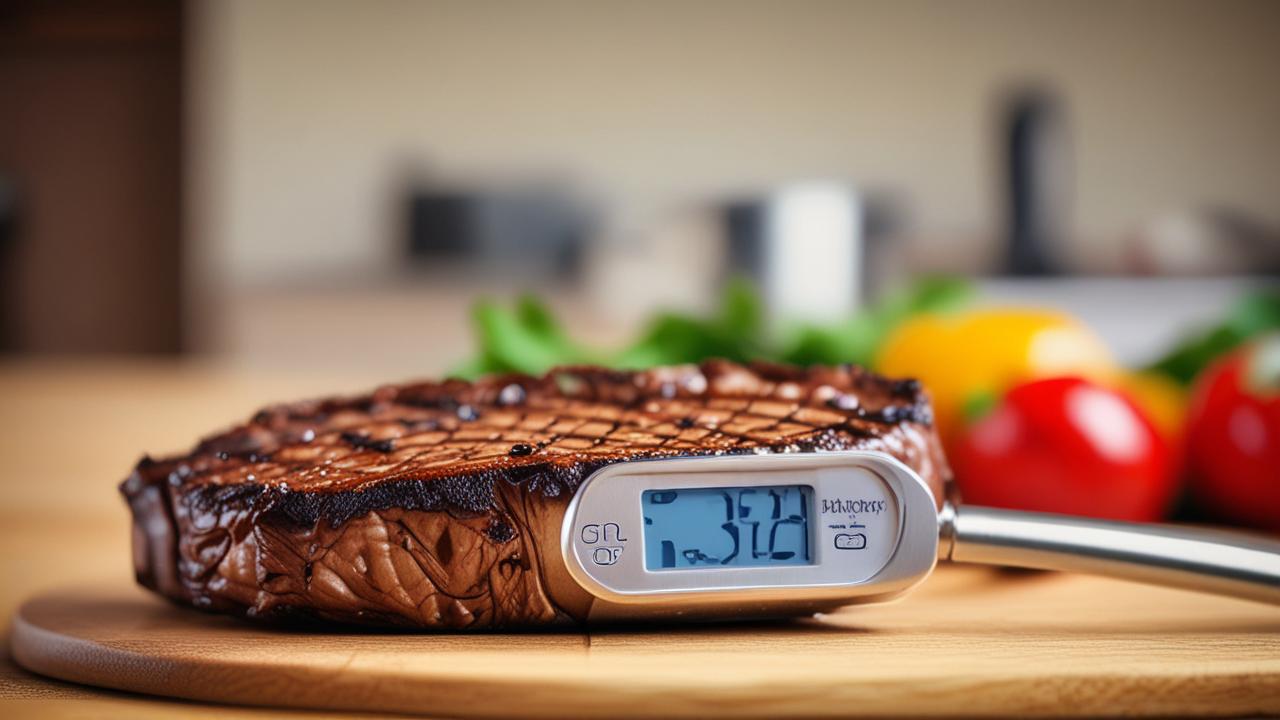
The most frequent cause of a meat thermometer giving different readings is where you place the probe. Meat isn’t always the same temperature throughout. Different parts of the animal might cook at different rates.
Thick cuts of meat, like a roast or a whole chicken, have areas that are closer to the heat source and areas that are further away. Fat and bone also affect temperature distribution.
- Thick vs. Thin Parts: Always insert the thermometer into the thickest part of the meat. Avoid touching bone or large pockets of fat. Bone conducts heat differently than meat, and fat insulates. This can lead to readings that are too low or too high compared to the actual meat temperature. For example, if you’re cooking a chicken breast, the thickest part is usually near the center, while the tip cooks faster.
- Layering of Meat: In larger cuts, there can be distinct layers. The outer layers are exposed to direct heat and will be hotter. The inner core cooks through indirect heat and will be cooler. Measuring in these different layers naturally yields different numbers. This is why it’s crucial to find the average temperature in the thickest part.
- Uneven Cooking: Ovens or grills can have hot spots. If you’re cooking on a grill, one side might be getting more direct heat than the other. Even in an oven, the air circulation isn’t always perfectly uniform. This means different parts of the meat, even if equidistant from the heat source, can cook at slightly different speeds.
Factors Affecting Thermometer Accuracy
Beyond where you stick the probe, other aspects of your thermometer and how you use it can contribute to a meat thermometer giving different readings. Even a good thermometer needs proper care and handling to be reliable. Simple mistakes can lead to inaccurate results, making you think your meat is done when it’s not, or vice versa.
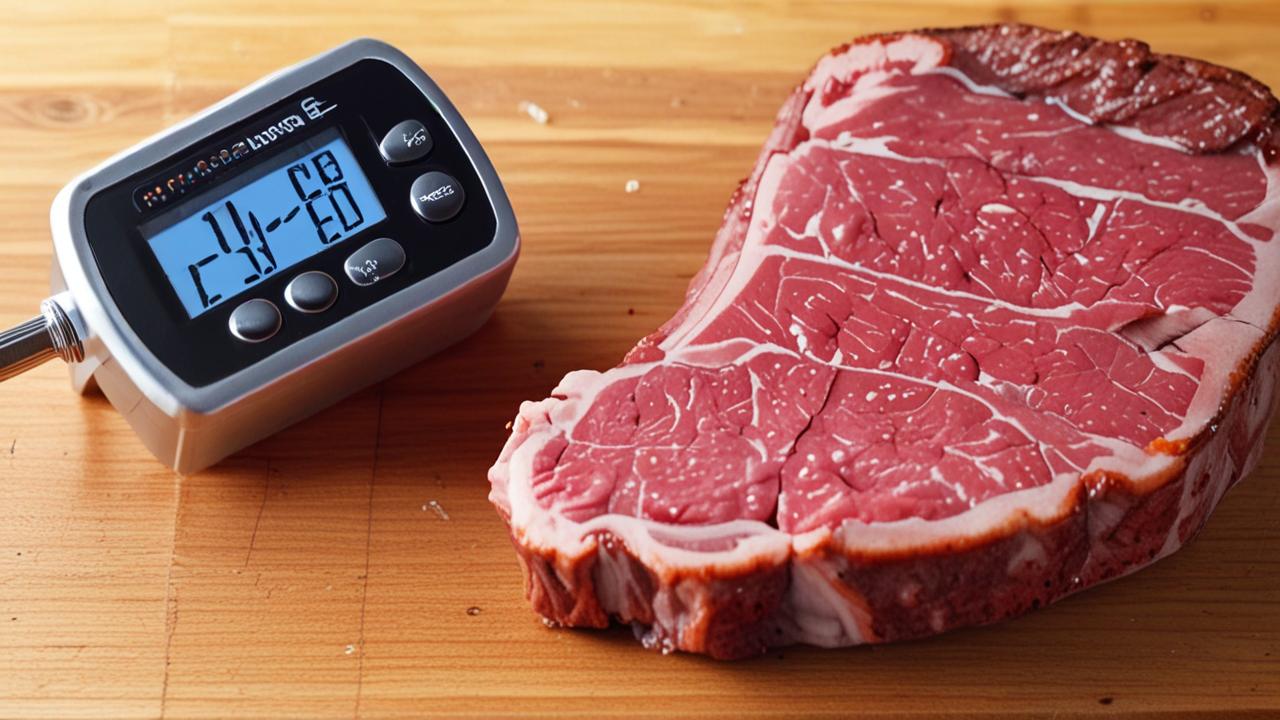
- Calibration Issues: Some digital thermometers can go out of calibration over time. This means the number they show might not be the exact temperature. Many thermometers can be recalibrated at home. For instance, an ice bath test is a common way to check calibration. If the thermometer doesn’t read 32°F (0°C) in ice water, it might need adjustment or might be faulty.
- Probe Type and Condition: The type of probe matters. Thin probes generally react faster. A bent or damaged probe might not make proper contact with the meat, leading to inaccurate readings. Also, if the probe tip itself is dirty or has residue from previous use, it can affect its ability to measure temperature accurately.
- Battery Power: For digital thermometers, low battery power can cause erratic readings. The display might flicker, or the numbers could jump around unpredictably. Always ensure your thermometer has fresh batteries before you start cooking a critical dish.
Temperature Zones in Food
When we talk about meat, it’s important to remember that heat doesn’t always penetrate perfectly evenly. This is a fundamental concept for anyone dealing with a meat thermometer giving different readings. Different parts of the food will naturally be at different temperatures at any given moment.
Think about baking a cake. The edges often get done before the center. The same principle applies to meat.
The exterior is exposed to direct heat, so it heats up much faster than the interior. This temperature gradient is normal.
- Surface vs. Interior: The surface of the meat is in direct contact with heat (from an oven, grill, or pan). This part will reach higher temperatures quickly. As you move deeper into the meat, the temperature gradually decreases because the heat has to travel through the cooler layers to get there.
- Resting Period: After cooking, meat continues to cook for a short while. This is called carry-over cooking. The internal temperature might rise a few degrees after you remove it from the heat. This is why recipes often suggest removing meat from the heat when it’s a few degrees below the target temperature.
- Cooler Spots: In larger roasts or poultry, areas near the bone or in thicker parts might lag behind in temperature. These cooler spots are often the last to reach the desired doneness. This is precisely why multiple checks in the thickest part are recommended.
Solutions for Inconsistent Thermometer Readings
Dealing with a meat thermometer giving different readings is a common cooking challenge, but it doesn’t have to be frustrating. With a few simple techniques, you can ensure you’re getting the most accurate temperature information. These methods are designed to help you understand your food and your thermometer better, leading to perfectly cooked meals every time.
Mastering Probe Placement Techniques
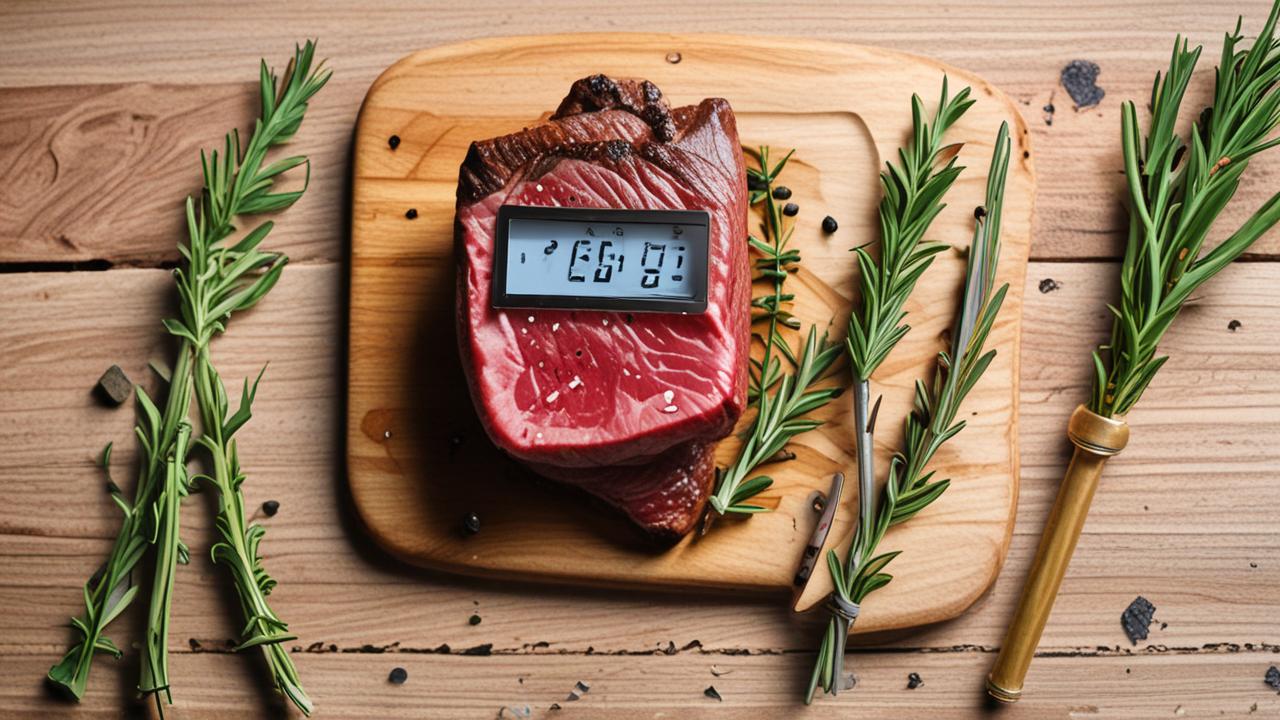
Proper probe placement is the single most important factor in getting accurate temperature readings from your meat thermometer. If you’re not placing the probe correctly, even the best thermometer will give you confusing numbers. Let’s break down how to find the sweet spot for reliable results.
- Identify the Thickest Part: Always aim for the center of the thickest section of the meat. For a steak or chop, this is typically the middle. For a whole chicken, it’s the thickest part of the thigh, not touching the bone. For a roast, find the bulkiest area.
- Avoid Bones and Fat: Make sure the probe tip is not touching any bone. Bones heat up faster than meat and can give a falsely high reading. Similarly, avoid large pockets of fat. Fat doesn’t conduct heat as well as muscle tissue, and a reading in fat can be misleadingly low.
- Insert at an Angle: For thicker cuts, insert the probe at a slight angle, ensuring it’s deep enough to reach the center without poking out the other side. This gives you a reading of the internal temperature, not just the surface or a shallow part.
- Multiple Checks: For larger or thicker cuts, it’s wise to take readings in a couple of different spots within the thickest area. This helps you get an average temperature and ensures there are no significant cold spots. If you see a range of temperatures, the higher ones are often close to the final temp after resting.
Testing and Maintaining Your Thermometer
Ensuring your thermometer is working correctly is key to solving the puzzle of a meat thermometer giving different readings. A thermometer that’s out of calibration or not functioning properly will always provide inaccurate information, no matter how well you place it. Regular checks and simple maintenance can prevent a lot of frustration.
- The Ice Bath Test: This is the simplest way to check your digital thermometer’s accuracy. Fill a glass with crushed ice and water. Stir it well for about 30 seconds to ensure it’s evenly chilled. Submerge the probe in the ice water, making sure it doesn’t touch the sides or bottom of the glass. A properly calibrated thermometer should read 32°F (0°C). If it’s off by more than a degree or two, you might need to recalibrate or consider replacing it.
- Boiling Water Test: Similarly, you can test in boiling water. At sea level, boiling water registers at 212°F (100°C). Submerge the probe in rapidly boiling water. It should read close to 212°F. Altitude can affect boiling point, so if you live at high altitude, you may need to adjust your expectation slightly.
- Cleaning and Storage: Always clean your thermometer probe after each use with warm, soapy water or according to the manufacturer’s instructions. Dry it thoroughly. Store it in a safe place where the probe won’t be damaged. A bent or scratched probe is less likely to give accurate readings.
Utilizing Different Thermometer Types
Not all meat thermometers are created equal, and choosing the right type for the job can also help with a meat thermometer giving different readings. Each type has its own strengths and weaknesses, and understanding these can help you get better results.
- Instant-Read Thermometers: These are typically digital and provide a quick temperature reading within a few seconds. They are great for spot-checking throughout the cooking process. Their fast response time is a major advantage.
- Leave-In Thermometers: These have a probe that stays in the meat during cooking and a cable connecting to a display unit outside the oven or grill. They are excellent for long cooks like roasts or turkeys because you can monitor the temperature without opening the oven door, which lets heat escape. This helps maintain a consistent cooking environment.
- Oven-Safe Thermometers: Some analog or dial thermometers are designed to be placed directly in the oven. While they can give a general idea of the meat’s temperature, they are often less precise than digital instant-read models and can be slow to respond.
Case Studies: Real-World Scenarios
Seeing a meat thermometer giving different readings is a common experience, and understanding how it plays out in real cooking situations can be very helpful. These examples show how the principles we’ve discussed apply when you’re actually in the kitchen.
Scenario 1: The Overcooked Chicken Breast
Sarah was trying to make her famous grilled chicken breasts for a barbecue. She was using a digital instant-read thermometer and kept checking the thickest part. However, she noticed the temperature seemed to jump around a bit, and she wasn’t sure if she should trust the numbers.
She got a reading of 160°F, then a minute later, 168°F, then 172°F. Worried she was undercooking it, she kept it on the grill longer.
When she finally took it off, the chicken was dry and tough. What happened? Sarah was likely checking slightly different parts of the chicken breast with each , ensuring it wasn’t near the surface, she would have gotten a more consistent reading and removed the chicken at the right time, around 165°F, for a more tender result.
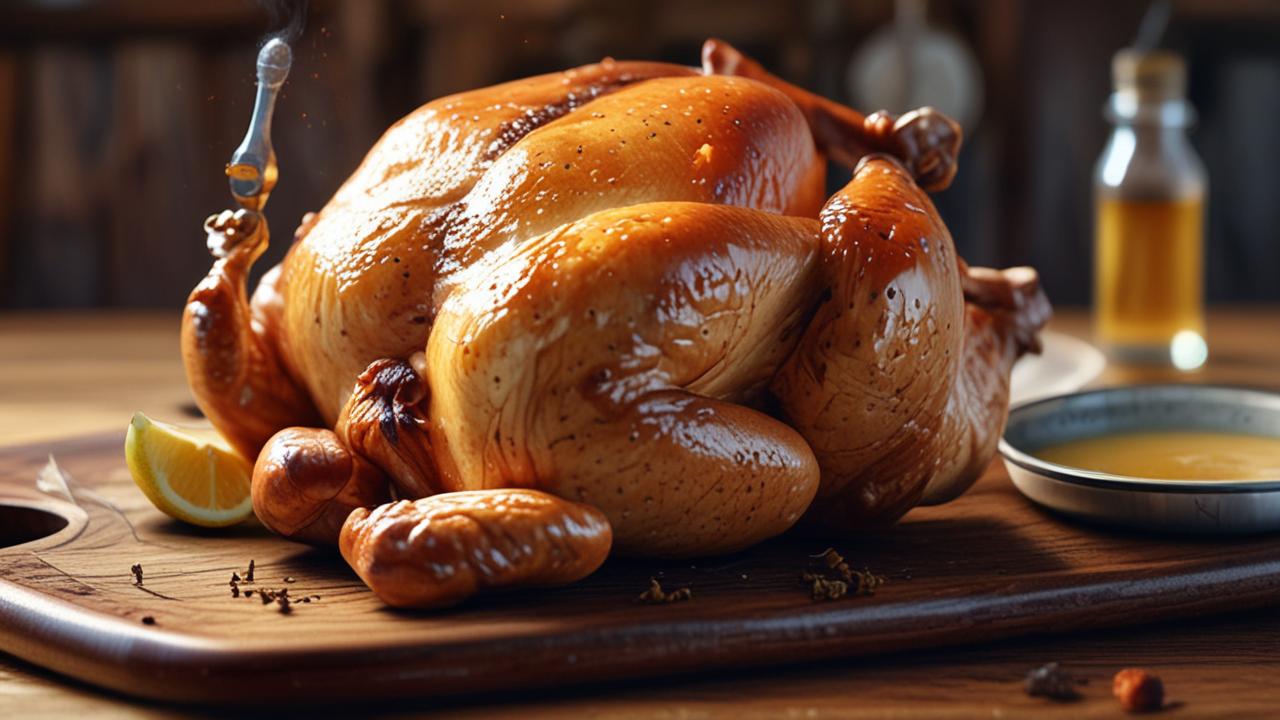
Scenario 2: The Perfectly Roasted Turkey
Mark was roasting a whole turkey for Thanksgiving. He was concerned about a meat thermometer giving different readings, so he decided to use a leave-in probe thermometer. He inserted the probe into the thickest part of the thigh, carefully avoiding the bone.
The display unit, which he placed on the counter, showed the temperature steadily rising.
He watched it climb from 130°F to 155°F. When the display hit 165°F, he took the turkey out of the oven, knowing the temperature would continue to rise as it rested. The turkey came out moist and delicious, with the thigh meat perfectly cooked to 170°F after resting, and the breast meat was also a safe and juicy 165°F.
Mark’s success came from using a thermometer that allowed continuous monitoring without opening the oven, and most importantly, precise placement in the deepest part of the turkey.
Scenario 3: Unevenly Cooked Salmon Fillets
Jessica was grilling salmon fillets. She knew salmon cooked quickly but wanted to ensure it was done all the way through. She used an instant-read thermometer and checked several pieces.
She noticed one fillet read 135°F, while another right next to it read 145°F. She pulled them both off the grill.
The first fillet was perfectly flaky. The second one, however, was slightly overcooked on one side. The issue here was likely the thickness variation between the fillets and potentially hot spots on the grill.
One fillet might have been slightly thinner or closer to a hotter part of the grill. For delicate fish like salmon, it’s often best to rely on visual cues like the flesh flaking easily with a fork, or aiming for a specific temperature (around 140-145°F for salmon) in the thickest part of the thinnest fillet, and then removing all fillets once that target is met.
Statistics on Thermometer Use
Understanding how people use thermometers and the results they get can shed light on why a meat thermometer giving different readings is such a common topic.
| Survey Question | Percentage of Respondents |
|---|---|
| Use a meat thermometer for all cooked meats | 65% |
| Have experienced inconsistent readings from their thermometer | 40% |
| Believe thermometer readings are vital for food safety | 85% |
| Regularly check thermometer calibration | 20% |
These numbers suggest that while many people use thermometers, a significant portion still encounters issues. The low percentage of regular calibration checks points to a potential reason for inconsistent readings. Many home cooks rely on their thermometer without verifying its accuracy, which can lead to confusion.
Data from food safety organizations shows that improper cooking temperatures are a leading cause of foodborne illnesses. For instance, a report from the CDC indicated that in a study of restaurant kitchens, 1 in 4 food handlers did not wash their hands before preparing food. While not directly related to thermometer readings, it highlights a general area where precise practices can be inconsistent.
Regarding cooking temperatures, research by the USDA has found that a significant number of home cooks admit to not always using a thermometer, relying instead on visual cues, which can be unreliable.
Tips for Accurate Temperature Taking
Getting accurate temperature readings is the goal when you’re cooking. By following a few simple practices, you can overcome the challenge of a meat thermometer giving different readings and achieve consistently delicious results. These tips are easy to implement and make a big difference.
- Allow Meat to Rest: Always let your meat rest after cooking, for at least 5-10 minutes for smaller cuts and up to 20 minutes for larger roasts. During this time, the internal temperature can rise by 5-15°F (carry-over cooking). This is why you should pull meat from the heat when it’s a few degrees below your target temperature.
- Know Your Target Temperatures: Different meats and cuts have different safe and ideal final temperatures. For example, ground beef should reach 160°F (71°C) for safety, while a medium-rare steak can be as low as 130-135°F (54-57°C). Knowing these targets helps you interpret your thermometer readings.
- Use a Reliable Thermometer: Invest in a good quality digital instant-read thermometer. They are generally more accurate and faster than analog models. Look for one that is well-reviewed and known for its speed and reliability.
- Be Patient and Consistent: Don’t rush the process. Take your time to find the thickest part of the meat and insert the probe correctly. Taking multiple readings in slightly different spots can give you a better overall picture, but aim for consistency in your technique.
Frequently Asked Questions
Question: Why does my meat thermometer read differently each time I check the same piece of meat?
Answer: This is usually because the meat’s temperature isn’t uniform. Different parts cook at different rates. Also, how you insert the probe—whether it hits bone, fat, or is too shallow—can change the reading.
Even slight movements of the meat can affect the reading.
Question: Is it okay to use a meat thermometer that reads 5 degrees off in an ice bath?
Answer: For most cooking, a 5-degree difference might be acceptable. However, for food safety, especially with poultry or ground meats, it’s best to have a thermometer that reads very close to 32°F (0°C) in ice water. If it’s consistently off by a large amount, you might need to recalibrate or get a new one.
Question: How long should I leave the thermometer in the meat?
Answer: For instant-read thermometers, you only need to leave them in for a few seconds until the temperature reading stabilizes. For leave-in thermometers, they stay in the meat throughout the cooking process.
Question: Can the type of meat affect thermometer readings?
Answer: Yes. Fattier cuts or meat with bones can lead to different readings than lean cuts. Fat insulates, and bone conducts heat differently than muscle.
Always try to probe the thickest part of the muscle tissue, away from fat and bone.
Question: What if my digital thermometer battery is low?
Answer: A low battery can cause erratic or inaccurate readings. If you notice the display flickering or the numbers jumping, it’s a good sign the battery needs replacing. Always use fresh batteries for important cooks.
Summary
Seeing a meat thermometer giving different readings is normal, not a sign of a broken tool. Proper probe placement in the thickest part, away from bone and fat, is key. Test your thermometer with ice water to ensure accuracy.
Remember that meat cooks unevenly, and resting it allows temperatures to equalize. With these simple steps, you’ll get consistent, safe, and delicious results every time.


