
Figuring out when a whole chicken is cooked perfectly can seem tricky, especially for folks just starting out in the kitchen. You want that juicy, tender bird without any pink bits inside, but guessing can lead to undercooked meals or dry chicken. The good news is, there’s a simple tool to help: a meat thermometer.
This guide will show you exactly How to Use Meat Thermometer for Whole Chicken with easy steps. We’ll walk through everything you need to know so your next roast chicken is a guaranteed success. Let’s get started on making delicious chicken a breeze.
Understanding Meat Thermometers for Chicken
This section helps you get to know the basics of meat thermometers and why they are so important for cooking a whole chicken. We’ll talk about the different kinds you can find and what makes them work. Knowing this will give you confidence when you start using one.
Types of Meat Thermometers
There are a few main kinds of meat thermometers, and they all do the same job: tell you the inside temperature of your food. This helps make sure your chicken is safely cooked all the way through. Each type has its own way of working and its own good points.
Digital Instant-Read Thermometers
Digital instant-read thermometers are super popular because they are quick and easy to use. They have a metal probe that you stick into the thickest part of the chicken. A small screen on the handle shows the temperature in just a few seconds.
These are great for checking if your chicken is ready without waiting too long.
The probe is usually thin, which means it makes a small hole, and it doesn’t cook the meat around it. This is important for getting an accurate reading. They often have a long battery life and can be quite durable.
Many cooks prefer these for their speed and precision.
Dial Meat Thermometers
Dial meat thermometers have a round face with a needle that shows the temperature. They also have a probe you insert into the chicken. These are often a bit cheaper than digital ones and don’t need batteries.
However, they can take a little longer to give you a reading, sometimes up to a minute.
Some dial thermometers are designed to stay in the oven while the chicken cooks. These have a long probe and a dial that you can see through the oven door. This lets you monitor the temperature without opening the oven, which helps keep the heat steady.
Leave-In Probe Thermometers (Digital and Dial)
These thermometers have a probe that stays inside the chicken while it cooks. The display unit stays outside the oven, often connected by a wire. This is really handy because you can see the temperature change without opening the oven door.
It prevents heat loss and makes it easy to watch the cooking progress.
You can set an alarm on some of these models to let you know when the chicken reaches your desired temperature. This takes a lot of the guesswork out of cooking. They are perfect for busy cooks or for when you just want to relax and not worry about constant checking.
Why a Thermometer is Key for Chicken
Chicken needs to reach a safe internal temperature to kill any harmful bacteria, like salmonella. While you can tell if chicken is cooked by looking at the juices (they should run clear) or by checking the color, these methods aren’t always perfectly accurate. A thermometer takes the guesswork completely out of the picture.
Using a thermometer ensures that the deepest parts of the chicken, especially near the bone, reach the right temperature. This is often the last part to cook. For beginners, this is a game-changer.
It means you can be confident that your chicken is both safe to eat and perfectly cooked to your liking, whether you prefer it super juicy or a little more firm.
- Food Safety: The most important reason for using a thermometer is to ensure food safety. Undercooked chicken can harbor harmful bacteria that can make you sick. A thermometer guarantees that the chicken has reached a temperature where these bacteria are killed.
- Perfect Texture: Overcooked chicken can become dry and tough. By using a thermometer, you can pull the chicken out of the oven at precisely the right moment, ensuring it’s moist and tender. This precision makes a huge difference in the final taste and texture.
- Eliminates Guesswork: For those new to cooking, judging doneness by appearance or time alone can be stressful. A thermometer provides a clear, objective measure of doneness, removing all doubt and making the cooking process much more enjoyable.
Preparing Your Whole Chicken for Thermometer Use
Before you even think about are a few simple steps to get your chicken ready. Proper preparation helps ensure that your thermometer gives you the most accurate reading. This part is all about getting your bird prepped for its roast.
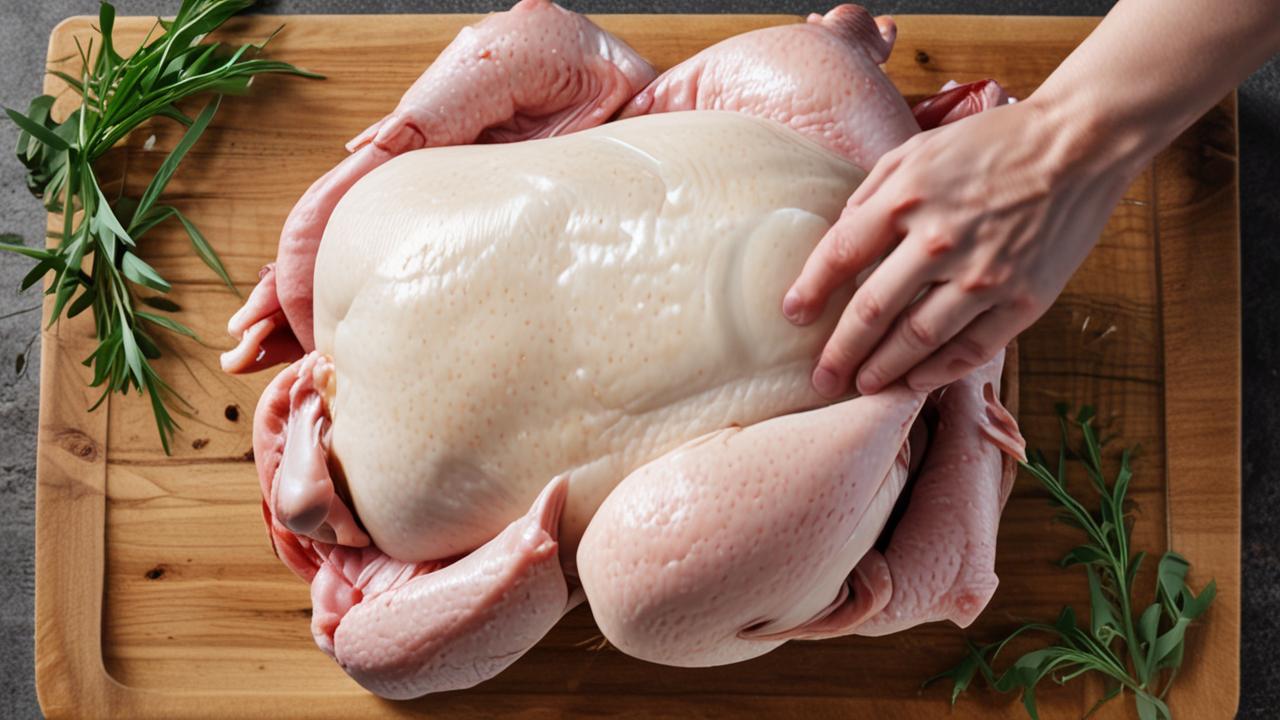
Checking and Preparing the Chicken
First, make sure your chicken is thawed if it was frozen. For even cooking, it’s best to let the chicken sit at room temperature for about 30 minutes before you cook it. This helps the heat distribute more evenly inside the bird.
Remove any giblets from the cavity if they are still inside.
Pat the chicken dry with paper towels, both inside and out. This helps the skin crisp up nicely in the oven. You can then season it with salt, pepper, herbs, or any other spices you like.
Some people like to tuck the wings under the body to prevent them from burning.
Preheating the Oven
Preheating your oven is a crucial step for any roasting. It ensures that when the chicken goes in, it starts cooking immediately at the correct temperature. Follow the recipe you are using for the exact oven temperature, but generally, 375°F (190°C) or 400°F (200°C) is common for whole chickens.
A properly preheated oven means the chicken’s exterior will brown nicely while the interior cooks through. If you put the chicken in a cold oven, it will cook unevenly, and you might end up with a pale, sad-looking bird that’s not cooked properly on the inside.
Placing the Chicken in the Roasting Pan
Once your chicken is prepped and seasoned, and your oven is hot, it’s time to put it in the roasting pan. You can place the chicken directly in the pan, or you can use a roasting rack. A rack allows air to circulate all around the chicken, helping it cook more evenly and get crispier skin on all sides.
If you don’t have a rack, you can make a bed of chopped vegetables like carrots, onions, and celery for the chicken to rest on. These vegetables will absorb the chicken’s juices and become delicious as they roast.
How to Use Meat Thermometer for Whole Chicken: Step-by-Step
This is the core of our guide. Here, we’ll break down exactly how to use your thermometer to check the doneness of your whole chicken. We will cover where to insert the thermometer and what temperatures to look for.
Finding the Thickest Parts
For a whole chicken, the best places to check the temperature are the thickest parts of the meat, making sure to avoid touching the bone. The thigh is usually the best spot. Gently separate the leg from the body a little bit to expose the deepest part of the thigh meat.
You can also check the breast meat. However, the breast often cooks faster than the thighs, so it’s best to rely on the thigh temperature for overall doneness. If the thigh is done, the breast usually is too, or it will be close.
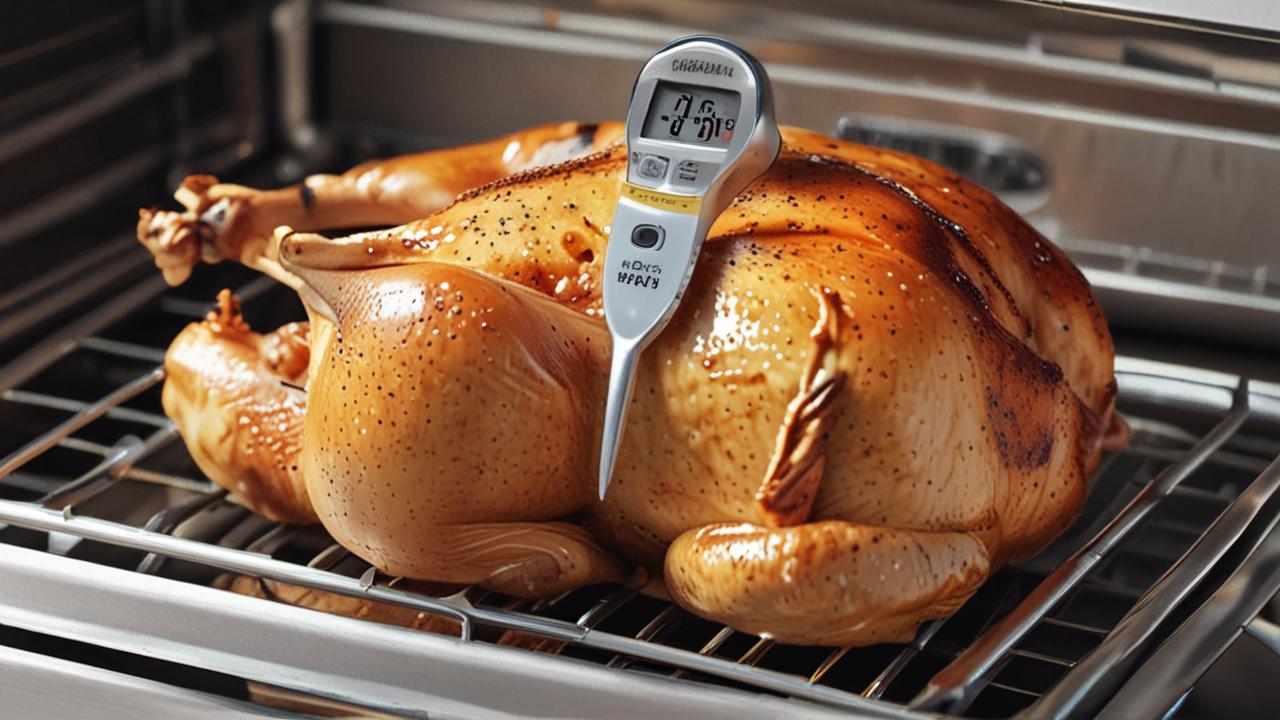
Inserting the Thermometer
Once you’ve found a thick part, insert the probe of your meat thermometer straight down into the meat. For instant-read thermometers, you only need to leave it in for a few seconds to get a reading. For dial thermometers that stay in, ensure the probe is fully submerged in the meat.
Make sure the tip of the thermometer is in the deepest part of the meat. If you hit a bone, pull the thermometer out slightly and try again. The temperature will be lower if you touch a bone because bones conduct heat differently than meat.
Reading the Temperature
For digital thermometers, the number on the screen will usually stabilize within a few seconds. For dial thermometers, you’ll need to wait a bit longer for the needle to settle on the correct temperature.
The safe internal temperature for chicken is 165°F (74°C). This temperature ensures that any harmful bacteria have been killed. You want to see this temperature in the thickest parts of the chicken, especially the thigh.
Checking Multiple Spots
It’s a good idea to check the temperature in a couple of different spots to be absolutely sure. Check the thickest part of one thigh, and then the thickest part of the other thigh. You can also check the thickest part of the breast meat.
If all these spots read at least 165°F (74°C), your chicken is cooked and safe to eat. If one spot is a little lower, you can let the chicken cook for a few more minutes and then check again.
- Target Temperature: Aim for an internal temperature of 165°F (74°C) in the thickest part of the thigh, avoiding the bone. This is the USDA-recommended temperature for poultry safety.
- Resting Period: After removing the chicken from the oven, let it rest for at least 15-20 minutes before carving. This allows the juices to redistribute throughout the meat, making it more moist and flavorful. The internal temperature will continue to rise slightly during this resting period.
- Visual Cues: While the thermometer is your primary guide, you can also look for clear juices. When you pierce the chicken with a fork or knife, the juices should run clear, not pink. This is a good secondary check.
What to Do If It’s Not Ready
If your thermometer shows a temperature below 165°F (74°C) in any of the checked spots, your chicken is not yet ready. Don’t worry! This is exactly why you’re using a thermometer.
Simply put the chicken back into the oven.
Continue cooking in 5-10 minute increments, checking the temperature after each interval. It’s better to cook it a little longer and ensure it’s safe than to serve it undercooked. Remember that ovens can vary, so your cooking time might be slightly different from a recipe.
Troubleshooting and Tips for Accurate Readings
Sometimes, you might encounter small issues when using a meat thermometer. This part offers solutions and extra tips to make sure you always get the best possible reading and the most delicious results.
Common Thermometer Mistakes
One common mistake is not inserting the thermometer deep enough into the meat. If the probe is too shallow, you won’t get an accurate reading of the chicken’s core temperature. Another mistake is touching the bone.
Bones are harder and heat up differently than muscle tissue, which can give you a false low or high reading.
Forgetting to calibrate your thermometer or not cleaning it between uses can also cause problems. If you’re using a dial thermometer, ensure it’s set to zero correctly. If you’re using a digital one, check the batteries.
Ensuring Accurate Temperature Checks
Always insert the thermometer into the thickest part of the thigh, away from any bone. If you’re using an instant-read digital thermometer, give it a moment to register the temperature. Don’t just quickly stab and pull it out.
If you’re unsure about a reading, especially if it’s close to 165°F (74°C), it’s always a good idea to check another spot or let it cook for another few minutes and check again. Clean the probe with hot, soapy water after each use to maintain hygiene and accuracy.
- Calibrating Your Thermometer: Some digital thermometers can be calibrated. If yours has this feature, check the manual for instructions. For dial thermometers, you can test them in boiling water (should read 212°F or 100°C) or ice water (should read 32°F or 0°C) to check accuracy.
- Meat Thermometer Placement: Always insert the probe into the center of the thickest part of the meat. For a whole chicken, this means the thickest part of the thigh, making sure the tip does not touch the bone. A bone can give an inaccurate reading because it heats up faster than the surrounding meat.
- Oven Hot Spots: Ovens can have hot spots, meaning some areas are hotter than others. If you notice one part of your chicken is browning much faster than another, you might need to rotate the pan halfway through cooking. This helps ensure even cooking and consistent internal temperatures.
Tips for a Delicious Roast Chicken
Beyond just using the thermometer, a few extra tips can make your roast chicken even better. Letting the chicken rest after cooking is key for juicy meat. This allows the juices to settle back into the meat fibers.
Don’t be afraid to brine your chicken. Brining, or soaking the chicken in a saltwater solution, helps it retain moisture and adds flavor. You can do this for a few hours or overnight.
Also, consider adding aromatics to the cavity, like lemon halves, garlic cloves, or herbs like rosemary and thyme.
Real-Life Example: Sarah’s Perfect Roast Chicken
Sarah, a home cook who used to dread roasting chicken, decided to get a digital instant-read thermometer. For years, she had relied on cooking times from recipes, but her chickens were often either slightly undercooked or dry.
One Sunday, she followed a recipe for roast chicken but decided to use her new thermometer. She seasoned the bird, popped it in the preheated oven, and every 15 minutes, she’d carefully insert the probe into the thickest part of the thigh.
The recipe suggested an hour and 45 minutes of cooking. However, Sarah’s thermometer read 160°F (71°C) at that mark. She kept it in for another 10 minutes.
When she checked again, the thigh registered a perfect 165°F (74°C). She let the chicken rest, and when she carved it, the meat was incredibly juicy and cooked through. She said it was the best roast chicken she had ever made, and she never felt nervous about cooking chicken again.
Frequently Asked Questions
Question: What is the safest internal temperature for cooked chicken?
Answer: The safest internal temperature for cooked chicken, including whole chicken, is 165°F (74°C). This temperature kills harmful bacteria like salmonella.
Question: Where is the best place to insert a meat thermometer in a whole chicken?
Answer: The best place is the thickest part of the thigh, ensuring the thermometer probe does not touch the bone. You can also check the thickest part of the breast.
Question: How long should I leave a digital instant-read thermometer in the chicken?
Answer: You only need to leave a digital instant-read thermometer in the chicken for a few seconds, usually until the temperature reading stabilizes on the display.
Question: What should I do if my chicken is not reaching 165°F (74°C)?
Answer: If the chicken is below 165°F (74°C), put it back in the oven and continue cooking in 5-10 minute intervals, checking the temperature after each interval until it reaches the safe temperature.
Question: Can I rely on the color of the juices to tell if chicken is cooked?
Answer: While clear juices are a good sign, they are not as reliable as a thermometer. A thermometer provides an exact measurement of the internal temperature, ensuring food safety.
Summary
Using a meat thermometer is the surest way to cook a whole chicken perfectly. Always aim for 165°F (74°C) in the thickest part of the thigh. Checking this temperature takes the worry out of cooking and guarantees a safe, delicious meal every time.
Enjoy your perfectly roasted chicken!


