
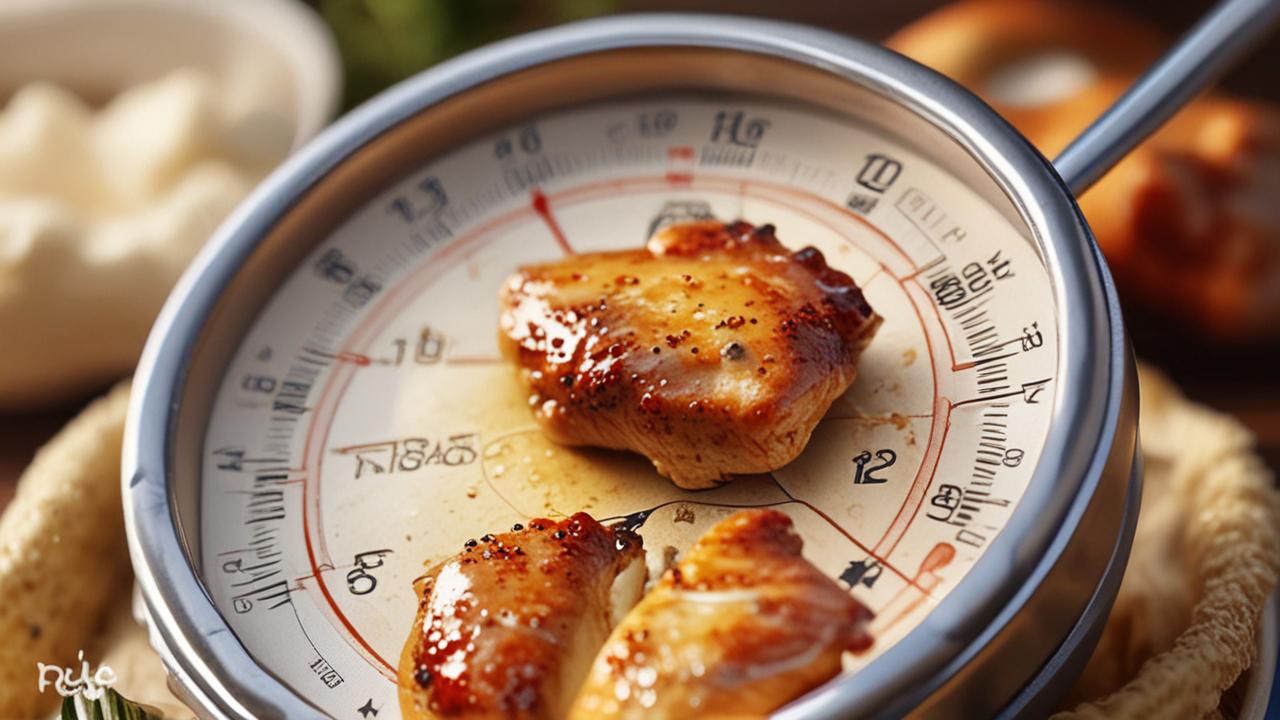
It can be super frustrating when your meat thermometer seems stuck at 212 degrees Fahrenheit. This happens a lot, especially for folks just starting out with cooking or using a new thermometer. It might make you think your thermometer is broken, but usually, it’s a simple fix.
We’ll walk you through exactly what to do, step-by-step, so you can get back to cooking perfectly. Read on to find out how to solve this common problem and make sure your cooking is always spot on.
Why Meat Thermometers Get Stuck at 212 Degrees
When your meat thermometer reads a constant 212 degrees Fahrenheit, it’s a common sign that something is preventing it from accurately measuring the temperature. This particular temperature, 212°F, is the boiling point of water at standard atmospheric pressure. This is a key clue to why your thermometer might be stuck here.
Often, it’s not a defect in the thermometer itself but rather an issue with how it’s being used or a minor calibration problem. This situation can puzzle beginners because it’s unexpected and doesn’t immediately seem like a solvable issue without expert knowledge. The good news is that this problem is usually straightforward to address with a few simple checks and adjustments.
The Boiling Point and Your Thermometer
The fact that 212°F is the boiling point of water is not a coincidence when your thermometer is stuck. Many digital meat thermometers use a probe that is essentially a thermistor or thermocouple. These sensors are designed to detect changes in temperature.
When a thermometer shows 212°F and doesn’t budge, it often means the sensor has reached a point where it can no longer detect differences, or it’s calibrated to a specific point. For some older or simpler models, extreme heat can cause components to behave erratically. Sometimes, the probe itself might be damaged, leading to a consistent reading.
Understanding this connection helps demystify why this specific temperature appears so often.
A thermistor is a type of resistor whose resistance changes significantly with temperature. In a digital thermometer, the thermistor’s resistance is measured and then converted into a temperature reading displayed on the screen. If the thermistor overheats or sustains damage, its resistance might become fixed, leading to a constant temperature reading.
A thermocouple is made of two different metals joined at two points. When there’s a temperature difference between the junctions, it generates a voltage that can be measured and converted into temperature. If one of the wires breaks or if the junction is compromised, it can lead to inaccurate and stuck readings.
Common Causes of a Stuck Thermometer
Several everyday issues can cause your thermometer to freeze at 212°F. One frequent culprit is moisture or residue on the probe. If water or grease gets into the probe’s housing or sensor area, it can interfere with the readings.
Another cause is a probe that has been bent or kinked severely, potentially damaging the internal wires. Extreme heat exposure, beyond the thermometer’s intended range, can also cause it to malfunction. Even a simple battery issue in a digital thermometer can sometimes lead to odd behavior, including stuck readings.
Let’s break down some of these causes:
- Moisture or Residue: When cleaning your thermometer, ensure it’s dried thoroughly. If water seeps into the probe or the connection point to the display unit, it can short-circuit or corrode the sensitive electronics. Similarly, thick grease buildup can insulate the sensor, preventing it from sensing the true ambient or food temperature. This can sometimes lead the device to default to a known reference point, like the boiling point of water.
- Physical Damage to the Probe: The probe is the part that goes into the food. If it’s dropped, bent sharply, or used to stir or scrape hard surfaces, the delicate wires inside can break or become detached. This internal damage means the sensor can no longer send accurate signals to the thermometer’s display. A bent probe might also make it difficult for the sensor to be in proper contact with the meat, leading to inconsistent or stuck readings.
- Overheating or Extreme Temperatures: Meat thermometers are designed for specific temperature ranges. If you accidentally leave a digital thermometer probe in a blazing hot oven for too long, or if the ambient temperature around the display unit gets too high, it can damage the internal components. This kind of stress can cause the electronics to fail, resulting in a fixed reading.
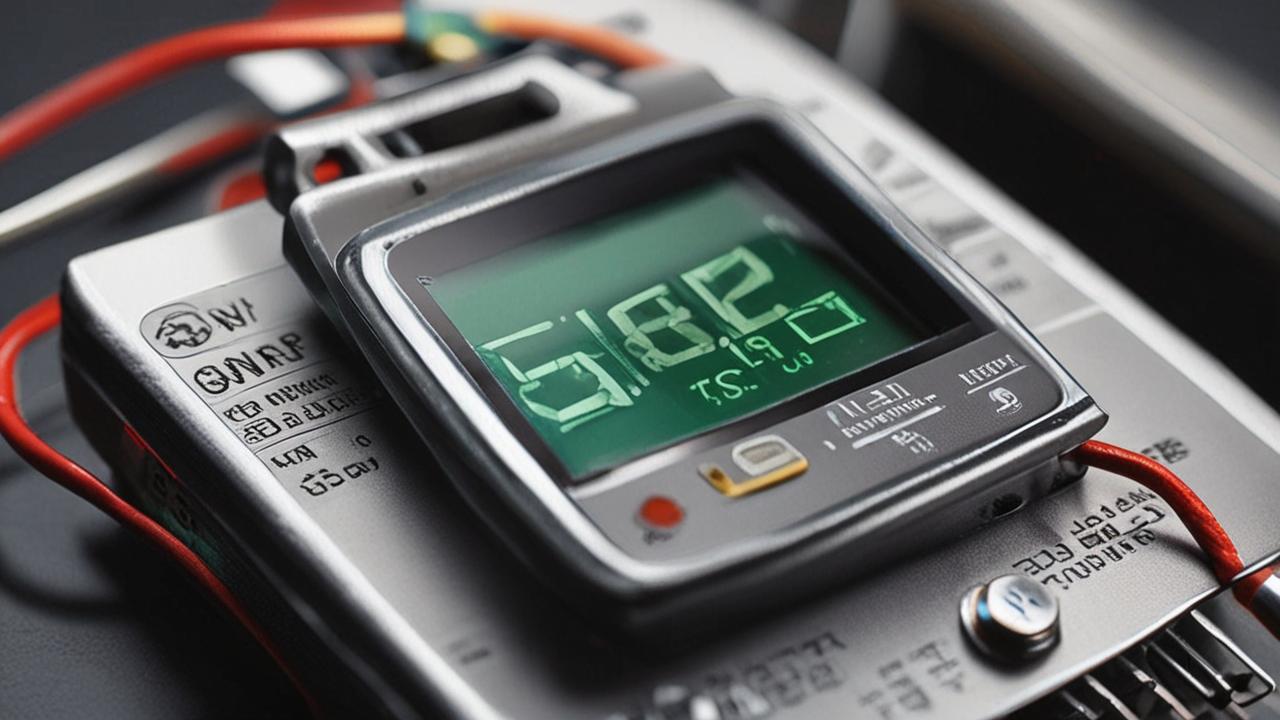
Battery Issues in Digital Models
For digital meat thermometers, the power source is crucial. A low battery, or one that’s dying, can cause all sorts of unpredictable behavior. Sometimes, instead of just showing a low battery symbol, the thermometer might glitch and display a fixed, nonsensical temperature.
This is because the fluctuating power supply can disrupt the sensitive electronics that process the temperature data. Replacing the batteries with fresh ones is a quick and easy first step to rule out this possibility.
When a digital thermometer’s battery level drops significantly, the voltage supplied to the internal circuitry becomes unstable. This instability can prevent the microcontroller, the tiny computer chip inside, from operating correctly. The microcontroller is responsible for reading the sensor’s output, processing it, and sending the signal to the LCD screen.
If the power is too low, it might not be able to perform these tasks accurately. In some cases, a dying battery can cause the device to enter a diagnostic mode or a default state, which might manifest as a continuous display of a specific number, such as 212°F.

Troubleshooting Your Meat Thermometer Stuck at 212 Degrees
When you find your meat thermometer stuck at 212 degrees Fahrenheit, don’t panic. There are several troubleshooting steps you can take to diagnose and fix the issue. These steps are designed to be simple and can often resolve the problem without needing to buy a new thermometer.
We’ll cover cleaning, checking the probe, resetting the device, and calibrating it if necessary. Following these steps systematically will help you identify the cause and get your thermometer working accurately again.
Cleaning the Probe and Unit
A clean thermometer is a happy thermometer. Often, stuck readings are due to residue or moisture. Gently clean the probe with warm, soapy water and a soft cloth.
Make sure to rinse it thoroughly. After washing, dry the probe completely with a clean towel. Pay close attention to the tip and any seams where dirt or grease could hide.
For digital units, use a slightly damp cloth to wipe down the display and buttons, being careful not to let water seep into any openings.
Think of the probe as the thermometer’s senses. If those senses are dirty or wet, they can’t accurately feel what’s going on. Food particles, marinades, or even just condensation can create a barrier or cause electrical interference.
For example, sugar-based marinades can caramelize and bake onto the probe, creating an insulating layer. Even a small amount of water trapped near the sensor can conduct electricity in unintended ways, confusing the readings. Regular, thorough cleaning after each use is the best way to prevent these issues from developing in the first place.
Detailed Cleaning Steps:
- Wipe down the probe: Use a soft cloth or sponge dipped in warm, soapy water. Gently scrub the entire length of the probe to remove any visible food particles or grease.
- Rinse thoroughly: Use clean water to remove all soap residue. Ensure no soap is left behind, as it could affect future readings or taste.
- Dry completely: This is a critical step. Use a clean, dry towel to wipe the probe until it’s completely dry. Pay special attention to the very tip, where the sensor is located. Air drying can also work, but make sure there’s no lingering moisture.
- Clean the handle and display: Use a damp cloth (not wet) to wipe down the handle, buttons, and display screen. Avoid submerging any part of the digital unit in water.
Checking for Physical Damage
Inspect the probe carefully for any signs of damage. Look for kinks, bends, or cracks. If the probe appears bent, try to gently straighten it without forcing it.
If you see any visible breaks in the wire, the probe may be beyond repair. The connection point where the probe attaches to the thermometer’s display unit should also be checked for looseness or corrosion. A loose connection can cause intermittent or fixed readings.
The probe is essentially a conduit for the temperature signal. If this conduit is compromised, the signal can’t get through properly. Imagine trying to talk through a crumpled straw – your voice wouldn’t come out clearly, if at all.
Similarly, a kinked or broken wire inside the probe prevents the sensor from accurately communicating with the thermometer’s internal electronics. This is why a visual inspection is so important; it’s like checking if the phone line is intact before calling customer service.
Resetting and Calibrating Your Thermometer
Some digital thermometers have a reset button or a specific procedure to reset them. Check your user manual for instructions on how to perform a reset. This can sometimes clear temporary glitches.
Calibration is another important step. Many thermometers can be calibrated using the ice water method. Fill a glass with ice and water.
Stir it well and wait for the ice to melt slightly. Place the probe into the ice water, ensuring it doesn’t touch the sides or bottom of the glass. A properly functioning thermometer should read 32°F (0°C).
The ice water calibration is a standard scientific method for checking temperature devices. At standard atmospheric pressure, ice and pure water reach equilibrium at 32°F (0°C). This point is a reliable reference.
If your thermometer reads something different, it indicates a calibration issue. Most digital thermometers have a calibration mode that allows you to adjust the reading to 32°F. Refer to your manual for the exact steps, as it varies by model.
This process recalibrates the thermometer’s internal system to ensure accurate readings across its temperature range.
Ice Water Calibration Steps:
- Fill a glass with crushed ice and water.
- Stir the mixture for about 30 seconds to ensure an even temperature.
- Submerge the thermometer probe into the ice water. Make sure the sensor part is fully covered but not touching the bottom or sides of the glass.
- Wait for the reading to stabilize, which usually takes about 10-20 seconds.
- The thermometer should read 32°F (0°C).
- If it doesn’t, follow your thermometer’s manual to adjust the calibration.
When to Consider Replacing
If you’ve tried all the troubleshooting steps and your thermometer is still stuck at 212°F, it might be time to consider a replacement. Physical damage that can’t be repaired, internal electronic failures, or probes that consistently give incorrect readings are signs that the thermometer has reached the end of its useful life. Investing in a new, reliable meat thermometer is crucial for accurate cooking results and food safety.
The cost of a new thermometer is often far less than the cost of ruined food or potential foodborne illness. High-quality thermometers are an investment in your kitchen. While older analog thermometers might last for decades with care, modern digital ones, especially cheaper models, may have a shorter lifespan.
If repairs prove too difficult or impossible, a new unit ensures you can trust your cooking temperatures for everything from a rare steak to a perfectly roasted chicken.
Understanding the Technology Behind Meat Thermometers
To truly master the Meat Thermometer Stuck at 212 Degrees Fix, it helps to know a bit about how these devices work. Most modern meat thermometers, especially digital ones, rely on electronic sensors to measure temperature. These sensors convert heat into an electrical signal that a small computer chip inside the thermometer interprets and displays as a number.
Older, analog thermometers use a different, mechanical principle, often involving bimetallic strips.
How Digital Meat Thermometers Work
Digital meat thermometers typically use a thermistor or a thermocouple as their temperature sensor. A thermistor is a resistor whose resistance changes predictably with temperature. As the temperature increases, the resistance of a negative temperature coefficient (NTC) thermistor decreases, and vice versa.
This change in resistance is measured by the thermometer’s circuitry and converted into a temperature reading. A thermocouple uses the thermoelectric effect: when two dissimilar metals are joined at two points, a voltage is produced that is proportional to the temperature difference between the junctions.
The core of a digital thermometer is its microcontroller, a small integrated circuit that acts like a mini-computer. This microcontroller receives the electrical signal from the thermistor or thermocouple. It then uses a pre-programmed algorithm to translate this signal into a specific temperature value.
This value is then sent to the liquid crystal display (LCD) screen for you to see. The speed and accuracy of this process depend on the quality of the sensor, the microcontroller, and the surrounding electronic components.
Components of a Digital Thermometer:
- Probe: The metal stem containing the sensor.
- Sensor: The thermistor or thermocouple that detects heat.
- Wire: Connects the sensor to the main unit.
- Microcontroller: The ‘brain’ that processes the temperature signal.
- Display: The LCD screen that shows the temperature.
- Power Source: Usually batteries.
The Role of the Thermistor or Thermocouple
The sensor is the most critical part of any thermometer. In digital meat thermometers, the thermistor is very common due to its sensitivity and relatively low cost. It offers good accuracy within specific temperature ranges.
Thermocouples are often used in higher-temperature applications or when very fast response times are needed. Regardless of the type, if the sensor itself is damaged, exposed to excessive heat, or contaminated, it will produce inaccurate readings, leading to issues like the 212°F lock.
A thermistor’s resistance-temperature relationship is non-linear, meaning the change in resistance for each degree Fahrenheit or Celsius isn’t constant. The microcontroller must have accurate lookup tables or equations to convert these resistance changes into precise temperature measurements. A thermocouple, on the other hand, generates a voltage.
This voltage is typically very small, measured in microvolts or millivolts, so the thermometer needs an amplifier to boost the signal before it can be processed. Both sensor types are susceptible to physical damage and environmental factors that can alter their performance.
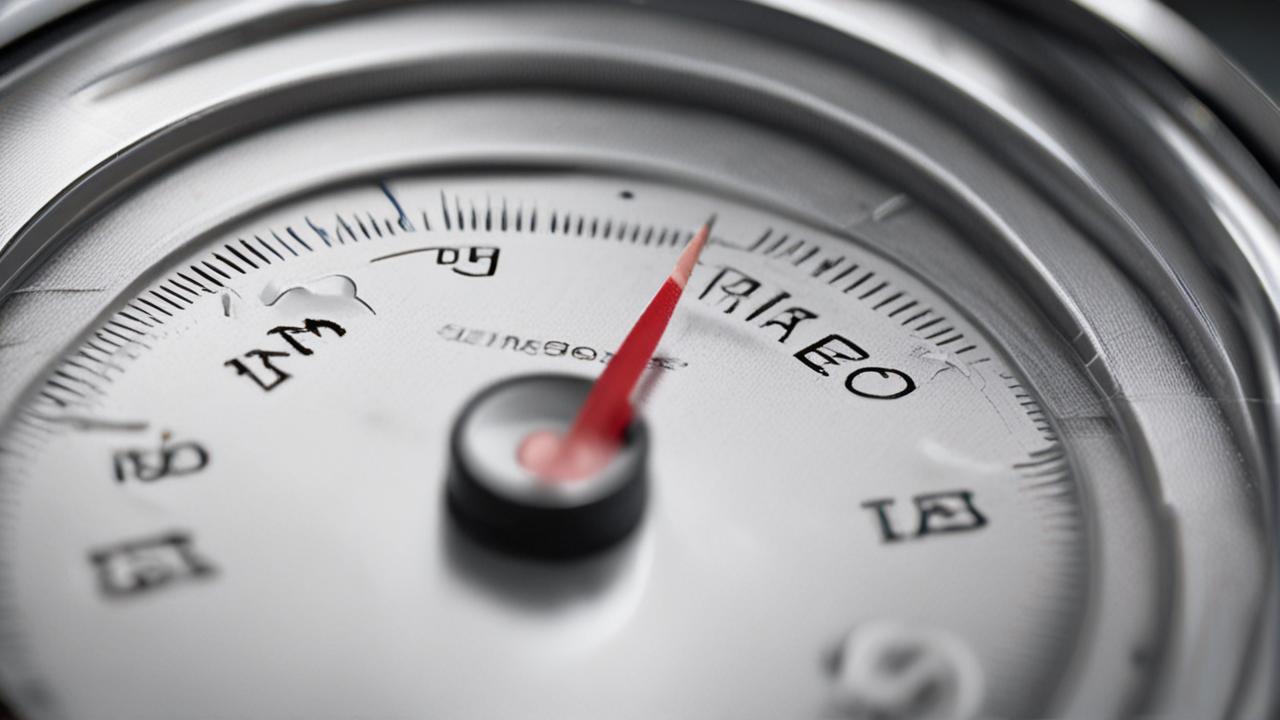
Analog vs. Digital Thermometers
Analog meat thermometers work differently. They typically use a bimetallic strip. This strip is made of two different metals bonded together, like brass and steel.
When heated, these metals expand at different rates. This causes the strip to bend. This bending motion is then connected to a needle on a dial, which indicates the temperature.
These are generally simpler and don’t have electronic components that can fail in the same way as digital ones, but they can be less precise and slower to respond.
The precision of analog thermometers is limited by the mechanical nature of the display. The needle has to move smoothly, and the markings on the dial can only be so fine. They are also more prone to being knocked out of calibration by drops or impacts.
Digital thermometers, while more complex, can offer much higher precision and faster readings. However, their reliance on electronics and batteries makes them vulnerable to issues like power failures, electronic component damage, and sensor malfunctions, which can lead to problems like the Meat Thermometer Stuck at 212 Degrees Fix scenarios.
Practical Tips for Accurate Meat Thermometer Use
Beyond fixing a thermometer stuck at 212°F, using it correctly is key to getting accurate temperature readings every time. Proper technique ensures you’re measuring the actual temperature of the meat and not something else. This knowledge not only helps prevent frustrating issues but also guarantees your food is cooked safely and to perfection.
Best Practices for Measuring Meat Temperature
Always insert the thermometer probe into the thickest part of the meat, avoiding bone, fat pockets, or gristle. Bone conducts heat differently than meat, and fat can give a false reading. For roasts, insert the probe from the side.
For poultry, insert it into the thickest part of the thigh, avoiding the bone. For steaks and chops, insert from the side into the center.
The goal is to measure the internal temperature of the muscle tissue, which is where safety and doneness are determined. Bones are dense and retain heat differently, and pockets of fat can insulate the probe, giving a lower reading than the surrounding meat. Air pockets can also lead to inaccurate temperatures.
Patience is also a virtue; let the thermometer sit in the meat for at least 15-20 seconds to get a stable reading. This allows the sensor to reach thermal equilibrium with the meat.
Where to Insert the Probe:
- Roasts (Beef, Pork, Lamb): Thickest part, away from any bone.
- Whole Poultry (Chicken, Turkey): Thickest part of the thigh, aiming for the center without touching the bone.
- Steaks and Chops: Center of the thickest part.
- Burgers: Center of the patty.
Understanding Different Meat Temperatures
Different types of meat require different internal temperatures for safety and optimal taste. For example, ground beef should reach at least 160°F (71°C) to kill any bacteria. Pork also needs to reach 145°F (63°C) with a three-minute rest.
Poultry, like chicken and turkey, must reach 165°F (74°C) to be safe. Steaks and roasts can be cooked to various degrees of doneness, from rare (130-135°F / 54-57°C) to well-done (160°F+ / 71°C+).
Knowing these target temperatures is as important as having a working thermometer. A thermometer that’s stuck at 212°F, or any other temperature, makes it impossible to achieve these goals. For instance, undercooking ground meat is a significant food safety risk, potentially leading to E.
coli or Salmonella infections. Overcooking can result in dry, tough meat. Using a reliable thermometer and understanding these safe temperatures ensures delicious results and prevents illness.
Example Scenario: Roasting a Chicken
Let’s say you’re roasting a whole chicken. You’ve put it in the oven and are waiting for it to cook. You insert your meat thermometer into the thickest part of the thigh, near the bone but not touching it.
You wait for the reading to stabilize. If your thermometer is working correctly, it will show the internal temperature of the chicken. You’ll be looking for that 165°F (74°C) mark for safe consumption.
If, however, your thermometer was stuck at 212°F, you’d have no idea if the chicken was cooked. You might take it out too early, risking foodborne illness, or leave it in too long, resulting in a dry bird. This scenario highlights why a functional thermometer is essential for reliable cooking results.
Steps for Roasting a Chicken Accurately:
- Preheat your oven to the desired temperature.
- Prepare your chicken for roasting.
- Insert a properly functioning meat thermometer into the thickest part of the thigh, ensuring the probe does not touch the bone.
- Roast the chicken until the thermometer reaches 165°F (74°C).
- Remove the chicken from the oven and let it rest for at least 10-15 minutes before carving.
Frequently Asked Questions
Question: My meat thermometer reads 212°F constantly. Does this mean it’s broken?
Answer: Not necessarily. While it’s a common problem, it often indicates an issue that can be fixed. It could be moisture, residue, battery problems in digital models, or a need for calibration.
Try cleaning the probe thoroughly and checking the batteries first.
Question: How often should I calibrate my meat thermometer?
Answer: For best accuracy, it’s a good idea to calibrate your digital meat thermometer at least once a year, or whenever you suspect its readings might be off. The ice water bath method is a simple way to check its accuracy.
Question: Can I leave my meat thermometer in the meat while it’s cooking in the oven?
Answer: Some thermometers are designed for this (oven-safe probes), while others are not. Always check your thermometer’s manual. If it’s not oven-safe, you should only insert it at the end of the cooking time to check the temperature.
Question: What is the boiling point of water related to my thermometer reading 212°F?
Answer: 212°F (100°C) is the boiling point of water at sea level. When a thermometer is stuck at this temperature, it can sometimes indicate a sensor issue where it’s defaulting to a known reference point, or the sensor has reached its upper limit of accurate detection.
Question: I dropped my digital meat thermometer. It now reads 212°F. What should I do?
Answer: If you dropped it, there might be physical damage to the probe or internal electronics. First, clean it and check the batteries. Then, try the ice water calibration.
If it still reads 212°F or shows other erratic behavior, the internal components might be damaged, and it may need to be replaced.
Summary
When your meat thermometer gets stuck at 212°F, remember it’s usually a fixable problem. Cleaning the probe, checking batteries, and calibrating with ice water are key steps. This common issue often stems from simple things like moisture or residue.
By following these straightforward solutions, you can ensure your thermometer provides accurate readings for safe and delicious cooking every time.


