

It’s super frustrating when your Meat Thermometer Stops Working Suddenly, right? Especially when you’re right in the middle of cooking something delicious and need to know if it’s ready. This happens a lot, and it can feel really confusing, especially if you’re just starting out with grilling or roasting.
But don’t worry! We’re going to walk through this together, step-by-step, and figure out exactly what’s going on and how to fix it. We’ll cover the common reasons why this might happen and what you can do about it, so you can get back to cooking with confidence.
Common Reasons a Meat Thermometer Stops Working Suddenly
When your meat thermometer suddenly stops giving readings, it can feel like a real kitchen crisis. Many folks, especially those new to using these handy tools, find this issue quite common. It often stems from simple, easily fixable problems rather than the device being truly broken.
Understanding these common culprits is the first step to getting your thermometer back in action. This section will explore the most frequent causes, from battery issues to sensor problems, making it easier to troubleshoot. We’ll break down each potential cause so you can quickly identify what might be wrong.
Battery Power Issues
Batteries are often the simplest and most common reason for any electronic device to stop working. A meat thermometer, even a digital one, relies on a steady supply of power to function correctly. When the batteries get low, the thermometer might show erratic readings or simply shut down completely, giving the appearance that it has stopped working suddenly.
Digital thermometers typically use small button cell batteries, like CR2032 or LR44. These are designed for low power consumption, but they do eventually run out. Sometimes, the battery connection can also be loose, especially if the battery compartment isn’t secured tightly or if there’s a bit of corrosion on the contacts.
This can interrupt the flow of power even if the battery itself still has some life left in it. It’s always worth checking the battery first.
Here are some signs that batteries might be the issue:
- The display flickers or is dim.
- The thermometer turns on but shows no reading or a reading that doesn’t change.
- The thermometer only works intermittently.
When the display is dim or flickering, it’s a clear sign that the battery is losing its charge. If you’ve noticed this before the thermometer completely stopped working, it’s a strong indicator. Intermittent operation means it might work for a bit and then stop, which is classic low-battery behavior.
This is because the electronics aren’t getting enough consistent power to operate reliably. Replacing the batteries with fresh ones is a quick and easy fix that resolves this problem for many users. Always ensure you insert the new batteries with the correct polarity (+ and – signs facing the right way) as indicated in the thermometer’s manual.
Probe Damage or Disconnection
The probe is the part of the thermometer that you insert into the food. It’s connected to the main unit by a wire or is integrated directly into a probe that plugs in. Damage to this probe or its connection can easily lead to a thermometer that stops working suddenly.
The probe contains a thermistor or thermocouple, which is a sensor that measures temperature. If this sensor is damaged, it won’t be able to send accurate temperature data to the thermometer’s display. This can happen if the probe is bent too sharply, if the wire is frayed or cut, or if the connection point where the probe attaches to the thermometer is loose or corroded.
For models with a plug-in probe, ensure it’s inserted firmly and that the port isn’t obstructed by debris.
Consider these points regarding probe issues:
- A frayed or broken wire on the probe.
- Visible damage or corrosion on the probe tip or the connection port.
- The probe feels loose when plugged into the thermometer.
If you see any fraying or kinks in the wire, or if the probe itself looks bent or crushed, it’s likely the source of the problem. Even small cracks in the insulation can expose the internal wires to moisture or heat, leading to failure. For models with detachable probes, sometimes the connection pins can get bent or dirty.
Gently clean the pins and the port with a dry cloth or a cotton swab. If the probe is a sealed unit, and you see no external damage but it still doesn’t work, the internal sensor might have failed. In such cases, replacing the probe itself, if possible, or the entire thermometer might be necessary.
Overheating or Extreme Temperatures
Meat thermometers are designed to withstand certain temperatures, but exposing them to extreme heat or cold beyond their operating range can cause them to malfunction. This is particularly relevant for thermometers used in ovens, smokers, or grills where temperatures can get very high.
Digital thermometers have electronic components that can be damaged by excessive heat. If the main unit of the thermometer is left too close to a direct heat source, or if the probe is submerged in something extremely hot for an extended period beyond its limit, the internal circuitry can fail. Similarly, while less common, extreme cold can also affect the LCD screen’s performance or the battery’s efficiency.
Here are some situations to watch out for:
- Leaving the thermometer’s main unit directly on a hot grill grate or next to a burner.
- Submerging a non-waterproof probe past its designated immersion line.
- Using the thermometer in an environment far below its recommended operating temperature.
Many meat thermometers have a maximum ambient temperature for the main unit and a maximum temperature for the probe tip. For example, a grill thermometer might be rated for 572°F (300°C) at the probe tip but only 140°F (60°C) for the display unit. If you place the display unit directly on the grill lid or too close to the coals, it can overheat.
Always check the manufacturer’s instructions for the specific temperature limits. Using a thermometer designed for oven use in a very high-heat charcoal grill without proper shielding could also cause it to fail prematurely. Understanding these limits helps prevent accidental damage.
Troubleshooting Steps for a Suddenly Non-Working Meat Thermometer
When your meat thermometer decides to take an unscheduled break, it’s important to approach the situation systematically. Instead of panicking, a few straightforward checks can often bring it back to life. This part of our guide focuses on the practical steps you can take to diagnose and fix the problem yourself.
We’ll start with the easiest solutions and move towards more involved troubleshooting, ensuring you have a clear path to getting your thermometer working again.
Step 1: Check and Replace Batteries
This is the absolute first thing you should do. Low or dead batteries are the most frequent culprits behind a suddenly unresponsive digital thermometer. Even if you’ve replaced them recently, sometimes a faulty battery can cause issues.
Follow these steps:
- Locate the battery compartment. This is usually on the back or side of the thermometer’s main unit.
- Open the compartment. This might involve unscrewing a small cover or using a fingernail to pop it open.
- Remove the old batteries. Note their orientation (which side is positive and which is negative).
- Clean the battery contacts. Use a dry, soft cloth or a cotton swab to gently wipe away any dust or corrosion from the metal contacts inside the compartment and on the batteries themselves.
- Insert new batteries. Make sure you put them in with the correct polarity, matching the + and – signs.
- Close the battery compartment securely.
- Turn on the thermometer to see if it works.
If the thermometer powers on and displays a reading, congratulations! You’ve fixed it. If it still doesn’t work, move on to the next step.
Sometimes, even new batteries can be faulty, so if you have another set handy, it might be worth trying those as well. Ensure you are using the exact type of battery specified by the manufacturer for your thermometer model.
Step 2: Inspect the Probe and Cable
The probe is the part that actually measures the temperature. Damage to the probe or its connecting cable can easily cause a thermometer to stop working. This applies to both wired and integrated probe models.
Here’s how to check:
- Visual Inspection: Carefully examine the entire length of the probe and its cable (if applicable). Look for any cuts, kinks, fraying, or signs of melting. Check where the probe connects to the thermometer’s main unit. Is it loose? Is there any visible corrosion or debris in the port?
- For Detachable Probes: If your thermometer has a probe that plugs in, gently remove it and then reinsert it firmly. Ensure it clicks into place or feels snug. Check the pins for any damage or dirt.
- For Integrated Probes: If the probe is built-in, check the point where it enters the thermometer body. Ensure there are no cracks or damage there.
If you find any physical damage, the probe or cable might need to be replaced. Many manufacturers sell replacement probes separately. If the connection seems loose, try wiggling it gently while the thermometer is on to see if you can get a reading.
Sometimes, a poor connection is the only issue. If the probe looks fine but still isn’t working, the internal sensor might have failed, which often means a replacement probe is needed.
Step 3: Test with a Different Food or Method
Sometimes, the issue might not be with the thermometer itself, but with how it’s being used or the food you’re testing. This is especially true if you’re getting readings, but they seem inaccurate or erratic.
Try these tests:
- Test in Boiling Water: Place the probe into a pot of boiling water (making sure not to touch the bottom or sides of the pot). A reliable thermometer should read around 212°F (100°C) at sea level. If it doesn’t, or if the reading is wildly off, it suggests a problem with the thermometer.
- Test in Ice Water: Place the probe in a glass of ice water. It should read 32°F (0°C). This test is also a good indicator of accuracy.
- Try a Different Piece of Food: If you were testing a thick roast, try it on a thinner steak or even a loaf of bread. This helps rule out any issues related to the food’s density or temperature.
If the thermometer gives correct readings in boiling or ice water, but not in your food, the issue might be with the food itself (e.g., it’s not heating evenly) or how you’re inserting the probe. For example, if you’re testing a chicken breast, ensure you’re inserting the probe into the thickest part, away from bone, as bone conducts heat differently. If the thermometer fails the boiling/ice water tests, it’s a strong sign the thermometer itself needs attention.
Step 4: Reset the Thermometer (If Applicable)
Some digital thermometers have a reset function that can clear temporary glitches. This is similar to restarting a computer or phone to resolve minor software issues.
Look for instructions on how to reset your specific model. This might involve:
- Pressing and holding a specific button for a set amount of time.
- Removing the batteries for a longer period (e.g., 5-10 minutes) to allow the internal components to discharge.
- Locating a small reset button (often a pinhole) that requires a paperclip to press.
Refer to your user manual for the exact procedure. If your manual is lost, a quick online search for ” reset” might provide the answer. After performing the reset, try turning the thermometer on again and testing it.
Step 5: Check for Temperature Limits and Environmental Factors
As mentioned before, extreme temperatures can affect thermometer performance. If you’ve been using the thermometer in very hot or cold conditions, this could be the cause of it stopping suddenly.
Consider:
- Ambient Temperature: Was the main unit exposed to direct sun, extreme heat from the grill, or freezing temperatures for an extended period? Some LCD screens can become unreadable or the electronics can shut down if they go outside their operating range.
- Probe Immersion Depth: For models with probes that plug in, ensure the probe is inserted correctly. Some probes have a minimum immersion depth to function properly.
- Cleaning Residue: If the thermometer was recently washed, ensure it’s completely dry. Any residual moisture, especially in the probe port, could cause issues.
If the thermometer was recently used in an extreme environment, try letting it return to room temperature for a few hours. Then, try replacing the batteries and testing it again. If the issue persists, the extreme temperature may have caused permanent damage.
Understanding Different Types of Meat Thermometers and Their Failure Points
The way a meat thermometer is built plays a big role in how it might stop working. Different types have different components and are prone to specific issues. Knowing what kind you have can help you pinpoint the problem faster.
This section explores common thermometer types and where they are most likely to fail.
Digital Instant-Read Thermometers
These are probably the most common type for home cooks. They have a digital display and a probe that gives a reading in just a few seconds. Their reliance on batteries and sensitive electronics makes them susceptible to certain problems.
Common failure points include:
- Battery Corrosion: As we discussed, this is a big one. Moisture can get into the battery compartment, causing corrosion that prevents good contact.
- Probe Wire Breaks: The wire connecting the probe to the display can be fragile. If it’s bent too many times, or if the insulation is damaged, it can lead to a “no reading” situation.
- Water Damage to Display Unit: If the main unit is accidentally dropped in water or exposed to heavy steam, the internal electronics can be shorted out. Many instant-read thermometers are not fully waterproof.
- Sensor Failure: The thermistor or thermocouple at the tip of the probe can wear out or get damaged over time, leading to inaccurate or no readings.
For instance, imagine a home cook who loves grilling. They use their instant-read thermometer frequently, often leaving it near the hot grill. After a few years, they notice it’s not working.
A quick look reveals corrosion on the battery contacts and a slight bend in the probe wire. This combination of environmental exposure and physical stress is a classic cause of failure for these devices.
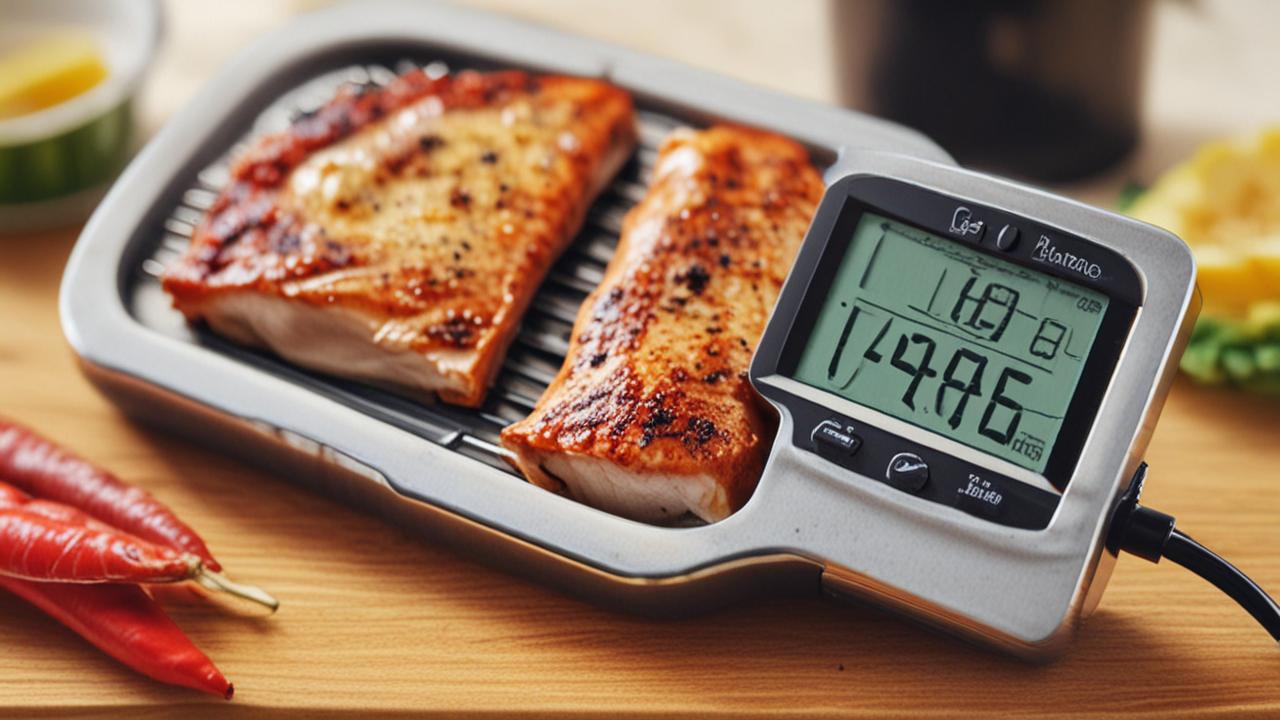
Oven-Safe or Probe Thermometers (with Wired Probes)
These thermometers have a probe that stays in the food and oven/smoker, connected by a heat-resistant wire to a display unit that sits outside. They are great for long cooks, but the wire is a key point of vulnerability.
Key failure points include:
- Wire Damage: The heat-resistant wire is designed to withstand high temperatures, but it’s not indestructible. Repeated bending, pinching it in a closed oven door, or exposure to temperatures beyond its rating can cause the wire to break internally.
- Connector Issues: The point where the wire plugs into the display unit can become loose or corroded, especially if exposed to grease or moisture.
- Probe Immersion Issues: If the probe is not inserted deep enough into the food, or if it touches a bone, it can give inaccurate readings or, in some cases, lead to the sensor failing prematurely due to uneven heating.
- Display Unit Malfunction: The display unit itself, even if outside the oven, can be affected by heat, moisture, or physical impact, just like any other electronic device.
Consider a scenario where someone is slow-roasting a pork shoulder. They leave the probe wire slightly pinched in the oven door. Over several hours, the constant pressure and heat weaken the wire.
Eventually, the internal conductor breaks, and the thermometer suddenly shows an error code or a nonsensical reading. This highlights how seemingly minor physical stresses can lead to catastrophic failure in wired probes.
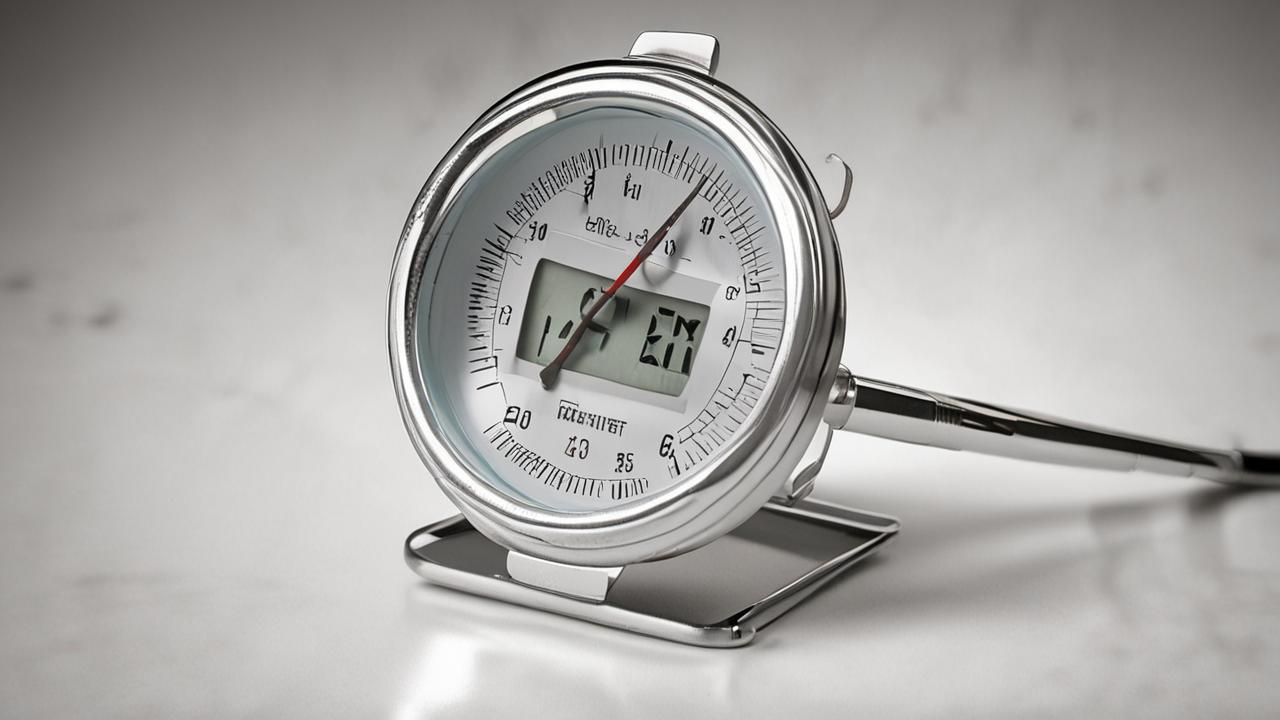
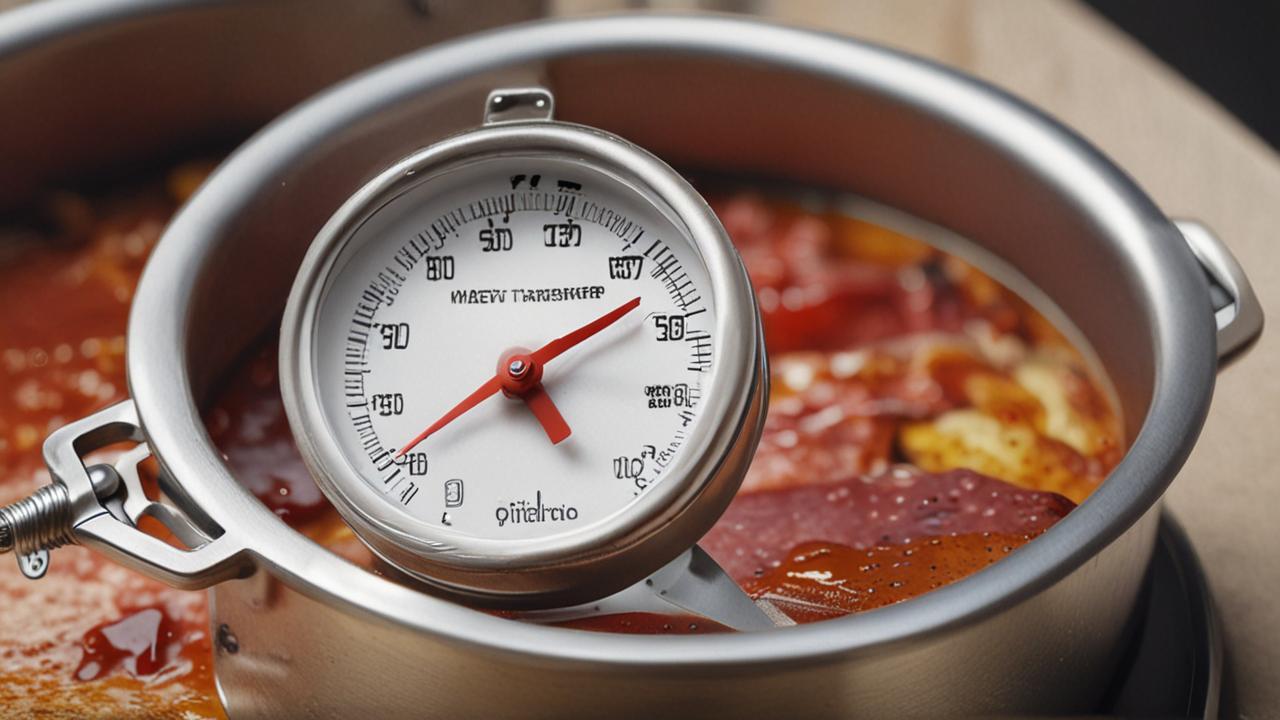
Dial Thermometers (Analog)
These are the traditional, non-electronic thermometers with a dial and a pointer. They are generally simpler and more durable but can still stop working correctly.
Common issues:
- Bending or Damage to the Probe: The metal stem can get bent, which can affect the internal bimetallic strip mechanism.
- Calibration Drift: Over time, or due to significant temperature changes or physical shocks, the internal mechanism can lose its calibration. This means the pointer will no longer show the correct temperature, even if the thermometer is still “working.”
- Water Intrusion: While many are water-resistant, if submerged or if the seal around the dial is broken, water can get inside and rust the internal components.
- Sticky Needle: The needle can sometimes become sticky or stuck due to internal debris or a damaged mechanism, preventing it from moving freely to indicate temperature.
A classic example is a dial thermometer that has been dropped on a hard floor. The impact can jar the delicate internal bimetallic coil, causing it to warp or dislodge. When you try to use it afterward, the needle might not move at all, or it might point to a completely arbitrary temperature.
Recalibrating these can be tricky for the average user.
Infrared (IR) Thermometers
These non-contact thermometers measure surface temperature by detecting infrared radiation. They are fast and hygienic but work differently and have their own set of potential problems.
Potential failure points:
- Dirty Lens: The IR sensor lens must be clean. Grease, dust, or food particles on the lens will block the infrared rays and lead to inaccurate or no readings.
- Surface Emissivity Issues: Different surfaces emit infrared radiation differently. If the surface isn’t suitable for IR measurement, or if the thermometer’s emissivity setting is incorrect (if adjustable), readings can be off.
- Obstructions: Anything between the thermometer and the food’s surface (steam, grease splatters) can interfere with the reading.
- Battery Issues: Like digital thermometers, they rely on batteries.
- Sensor Damage: The sensitive IR sensor can be damaged by impacts or extreme temperatures.
Imagine using an IR thermometer on a greasy pan. If the lens is covered in splatter, the thermometer might read a much lower temperature than what’s actually there, or it might fail to get a stable reading at all. Cleaning the lens with a soft, dry cloth is often all that’s needed to get it working again.
When to Consider Replacing Your Meat Thermometer
Sometimes, despite your best troubleshooting efforts, a meat thermometer might be beyond repair. Knowing when to give up on fixing it and invest in a new one is an important skill for any cook. This section helps you decide if it’s time for an upgrade.
Signs Your Thermometer is Beyond Repair
While many issues can be resolved with simple fixes, some problems indicate deeper, irreparable damage. If you notice any of the following, it’s likely time to look for a new thermometer.
These are key indicators:
- Persistent “Err” or “Lo” / “Hi” Readings: If your digital thermometer consistently shows error codes (like “Err,” “Lo,” or “Hi”) even after trying new batteries and cleaning connections, the internal sensor or circuitry might be permanently damaged. These codes usually mean the thermometer cannot measure within its operational range or has detected an internal fault.
- Physical Damage to the Probe or Display: Cracks in the LCD screen, melted casing on the display unit, or a probe wire that is completely severed and cannot be repaired suggest the thermometer has suffered significant physical trauma. For wired probes, if the wire is broken in multiple places or the connection port is damaged, repair is often not feasible or cost-effective.
- Inconsistent and Wildly Inaccurate Readings: If, after testing in boiling water and ice water, the thermometer consistently gives readings that are wildly off (e.g., reads 50°F in boiling water or 150°F in ice water), the calibration is likely lost or the sensor has failed. Unlike some analog thermometers that can be recalibrated, many digital sensors cannot be fixed once they fail.
- Water Damage: If the thermometer has been submerged or heavily exposed to water and doesn’t work even after drying thoroughly and replacing batteries, the internal electronics may have corroded. This is often a point of no return for non-waterproof models.
For example, if you have a wired probe thermometer and the wire has a significant tear, exposing the internal wires, and you try to mend it with electrical tape, it might work temporarily. However, the heat and moisture in a cooking environment can quickly degrade this repair. If the probe itself looks visibly warped or melted from being too close to heat, it suggests the internal sensor has been compromised beyond simple repair.
Cost-Effectiveness of Repair vs. Replacement
For most consumer-grade meat thermometers, especially basic digital instant-read models, the cost of repair often outweighs the cost of buying a new one. Specialized repair services are rarely available or affordable for these items. Replacement probes might be an option, but only if the main display unit is still functioning correctly.
Consider the following:
- Price of a New Thermometer: Basic digital instant-read thermometers can be purchased for $15-$30. High-end models can cost $50-$100 or more.
- Cost of Replacement Parts: A replacement probe might cost $10-$25. If you need both a probe and a new battery, you’re already approaching the cost of a new, basic unit.
- Time and Effort: Trying to repair a complex electronic device without the right tools or knowledge can be frustrating and time-consuming, often with no guarantee of success.
Let’s say your probe thermometer’s wire broke a few inches from the plug. You could buy a new probe for $15. However, if the display unit also seems a bit dim, or if you’ve had it for several years and it’s been a bit unreliable, spending that $15 might just delay the inevitable.
For $25, you could get a brand-new instant-read thermometer with a fresh warranty. This often represents better value and reliability.
When to Invest in a Higher-Quality Thermometer
If you find yourself frequently dealing with thermometer failures or if accuracy is critical to your cooking, it might be time to invest in a higher-quality model. These often use more durable materials, have better sealing against moisture, and offer superior accuracy and faster response times.
Look for these features in better thermometers:
- Waterproof or Water-Resistant Construction: Many higher-end models are designed to be fully submersible, making cleaning much easier and preventing water damage.
- Faster Read Times and Wider Temperature Ranges: Professional-grade thermometers can often provide a reading in as little as 2-3 seconds and handle a broader spectrum of temperatures accurately.
- Durable Materials: Stainless steel probes and casings are more resistant to corrosion and heat damage.
- Longer Warranties: A good warranty indicates the manufacturer’s confidence in their product’s longevity.
For example, a pitmaster who spends hours tending a smoker might invest in a wireless remote thermometer system. While these can cost $100-$200, they offer extreme durability, long-range monitoring, and precise temperature tracking for extended cooks. For someone who only grills occasionally, this level of investment might not be necessary.
However, for frequent or serious cooks, the reliability and advanced features can be well worth the higher price tag. It prevents the frustration of a thermometer failing mid-cook and ensures more consistent results.
Frequently Asked Questions
Question: My digital meat thermometer won’t turn on at all. What’s the first thing I should check?
Answer: The very first thing to check is the batteries. Make sure they are installed correctly with the right polarity (+ and -) and that they are fresh. Clean the battery contacts too, as a little corrosion can stop it from working.
Question: My probe thermometer’s wire is damaged. Can I fix it myself?
Answer: For minor kinks or fraying, you might be able to temporarily mend it with high-temperature electrical tape if you’re careful. However, if the wire is cut or severely damaged, it’s usually best to buy a replacement probe or a new thermometer, as repairs can be unreliable.
Question: My analog dial thermometer seems to be reading incorrectly. Can I recalibrate it?
Answer: Some analog thermometers can be recalibrated. Often, there’s a small screw on the back or near the dial that you can adjust while holding the probe in boiling water or ice water to set the correct reading. Check your thermometer’s manual for specific instructions.
Question: What is the main difference in how digital and analog thermometers stop working?
Answer: Digital thermometers usually stop due to battery issues, electronic component failure, or probe damage. Analog thermometers often stop working because their internal mechanism gets bent, damaged, or loses calibration over time due to wear or impact.
Question: Is it okay to wash my meat thermometer probe in the dishwasher?
Answer: It’s generally not recommended unless the manufacturer specifically states the probe is dishwasher-safe. Many probes, especially digital ones, are not waterproof and can be damaged by the heat and harsh detergents in a dishwasher.
Summary
It’s common for your Meat Thermometer Stops Working Suddenly, but usually, it’s a simple fix. Start with fresh batteries and check the probe for any damage. If these steps don’t work, consider if the thermometer might have been exposed to extreme temperatures or if it’s time for a replacement.
Don’t let a faulty thermometer stop you from enjoying perfectly cooked meals.

