
Having your meat thermometer act up can be super frustrating, especially when you’re trying to cook something just right. It’s a common puzzle, and beginners often scratch their heads wondering what’s going on. But don’t worry!
Fixing a Meat Thermometer Not Reading Correctly Fix is usually simpler than you think. We’ll walk through easy steps to get your thermometer working like a charm again. Let’s find out why it’s acting funny and how to sort it out.
Common Reasons for Incorrect Thermometer Readings
It’s quite common for meat thermometers to show wrong temperatures sometimes. This can happen for a few reasons, and most of them are easy to fix. When your thermometer isn’t reading correctly, it can make cooking tricky.
You might end up with undercooked food or overcooked, dry meat. Knowing why this happens helps you prevent it and fix it fast. We’ll cover the main culprits that cause these readouts to be off.
This section will help you spot the problem quickly.
Power Issues and Low Batteries
One of the simplest reasons your digital meat thermometer might not be reading correctly is that it doesn’t have enough power. Just like your phone or TV remote, these gadgets need batteries to work. If the batteries are old or low, the thermometer might show strange numbers or nothing at all.
It could even display a reading that seems frozen or completely random. This is especially true for digital models that have screens.
When the battery level drops, the internal electronics of the thermometer don’t get the steady power they need. This can cause erratic behavior. The screen might flicker, or the numbers could jump around unexpectedly.
Sometimes, a weak battery can make the thermometer take much longer to get a stable reading, making you think it’s broken when it’s just struggling for power.
Always check the battery compartment first. Make sure the batteries are inserted correctly, with the positive (+) and negative (-) ends aligned as shown. If they are old, it’s best to
Damaged or Dirty Probe
The probe is the metal part of the thermometer that goes into the meat. If this part is bent, broken, or covered in gunk, it can’t accurately sense the food’s temperature. Think of it like trying to feel something with a dirty glove on – you won’t get a clear sense of the real temperature.
Food particles, grease, or burnt bits stuck to the probe can act as a barrier. This barrier might insulate the probe, making it read a cooler temperature than what’s actually inside the meat. On the flip side, if the probe itself is damaged, like if it’s bent at an odd angle or the tip is worn down, it might not be making proper contact with the food’s core.
This can also lead to inaccurate readings.
Cleaning the probe is super important. After each use, wash it with warm, soapy water. For stubborn bits, you might need a soft brush or a gentle scrub pad.
Make sure to rinse it thoroughly and dry it completely before storing. If the probe looks bent or cracked, it might be time to consider getting a new thermometer, as a damaged probe is hard to fix.
Calibration Problems
Thermometers, especially digital ones, need to be calibrated now and then. Calibration is like giving your thermometer a reality check to make sure its readings are accurate. Over time, and with use, they can drift a little.
This means the temperature it shows might not be the real temperature of the food.
This drift can happen due to changes in temperature, drops, or just normal wear and tear. If your thermometer is off by just a few degrees, it might not seem like a big deal, but for cooking things like poultry or roasts, even a small difference can matter. A miscalibrated thermometer is a frequent cause for a Meat Thermometer Not Reading Correctly Fix.
You can often calibrate a meat thermometer yourself. A common method is the ice water bath test. Fill a glass with ice and water.
Stir it until it’s cold. Place the thermometer probe into the ice water, making sure it doesn’t touch the sides or bottom of the glass. A properly calibrated thermometer should read 32°F (0°C) in this mixture.
If it’s off, many digital thermometers have a calibration setting that lets you adjust the reading.
Probe Placement Errors
Where you stick the thermometer probe matters a lot! If you don’t place it correctly, you won’t get the true temperature of the meat. For instance, if you put it too close to the bone in a piece of meat, it might read a different temperature than the flesh.
Bones conduct heat differently than muscle tissue.
Another common mistake is not you want to measure the temperature, away from any fat pockets or gristle. If the probe is sticking out too much or is only in a thin section, the reading will be inaccurate.
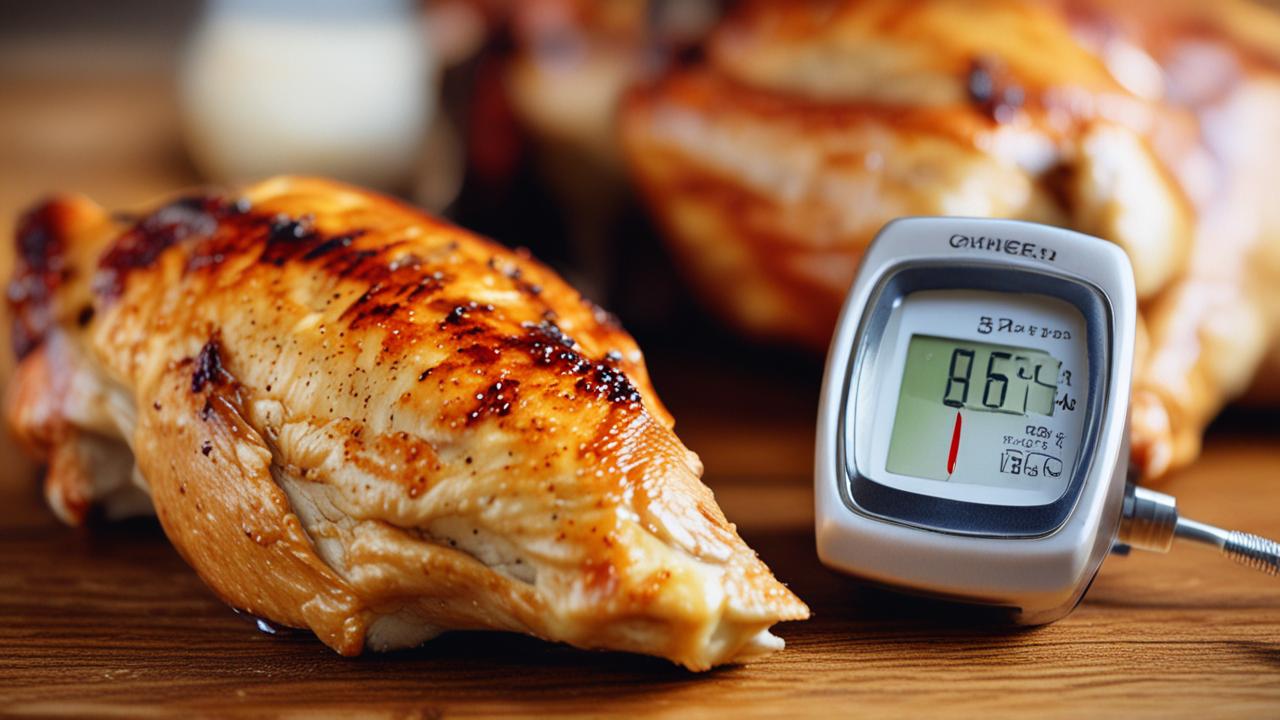
When cooking things like a whole chicken or a large roast, you need to find the center of the thickest part. Avoid touching any pans or surfaces that might be hotter or colder than the meat itself. For smaller cuts, try to get the probe into the very middle.
A good rule is to aim for the deepest part without hitting a bone or the cooking surface.
Troubleshooting Common Thermometer Issues
When your meat thermometer isn’t giving you the right numbers, it’s time to play detective. Most problems can be solved with a few simple checks. This section will guide you through the common hiccups and how to get your thermometer back on track.
We’ll look at issues like slow readings, fluctuating numbers, and completely dead devices. Following these steps can save your meal and your sanity.
Slow or Delayed Readings
Sometimes, a thermometer just takes forever to give a reading. This can be annoying when you’re trying to check your food quickly. A few things can cause this delay.
One might be that the batteries are low, as we discussed. When the power is weak, the thermometer struggles to process the temperature data quickly.
Another reason could be the type of thermometer. Older dial thermometers, for example, might be slower to respond than modern digital ones. Also, if the probe is dirty or has residue on it, it can interfere with how fast it senses the heat.
A clean probe makes faster contact and quicker readings. Sometimes, the meat itself is very dense or cold, which can also slow down the reading process slightly.
If your thermometer is consistently slow, try these fixes: First, swap out the batteries for fresh ones. Then, give the probe a good, thorough cleaning. Make sure there’s no grease or food bits stuck to it.
If it’s still slow after that, and it’s a digital model, try recalibrating it. For dial thermometers, if they are slow, they might be worn out and need replacing.
Fluctuating or Erratic Readings
Seeing the temperature jump around on your thermometer screen is super confusing. You might see the numbers go up and down wildly, or settle on a reading for a second before changing again. This is often a sign that something isn’t quite right with the connection or the power supply.
Low batteries are a big culprit here. When the power is unstable, the thermometer’s internal systems can get confused, leading to random number generation. Another possibility is a loose connection between the probe and the thermometer body.
If your thermometer has a detachable probe, make sure it’s pushed in all the way and is secure.
Dirt or corrosion on the probe’s connection point can also cause these erratic readings. If you see any gunk or build-up where the probe plugs in, gently clean it with a cotton swab and a little rubbing alcohol. Let it dry completely before reattaching the probe.
If the fluctuations continue, it might be an internal issue with the thermometer’s circuitry.
Thermometer Won’t Turn On
The worst scenario is when your thermometer is completely dead – it won’t turn on at all. This can happen for several reasons. The most common and easiest to fix is dead batteries.
Even if the batteries aren’t completely dead, they might be too weak to power the device on.
Make sure the batteries are inserted correctly. Sometimes, they can get shifted, or the little springs that hold them in place might be bent. Check the battery compartment for any dirt or corrosion that might be blocking the connection.
If you find any, clean it gently with a dry cloth or a pencil eraser.
If new batteries don’t do the trick, the problem might be more serious. The on/off button could be stuck or broken. Some thermometers have a small reset button, often a tiny hole you need to push with a pin.
Check your thermometer’s manual to see if it has one. If all else fails, the internal electronics might be damaged, and it might be time for a replacement.
Advanced Fixes and Maintenance
Beyond the basic checks, there are a few other things you can do to keep your meat thermometer in top shape. Proper care and knowing how to handle minor issues can extend its life and ensure it always gives you accurate results. This section looks at more in-depth solutions and good practices for maintaining your thermometer.
Understanding Probe Types and Care
There are a few types of meat thermometer probes, and how you care for them can vary slightly. The most common are stainless steel probes, which are durable and easy to clean. Some specialized probes might be made from different materials or have unique designs.
For stainless steel probes, regular cleaning with soap and water is usually sufficient. After washing, always dry the probe thoroughly to prevent rust or water spots. If you notice any stubborn residue, a paste of baking soda and water can help gently scrub it away.
Avoid using harsh abrasive cleaners or steel wool, as these can scratch the probe surface and potentially damage its temperature-sensing capabilities.
Some thermometers have probes with protective covers. Always use these covers when the thermometer is stored to prevent damage to the probe tip. For any thermometer, it’s a good idea to consult the manufacturer’s instructions for specific cleaning and care advice, as some materials might require special attention.
Calibrating Dial Thermometers
Dial meat thermometers, the ones with a round face and a needle, can also lose their accuracy. They are typically calibrated at the factory, but like digital ones, they can drift. The calibration process for a dial thermometer is a bit different.
You’ll need a pot of boiling water and a thermometer. Place the dial thermometer into the boiling water, making sure the probe is fully submerged and doesn’t touch the bottom of the pot. A properly calibrated dial thermometer should read 212°F (100°C) in boiling water (this can vary slightly based on your altitude).
If your dial thermometer reads higher or lower, look for a small nut or screw on the back of the dial face, usually behind the needle. You can use a small pair of pliers or a screwdriver to gently turn this nut. Turn it to adjust the needle until it points to the correct boiling point.
Be patient and make small adjustments. Once calibrated, test it again in boiling water.
When to Consider Replacement
Sometimes, no matter how much you try to fix it, a meat thermometer might be beyond repair. If you’ve tried all the basic troubleshooting steps, including changing batteries, cleaning the probe, and calibrating, and it’s still not working correctly, it might be time to get a new one.
Signs that it’s time for a replacement include: a probe that is visibly damaged (bent, cracked, or corroded), a dial thermometer that won’t hold its calibration, or a digital thermometer that consistently shows nonsensical readings even after resetting and battery changes. If the thermometer has been dropped hard or exposed to water damage (for non-waterproof models), it might also be permanently compromised.
Investing in a quality meat thermometer is important for safe and delicious cooking. They aren’t usually very expensive, and a reliable thermometer can prevent foodborne illnesses and ensure your meals are cooked perfectly. Look for features like fast response times, accuracy, and ease of cleaning when choosing a new one.
Meat Thermometer Not Reading Correctly Fix: A Step-by-Step Guide
Let’s put everything together into a clear, step-by-step plan to tackle the issue of a Meat Thermometer Not Reading Correctly Fix. This guide assumes you have a digital thermometer, which is the most common type today. We’ll start with the simplest solutions and move to more involved ones.
-
Check the Batteries
This is always the first step. Open the battery compartment. Make sure the batteries are fresh and inserted with the correct polarity (+ and -).
If they look old,
-
Clean the Probe
Remove the probe if it’s detachable. Wash the probe thoroughly with warm, soapy water. Use a soft cloth or sponge.
Rinse well and dry it completely. Pay attention to the tip and any connection points. If there’s stubborn residue, a little baking soda paste can help.
Ensure the probe is perfectly dry before reinserting or using.
-
Test the Thermometer in Ice Water
Fill a glass with ice cubes and cold water. Stir it to get it very cold. Place the clean, dry probe into the ice water, making sure it doesn’t touch the sides or bottom of the glass.
A correctly working and calibrated thermometer should read 32°F (0°C).
-
Calibrate (If Necessary)
If the ice water test shows a reading significantly different from 32°F (0°C), your thermometer needs calibration. Most digital thermometers have a calibration feature. Consult your thermometer’s manual for specific instructions on how to enter calibration mode and adjust the reading to 32°F (0°C).
-
Check Probe Connection
If your thermometer has a detachable probe, ensure it is securely plugged into the thermometer body. Sometimes, a loose connection is the culprit. Wiggle it gently to see if the reading changes.
If you suspect the connection point is dirty, clean it with a cotton swab dipped in rubbing alcohol. Let it dry fully.
-
Test in Boiling Water (Optional but Recommended)
To further confirm accuracy, you can test the thermometer in boiling water. Carefully submerge the probe in boiling water, ensuring it doesn’t touch the pot. A correctly calibrated thermometer should read approximately 212°F (100°C), though this can vary slightly with altitude.
-
Reset the Thermometer
Some digital thermometers have a reset button, often a small, recessed button. Check your manual to see if yours does. If so, use a paperclip or pin to press and hold the button for a few seconds.
This can sometimes clear internal errors.
-
Inspect for Physical Damage
Look closely at the probe. Is it bent, cracked, or showing any signs of wear? If the probe itself is physically damaged, it might not be able to register temperatures correctly.
Similarly, check the thermometer body for any cracks or damage.

Benefits of Accurate Temperature Readings
Having a meat thermometer that reads correctly is more than just convenient; it’s essential for safe and enjoyable cooking. When your thermometer is accurate, you can cook with confidence, knowing that your food is cooked to the perfect temperature every time. This section will highlight why having a reliable thermometer makes such a big difference in the kitchen.
Food Safety
The most critical benefit of an accurate meat thermometer is food safety. Different types of meat need to reach specific internal temperatures to kill harmful bacteria like E. coli and Salmonella.
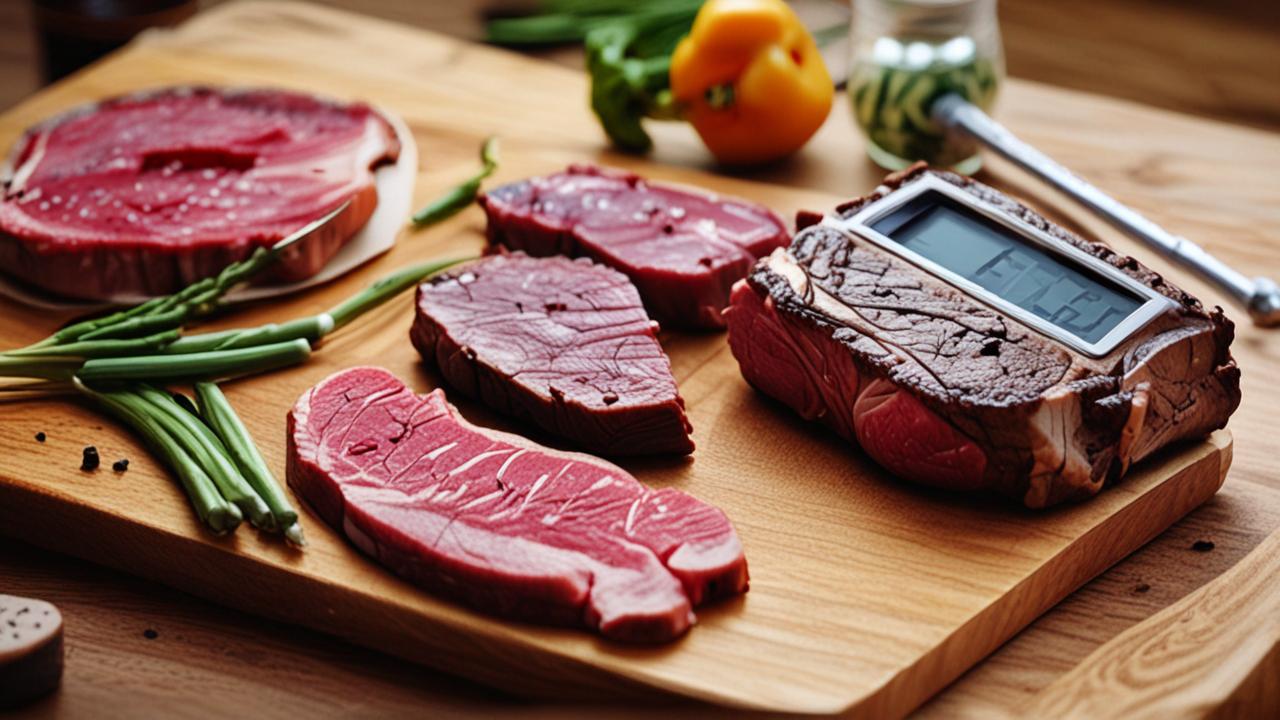
For example, ground meat and poultry need to reach higher temperatures than whole cuts of beef or pork to be considered safe to eat.
A thermometer that doesn’t read correctly can lead to undercooked food, posing a serious health risk. You might think your chicken is done, but if the thermometer is off, it could still harbor dangerous bacteria. Ensuring your meat reaches its safe minimum internal temperature every time prevents foodborne illnesses, keeping you and your loved ones healthy.
Statistics show that millions of people get sick from foodborne illnesses each year. Using a calibrated thermometer is one of the most effective ways to prevent these illnesses. For instance, according to the CDC, an estimated 1 in 6 Americans get sick, 128,000 are hospitalized, and 3,000 die each year from foodborne diseases.
Perfectly Cooked Meals
Beyond safety, accurate temperature readings are key to achieving delicious results. Cooking meat to its ideal internal temperature ensures it’s tender, juicy, and flavorful, not dry or tough. Different cuts of meat have specific temperature sweet spots for optimal taste and texture.
For example, a medium-rare steak is typically around 130-135°F (54-57°C). If your thermometer reads too high, you might pull the steak off too early, leaving it undercooked. If it reads too low, you might overcook it, resulting in a dry, unappetizing meal.
A reliable thermometer helps you hit that perfect balance, making your cooking truly shine.
Consider a case study: A home cook was always struggling with dry chicken breasts. They realized their old thermometer was consistently reading about 10 degrees lower than reality. Once they recalibrated their thermometer and started cooking to the correct target temperature, their chicken became incredibly moist and flavorful.
This small fix made a huge difference in their cooking.
Confidence in the Kitchen
When you know your tools are reliable, you can cook with much more confidence. A properly working meat thermometer takes the guesswork out of cooking. You don’t have to rely on visual cues or poke-and-prod methods, which are often inaccurate.
This confidence extends to trying new recipes or cooking for guests. You can relax and enjoy the cooking process, knowing that the final result will be safe and delicious. It empowers you to experiment with different cuts of meat and cooking methods, knowing you have a precise tool to guide you.
This can turn a potentially stressful cooking experience into a thoroughly enjoyable one.
Frequently Asked Questions
Question: How often should I calibrate my meat thermometer?
Answer: It’s a good idea to calibrate your meat thermometer at least once a year. You should also calibrate it if you drop it, if it’s been stored for a long time, or if you suspect its readings are off. Regular calibration ensures accuracy.
Question: Can I use my meat thermometer in the oven while it’s on?
Answer: Some meat thermometers, called leave-in thermometers, are designed to stay in the oven. However, most basic digital thermometers have probes that are not meant for prolonged high heat and could be damaged. Always check your thermometer’s manual to see if it’s oven-safe.
Question: My thermometer has a slow response time. What can I do?
Answer: First, ensure the batteries are fresh and the probe is clean. If it’s still slow, it might be an older model or a less sensitive type. For a faster response, consider upgrading to a digital instant-read thermometer.
Question: What is the difference between a dial and a digital meat thermometer?
Answer: A dial thermometer uses a metal coil that expands or contracts with heat, moving a needle on a dial. A digital thermometer uses a sensor to detect temperature and displays it on an LCD screen, usually offering faster and more precise readings.
Question: My thermometer is showing “LO” or “HI”. What does that mean?
Answer: These readings typically indicate that the temperature the probe is sensing is outside the thermometer’s measurable range. “LO” means it’s too cold, and “HI” means it’s too hot for the thermometer to display accurately. Ensure the probe is in the food and not touching an extreme heat or cold source.
Summary
Fixing a meat thermometer that’s not reading correctly is usually straightforward. Often, it’s just a matter of fresh batteries, a clean probe, or proper calibration. By following these simple steps, you can ensure your thermometer is accurate for safe and delicious cooking.
Trust your thermometer to guide your cooking.


