
It’s frustrating when your meat thermometer jumps all over the place! For folks just starting out with cooking, a Meat Thermometer Reading Not Stable Fix can seem like a puzzle. You’re trying to get that perfect cook, but the numbers keep changing.
Don’t worry, this is super common, and we’ve got an easy fix for you. Let’s get that thermometer working right so you can cook with confidence. We’ll show you exactly what to do.
Why Your Meat Thermometer Reading Isn’t Stable Fix
This section covers why your meat thermometer might be giving you shaky numbers. It’s not usually a sign of a broken tool, but rather a common issue that happens for a few simple reasons. We’ll look at how the thermometer works and what can interfere with its ability to get a steady reading.
Understanding these little quirks will help you get accurate temperatures every time. This knowledge will make your cooking much more enjoyable.
The Basics of How Meat Thermometers Work
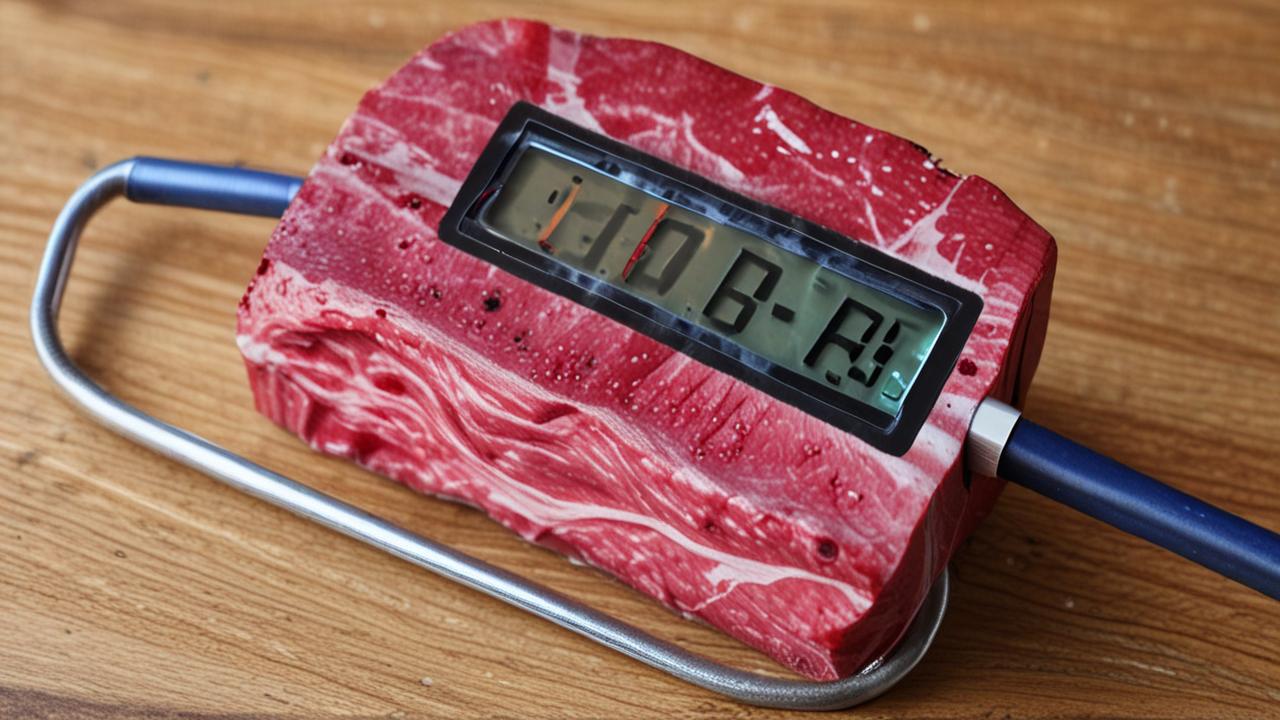
Meat thermometers are pretty neat gadgets. They help us know if our food is cooked safely and tastes great. Most common types use a metal probe.
This probe has a sensor inside that measures heat. When you stick it into meat, it sends that heat information to a display. The display then shows you the temperature.
It’s like a tiny scientist telling you how hot your food is deep inside.
This sensor is often a thermocouple or a thermistor. A thermocouple uses two different metals. When they get hot, they create a small electrical signal.
This signal changes based on the temperature. A thermistor is a resistor whose resistance changes with temperature. The thermometer’s electronics read this change and convert it into a temperature reading you can see.
The faster your thermometer can read this change, the quicker you get a result. Some digital thermometers are super fast, giving you a reading in seconds. Older dial thermometers might take a bit longer.
Both types aim to give you an accurate picture of the food’s internal heat. This is important for both safety and flavor.
Common Reasons for Unstable Readings
Sometimes, the number on your thermometer can seem like it’s dancing around. This is often because of how and where you’re taking the temperature. It’s not that the thermometer is broken, but rather that it’s picking up slight changes in heat.
Think of it like trying to measure the temperature of a bubbling pot of soup; the surface might be hotter than the middle.
One big reason is probe placement. If the probe isn’t deep enough or is touching a bone, it won’t give you the true internal temperature of the meat. Bones are hotter than the meat around them.
Also, if the probe is near a hot spot, like the edge of a roast that’s closer to the oven heat, it will read higher.
Another cause can be the meat itself. Meat isn’t always perfectly uniform in temperature. There can be cooler spots and hotter spots within the same piece of meat.
If you move the probe just a little bit, you might hit one of these different spots. This can make the reading seem unstable.
Also, how quickly the thermometer responds matters. Some thermometers are faster than others. If you’re taking readings very rapidly, you might see small fluctuations as the thermometer catches up.
The meat’s temperature can also change slightly as it rests after cooking.
Probe Placement Issues
Getting the probe in the right spot is key. If you stick it in too shallow, you’ll only be measuring the surface temperature. This can be way off from the inside where the food needs to be cooked through.
Always aim for the thickest part of the meat. Make sure you’re not touching any bone. Bones conduct heat differently than meat, which can give you a false reading.
For example, when cooking a chicken, you want to measure the thigh, not near the bone.
If you’re cooking a flat piece of meat, like a steak or a pork chop, try to get the probe into the center. For larger roasts, find the very middle. A little wiggle room can help you find the true center.
Variations in Meat Temperature
Meat is not a perfectly even block of heat. Different parts can be warmer or cooler. This is normal.
When you move the thermometer probe even a small amount, you might be sampling a different temperature.
Think about a burger. The edges can get more heat from the pan than the very center. If your probe is near the edge, it will show a higher temperature.
If you move it to the middle, it might be lower.
This is why it’s good to take a few readings in different spots. This helps you get a better overall idea of the meat’s temperature. Don’t be alarmed if one reading is a little different from another.
Environmental Factors and Thermometer Response
Sometimes, the environment around the probe can affect readings. For instance, if you’re cooking outside on a windy day, the probe might cool down faster when exposed to air. This can cause temporary dips in the reading.
Also, the speed of your thermometer is important. A fast-reading digital thermometer will settle on a number more quickly. Slower thermometers might take longer to show a stable reading.
If you remove a slower thermometer too soon, you might not have the final temperature yet.
Consider the heat source itself. If you’re cooking with an oven that has hot spots, the meat near those spots will cook faster. This uneven cooking can lead to different temperatures in the meat.
Troubleshooting Your Meat Thermometer
If you’re still seeing unstable readings, don’t despair. There are a few simple things you can do to figure out what’s going on. This section will walk you through checking your thermometer and making sure it’s ready for accurate cooking.
We’ll cover basic checks and common fixes.
Checking the Probe and Sensor
The probe is the part that goes into the food. It needs to be clean and undamaged. If it’s bent or has gunk on it, it might not be able to sense the heat properly.
Always clean your probe after each use. Food bits can get stuck in the sensor area, which is usually at the very tip of the probe. Use warm, soapy water and a soft cloth.
Rinse it well and dry it completely.
Inspect the probe for any visible damage. Small dents or bends might not seem like much, but they can affect how the sensor works. If the probe seems loose or wobbly, that’s also a sign something might be wrong.
Battery and Power Issues
For digital thermometers, the batteries are crucial. If the batteries are low, the thermometer might not be able to display readings correctly. This can cause them to be jumpy or inconsistent.
Try replacing the batteries with fresh ones. Make sure you’re using the right type of batteries specified by the manufacturer. Sometimes, even if the display turns on, the power might not be strong enough for accurate measurements.
Check the battery contacts too. Make sure they are clean and free of any corrosion. Corroded contacts can prevent good electrical flow.
Calibration and Accuracy Tests
Sometimes, thermometers can lose their calibration. This means they’re not showing the correct temperature anymore. You can do a simple test to check this.
One common test is the ice water bath. Fill a glass with ice and then add water. Stir it for a minute to make sure it’s well-mixed and cold.
Place your thermometer probe into the ice water, making sure it doesn’t touch the sides or bottom of the glass.
A properly calibrated thermometer should read 32°F (0°C) in an ice bath. If it reads significantly higher or lower, it might need recalibration or replacement. Some digital thermometers have a recalibration feature, while others may need to be sent in or replaced.
Cleaning and Maintenance Tips
Regular cleaning is more than just wiping the probe. It’s about keeping the entire device in good working order. For digital thermometers, be careful not to submerge the entire unit, especially if it’s not waterproof.
Use a damp cloth to clean the body of the thermometer. Avoid harsh chemicals or abrasive scrubbers. These can damage the screen or casing.
Store your thermometer properly. Keep it in a protective case or a drawer where it won’t get banged around. This helps prevent damage to the probe and the electronics.
Achieving Stable Readings: Step-by-Step Solutions
Now that we know why readings can be unstable, let’s focus on how to fix it. This section gives you a clear plan to get those steady, reliable numbers you need. Follow these steps, and you’ll be cooking with a confident thermometer in no time.
Proper Probe Insertion Technique
This is the most important step. When you insert the probe, do it slowly and steadily. Avoid jabbing it into the meat.
This can cause unnecessary jostling and might lead to temporary, incorrect readings.
Aim for the thickest part of the meat. If it’s a round roast, go for the center. If it’s a steak, find the middle.
You want to be in the meat, not near the surface or a bone.
Once the probe is in place, hold it still for a few seconds. Let the thermometer settle. Most digital thermometers will beep or show a steady number when they’ve reached a stable reading.
Allowing the Thermometer to Stabilize
Don’t pull the thermometer out the second you see a number. Give it time to adjust to the meat’s temperature. This is especially true for slower thermometers.
If your thermometer has a “hold” feature, use it. This keeps the last stable reading displayed even after you remove the probe. This is helpful if you’re in a situation where you need to pull the probe out quickly.
Listen for any beeps or watch for an indicator light that signals a stable reading. These features are designed to help you get the most accurate result.
Testing in Different Meat Sections
As we discussed, meat isn’t always perfectly uniform. To get the best idea of doneness, take readings in a couple of spots. This isn’t because the thermometer is unstable, but because the meat is.
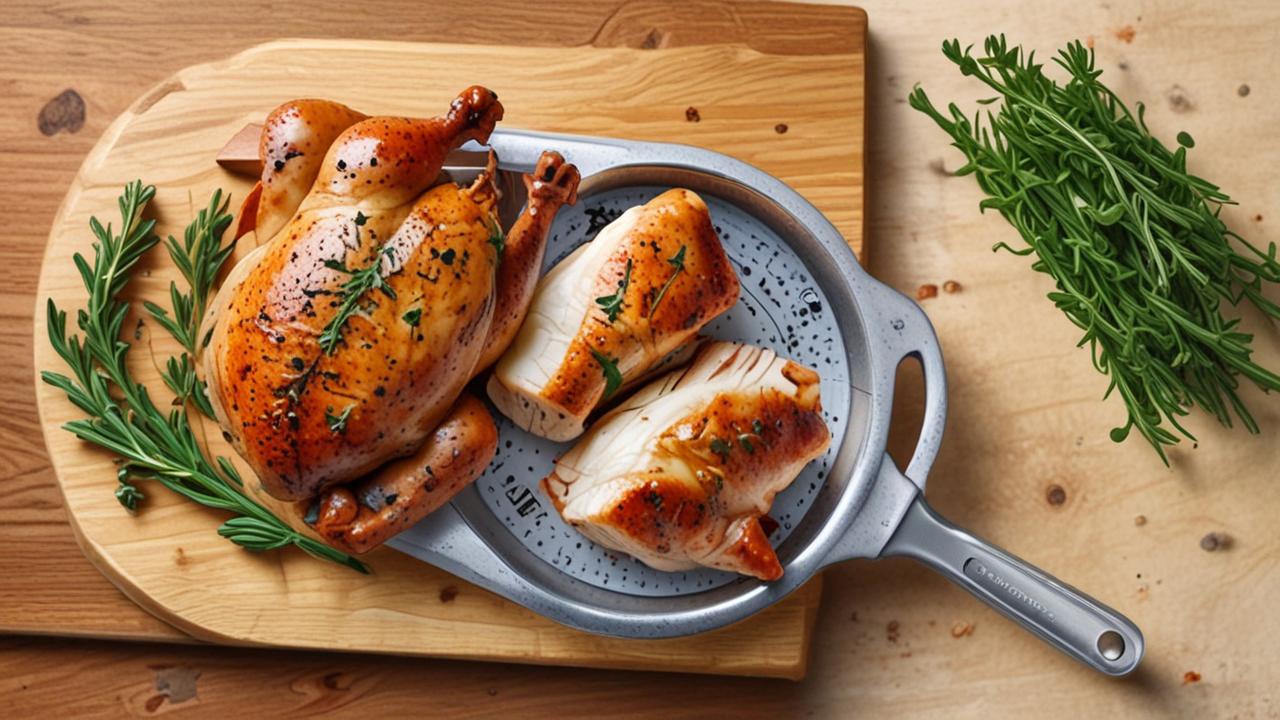
For larger cuts, like a whole chicken or a pork shoulder, take readings in several places. Check the thickest part of the breast and the thigh for chicken. For roasts, check different sections of the meat.
This multi-point check will give you a more complete picture. It helps ensure that the entire piece of meat is cooked to the desired temperature.
Cooling Down the Probe Between Readings
If you’re checking multiple items or taking frequent readings on a large roast, the probe can get very hot. If you then try to take a reading on a cooler part, the hot probe might slightly heat the immediate area, causing a temporary spike.
A quick way to help stabilize this is to briefly expose the probe to cooler air. You can do this by lifting it out of the meat for a few seconds before re-inserting it. This allows the probe’s temperature to normalize a bit.
For digital thermometers, some have a “stabilize” indicator. Watch for this. It tells you when the thermometer is ready to give you its best reading.
When to Consider a New Thermometer
Sometimes, despite all your best efforts, the thermometer might just be faulty. If you’ve tried replacing batteries, cleaning the probe, and performing accuracy tests, and you’re still getting wildly inconsistent readings, it might be time for a new one.
Look for thermometers with good reviews and fast read times. Features like a waterproof casing and a backlight can also be very helpful. Don’t be afraid to invest in a quality thermometer; it’s a tool that will save you frustration and help you make delicious food.
Advanced Tips for Accurate Meat Temperature
Once you’ve mastered the basics, a few extra tricks can really boost your confidence in getting perfect temperatures. This section explores some finer points that experienced cooks use to ensure their meat is always just right.
Understanding Carryover Cooking
When you take meat off the heat, it doesn’t stop cooking immediately. The internal temperature continues to rise for a while. This is called carryover cooking.
The larger and thicker the cut of meat, the more significant this effect will be.
For example, a thick steak might rise 5-10°F after it’s removed from the grill. A large roast could see an even bigger jump. Knowing this helps you pull the meat off the heat a little sooner than its final target temperature.
You want it to reach the desired doneness as it rests.
This is why taking the thermometer reading at the right moment is so critical. It’s not just about the temperature now, but where it will end up.
Resting Meat: The Thermometer’s Role
Resting is a vital part of cooking meat. It allows the juices to redistribute throughout the meat. If you cut into meat right away, all those delicious juices will run out onto your cutting board.
During the resting period, the temperature continues to climb due to carryover cooking. You’ll often use your thermometer to check the temperature after the rest. This confirms your meat has reached its perfect final state.
A stable reading after resting is a good sign.
For instance, after removing a roast from the oven, you might check its temperature again after 10-15 minutes of resting. It should now be at your target temperature.
Using a Leave-In Thermometer
For longer cooks, like roasts or turkeys, a leave-in thermometer is a lifesaver. These thermometers have a probe that stays in the meat for the entire cooking time. The display unit sits outside the oven or grill, so you can check the temperature without opening the cooking chamber.
This is fantastic because opening the cooker lets heat escape, slowing down the cooking process and causing temperature swings. A leave-in thermometer provides continuous monitoring.
Make sure to insert the probe correctly, in the thickest part and away from any bones or fat pockets. These thermometers often have alarms that can be set to alert you when the meat reaches a certain temperature. This takes the guesswork out of cooking.
Factors Affecting Thermometer Accuracy
Beyond basic issues, some less obvious factors can influence accuracy. For instance, the type of meat can matter slightly. Denser meats might conduct heat differently.
The environment where you’re cooking can also play a role. Very cold or very hot ambient temperatures can sometimes affect the thermometer’s electronics, although most modern thermometers are designed to handle a range of conditions.
Always refer to your thermometer’s manual for specific care and usage instructions. Different models might have unique requirements.
Frequently Asked Questions
Question: Why does my meat thermometer read differently every time I use it?
Answer: This can happen for several reasons. The most common are probe placement (not in the thickest part or touching a bone), variations in meat temperature within the same cut, and how quickly the thermometer responds to heat changes. Ensuring proper technique and letting the thermometer stabilize can help.
Question: Can I fix a meat thermometer that’s always inaccurate?
Answer: For digital thermometers, start by replacing the batteries. You can also test its accuracy by placing the probe in ice water (should read 32°F or 0°C). If it’s still off, it might need recalibration if the model allows, or it may be time to replace it.
Question: Is it normal for the temperature to jump around when I first insert the probe?
Answer: Yes, it’s normal for the reading to fluctuate a bit initially as the thermometer senses the heat. The key is to hold the probe steady and wait for the number to stabilize. Don’t rely on the first number you see.
Question: How do I know if my meat thermometer is broken?
Answer: If the thermometer won’t turn on, displays erratic numbers even after changing batteries and testing in ice water, or if the probe is physically damaged, it might be broken. Inconsistent readings that don’t improve with troubleshooting are also a sign.
Question: What’s the best way to store my meat thermometer?
Answer: Store your meat thermometer in a clean, dry place. A protective sleeve or case is ideal to prevent damage to the probe. Avoid storing it where it can get crushed or bent, as this can affect its accuracy.
Conclusion
A fluctuating meat thermometer reading is a common hurdle, but easily overcome. Focus on probe placement, letting the thermometer stabilize, and testing different meat sections. With these simple steps, you’ll get steady, accurate temperatures for perfectly cooked food every time.
Happy cooking!


