
Using a meat thermometer for brisket might seem tricky at first. Beginners often worry about poking their precious meat and getting a wrong reading. But don’t worry!
It’s actually quite simple once you know a few easy steps. We’ll show you exactly how to get it right every time so your brisket is perfect. Let’s get started on making your brisket a hit!
Understanding Your Meat Thermometer and Brisket
This section is all about getting familiar with the tools you’ll be using and the star of the show: the brisket. Knowing your thermometer’s parts and what makes a brisket tick will set you up for success. We’ll cover different types of thermometers and what to look for in a good brisket cut.
This basic knowledge is key to using your thermometer correctly and achieving that melt-in-your-mouth texture everyone loves.
Types of Meat Thermometers
There are a few common types of meat thermometers, and each works a little differently. Understanding these differences helps you pick the right one for your brisket cooking.
-
Digital Instant-Read Thermometers
These are super popular because they give you a reading really fast, usually in a few seconds. They have a thin metal probe that you stick into the meat. A small screen on top shows you the temperature.
They’re great for quickly checking the internal temperature of your brisket without letting too much heat escape. Many have a backlight, which is handy if you’re cooking in dim light. Some even come with a leave-in probe and a base unit you can keep outside the grill or oven to monitor temps from afar.
The accuracy of these can be very high, often within 1-2 degrees Fahrenheit.
-
Analog/Dial Thermometers
These are the older style, with a round dial and a pointer that shows the temperature. They often have a larger, thicker probe than digital ones. While they don’t give readings as quickly as digital models, they are very simple to use and don’t need batteries.
You just stick the probe in and wait a minute or so for the needle to settle. They are often built to stay in the meat during cooking. Some have a colored zone to indicate doneness, but for brisket, precise digital readings are usually preferred for accuracy.
-
Wireless/Bluetooth Thermometers
These are a bit more advanced. They have a probe that stays in the meat, and it sends the temperature reading to a receiver unit or your smartphone via Bluetooth or Wi-Fi. This is amazing because you can step away from the smoker or oven and still keep an eye on your brisket’s temperature.
Many of these apps also let you set alarms for target temperatures and track cooking progress over time. They offer great convenience for long cooks like brisket, allowing you to relax or do other things without constant checking.
What to Look for in a Brisket
When you’re picking out a brisket, there are a few things to keep in mind. A good brisket makes all the difference in the final taste and tenderness.
-
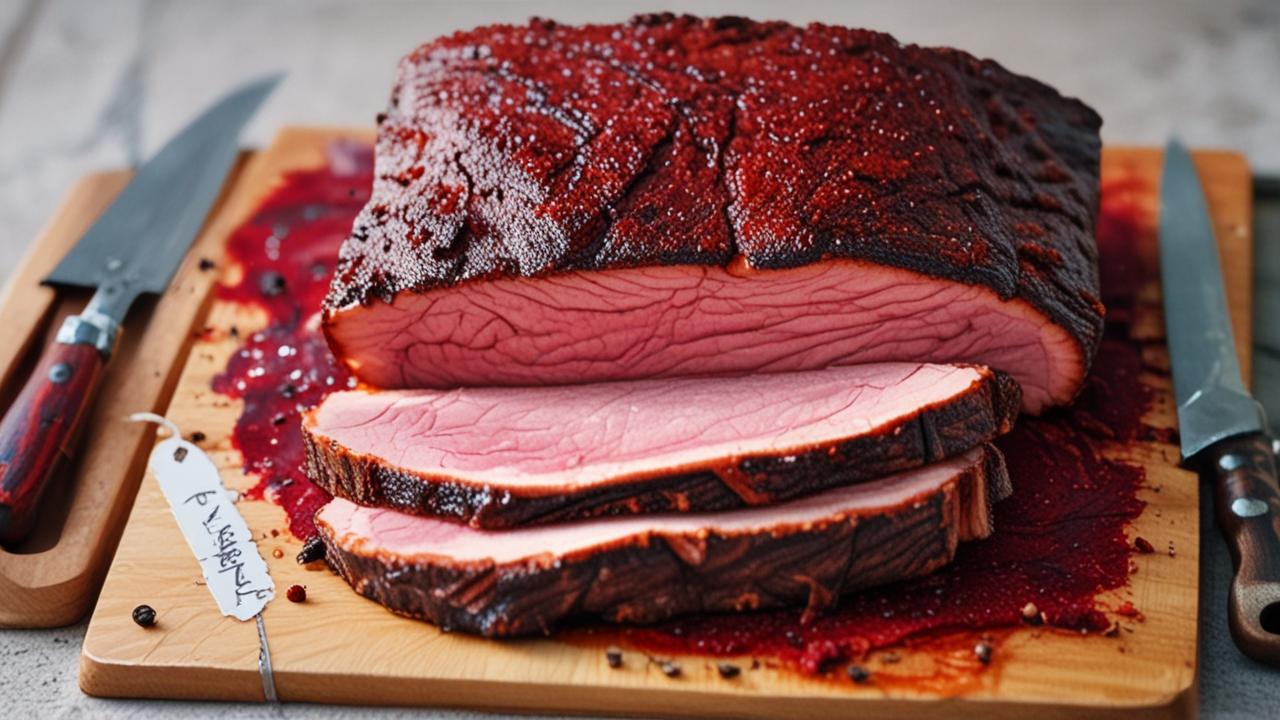
Marbling
Marbling refers to the little white flecks of fat scattered throughout the red meat. This fat is what melts and bastes the brisket as it cooks, making it juicy and flavorful. You want to see a good amount of this intramuscular fat.
If the brisket looks very lean with no visible fat streaks, it might turn out dry. A well-marbled brisket often has a slightly creamy white color within the muscle.
-
Packer vs. Flat
Brisket comes in two main parts: the flat (leaner) and the point (fattier). A “packer” brisket includes both parts, which is usually what you want for the best flavor and texture. The point can be chopped for burnt ends, and the flat gives you those nice slices.
If you buy just the flat, it’s leaner and can be a bit more challenging to keep moist. Knowing which cut you have helps you plan your cooking and temperature checks.
-
Thickness
Ideally, you want a brisket that’s at least 1.5 to 2 inches thick. This even thickness helps it cook more uniformly. If one end is much thinner than the other, it will cook faster and could overcook while the thicker end is still not done.
You might need to adjust your cooking approach to account for uneven thickness, perhaps by folding the thinner end or using a thermometer more carefully.
Preparing Your Brisket for Cooking
Before you even think about the heat, getting your brisket ready is super important. This involves trimming off excess fat and applying a rub. These steps help create a great crust and add flavor.
Proper preparation ensures the smoke and seasonings penetrate the meat nicely. We’ll guide you through trimming the fat and what seasonings work best to get that delicious bark.
Trimming the Brisket
Trimming the brisket correctly is a vital step. It helps the rub adhere better and ensures the meat cooks evenly without too much hard fat getting in the way.
-
Fat Cap
On one side of the brisket, you’ll find a thick layer of fat, called the fat cap. You’ll want to trim this down to about a quarter of an inch thick. This allows smoke to get to the meat while still keeping it moist during the long cooking process.
A thick fat cap can sometimes block smoke penetration or render unevenly, leading to a greasy texture. Use a sharp boning knife for this task.
-
Hard Fat
There are also firmer pieces of fat, often called “hard fat,” between the point and the flat, and sometimes on the meat surface. You should trim these away as much as possible. They don’t render down well during cooking and can create unpleasant chewy or waxy bits in your finished brisket.
Shave these off carefully, but don’t worry about getting every tiny bit.
-
Silverskin
Silverskin is a tough, membrane-like layer on the underside of the brisket. It’s very chewy and won’t break down during cooking. You need to get rid of this.
You can usually lift an edge with your knife and then slice along the meat’s surface to peel it off. This step is often overlooked by beginners but is critical for a tender result.
Applying the Rub
A good rub is the foundation for a delicious brisket bark. It adds flavor and helps form that dark, crispy exterior.
-
Binder
Sometimes, a binder is used to help the rub stick to the brisket. This could be mustard, hot sauce, or even just a little water. The binder doesn’t add much flavor itself but gives the rub something to cling to.
Apply a thin, even layer of your chosen binder all over the trimmed brisket.
-
Classic Brisket Rub
A classic brisket rub often includes coarse salt and black pepper. Many people also add garlic powder, onion powder, and paprika. The ratio can vary, but a common starting point is 1:1:1 salt, pepper, and garlic powder.
Some people like a bit of chili powder or cayenne for a touch of heat. The key is to be generous with the rub, coating the entire surface of the brisket.
-
Letting it Rest
After applying the rub, it’s a good idea to let the brisket rest for at least 30 minutes at room temperature, or even better, in the refrigerator for a few hours or overnight. This allows the salt in the rub to start breaking down the proteins in the meat, making it more tender and allowing the flavors to penetrate. For overnight rests, cover the brisket loosely.
How to Use Meat Thermometer for Brisket: The Core Steps
Now we get to the heart of it: using your meat thermometer to tell when your brisket is perfectly cooked. This is where you ensure that juicy, tender result. We’ll break down the process into simple, actionable steps.
Following these will help you avoid the common pitfalls beginners face.
When to Start Checking
Knowing when to start checking the temperature is as important as how you check it. Brisket takes a long time to cook, so you don’t want to be poking it constantly.
-
Estimated Cooking Time
A general rule of thumb is to plan for about 1 to 1.5 hours of cooking time per pound of brisket at a smoker temperature of 225-250°F (107-121°C). However, this is just an estimate. Brisket can take much longer or shorter depending on the meat’s thickness, the fat content, and the exact temperature of your smoker or oven.
It’s always better to cook to temperature than to time.
-
Reaching the “Stall”
Brisket often experiences something called “the stall.” This is when the internal temperature of the meat stops rising for several hours, even though it’s still cooking. This happens due to evaporative cooling from moisture on the surface of the meat. Don’t panic when this occurs!
It’s a normal part of the brisket cooking process. You can generally start taking more frequent temperature checks after the brisket has been cooking for about 6-8 hours, or when it seems to be taking longer than expected.
-
Before the Final Wrap
For many pitmasters, a common time to start taking more frequent temperature readings is just before they plan to wrap the brisket. This usually happens when the internal temperature reaches around 160-165°F (71-74°C) and the bark has set. The wrap (often with butcher paper or foil) helps push the brisket through the stall and keeps it moist.
Getting an accurate reading before the wrap is important for the final cooking stage.
Where to Insert the Thermometer Probe
The location where you insert the thermometer probe is critical for an accurate reading. You want to measure the deepest, most representative part of the meat.
-
Thickest Part of the Flat
The best place to check is in the thickest part of the brisket flat. This is usually the leaner section. Avoid sticking the probe into any large pockets of fat, as fat doesn’t conduct heat the same way meat does, and you’ll get a false reading.
You also want to avoid touching any bones if you’re cooking a bone-in brisket, as bone is hotter than meat. Aim for the center of the thickest muscle tissue.
-
Avoiding Extremes
Make sure the probe isn’t touching the bottom of your cooking vessel (like the foil or pan) or the heating element in an oven, as this will give you a temperature that’s too high. For smokers, ensure the probe is submerged in the meat and not sticking out into the ambient heat of the smoker. It should be completely surrounded by the meat for the most accurate reading.
-
Checking Multiple Spots
For larger briskets or those with uneven thickness, it’s a good idea to check the temperature in a couple of different spots. This is especially true if you notice one end is cooking much faster than the other. Checking in a few places gives you a more complete picture of how the entire brisket is cooking and helps you make informed decisions about when to pull it.
Reading the Temperature
Once you’ve inserted the probe in the right spot, it’s time to read the temperature. This is the moment of truth!
-
Target Internal Temperatures
The ideal internal temperature for a tender, sliceable brisket is generally between 195°F and 205°F (90°C to 96°C). However, temperature is just one indicator. The most important sign of doneness is tenderness.
You can have a brisket at 205°F that’s still a bit tough, or one at 198°F that’s incredibly tender. You’re looking for the probe to slide in with very little resistance, like pushing it into warm butter.
-
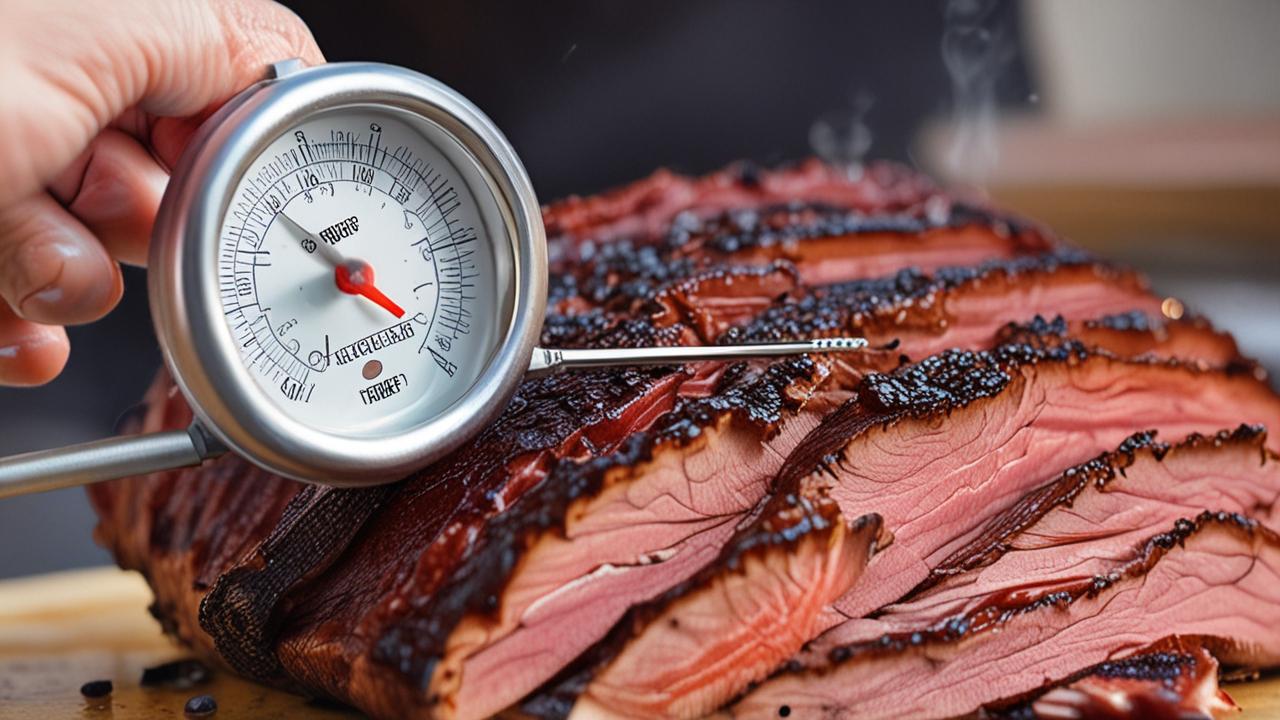
Using Your Thermometer
If you have an instant-read digital thermometer, insert the probe, wait for the numbers to stabilize (usually 2-5 seconds), and then read the temperature. If you have a leave-in thermometer, the display will show the current temperature. For analog thermometers, wait until the needle stops moving.
Always pull the probe out and re-insert it if you suspect your first reading might be off.
-
The “Probe Test”
Even more important than the exact temperature reading is the feel of the meat. When you probe the thickest part of the flat, it should feel like it’s offering almost no resistance. You should be able to insert the probe and move it around easily.
If you feel any tightness or resistance, the brisket needs more time to cook. This is often called the “probe tender” test and is the ultimate guide for brisket doneness.
Resting and Slicing Your Brisket
The cooking isn’t quite done when the brisket hits its target temperature. Resting is a crucial step that allows the juices to redistribute, making your brisket incredibly moist and tender. Skipping this step can lead to dry meat.
The Importance of Resting
Think of resting as the final cooking phase. When meat cooks, the muscle fibers tighten up and push out moisture. Resting allows these fibers to relax and reabsorb those juices.
-
Juice Redistribution
During cooking, the internal juices in the brisket get pushed towards the center due to the heat. If you cut into it immediately, all those delicious juices will run out onto your cutting board. Resting allows the juices to move back out into the meat fibers, ensuring every bite is moist and flavorful.
This process takes time, and patience is rewarded.
-
Carryover Cooking
Brisket continues to cook for a while after you remove it from the heat source. This is called carryover cooking. The internal temperature can rise by 5-10°F (3-6°C) during the rest.
Resting allows this carryover cooking to even out the temperature throughout the brisket, ensuring it’s cooked evenly from edge to edge. This is why you often pull the brisket when it’s a few degrees below your final target temperature.
-
How Long to Rest
The ideal resting time for a brisket is at least 1 to 4 hours, and some pitmasters even rest theirs for longer. You can achieve this by wrapping the brisket tightly in butcher paper or foil, then placing it in an insulated cooler (without ice) or a warming oven set to a very low temperature, around 150°F (65°C). The goal is to keep it warm, but not actively cooking, for an extended period.
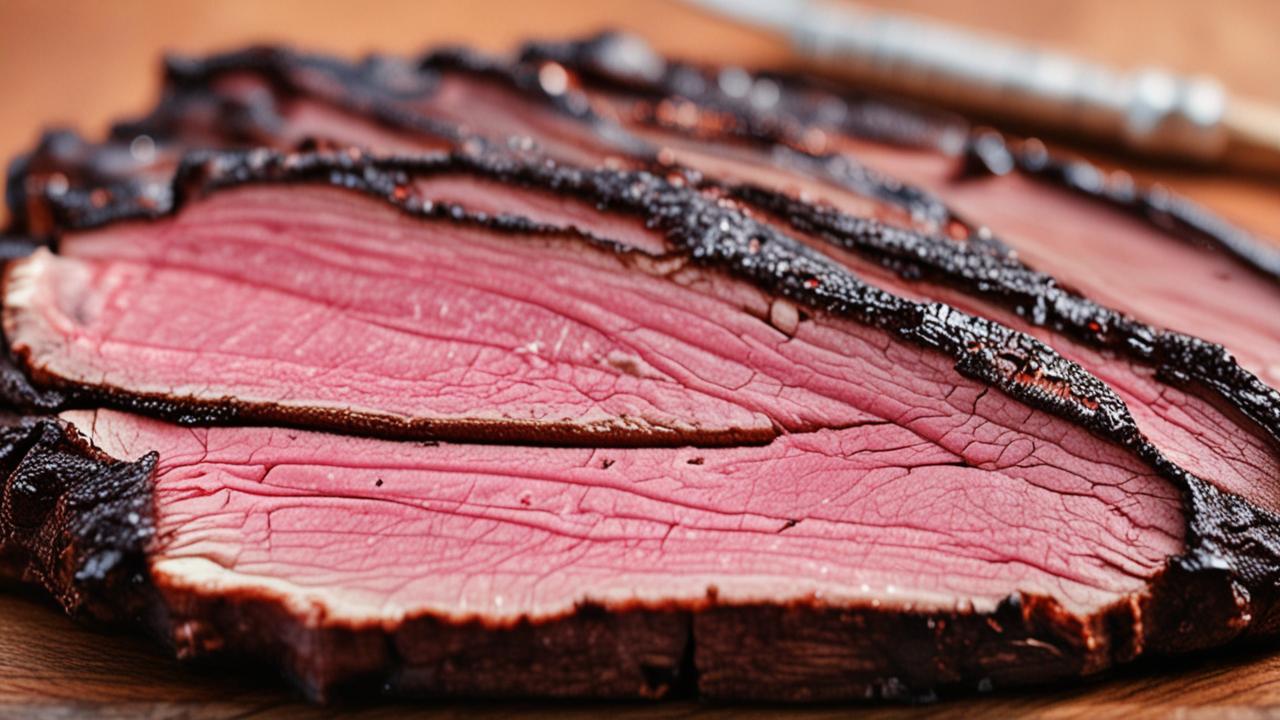
Slicing Techniques
How you slice your brisket can also impact its tenderness and how it’s perceived. The grain of the meat is your guide here.
-
Understanding the Grain
Brisket has two distinct grains. The grain of the flat runs in one direction, and the grain of the point runs in a slightly different direction. You need to identify which way the muscle fibers are running in each section.
You can usually see this by looking closely at the meat. Cutting against the grain breaks down the tough muscle fibers, making the meat easier to chew and more tender.
-
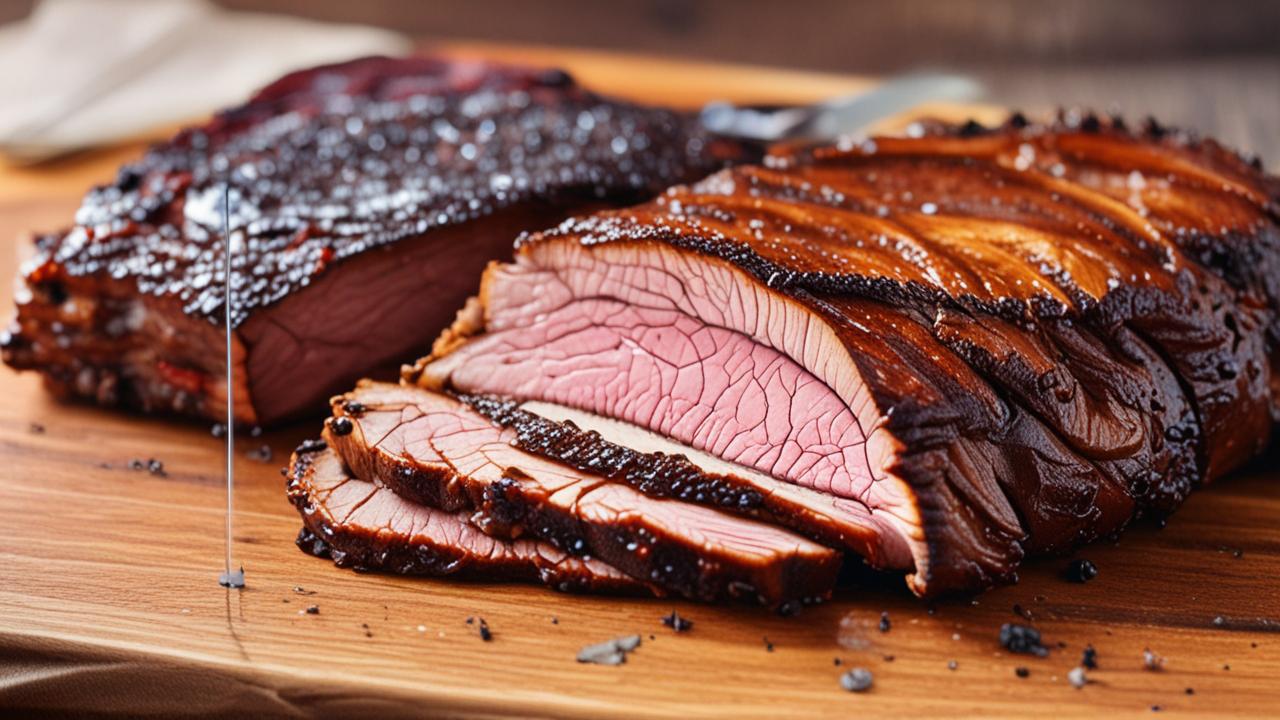
Slicing the Flat
For the flat, locate the direction of the muscle fibers. You will slice the flat against this grain, about a quarter-inch thick. Start at one end and make clean, straight cuts.
If you’re struggling to identify the grain, look for the lines that run through the meat. Cutting against these lines is key. If your brisket is too tough to slice easily, it might need a bit more time or a better rest.
-
Slicing the Point
The point is often fattier and can be sliced a bit thicker, or you can separate it and cube it for burnt ends. If you’re slicing the point like the flat, you’ll need to find its grain direction, which usually differs from the flat’s grain. Many people separate the point from the flat after cooking and then slice each part according to its grain.
This ensures maximum tenderness in both sections.

Troubleshooting Common Brisket Thermometer Issues
Even with the best intentions, you might run into a few hiccups when using your meat thermometer with brisket. Knowing how to fix them can save your cook.
Inaccurate Readings
Sometimes, your thermometer might not be giving you the right number. This can be frustrating, especially when you’re trying to hit that perfect temperature.
-
Calibration
Most digital thermometers can be calibrated. Check your thermometer’s manual for instructions. A common method is to place the probe in an ice bath (water and ice).
A properly calibrated thermometer should read 32°F (0°C) in an ice bath. If it’s off, you can usually adjust it. This ensures your readings are accurate throughout the cooking process.
-
Probe Placement
As we discussed, where you put the probe is vital. If you’re getting readings that seem too high or too low, re-check the probe placement. Make sure it’s in the thickest part of the meat and not touching bone, fat pockets, or the bottom of the cooking vessel.
Sometimes, the probe might have been too close to the edge or a fatty section.
-
Battery Life or Damage
For digital thermometers, low batteries can sometimes cause inaccurate readings. Try replacing the batteries. Also, if the probe has been bent, damaged, or exposed to extreme heat, it might not function correctly.
In such cases, it might be time for a new thermometer. A faulty thermometer is worse than no thermometer.
Brisket Not Reaching Target Temperature
You’ve been patient, but the temperature just isn’t climbing. What’s going on?
-
The Stall Explained
This is likely the “stall” we talked about earlier. Don’t give up! The brisket is still cooking.
The best approach here is to be patient. You can also help it through the stall by wrapping it in butcher paper or foil. This traps heat and moisture, allowing the temperature to rise more steadily.
Sometimes, turning up the heat slightly (e.g., from 225°F to 250°F or 275°F) can also help push through.
-
Cooking Environment
Your smoker or oven temperature might be running lower than you think. Use a reliable oven thermometer or smoker thermometer to ensure your cooking environment is consistent. If your cooking temperature is too low, the brisket will take much longer.
Also, opening the lid too often lets out heat, slowing down the cooking process significantly. Try to limit how often you check.
-
Meat Thickness and Fat Content
A very thick or very lean brisket can take longer to cook. If your brisket is exceptionally thick, it will naturally require more time. Conversely, a very lean brisket might cook faster but could be at risk of drying out, and its temperature might plateau for different reasons.
Ensure your meat is of good quality and appropriate thickness for the cooking method.
Frequently Asked Questions
Question: Do I need a special thermometer for brisket?
Answer: Not really! Any good quality digital instant-read meat thermometer will work well. Some people prefer wireless ones for long cooks, but a basic one is perfectly fine.
Question: Can I use an oven thermometer to check brisket temp?
Answer: An oven thermometer tells you the temperature of your cooking environment, not the internal temperature of the meat. You need a meat thermometer inserted into the brisket itself.
Question: How do I know if my brisket is done if it’s not at 205°F?
Answer: The best way is the “probe test.” If a thermometer probe slides into the thickest part of the brisket with very little resistance, like butter, it’s done, even if it’s a few degrees below 205°F.
Question: Should I check the temperature of brisket often?
Answer: It’s best not to check too often, especially in the early stages. Every hour or two is usually enough until you get closer to the target temperature range. Too much checking lets heat escape.
Question: What’s the difference between a digital and an analog meat thermometer for brisket?
Answer: Digital thermometers give fast, precise readings and are easier to read. Analog ones are simpler and don’t need batteries but take longer to give a temperature and are sometimes less accurate.
Summary
Mastering how to use a meat thermometer for brisket means getting delicious results. Focus on where and when you probe, aiming for that tender “probe tender” feel between 195-205°F. Accurate temperature checks, combined with proper resting, are key to a juicy, perfectly cooked brisket every time you fire up the smoker or oven.


