
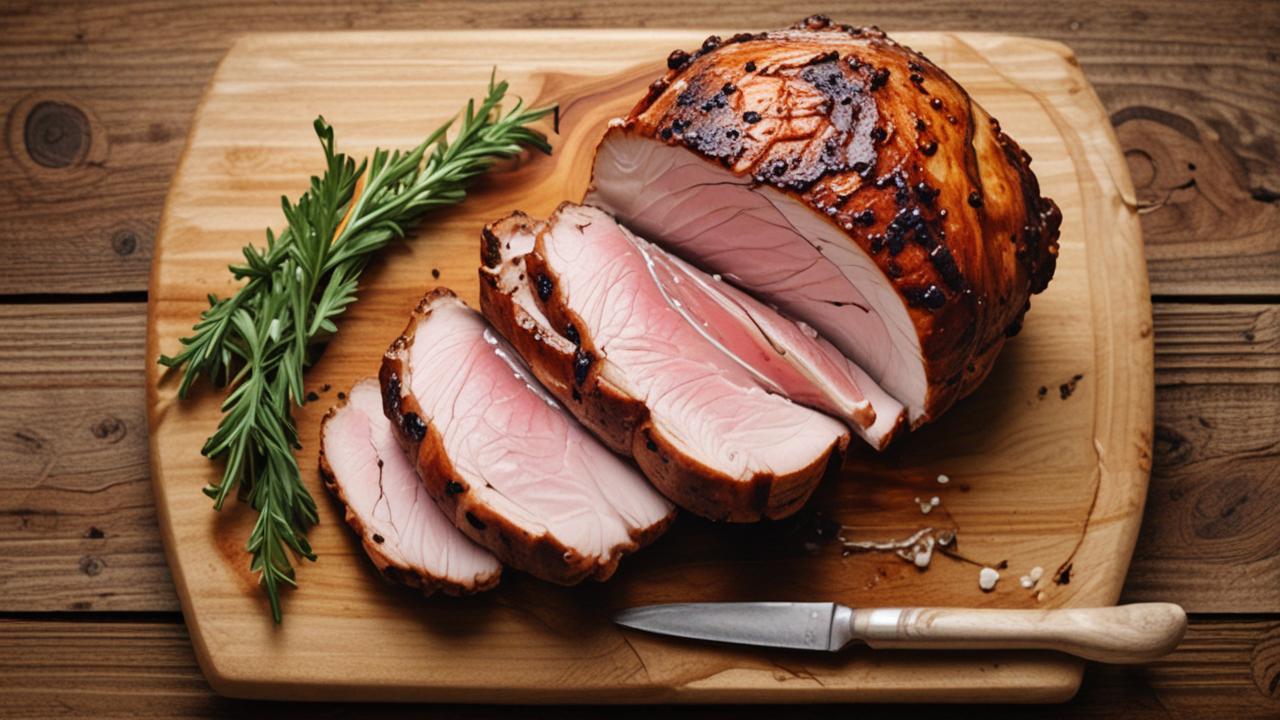
Figuring out Where to Insert Meat Thermometer in Pork can seem tricky when you’re new to cooking. You want your pork to be perfectly cooked – safe to eat but still juicy and delicious. It’s easy to worry about poking it in the wrong spot and getting a wrong reading.
Don’t fret! We’ll walk you through it step-by-step, making it super simple. Get ready to learn exactly how to get that perfect temperature every time.
Understanding Meat Thermometer Placement for Pork
Knowing the best place to put your meat thermometer is super important for cooking pork just right. It helps you make sure the pork is cooked all the way through, which is key for food safety. But it also helps you avoid overcooking, keeping your pork tender and tasty.
We will explore the reasons behind specific placements and how they affect the final dish.
The Importance of Accurate Temperature Readings
Getting the right temperature reading is like having a secret weapon for perfect pork. It tells you when the meat is safe to eat by reaching a specific internal heat. This stops harmful germs from growing.
Beyond safety, temperature control stops your pork from drying out. If you take it out too early, it might not be safe. If you leave it in too long, it can become tough and bland.
A thermometer is your guide to hitting that sweet spot.
-
Food Safety First: Pork needs to reach a certain internal temperature to kill bacteria like salmonella and trichinella. For most cuts of pork, this is 145 degrees Fahrenheit (63 degrees Celsius). This temperature ensures the meat is safe for everyone to enjoy without worry.
Statistics show that improper cooking of pork is a leading cause of foodborne illnesses. In the United States, an estimated 1.3 million cases of salmonella infection occur each year, with undercooked pork being a contributing factor in some instances. Ensuring pork reaches the recommended internal temperature is a simple yet powerful way to prevent these illnesses.
-
Maximizing Tenderness and Juiciness: While food safety is paramount, taste and texture are what we cook for. Pork can go from perfectly moist to dry and crumbly in mere minutes. A thermometer lets you monitor the cooking process closely, allowing you to remove the pork at the ideal moment for optimal juiciness.
Think about a pork loin roast. If you cook it until it reaches 150°F, it will be tender. But if you let it go to 170°F, it will likely be dry and less enjoyable, even though it’s still safe to eat.
The thermometer is your tool for this precision.
Common Mistakes to Avoid
When beginners aim to find out Where to Insert Meat Thermometer in Pork, they often make a few common errors. These mistakes can lead to undercooked or overcooked meat, ruining the meal.
One frequent mistake is not inserting the thermometer into the thickest part of the meat. If you insert it near a bone or a thinner section, you might get a reading that is not representative of the entire cut. This can trick you into thinking the pork is done when it’s not.
-
Ignoring the Thickest Part: Pork cuts are rarely uniform in thickness. The thickest part is always the last to cook. If your thermometer is in a thinner area, it will register a higher temperature sooner, making you think the whole piece is ready when it’s not.
For example, a pork shoulder might be very thick in the center but taper off towards the edges. If you only measure the edge, you might pull it off the heat when the center is still too cool for safe consumption or lacks the desired tenderness from slow cooking. Always aim for the deepest, meatiest part.
-
Touching the Bone: Bones conduct heat differently than the meat itself. If your thermometer touches a bone, it will give you a falsely high reading. This can lead you to remove the pork from the heat prematurely, resulting in undercooked meat.
Imagine a pork chop with a bone. If the thermometer tip rests against the bone, it might read 160°F, suggesting it’s done. However, the meat just millimeters away from the bone might only be 130°F, which is not fully cooked.
Always ensure the probe is surrounded by meat.
-
Not Calibrating the Thermometer: A thermometer that isn’t accurate is as good as not having one. If your thermometer is off by several degrees, your readings will be unreliable. This can lead to dangerous undercooking or disappointing overcooking.
Before you start cooking, it’s a good idea to check your thermometer’s accuracy. You can do this by placing it in a glass of ice water. It should read 32°F (0°C).
If it doesn’t, you might need to adjust it or consider getting a new one.
Best Practices for Thermometer Insertion in Pork
Now that we understand why precise temperature is vital, let’s get into the practical steps for using your thermometer. Knowing exactly Where to Insert Meat Thermometer in Pork will elevate your cooking. We’ll cover different cuts and techniques.
Probing Different Cuts of Pork
The best spot for your thermometer can change a bit depending on the type of pork cut you are cooking. Whether it’s a roast, chops, or even ground pork, the principle remains the same: find the thickest, most central part.
For larger cuts like pork roasts, you’ll want to insert the thermometer deep into the middle of the meat. This ensures the entire roast is cooked evenly. For smaller items like pork chops or steaks, aim for the thickest part of the chop, away from any bone.
-
Pork Roasts (Loin, Shoulder, Ham): These are typically larger and more uniform in shape.
For a pork loin roast, find the thickest section, usually the center, and .
The goal is to get a reading from the part that will take the longest to cook.
-
Pork Chops, Steaks, and Tenderloins: These are thinner cuts.
For pork chops, if they have a bone, try to insert the thermometer into the thickest part of the meat between the bone and the outer edge, ensuring it doesn’t touch the bone. If the chops are boneless, find the thickest part of the cut and insert the thermometer straight down. For a pork tenderloin, which is quite uniform, insert the thermometer lengthwise into the middle of the tenderloin.
-
Ground Pork (Patties, Meatloaf): This requires a different approach.
When cooking ground pork in patties or a meatloaf, it’s crucial to ensure the entire mixture reaches a safe temperature. You can either insert the thermometer into the thickest part of a formed patty or, for a meatloaf, into the center of the loaf. If you’re cooking smaller patties, you might need to check a few to ensure they are all cooked through.
When and How to Check Temperatures
Timing is everything when using a meat thermometer. You don’t want to check too early or too late. Checking at the right moments helps you manage the cooking process effectively.
Start checking the temperature towards the end of the estimated cooking time. For roasts, this might be the last 30 minutes. For chops, it could be the last 5-10 minutes.
This gives you time to adjust heat or cooking duration if needed.
-
During Cooking: For longer cooking times, like with roasts or pulled pork, you can check the temperature periodically, especially in the last hour. This helps you track progress and ensure even cooking.
If you are slow-cooking a pork shoulder for pulled pork, you might start checking the internal temperature after about 4 hours. You are looking for a temperature of around 195-205°F (90-96°C) for it to be easily shredded. Checking too early won’t give you an accurate idea of readiness, but checking too late means you might miss the perfect point for shredding.
-
At Estimated Doneness: When the pork is nearing its expected cooking time, check the temperature in the thickest part. If it hasn’t reached the target temperature yet, continue cooking and check again in 15-20 minutes for roasts, or 5-10 minutes for chops.
Let’s say your recipe for pork tenderloin says it should take 20-25 minutes. You would start checking at the 20-minute mark. If it’s not at 145°F (63°C) yet, give it another 5 minutes and check again.
This prevents overcooking while ensuring safety.
-
After Resting: Once the pork reaches the desired temperature, it’s important to let it rest. During resting, the internal temperature can rise a few more degrees, known as carryover cooking.
This resting period allows the juices to redistribute throughout the meat, making it more tender and moist. For a large roast, resting for 10-15 minutes is often recommended. For smaller cuts like chops, 5 minutes might be sufficient.
The temperature you take right before resting is usually the primary indicator, but the final temperature after resting will be slightly higher.
Understanding Different Thermometer Types
The type of meat thermometer you use can also affect how you get your reading. Each has its own way of working and best uses.
Digital instant-read thermometers are popular for their speed and accuracy. Probe thermometers with a wire that stays in the meat are great for long cooks.
-
Instant-Read Digital Thermometers: These are the fastest and most common for home cooks.
You insert the metal probe into the meat, and it gives a reading within a few seconds. They are excellent for quick checks on various cuts of pork. Ensure the probe is clean before inserting it into the meat.
-
Oven-Safe Probe Thermometers (Leave-In): These have a probe connected by a wire to a display unit outside the oven.
You insert the probe into the meat and leave it in the oven or on the grill for the entire cooking time. The display unit shows the current temperature, allowing you to monitor without opening the cooking vessel. This is ideal for roasts and slow cooks.
-
Dial Thermometers: These are older style thermometers with a needle and a dial face.
They are generally less precise and slower than digital models. While they can work, it’s easier to make reading errors. If you use one, make sure it’s properly calibrated and check the temperature in multiple spots.
Internal Temperature Guidelines for Pork
Knowing the target temperatures for pork is essential for both safety and deliciousness. It’s the core of understanding Where to Insert Meat Thermometer in Pork for optimal results.
Different pork cuts and cooking methods call for slightly different temperatures. We will break down the recommended internal temperatures for various scenarios.
Recommended Temperatures by Pork Cut and Cooking Method
The USDA provides guidelines for pork safety. The general recommendation for most whole cuts of pork is 145°F (63°C) followed by a three-minute rest. This temperature ensures safety while keeping the meat moist.
However, some applications, like pulled pork, require much higher temperatures to achieve the desired texture.
| Pork Cut/Type | Cooking Method | Target Internal Temperature (Fahrenheit) | Target Internal Temperature (Celsius) | Resting Time |
|---|---|---|---|---|
| Pork Chops, Roasts, Tenderloins, Steaks | Grilling, Roasting, Pan-Searing, Broiling | 145°F | 63°C | 3 minutes |
| Ground Pork (Patties, Meatloaf) | Cooking thoroughly | 160°F | 71°C | N/A |
| Pork Shoulder, Boston Butt, Picnic Shoulder | Slow Cooking, Smoking (for Pulled Pork) | 195°F – 205°F | 90°C – 96°C | 15-20 minutes |
| Pork Ribs | Smoking, Braising | 190°F – 200°F | 88°C – 93°C | 10-15 minutes |
Why Different Temperatures Matter
The variation in recommended temperatures is due to how different parts of the pig are structured and how we want them to cook. Cuts like pork loin are lean and don’t have much connective tissue, so they benefit from a lower, precise temperature to avoid drying out.
On the other hand, cuts like pork shoulder are rich in collagen and connective tissue. These tougher tissues need high heat for a long time to break down. This process transforms them into gelatin, which makes the meat incredibly tender and moist.
-
Leaner Cuts (Chops, Tenderloin): These cuts have very little fat or connective tissue. They cook relatively quickly.
If you cook a pork tenderloin to 160°F (71°C), it will likely be dry and tough. However, cooking it to 145°F (63°C) and letting it rest will result in a tender, juicy piece of meat. The goal is to cook it just until it’s safe, not until it’s completely “done” in the traditional sense of cooked-through.
-
Tougher Cuts (Shoulder, Ribs): These cuts have a lot of fat and connective tissue that can make them tough if cooked quickly.
The magic happens when these cuts are cooked low and slow. The long cooking time at elevated temperatures, typically above 170°F (77°C), allows the collagen to break down. This process creates a tender, shreddable texture that is impossible to achieve with shorter cooking times and lower temperatures.
This is why the target temperature for pulled pork is so much higher than for a pork chop.
-
Ground Pork Safety: Ground meat is different because the grinding process can spread bacteria throughout the meat.
Therefore, ground pork must be cooked to a higher internal temperature, 160°F (71°C), to ensure any potential bacteria are killed. Even if you’re making a burger that looks pink, it’s important to reach this internal temperature for safety.
The Role of Resting in Temperature
Resting is not just a step to make your pork juicier; it’s also where the temperature finishes its job.
As pork cooks, the muscle fibers tighten, pushing juices towards the center. When you take it off the heat, these fibers relax, allowing the juices to spread back out. During this time, the internal temperature continues to rise by a few degrees.
-
Carryover Cooking: The heat remaining in the pork continues to cook it even after it’s removed from the heat source.
For a large pork roast, this carryover cooking can increase the temperature by 5-10°F (3-6°C). This is why it’s often recommended to pull the pork off the heat when it’s a few degrees below your final target temperature. The resting period brings it up to the perfect doneness.
-
Juice Redistribution: The heat causes moisture to be squeezed out of the meat fibers.
When the meat rests, the fibers loosen up, and the juices can re-enter and spread evenly through the cut. If you cut into hot meat immediately, the juices will run out onto the plate, leaving the meat dry. Resting ensures every bite is as flavorful and moist as possible.
Tips for Accurate Pork Thermometer Readings
Getting precise readings when you are checking Where to Insert Meat Thermometer in Pork relies on a few key techniques. These small adjustments can make a big difference in the final outcome.
We will cover how to avoid common pitfalls and ensure your thermometer is your most trusted cooking companion.
Prepping Your Thermometer
Before you even think about inserting your thermometer, a little preparation goes a long way. This ensures you get clean, accurate readings.
Always make sure your thermometer is clean. This is important for hygiene and also prevents any residue from affecting the temperature reading.
-
Cleanliness is Key: Always wash your thermometer probe with hot, soapy water after each use and before storing it.
Before you use it on a piece of pork, a quick wipe with a damp cloth or even a spritz of sanitizing alcohol (then wiped clean) can ensure no lingering food particles interfere with your reading or spread germs.
-
Check for Damage: Inspect the probe for any bends, kinks, or damage to the tip.
A damaged probe might not conduct heat properly, leading to inaccurate readings. If the wire on an oven-safe thermometer is frayed, it’s a safety hazard and should be replaced.
-
Know Your Thermometer’s Limitations: Some thermometers are not designed to be left in the oven for extended periods.
Read the manufacturer’s instructions to understand if your thermometer is oven-safe or meant only for quick checks. Using it incorrectly can damage the device and provide faulty readings.
Inserting the Thermometer Correctly
The act of many beginners stumble. Here are some pointers to help you get it right.
The golden rule remains: aim for the thickest part of the meat, avoiding bone and large pockets of fat.
-
Angle Matters: Insert the thermometer probe at a slight angle if needed to reach the deepest part of the meat.
For a thick pork roast, imagine you’re trying to hit the bullseye in the center. You might need to angle the probe slightly to get there, especially if the top surface is uneven.
-
Avoid Air Pockets: Ensure the probe is fully surrounded by meat.
If there’s a large air pocket or the probe is sticking out of the top, you’ll get an inaccurate, lower reading. This is particularly important for irregularly shaped cuts.
-
Multiple Checks for Large Cuts: For very large roasts, it’s wise to take readings in a couple of different spots.
This helps confirm that the entire roast is cooking evenly. If one spot is significantly cooler, it indicates a need for repositioning or adjusting heat in the cooking area.
Interpreting Readings and Adjusting Heat
Once you have a reading, the next step is to know what to do with that information. It’s about making smart cooking decisions.
If the temperature is too low, you know you need more cooking time. If it’s close to the target, you’re almost there.
-
When to Pull the Pork: Pull the pork off the heat when it’s about 5°F (3°C) below your target temperature for most cuts.
This accounts for carryover cooking during the resting period. For example, if you’re aiming for 145°F (63°C) on a pork loin, pull it off when it reaches 140°F (60°C).
-
Adjusting Oven/Grill Temperature: If the pork is cooking too quickly and might overcook before reaching the target, lower the heat.
Conversely, if it’s taking too long and you’re worried about drying it out, you might need to slightly increase the heat, but do so cautiously. It’s usually better to cook at a slightly lower temperature for longer.
-
Recording Temperatures: For longer cooking processes, like smoking, keeping a log of temperatures can be helpful.
Note the time and temperature readings every hour or so. This can help you learn how your equipment cooks and predict cooking times more accurately for future cooks.
Frequently Asked Questions
Question: What is the safest internal temperature for all pork?
Answer: The safest internal temperature for most whole cuts of pork, like chops and roasts, is 145 degrees Fahrenheit (63 degrees Celsius), followed by a three-minute rest. For ground pork, the safe temperature is higher, at 160 degrees Fahrenheit (71 degrees Celsius), to account for bacteria being spread during grinding.
Question: Do I need to insert the thermometer into the thickest part of a boneless pork chop?
Answer: Yes, for a boneless pork chop, always insert the thermometer into the thickest part. This ensures the entire chop reaches a safe and desirable temperature, as the thicker section will take the longest to cook.
Question: Can I use a fork to check if pork is done instead of a thermometer?
Answer: Using a fork to check for doneness is not reliable and can lead to undercooked pork. It doesn’t give you an accurate temperature reading, which is essential for food safety and optimal texture. A meat thermometer is the only reliable tool for this.
Question: How long should I let pork rest after cooking?
Answer: For most whole cuts of pork cooked to 145°F (63°C), a resting period of at least three minutes is recommended. For larger roasts or cuts intended to be very tender, like pulled pork, a longer rest of 10-20 minutes can help redistribute juices and finish cooking.
Question: Does the bone affect where I should insert the thermometer in a pork chop?
Answer: Yes, the bone affects the reading. You should insert the thermometer into the thickest part of the meat, making sure the probe does not touch the bone. A bone conducts heat differently and will give a false higher reading.
Summary
Finding the right spot for your meat thermometer in pork is simple when you know the basics. Always aim for the thickest part, away from bone and fat. This ensures safe, delicious, and perfectly cooked pork every time.
Happy cooking!


