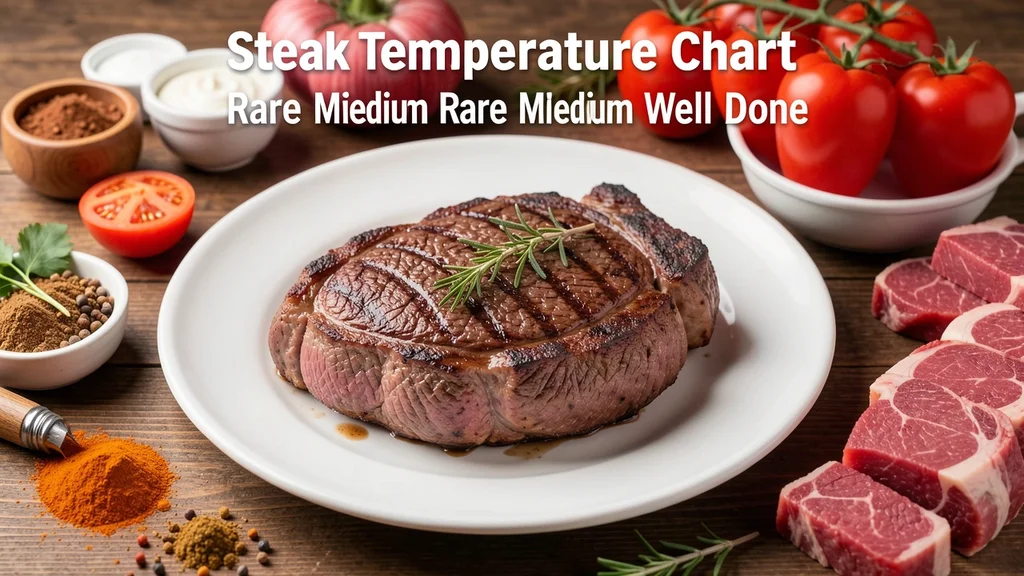
Steak Temperature Chart: Rare, Medium Rare, Medium, Medium Well and Well Done is the essential reference every home cook needs. Getting the internal temperature right separates a tough, dry piece of meat from a tender, juicy masterpiece. This post covers exact target temperatures for every level of doneness, explains carryover cooking, and shows you how to use a meat thermometer correctly.
You will also learn resting times and common mistakes that ruin expensive cuts. Whether you prefer a cool red center or a fully cooked steak, these guidelines guarantee perfect results on your grill or stovetop every single time.
Simply put, a reliable Steak Temperature Chart: Rare, Medium Rare, Medium, Medium Well and Well Done takes the guesswork out of grilling. Pull your steak off the heat five degrees before your target temperature, let it rest, and enjoy perfectly cooked meat every time.
What Is the Ideal Steak Temperature Chart: Rare, Medium Rare, Medium, Medium Well and Well Done?
The ideal Steak Temperature Chart: Rare, Medium Rare, Medium, Medium Well and Well Done gives you exact internal readings for each doneness level. These temperatures refer to the final reading after the meat has rested. Meat science relies on precise heat application to denature proteins at specific thresholds.
Different levels of doneness change the texture, moisture content, and flavor profile of the beef. A rare steak retains almost all its natural juices. A well done steak loses significant moisture but develops a firmer bite.
Knowing these numbers helps you control the outcome completely.
Chefs worldwide rely on these standard ranges to deliver consistent dishes. Home cooks should adopt the same standards to stop guessing and start measuring. Use an instant-read digital thermometer for the most accurate results.
| Doneness Level | Final Internal Temperature | Center Color |
|---|---|---|
| Rare | 120°F – 125°F (49°C – 52°C) | Cool, bright red |
| Medium Rare | 130°F – 135°F (54°C – 57°C) | Warm, deep red |
| Medium | 140°F – 145°F (60°C – 63°C) | Warm, pink |
| Medium Well | 150°F – 155°F (66°C – 68°C) | Slightly pink center |
| Well Done | 160°F+ (71°C+) | Brown throughout |
This table serves as your primary reference point when grilling or pan-searing. Keep it handy on your phone or printed near your cooking station for quick access during meal prep.
- Rare steaks feel very soft when pressed, similar to the fleshy part of your palm below the thumb.
- Medium rare offers slight resistance while remaining incredibly tender and juicy.
- Medium steaks spring back gently when poked, indicating coagulated proteins.
- Medium well feels firm with only a hint of give in the very center.
- Well done steaks feel hard and offer no bounce when pressed.
- Always insert the thermometer probe into the thickest part of the meat.
- Avoid touching bone or fat pockets, as they skew the temperature reading.
How to Measure Steak Doneness With a Meat Thermometer
Using a meat thermometer is the only foolproof method to follow any Steak Temperature Chart: Rare, Medium Rare, Medium, Medium Well and Well Done. Visual cues like color or touch tests fail too often. Digital instant-read thermometers provide accuracy within one degree in seconds.
The United States Department of Agriculture recommends specific minimum temperatures for food safety. However, culinary standards for whole muscle cuts like steaks differ from ground beef. Whole cuts are safe at lower temperatures because bacteria only live on the surface.
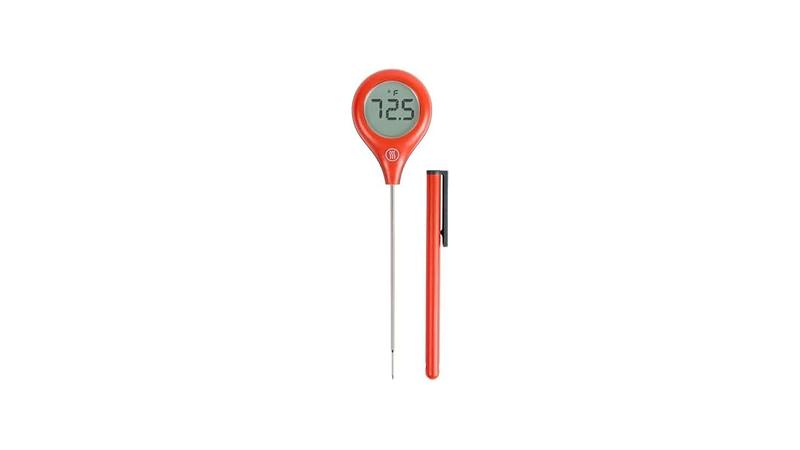
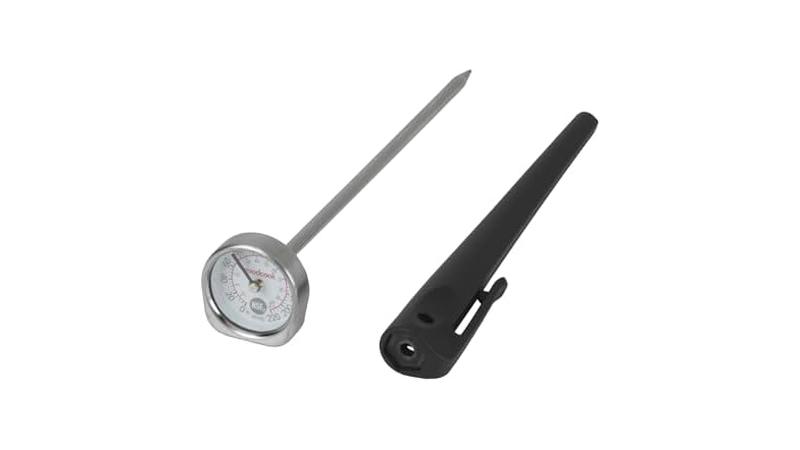
Investing in a quality thermometer saves expensive cuts of meat from being ruined. Brands like ThermoWorks and OXO make reliable models favored by professional chefs. Calibration ensures your tool reads accurately over time.
- Turn on your digital thermometer and ensure the battery is fully charged.
- Insert the metal probe horizontally into the side of the steak, not through the top.
- Push the tip until it reaches the exact geometric center of the thickest portion.
- Wait three to five seconds for the digital display to stabilize its reading.
- Compare the displayed number against your target doneness temperature.
- Pull the steak off the heat source exactly five degrees before your target number.
- Clean the probe immediately with hot soapy water to prevent cross-contamination.
Tip: Calibrate your thermometer monthly using an ice bath. Fill a glass with crushed ice and water, then insert the probe. It should read exactly 32°F (0°C). Adjust the calibration nut if it reads differently.
Proper probe placement matters just as much as the tool itself. Hitting a pocket of fat will give you a falsely low reading. Touching the bone conducts heat faster and yields a falsely high number.
Aim for pure muscle tissue in the dead center.
According to America’s Test Kitchen, over 70% of home cooks overcook their steaks due to relying solely on cooking time rather than internal temperature. Time varies based on thickness, starting temperature, and heat intensity. Only a thermometer accounts for all these variables simultaneously.
Why Carryover Cooking Changes Your Target Temperature
Carryover cooking is the phenomenon where meat continues to rise in temperature after leaving the heat source. This happens because the hot exterior transfers thermal energy inward toward the cooler center. Ignoring this process guarantees you will overshoot your desired spot on the Steak Temperature Chart: Rare, Medium Rare, Medium, Medium Well and Well Done.
The amount of temperature rise depends on the cooking method and the size of the cut. High-heat searing creates a larger temperature gradient between the outside and inside. This steep gradient causes more aggressive carryover cooking compared to slow roasting methods.
Thick steaks experience more carryover cooking than thin steaks. A two-inch ribeye might rise seven to ten degrees while resting. A thin half-inch skirt steak might only rise two or three degrees.
You must adjust your pull temperature accordingly.
- High heat grilling causes a five to ten degree internal rise during resting.
- Pan searing in cast iron typically results in a five to eight degree increase.
- Reverse searing produces less carryover cooking, usually a three to five degree rise.
- Sous vide cooking eliminates carryover cooking entirely since the water bath matches the target temp.
- Thicker cuts retain more residual heat and rise higher than thinner cuts.
- Resting on a cold plate accelerates cooling and reduces the total temperature rise.
| Desired Final Doneness | Target Pull Temperature | Expected Rise |
|---|---|---|
| Rare (125°F) | 115°F – 120°F | 5°F – 10°F |
| Medium Rare (135°F) | 125°F – 130°F | 5°F – 10°F |
| Medium (145°F) | 135°F – 140°F | 5°F – 10°F |
| Medium Well (155°F) | 145°F – 150°F | 5°F – 10°F |
| Well Done (160°F+) | 155°F | 5°F+ |
Use this pull temperature chart instead of the final temperature chart when actively cooking. Removing the meat early allows physics to finish the job gently without drying out the outer layers.
Warning: Never slice into a steak immediately after taking it off the grill. Cutting too early releases trapped steam and juices onto the cutting board, resulting in dry meat regardless of your internal temperature accuracy.
What Are the Best Cuts for Each Doneness Level?
Not every cut of beef performs equally across the entire Steak Temperature Chart: Rare, Medium Rare, Medium, Medium Well and Well Done. Fat content, muscle grain, and connective tissue dictate which temperatures yield the best eating experience. Matching the cut to the correct doneness prevents disappointment.
Lean cuts dry out rapidly when cooked past medium. Fatty cuts need higher heat to render their intramuscular marbling properly. Understanding these differences helps you buy the right steak for your preferred cooking style.
The National Cattlemen’s Beef Association reports that consumer preferences lean heavily toward medium rare and medium. About 37% of diners prefer medium rare, making it the most popular choice in steakhouses nationwide. However, personal preference always dictates the final decision.
- Filet Mignon: Extremely lean and tender. Best served rare or medium rare. Cooking past medium ruins its delicate texture.
- Ribeye: Highly marbled with rich fat. Excellent at medium rare to medium. The fat needs enough heat to melt and baste the meat internally.
- New York Strip: Moderate fat content with a firm bite. Performs beautifully from rare to medium well.
- T-Bone and Porterhouse: Contain both strip and filet sections. Cook to medium rare to satisfy both sides without overcooking the smaller filet.
- Sirloin: Leaner and slightly tougher. Best kept at medium rare to avoid becoming chewy.
- Skirt and Flank Steak: Thin and fibrous. Must be cooked quickly to medium rare and sliced against the grain to remain tender.
- Tomahawk: Essentially a bone-in ribeye. Requires reverse searing to reach medium rare evenly without burning the exterior.
Fat rendering is the critical concept here. Intramuscular fat begins melting around 130°F. If you eat a fatty ribeye rare, the fat remains waxy and unappetizing.
Pushing it to medium rare or medium transforms that hard fat into liquid flavor.
Conversely, cooking a lean filet mignon to well done leaves you with a dry, chalky puck. Save well done preparations for thicker, fattier cuts that can afford to lose some moisture. Always consider the anatomy of the specific muscle before applying heat.
How to Rest a Steak Properly After Cooking
Resting is the mandatory final step after following your Steak Temperature Chart: Rare, Medium Rare, Medium, Medium Well and Well Done. During cooking, intense heat forces muscle fibers to contract tightly. This contraction pushes moisture toward the cooler center of the steak.
If you cut the meat immediately, those pressurized juices flood out instantly. Resting allows the muscle fibers to relax and reabsorb the displaced moisture evenly. The result is a significantly juicier bite from edge to edge.
The general rule requires resting the meat for half the total cooking time. For a standard one-inch steak cooked for ten minutes, rest it for five minutes. Thicker cuts demand proportionally longer resting periods to equalize internal temperatures.
- Transfer the cooked steak from the grill or pan onto a warm wooden cutting board.
- Tent the meat loosely with aluminum foil to trap ambient heat without creating steam.
- Do not wrap the foil tightly, as trapped steam softens the crispy crust you worked hard to build.
- Set a timer for five to ten minutes depending on the thickness of the cut.
- Avoid moving or poking the steak during this waiting period.
- Check the final internal temperature after resting to confirm it hit your target range.
- Slice the meat against the grain just before serving to maximize tenderness.
Important: Place a pat of compound butter on top of the steak right after pulling it from the heat. As the steak rests, the butter melts slowly over the surface, adding richness and keeping the crust slightly moist.
Resting also completes the carryover cooking process discussed earlier. The residual heat finishes raising the internal temperature safely while the fibers unwind. Skipping this step guarantees a pool of red liquid on your plate instead of flavor inside your meat.
Professional kitchens never skip resting. Chefs time their ticket orders specifically to allow steaks adequate downtime before plating. Adopt this restaurant habit at home to elevate your weeknight dinners immediately.
What Does the USDA Recommend for Safe Steak Temperatures?
Food safety guidelines differ slightly from culinary preferences when referencing any Steak Temperature Chart: Rare, Medium Rare, Medium, Medium Well and Well Done. The United States Department of Agriculture sets official minimum safe cooking temperatures to prevent foodborne illness. Knowing these rules helps you make informed decisions about risk.
The USDA recommends cooking whole cuts of beef to a minimum internal temperature of 145°F. They also mandate a three-minute rest period after reaching this temperature. At 145°F, the meat falls squarely into the medium category on standard culinary charts.
However, whole muscle cuts like steaks pose minimal risk at lower temperatures. Harmful bacteria such as E. coli and Salmonella reside exclusively on the exterior surface.
Searing the outside effectively kills these pathogens, leaving the interior safe even when served rare.
- Ground beef must always reach 160°F because grinding mixes surface bacteria throughout the entire batch.
- Whole intact steaks are safe at lower temperatures provided the exterior receives adequate searing heat.
- Mechanically tenderized steaks carry higher risks because needles push surface bacteria into the center.
- Always check labels to see if your store-bought steak underwent mechanical tenderization.
- Immunocompromised individuals, pregnant women, and young children should stick to USDA minimums of 145°F.
- Buying high-quality beef from reputable butchers reduces overall bacterial load significantly.
- Proper refrigeration below 40°F prevents dangerous bacterial multiplication before cooking begins.
| Beef Type | USDA Minimum Temp | Required Rest Time |
|---|---|---|
| Whole Steaks and Roasts | 145°F (63°C) | 3 Minutes |
| Ground Beef / Burgers | 160°F (71°C) | None required |
| Mechanically Tenderized | 145°F (63°C) | 3 Minutes |
This table highlights the crucial difference between whole cuts and ground products. Treat burgers with strict adherence to the 160°F rule. Treat intact steaks with culinary confidence once you understand surface sterilization.
According to the Centers for Disease Control and Prevention, foodborne illnesses affect roughly 48 million Americans annually. Proper cooking temperatures remain the strongest defense against these preventable sicknesses. Balance your love for rare steaks with smart sourcing and hygiene practices.
Common Mistakes That Ruin Steak Temperatures
Even with a perfect Steak Temperature Chart: Rare, Medium Rare, Medium, Medium Well and Well Done, execution errors cause failure. Many home cooks sabotage their expensive ingredients through simple, avoidable habits. Identifying these pitfalls improves your success rate dramatically.
Cold meat hitting a hot grill cooks unevenly. The exterior burns before the interior warms up. Taking your steak out of the refrigerator thirty minutes before cooking brings it closer to room temperature.
This promotes even heating from edge to edge.
Guessing doneness by squeezing the meat proves highly unreliable. Every person’s hand sensitivity differs, and varying fat contents change how a steak feels. Abandon the poke test entirely and trust your digital thermometer instead.
- Cooking straight from the fridge leads to a gray band of overcooked meat beneath the crust.
- Flipping the steak constantly prevents a proper Maillard reaction crust from forming.
- Using a dull knife to check the center releases precious juices unnecessarily.
- Ignoring the thickness of the cut causes major timing miscalculations on the grill.
- Failing to preheat the pan or grill adequately results in steaming instead of searing.
- Overcrowding the cooking surface drops the ambient temperature drastically and stalls browning.
- Neglecting to clean the grill grates introduces bitter, burnt carbon flavors to fresh meat.
Tip: Pat your steak completely dry with paper towels before seasoning. Surface moisture creates steam when it hits the heat, preventing the formation of a deep brown, flavorful crust. Dry meat sears faster and more evenly.
Thickness plays a massive role in temperature management. A one-inch steak behaves completely differently than a two-inch cowboy ribeye. Thinner cuts require blazing high heat for short durations.
Thicker cuts benefit from a two-zone fire or reverse sear method.
The Maillard reaction occurs optimally above 300°F. This chemical process creates the complex savory flavors associated with great steaks. Wet surfaces, crowded pans, and low heat all inhibit this reaction.
Keep your cooking environment dry and scorching hot for the best results.
How to Apply the Steak Temperature Chart for Reverse Searing
The reverse sear method changes how you approach the Steak Temperature Chart: Rare, Medium Rare, Medium, Medium Well and Well Done. Instead of searing first and finishing in the oven, you bake slowly then sear last. This technique provides unmatched edge-to-edge pinkness without a gray overcooked band.
Start by placing your seasoned steak on a wire rack set over a baking sheet. Put it in an oven preheated to 225°F or 250°F. This gentle ambient heat raises the internal temperature slowly and uniformly.
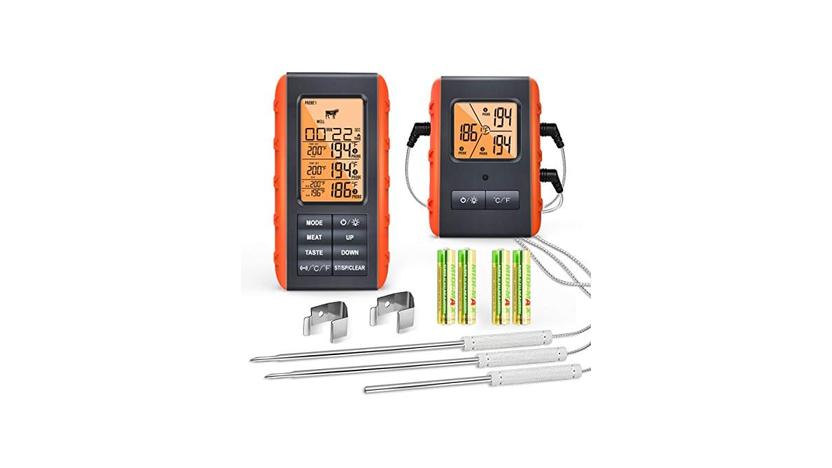
Monitor the progress with your leave-in probe thermometer.
Pull the steak from the oven when it reaches ten to fifteen degrees below your final target. For medium rare, remove it at 120°F. Let it rest briefly while you heat a cast iron skillet until it smokes violently.
Finish with a fast, hard sear.
- Reverse searing works best for steaks thicker than one and a half inches.
- Thin steaks cook too fast in the oven phase, defeating the purpose of the method.
- The low oven dries the surface completely, ensuring an instant, crackling crust during the final sear.
- Carryover cooking is minimal with this method because the temperature gradient stays very small.
- You gain a wider window of time to hit your exact target temperature accurately.
- Rendered fat drips away cleanly onto the baking sheet instead of causing flare-ups on a grill.
- This method pairs exceptionally well with fatty cuts like thick ribeyes or bone-in strips.
| Cooking Phase | Action Required | Target Reading |
|---|---|---|
| Oven Phase | Bake at 225°F until nearly done | 120°F (for Med Rare) |
| Rest Phase | Remove and prep skillet | Hold steady |
| Sear Phase | Hard sear 45 seconds per side | Rises to 130°F-135°F |
| Final Rest | Rest 5 minutes before slicing | Finalizes at 135°F |
This timeline demonstrates why reverse searing yields superior precision. The slow oven phase removes the panic of fast-moving grill temperatures. You control the outcome entirely through patience and measurement.
Cast iron retains extreme heat better than stainless steel or nonstick pans. Preheat your skillet dry for at least five minutes over high flame. Add a high smoke-point oil like avocado oil right before dropping the meat.
The resulting crust rivals any professional steakhouse.
Frequently Asked Questions
What is the most popular steak doneness level among chefs?
Most professional chefs prefer medium rare, which sits between 130°F and 135°F. This temperature renders intramuscular fat sufficiently while retaining maximum moisture and tenderness. It represents the optimal balance of flavor and texture for premium cuts like ribeye and filet mignon.
Can I use the same temperature chart for pork or chicken?
No, this specific chart applies exclusively to beef steaks. Poultry requires a minimum internal temperature of 165°F to eliminate salmonella risks safely. Pork chops follow different guidelines, generally requiring 145°F with a three-minute rest according to current USDA recommendations.
Does steak thickness change the target temperature numbers?
Thickness does not change the final target temperature, but it heavily influences cooking time and carryover heat. A two-inch steak rises more degrees while resting than a half-inch steak. You must pull thicker steaks off the heat earlier to account for this extended thermal momentum.
Is eating rare steak actually safe for everyone?
For healthy adults consuming whole, intact muscle cuts, rare steak poses very little risk because surface searing kills exterior bacteria. However, pregnant women, young children, the elderly, and immunocompromised individuals should adhere strictly to the USDA recommendation of 145°F to avoid potential foodborne illness.
Why does my steak look gray inside even though the temperature was correct?
A gray interior usually indicates the meat was cooked too slowly at too low a temperature without a proper sear, or it was previously frozen and thawed improperly. Myoglobin, the protein responsible for red color, denatures at varying rates. Fast, high-heat cooking preserves the desirable pink hue much better than slow, low-heat methods.
Final Thoughts
Mastering the Steak Temperature Chart: Rare, Medium Rare, Medium, Medium Well and Well Done transforms your grilling results permanently. Rely on a digital thermometer, respect carryover cooking, and always rest your meat before slicing. Apply these principles at your next cookout for restaurant-quality steaks every single time.