Have you ever been unsure about whether your chicken is cooked through or if your steak is just right? Many people find How to Read a Meat Thermometer Correctly a bit tricky at first. It seems simple, but getting it wrong can lead to undercooked food or dry, overcooked meals.
Don’t worry! This guide will make it super easy. We’ll walk through it step-by-step.
First, let’s look at the different kinds of thermometers you might see.
Understanding Your Meat Thermometer
This section is all about getting to know the tool in your hand. We’ll cover the basic parts of a meat thermometer and what makes them tick. Knowing these bits helps you use them better.
Think of it like knowing the parts of a car before you drive it. We will look at the different types you can get, from the simple dial ones to the fancy digital ones. This will help you pick the right one for your cooking needs.
Types of Meat Thermometers
There are several kinds of meat thermometers you might find in a kitchen. Each has its own way of working and its own best uses. Some are super quick, while others give you a bit more detail.
- Dial Thermometers: These are the classic ones you often see. They have a round face with a needle that points to the temperature. The probe, the pointy metal part, is attached to the dial. They are usually pretty straightforward. You just stick the probe into the meat. The needle moves as the temperature changes. Some people like these because they don’t need batteries. They can be a bit slower to give a reading than digital ones. Also, the dial can sometimes be hard to read if it’s dirty or the markings are faded.
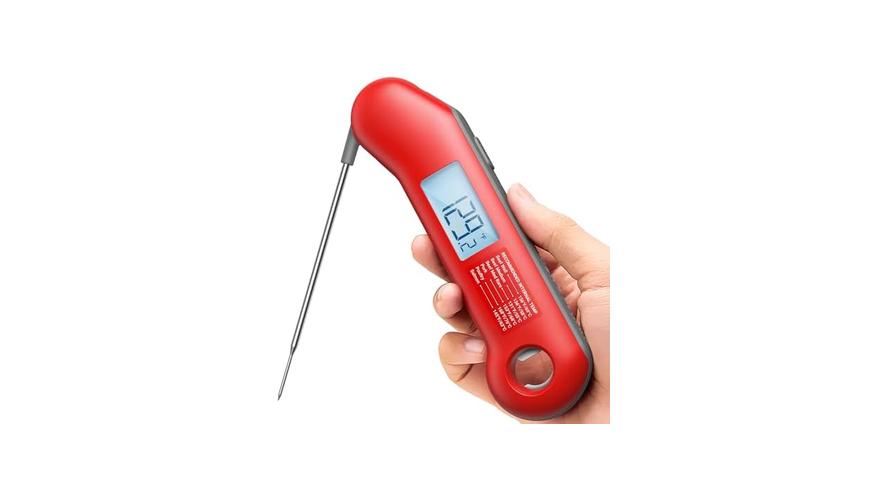
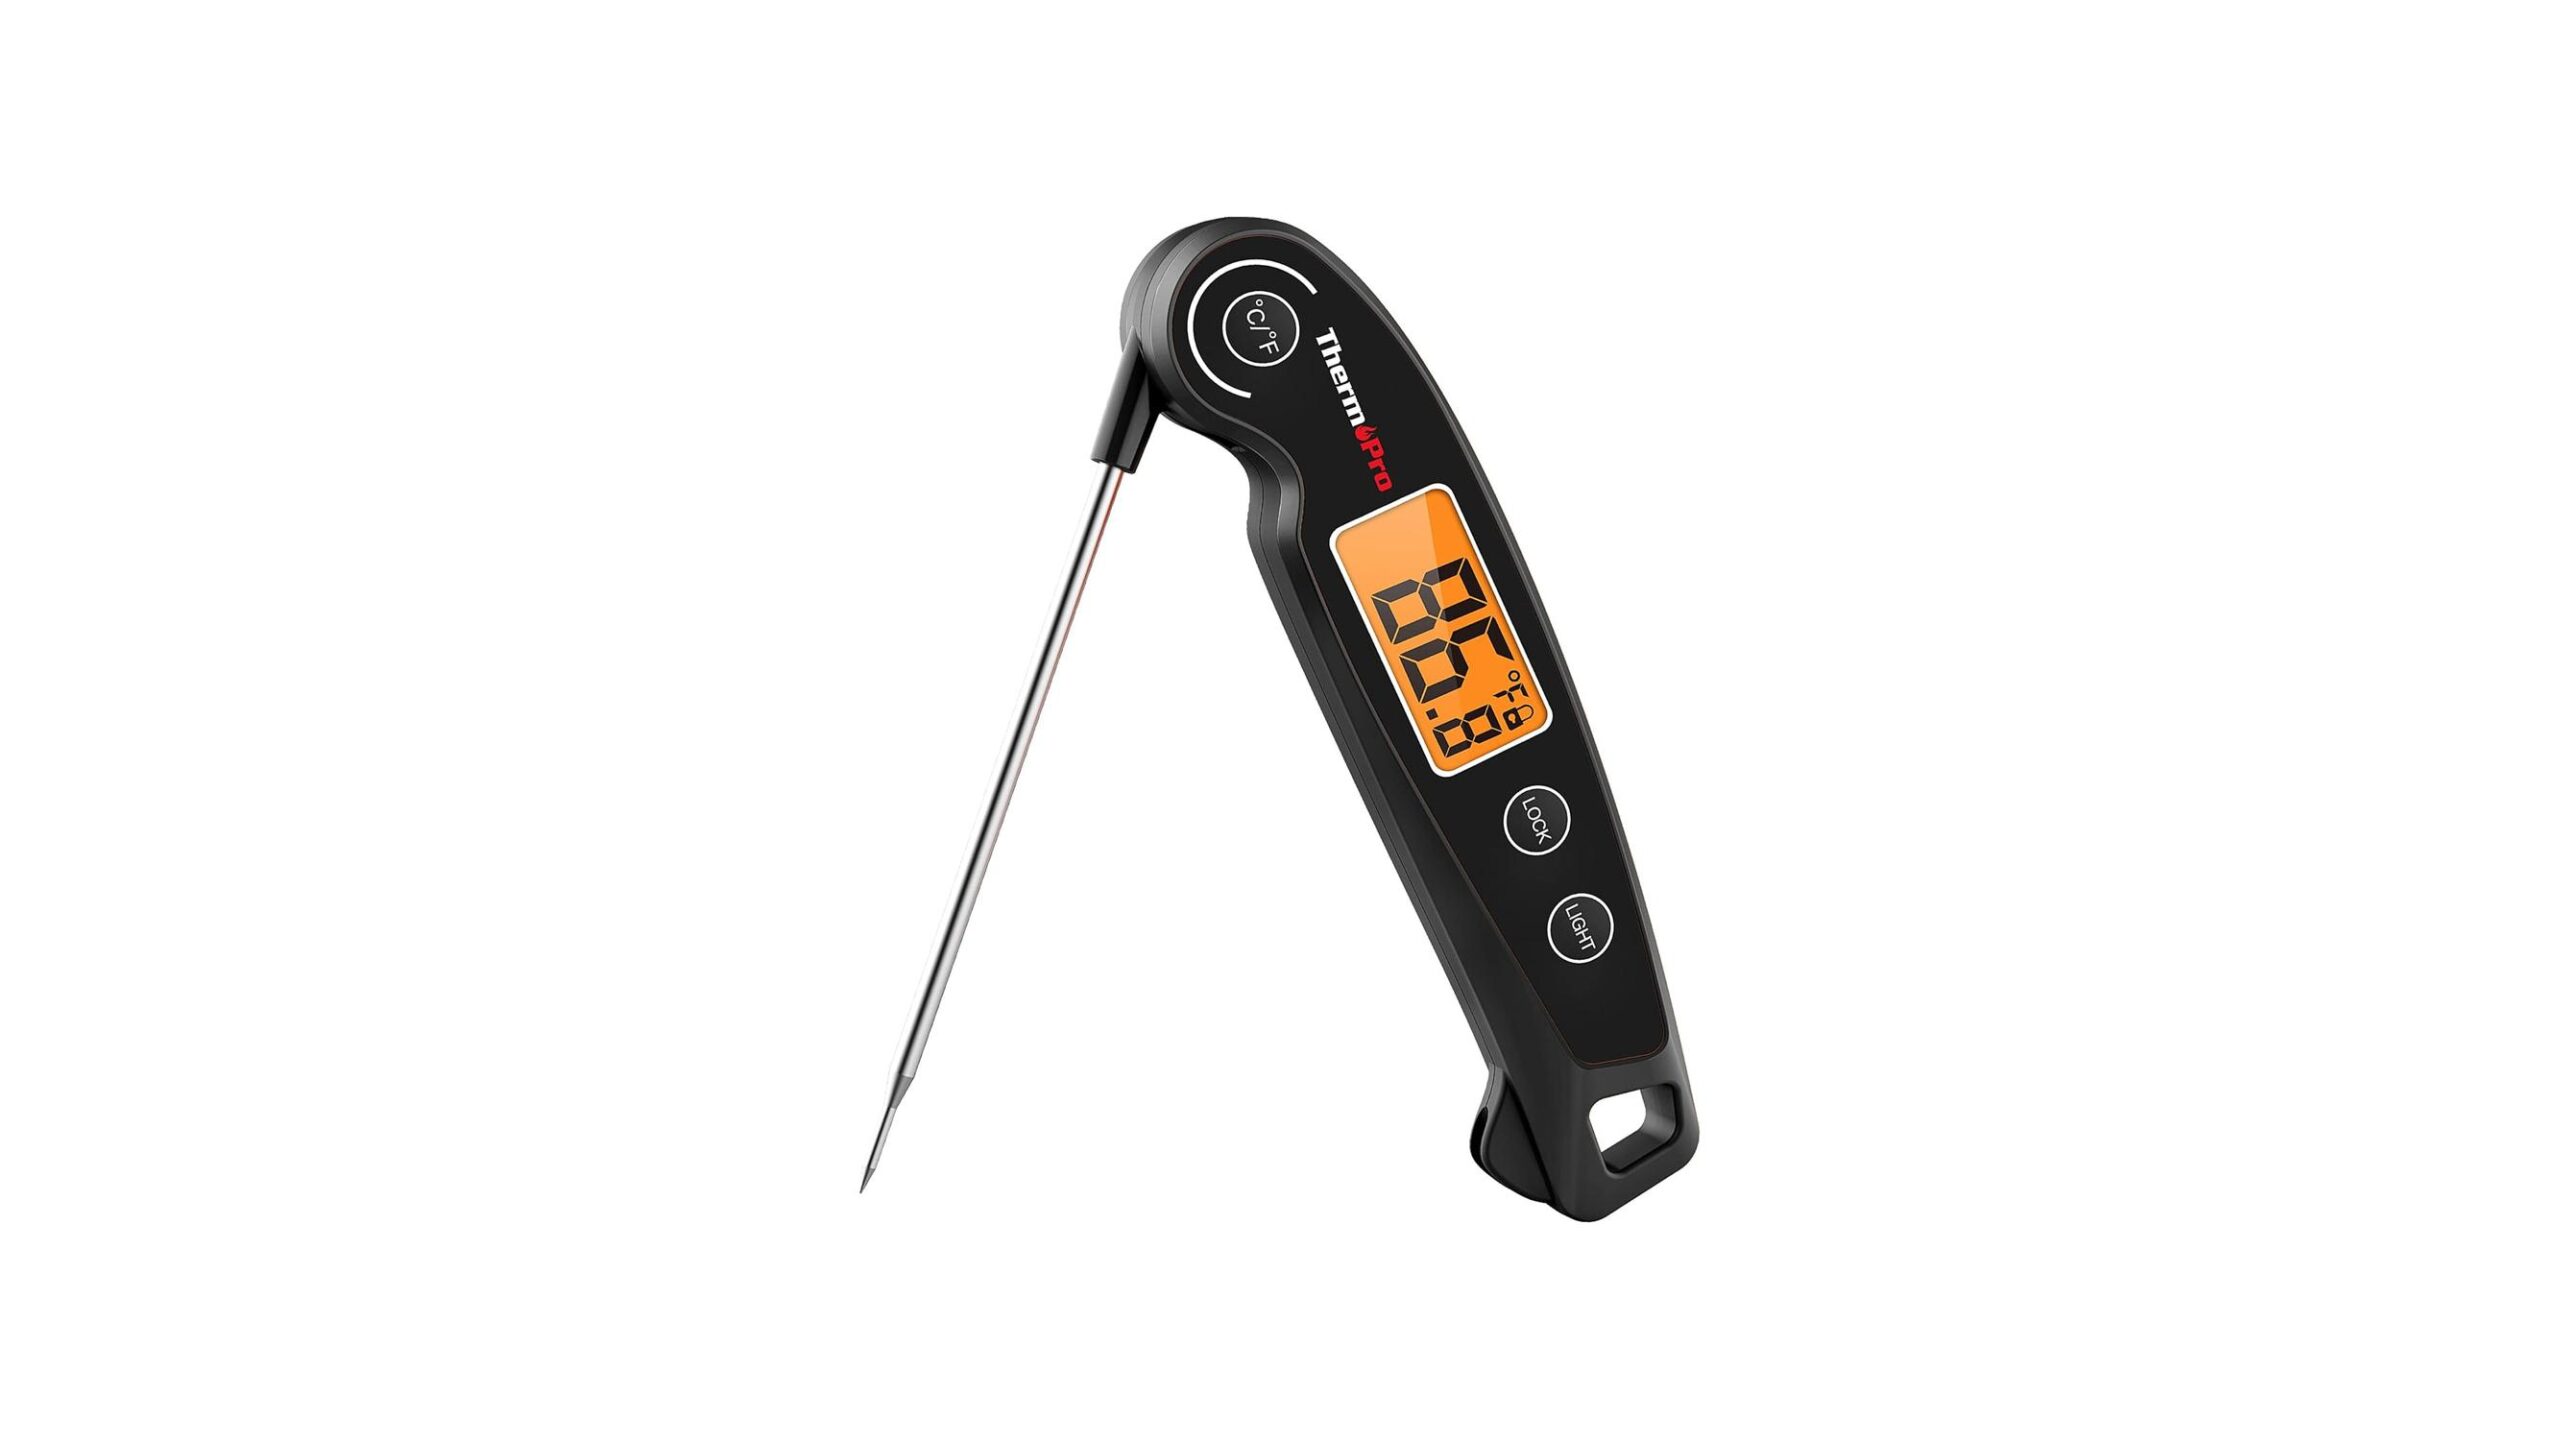
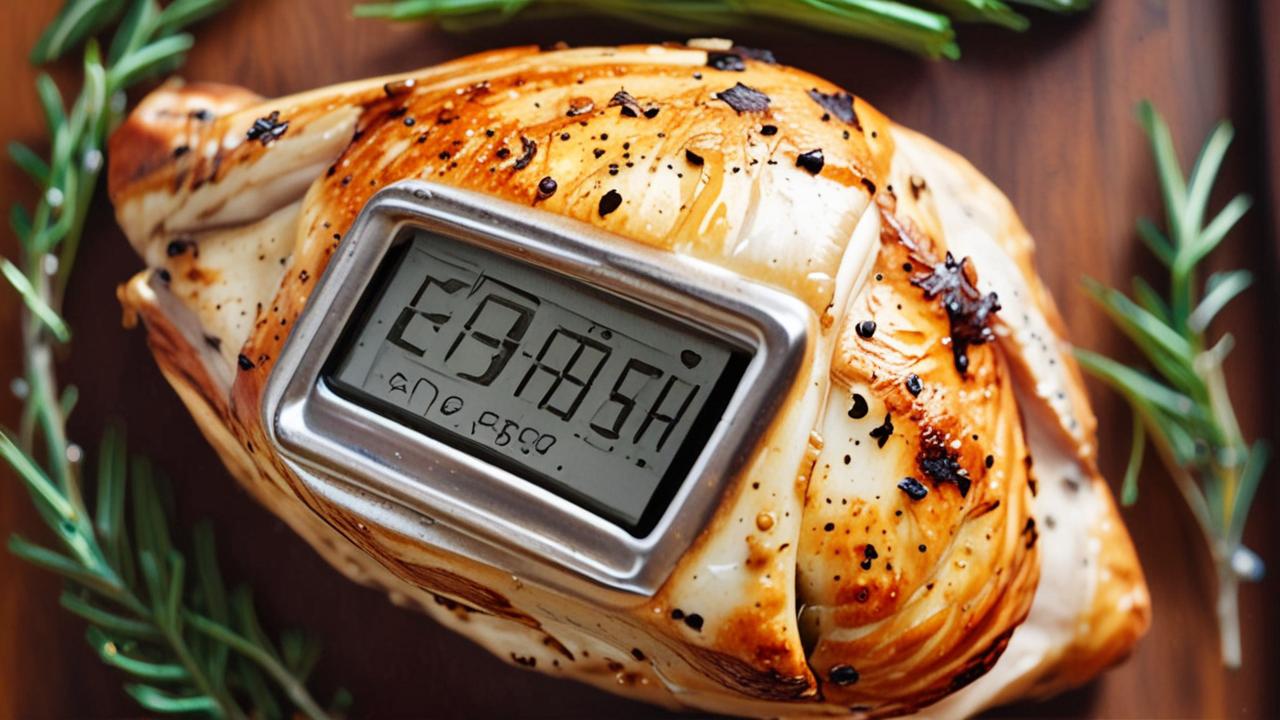
- Digital Instant-Read Thermometers: These are very popular now. They have a digital screen that shows the temperature in numbers. You usually press a button to turn them on. The probe is often foldable or has a protective cap. They give you a reading very quickly, often in just a few seconds. This is great when you’re cooking something and don’t want to leave the oven door open for too long. The numbers are usually big and easy to see. They run on batteries, so you need to make sure they are charged or have fresh ones.
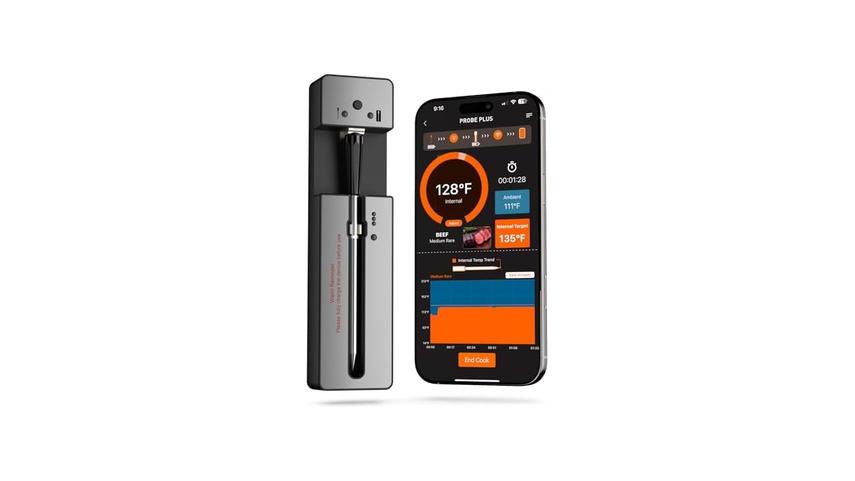
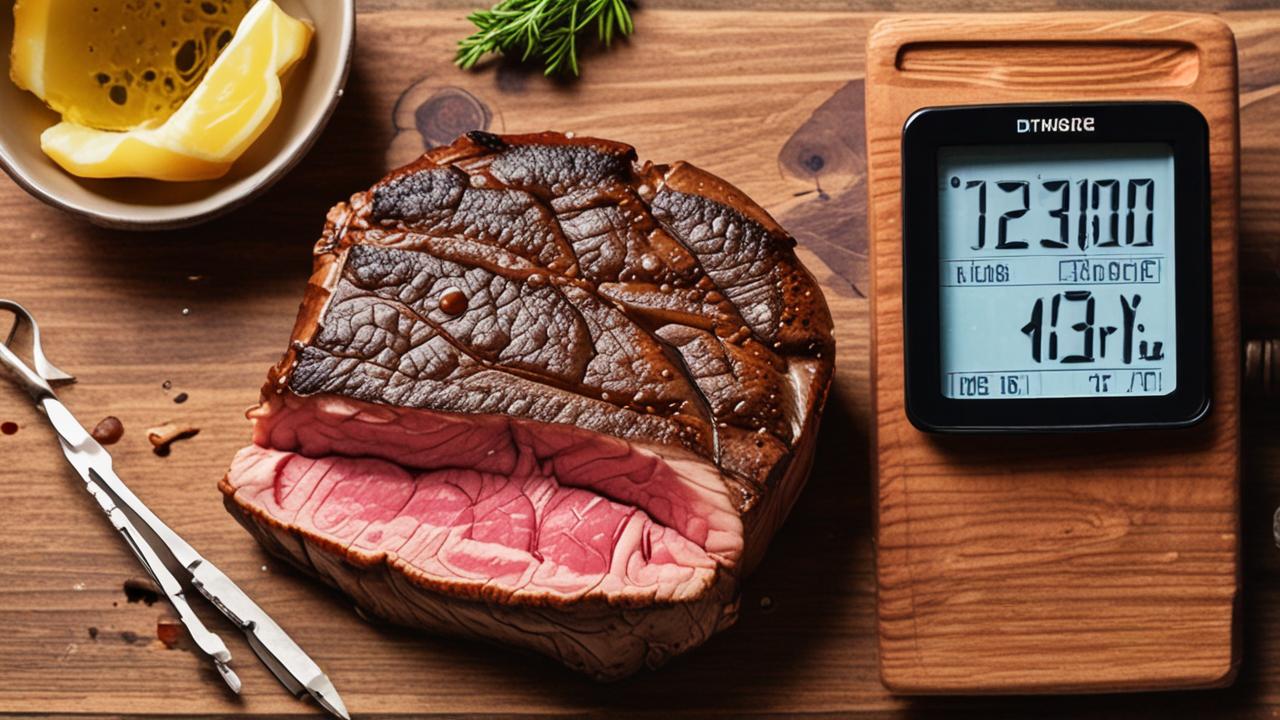
- Probe Thermometers with Cords: These are a bit different. They have a probe that stays in the meat while it cooks. A heat-resistant cord connects the probe to a display unit that sits outside the oven or grill. This lets you monitor the temperature without opening the cooking vessel. Many of these have alarms that go off when the meat reaches a certain temperature. This is super handy for roasts or large cuts of meat that cook for a long time. You can get a lot done while it’s cooking.
Parts of a Thermometer
No matter the type, most meat thermometers share a few key parts. Knowing what they are helps you use them properly and take care of them.
- The Probe: This is the long, pointy metal part. It’s what you stick into the meat. It’s designed to go deep enough to get a good reading of the meat’s internal temperature. Make sure to clean it after every use. It’s usually made of stainless steel, which is good for food safety. Some probes are thinner than others, which can make them go into the meat more easily without making a big hole.
- The Display/Dial: This is where you see the temperature. For dial thermometers, it’s the round face with numbers and a needle. For digital ones, it’s the screen that shows the numbers. It’s important to be able to see this clearly to get an accurate reading. If it’s smudged or broken, it won’t be helpful.
- The Handle/Body: This is the part you hold. It’s usually made of plastic or metal. It keeps your hand away from the hot probe and the hot meat. For digital thermometers, this is where the buttons and battery compartment might be. Make sure this part is comfortable to hold.
Using Your Thermometer for Accurate Readings
Now that you know the parts, let’s talk about how to get a good, accurate temperature reading every single time. This is the most important part! Getting it right means your food will be safe to eat and taste great.
We’ll cover where to stick the thermometer and how to make sure it’s reading the actual temperature of the meat, not just the pan or the air.
Finding the Thickest Part
To get the true temperature of your meat, you need to measure the hottest part. This is usually the center.
- General Rule: For most cuts, aim for the thickest part of the meat. Avoid hitting bone, as bone heats up differently than meat. Bone can give you a false high reading, making you think the meat is done when it’s not. Also, try to stay away from any fat pockets. Fat doesn’t get as hot as muscle.
- For Poultry: For a whole chicken or turkey, insert the thermometer into the thickest part of the thigh. Do this without touching the bone. If you’re cooking chicken breasts, stick it in the thickest part of the breast.
- For Steaks and Roasts: For steaks, .
How Deep to Insert the Probe
The depth of insertion matters. You want the tip of the probe to be fully surrounded by the meat’s thickest part.
- General Guideline: Most thermometers work best when the probe is inserted at least half an inch to an inch into the meat. For very thick cuts, you might need to go deeper. Check the manufacturer’s instructions for your specific thermometer. They might have a line on the probe to show how far to insert it.
- Avoid Touching the Pan: If you are using a thermometer that stays in the meat during cooking (like a probe with a cord), make sure the probe isn’t touching the bottom of the pan or grill grates. This can give you a reading that is too high because the pan is hotter than the meat.
Waiting for the Reading
Patience is key when getting a temperature reading. Different thermometers take different amounts of time.
- Instant-Read Digital Thermometers: These are designed to be fast. You’ll usually get a reading in 2 to 10 seconds. Once the numbers stop changing, you have your temperature.
- Dial Thermometers: These can take a bit longer, sometimes 30 seconds to a minute or more. Wait until the needle settles on a steady number before you record the temperature.
- Probe Thermometers with Cords: These will show a temperature continuously as the meat cooks. You’ll see the numbers change as the meat gets hotter.
Understanding Temperature Guidelines for Doneness
Knowing how to read the thermometer is only half the battle. The other half is knowing what temperature your food needs to reach to be safely cooked and taste its best. Different meats and even different types of cuts have different ideal temperatures.
We’ll go through the common ones.
Safe Internal Temperatures
Food safety is very important. Eating undercooked meat can make you sick. The U.S.
Department of Agriculture (USDA) has set safe internal temperatures for different types of meat. These temperatures kill harmful bacteria.
| Type of Meat | Safe Minimum Internal Temperature | Resting Time |
|---|---|---|
| Ground Meats (Beef, Pork, Lamb, Veal) | 160°F (71°C) | 3 minutes |
| Poultry (Chicken, Turkey, Duck) | 165°F (74°C) | 3 minutes |
| Whole Cuts of Beef, Pork, Lamb, Veal (Steaks, Roasts, Chops) | 145°F (63°C) | 3 minutes |
| Fish | 145°F (63°C) | 3 minutes |
| Ham (Fresh or Smoked, Cooked) | 145°F (63°C) | 3 minutes |
| Leftovers and Casseroles | 165°F (74°C) | N/A |
Temperatures for Desired Doneness
While safety is the first concern, many people also cook meat to a specific level of doneness for taste. This is especially true for steaks and roasts. These temperatures are often lower than the absolute safe minimums, so it’s important to understand the risks or use high-quality, fresh meat.
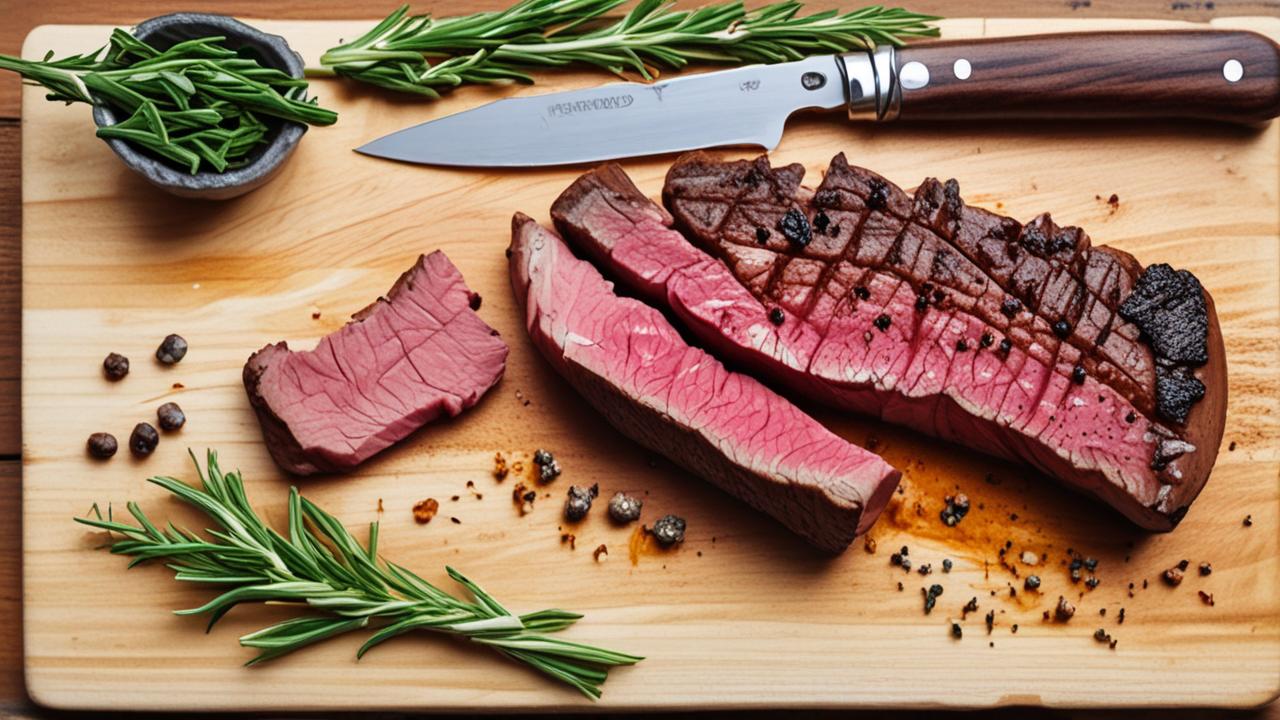
- Beef/Lamb Steaks & Roasts:
- Rare: 125°F (52°C) – Cool red center
- Medium-Rare: 135°F (57°C) – Warm red center
- Medium: 145°F (63°C) – Warm pink center
- Medium-Well: 150°F (66°C) – Slightly pink center
- Well-Done: 160°F (71°C) – Little or no pink
It’s important to note that the USDA recommends cooking whole cuts of beef, pork, lamb, and veal to 145°F (63°C) followed by a three-minute rest. Cooking below this temperature increases the risk of foodborne illness.
- Pork Chops & Roasts:
- Medium-Rare: 140°F (60°C) – Pinkish
- Medium: 145°F (63°C) – Slightly pink
- Medium-Well: 150°F (66°C) – Mostly brown, slight pinkness
- Well-Done: 160°F (71°C) – Brown throughout
The USDA recommends 145°F (63°C) with a three-minute rest for pork.
- Poultry:
- The USDA recommends 165°F (74°C) for all poultry to ensure it is safe to eat. Dark meat and white meat cook to this temperature. There isn’t usually a range for doneness with poultry due to safety concerns.
The Importance of Resting Meat
After you take your meat off the heat, you need to let it rest. This is a crucial step that many people skip.
- What Happens During Resting: When meat cooks, the juices are pushed to the center. If you cut into it right away, all those juices will spill out onto your plate. Resting allows the juices to redistribute throughout the meat. This makes it more tender and moist.
- How Long to Rest: Most cuts of meat benefit from a rest of at least 5 to 10 minutes. Larger roasts might need 15 to 20 minutes. For smaller items like steaks and chops, 3 to 5 minutes is usually enough.
- Carryover Cooking: While the meat rests, its internal temperature will continue to rise slightly. This is called carryover cooking. For this reason, it’s often recommended to pull the meat off the heat a few degrees before it reaches your target temperature. For example, if you want a steak medium-rare at 135°F (57°C), you might take it off the heat when it reaches 130°F (54°C).

Troubleshooting Common Thermometer Issues
Sometimes, even with the best intentions, you might run into problems with your thermometer. This section will help you figure out why your thermometer might not be giving you the reading you expect and how to fix it. We’ll cover calibration, cleaning, and common mistakes.
Calibration Checks
For the most accurate readings, especially with digital thermometers, it’s a good idea to check if your thermometer is calibrated correctly.
- The Ice Bath Method: This is a simple way to check if your digital thermometer is accurate. Fill a glass with ice and water. Stir it well. Let it sit for a few minutes. Then, insert the probe into the ice water. It should read 32°F (0°C). If it’s off by a degree or two, that’s usually okay. If it’s significantly off, you might need to adjust it if your thermometer has that feature, or consider replacing it.
- Boiling Water Method: You can also check it in boiling water. Place the probe in a pot of boiling water. It should read 212°F (100°C) at sea level. Note that the boiling point of water changes with altitude, so this is a less precise check than the ice bath for most home cooks.
Cleaning and Maintenance
Keeping your thermometer clean ensures it works properly and lasts longer. It also keeps your food safe.
- Before and After Use: Always wash the probe with warm, soapy water before and after each use. Rinse it thoroughly and dry it completely.
- Avoid Submerging: Most digital thermometers are not waterproof. Do not submerge the entire thermometer in water. Clean the body and display with a damp cloth.
- Storage: Store your thermometer in its protective sheath or a clean, dry place. This prevents damage to the probe and keeps it hygienic. If it’s a foldable type, make sure the probe folds away cleanly.
Common Reading Mistakes
Even experienced cooks can make mistakes. Here are some common issues that lead to wrong readings.
- Not Inserting Deep Enough: As mentioned before, if the probe isn’t in the thickest part of the meat, you won’t get an accurate reading. Make sure it’s inserted fully.
- Touching Bone or Fat: Bone conducts heat differently than meat, and pockets of fat can be cooler. Always aim for the center of the muscle tissue.
- Not Waiting for the Reading: Especially with dial thermometers, you need to wait for the needle to settle. Pulling the meat off too soon based on a fluctuating reading can lead to undercooked food.
- Reading a Hot Surface: If you are checking the temperature of a steak on a hot grill, ensure the probe is in the meat and not just touching the very hot surface of the meat that is directly over the flame.
Cooking Examples and Scenarios
Let’s put this knowledge into practice. Here are some real-life examples and scenarios to help you see how to read a meat thermometer correctly in action.
Scenario 1: Grilling a Steak
You’re grilling a thick ribeye steak for dinner. You want it medium-rare.
- Preheat your grill.
- Season your steak.
- Sear the steak on both sides for a few minutes to get those nice grill marks.
- Move the steak to a cooler part of the grill to finish cooking.
- Insert your instant-read digital thermometer into the thickest part of the steak, avoiding bone.
- The thermometer reads 130°F (54°C). This is your cue that it’s time to take it off.
- Place the steak on a cutting board and let it rest for 5 minutes.
- When you cut into it, the steak will be a perfect medium-rare, with a slightly pink, warm center, and the temperature will have risen to about 135°F (57°C).
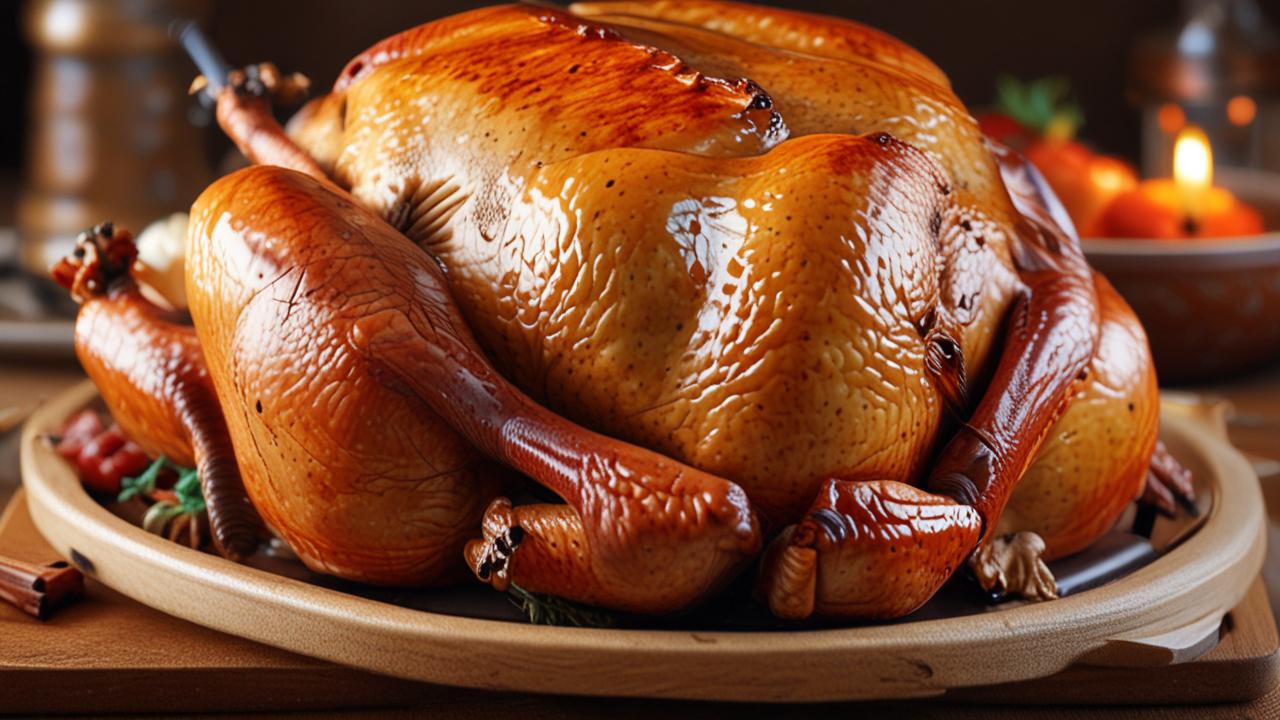
Scenario 2: Roasting a Chicken
You’re roasting a whole chicken. You want to make sure it’s safely cooked through.
- Preheat your oven.
- Place the chicken in a roasting pan.
- After about an hour and a half, you want to check the temperature.
- Take your probe thermometer with the cord. Insert the probe deep into the thickest part of the thigh, making sure not to touch the bone.
- The display unit outside the oven shows the temperature rising.
- When the display reads 165°F (74°C) in the thigh, you know the chicken is safely cooked.
- Remove the chicken from the oven and let it rest for 15 minutes before carving. This will ensure juicy meat throughout.
Scenario 3: Cooking Ground Beef Burgers
You’re making burgers on the stovetop and want them cooked safely.
- Form your burger patties.
- Heat a skillet over medium-high heat.
- Cook the burgers for about 4-5 minutes per side for a medium burger.
- Use an instant-read thermometer and insert it into the side of the patty, going towards the center.
- Check if the internal temperature has reached 160°F (71°C).
- If it has, remove the burgers from the skillet.
- Let them rest for a minute or two before serving. This ensures they are cooked through and safe to eat.
Frequently Asked Questions
Question: How do I know if my meat thermometer is accurate?
Answer: You can check its accuracy using an ice bath. Fill a glass with ice and water, stir, and then place the thermometer’s probe in it. It should read 32°F (0°C).
If it’s slightly off, that’s usually fine, but if it’s way off, it might need recalibration or replacement.
Question: Can I use the same meat thermometer for raw chicken and then for a steak?
Answer: It’s best practice to thoroughly wash your thermometer with soap and water between using it for raw meat and cooked meat. To be extra safe, many people keep separate thermometers for raw poultry and other meats, or they wash it very carefully.
Question: Why is it important to rest the meat after cooking?
Answer: Resting meat allows the juices, which have been pushed to the center during cooking, to redistribute throughout the meat. This makes the meat more tender, moist, and flavorful when you cut into it.
Question: What if my meat thermometer doesn’t have numbers to show doneness, only temperatures?
Answer: That’s normal! Meat thermometers show the internal temperature. You then compare that temperature to guidelines for safe cooking and desired doneness for different types of meat.
We’ve provided these guidelines in the article.
Question: Should I leave the thermometer in the meat the whole time it’s cooking?
Answer: It depends on the type of thermometer. Some are designed to stay in the meat (like probe thermometers with cords), allowing you to monitor the temperature remotely. Others, like instant-read thermometers, are only for spot checks and should be removed once you get a reading.
Final Thoughts
Knowing How to Read a Meat Thermometer Correctly is a skill that leads to better, safer cooking. By understanding your thermometer and using the right temperatures, you can cook with confidence. Always aim for the thickest part and let your meat rest.
Enjoy perfectly cooked meals every time!